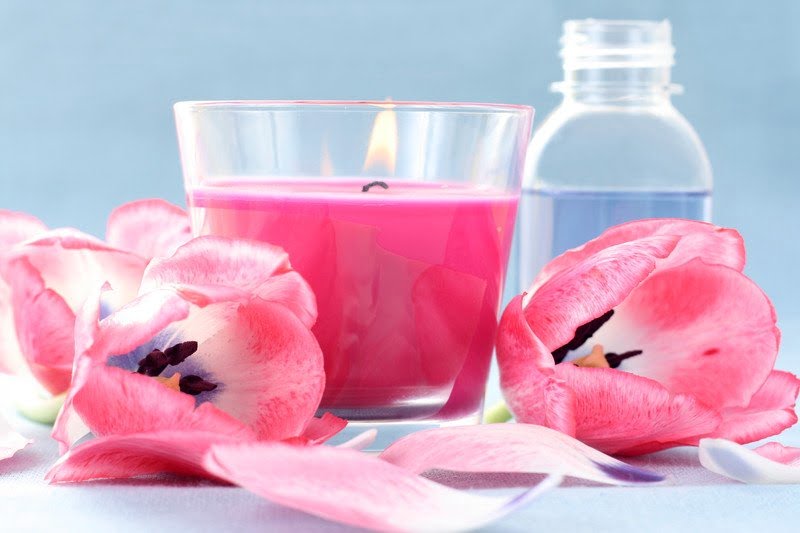
Making Candles Steps:
Creating your own homemade candles is a fun and rewarding project. Candles make thoughtful gifts to give family and friends and are perfect for special occasions. Read on to learn the steps to create your own high-quality candles.
Step 1: Collect Supplies
Before you get started, you’ll need to gather up some supplies. The supplies you’ll need will depend on the type of candle you choose to make. Here are some of the basics that you will need for most projects:
- Candle wax – available in paraffin, soy, or beeswax.
- Candle wicks – wicks come covered in wax and make lighting your candle easy
- Fragrance oils – create a pleasant smell.
- Glass jars or molds – for your finished candles to be placed in.
Step 2: Prepare Containers
If you are using glass jars, you’ll want to make sure they are very clean by washing them in hot soapy water. You can then use a wax preparer to coat the inside of the jar with a thin layer of wax. This helps keep subsequent layers of wax in place while pouring.
Step 3: Heat the Wax
Using a double broiler or slow cooker, heat the wax until it melts completely. The temperature must remain below 155 degrees Fahrenheit in order for the fragrance oils and dyes to be effective.
Step 4: Add Fragrance and Color
This is what gives your candles scent and also allows you to customize them with some beautiful colors. When you add these products, be sure to stir the wax slowly and thoroughly.
Step 5: Fee the Candles
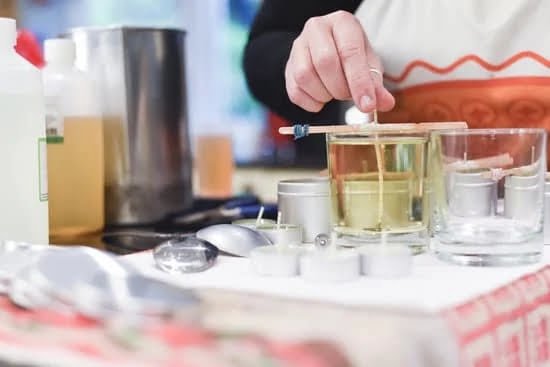
Using a ladle, carefully pour the melted wax into the containers you’ve prepared. As you pour, continue to stir to keep the scent and color uniform. If you want to create layered candles, make sure you allow the first layer to set before you add the second layer.
Step 6: Add The Wick
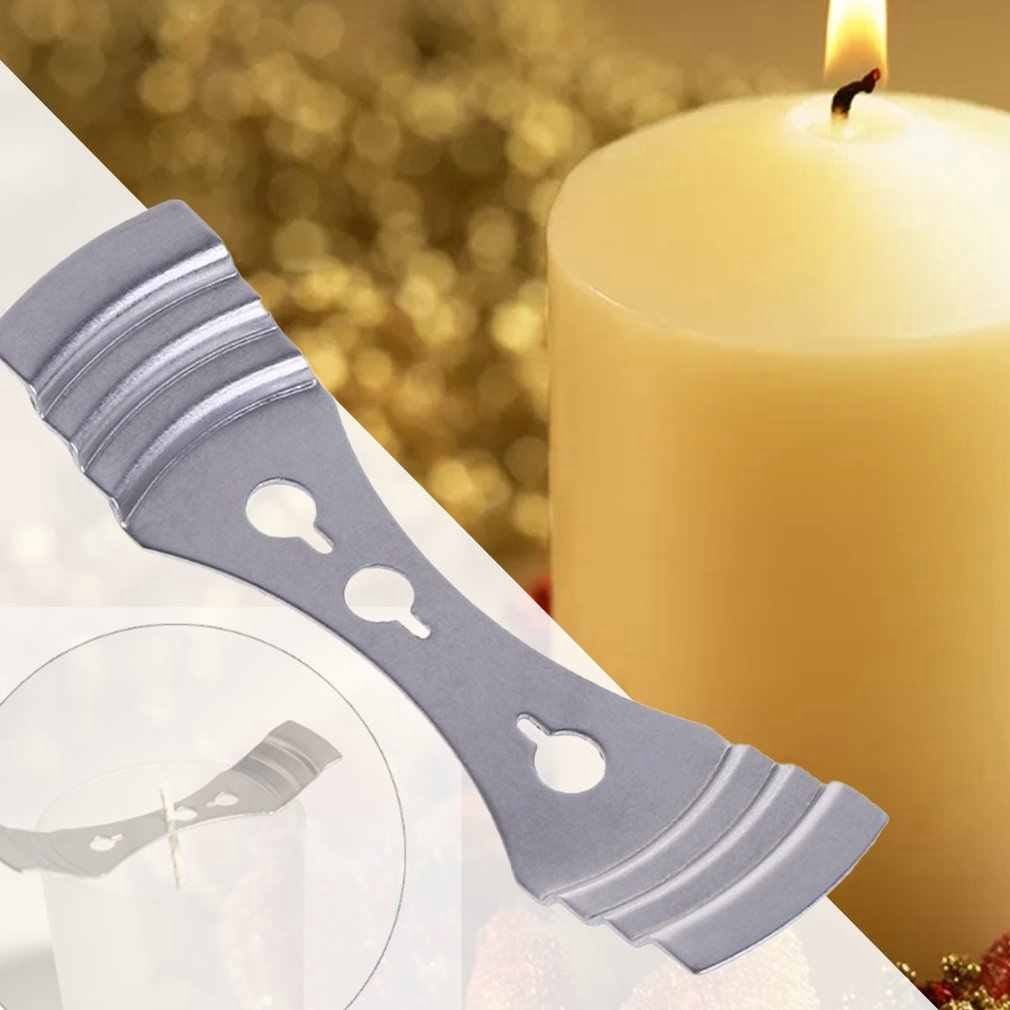
This step is crucial in making sure your candle burns evenly. To secure the wick in place, use a wick bar or wick centering device.
Step 7: Cool and Store
When your candle is finished, set it aside to cool for about three to four hours. Once it’s completely cooled, your candles are ready for you to enjoy or give as gifts! To get the best results from your candles, avoid exposing them to direct sunlight or heat which can prematurely melt them.
Making candles at home can be a fun and creative way to spend your time. Keep this guide handy and you will soon be on your way to becoming a candle-making expert!

Welcome to my candle making blog! In this blog, I will be sharing my tips and tricks for making candles. I will also be sharing some of my favorite recipes.

