Introduction
Candle making can be a fun and interesting hobby. There are many different ways to make candles and the type of candle you want to make will determine the materials and techniques you’ll use. Before you start making candles, it’s important to understand the basics of candle making. Doing a bit of homework about the art of candle making will help ensure that your attempt is successful.
To get started with understanding the basics of candle making, it helps to familiarize yourself with the common ingredients used in creating candles. These include wax, wicks, containers for the wax and any special additives that provide color or scent to your candles. Different types of wax have different properties when heated, so it’s important that you choose one that meets your concept. For instance, microcrystalline waxes are great for pillar candles or votive candles because they’re quite rigid and don’t melt easily while paraffin wax can create soft, smooth tapers. Similarly, certain types of wicks work best with certain types of waxes; be sure you know what works best with what before investing in either ingredient!
After understanding the main components involved in making candles, another step in getting acquainted with candle making is setting up a workspace. A good workspace should be clean and free from clutter as debris or foreign items mixed into the melted wax can cause your flame-free creation to ruin by catching alight! Additionally, having also all your necessary materials gathered beforehand is important as pouring molten first requires quick action; no matter how prepared and calm you may feel, gathering materials mid order messes up your concentration. Finally, a vital part for upkeep for continued success – maintain proper safety protocols by keeping flammable products away from open flames!
Choose the Best Wax for Your Candles
Choosing the right wax for making candles is a very important step when it comes to creating the perfect candles. There are several types of candle wax that can be used and some may be better suited for specific circumstances than others. Paraffin wax is one of the most common waxes used in making candles as it is affordable and easy to work with, however, it does not offer superior scent throw or texture. Soy wax, on the other hand, works great for creating pillars and container candles as its melts at a lower temperature and even provides aesthetic appeal with translucent qualities. Additionally, beeswax imparts a unique honey-like scent and has an ivory color while palm wax offers superior scent throw that makes it a popular choice among candle makers. Before choosing your wax carefully consider the type of candles you would like to create as this will have an impact on which type of wax is best suited for your purpose.
Preparing the Wax for Candle Making
Before making candles, the wax needs to be prepared for melting and pouring. This includes breaking up large chunks of wax into smaller pieces, measuring out the desired amount of wax, and then melting it in a double boiler or dedicated candle-making pot. Here is a step by step guide to help you prepare your wax for candle making:
1. Break Up Wax: Use a strong metal spoon or the end of a butter knife to break the large chunks of wax into small pieces that are easier to work with. This makes it easier for the wax to melt quickly and evenly.
2. Measure Out Wax: Once you’ve broken up the larger chunks, use a kitchen scale to measure out the exact amount of wax needed for your project. Make sure that you measure by weight and not volume, as different types of wax vary in density.
3. Melt Wax: Next, set up your double boiler or dedicated candle-making pot over medium-low heat on the stove top. Pour in the measured out wax chips and allow them to melt slowly while stirring occasionally so that they don’t burn or stick together.
4. Cool Wax: Once all of the chips have melted completely, take off from the heat and let it cool slightly before pouring into molds or containers for making candles in whichever type you prefer ” mason jars, tealight holders or pillar molds etc… If desired, add essential oils or dye colors (micronized particles) during this time according to your preference as these need to be well incorporated before further usage as additives do not always mix easily with melted paraffin/soy etc.. Ultimately if unsure about an additive consult with a professional beforehand
5. Test Temperatures: To make sure you don’t burn yourself when working with hot molten wax later on down the line, use an infrared thermometer gun or cooking thermometer probe designed specifically for candle making suggest temperatures range between 170F-190F when pouring soy melts into tins/containers etc… Use thermo tape monitors placed between reservoir slots until familiarized with temperature management of materials being used as consistently monitoring is key especially with container/jars that can absorb and radiate heat up without prior knowledge
6. Store Remaining Wax: If you have any leftover wax after your candle-making session is complete, make sure that you pour it back into its original packaging or another airtight container such as a zip-lock bag so that no debris enters in and once cooled it can be reused for future projects dedicated solely toward crafting candles regardless of type purchased
Essential Supplies for Candle Making
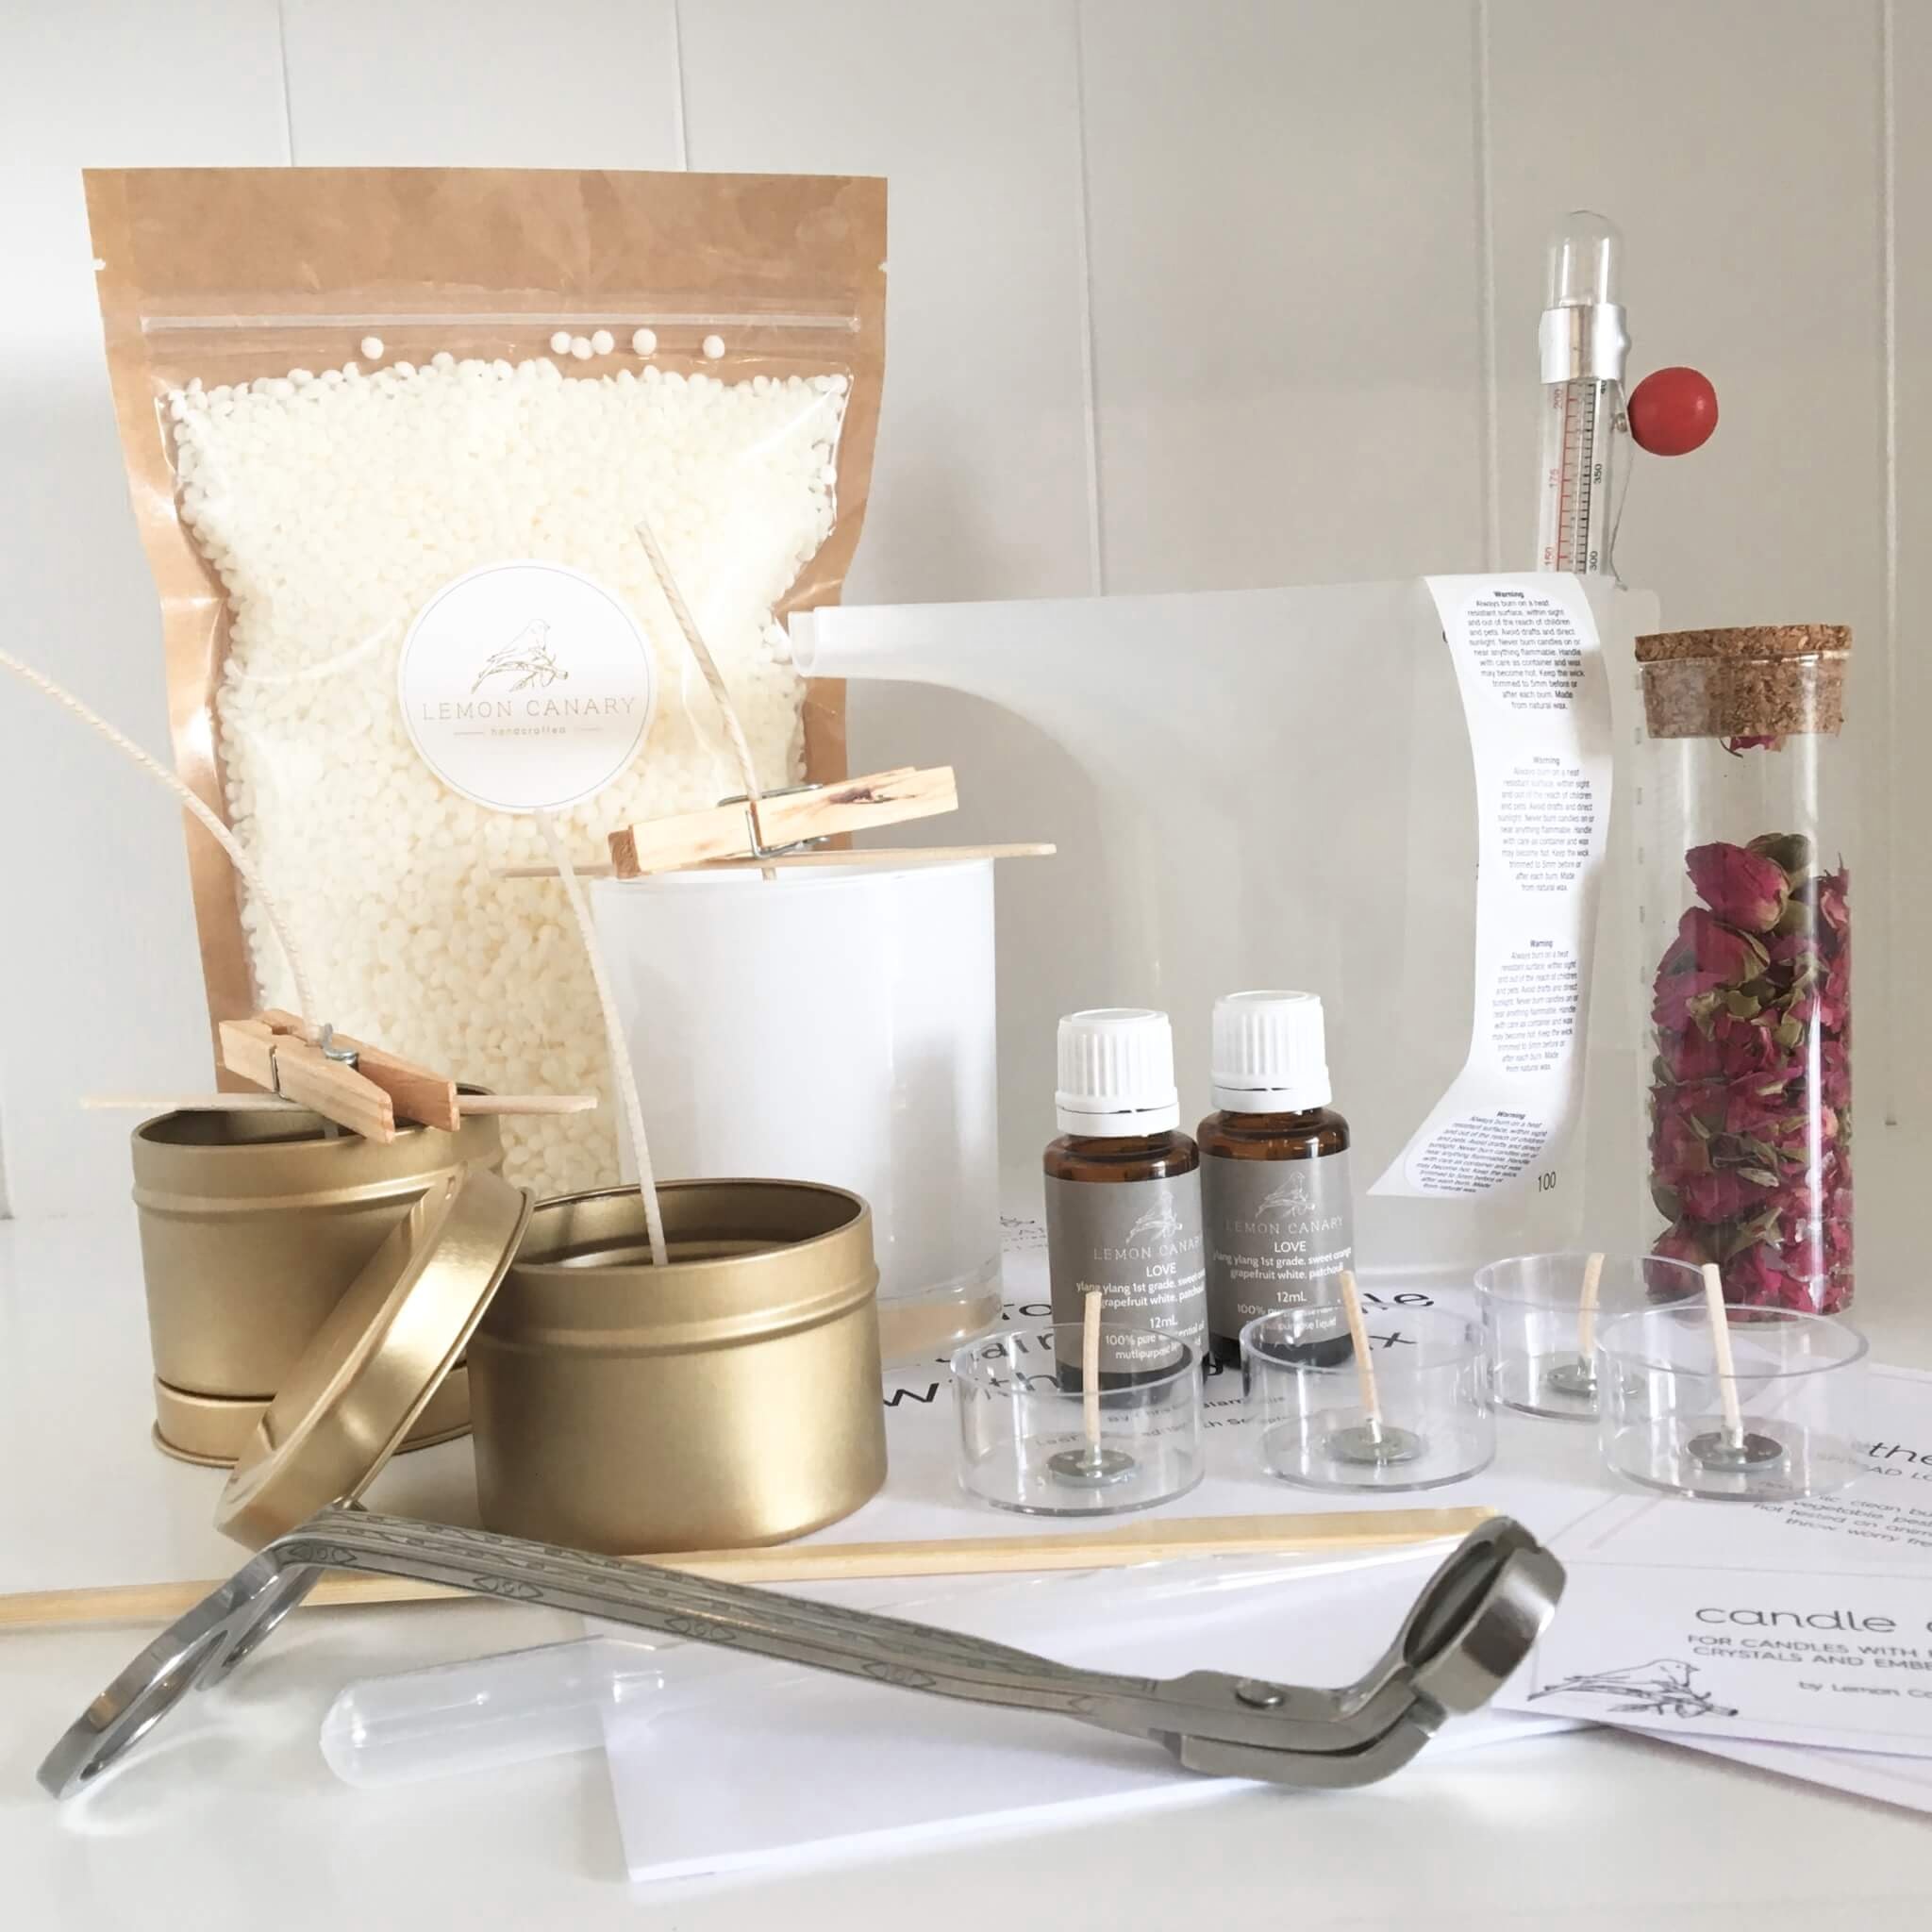
When it comes to candle making, there are a few essential supplies that everyone should have on hand. First and foremost is wax ” soy wax, paraffin wax, or beeswax are all excellent options depending on your desired end result ” as well as a double boiler to melt the wax so it’s ready for use. You’ll also need wicks with tabs, thermometers (both metal and digital), scents, coloring dyes, and wooden sticks for stirring. You’ll almost certainly need some kind of mold or container for the melted wax too; these can range from silicone molds to tin cans and glass jars. Finally, you should always have safety tools on hand such as oven mitts and protective eyewear as you work with molten wax. Once you have all of these supplies shopping you’re ready to make some wonderful candles!
In addition to the basic supplies for candle making mentioned above, those looking for professional results may also want to invest in specialized tools like pouring pots and thermometers specifically designed for candle makers. A melting pot allows more precise measurement when melting the wax while an immersion thermometer helps ensure accuracy when pouring into containers or molds to avoid settling later on. For larger projects such as pillar candles or tea light molds with multiple wells, an electric pour pot is your best bet – this can melt up large quantities of wax quickly before transferring it into individual cups or molds. Finally being sure to keep a good set of scales on hand is essential”you’ll need them when adding scents or dyes so that you can measure properly by weight instead of volume.
Creative Ways to Add Color and Fragrance to Your Candles
Adding color and fragrance to your candles can bring a pop of vibrancy to any space. There are several creative ways to experiment with these elements when making your own candles.
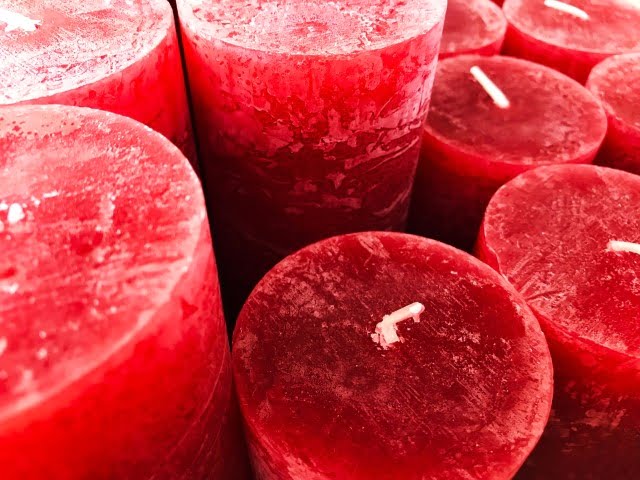
One way you can add color is by using liquid dye. This type of dye is easy to use and is available in many colors, such as blues, reds, and yellows. Simply measure out the amount that you need before adding it to the melted wax. Be sure not to add too much so that it does not leave an over-saturated appearance on the finished product.
For adding fragrance, you can use natural oil extracts like lavender or rosemary. The amount of oil needed should be indicated in the instructions, but typically ranges from .5-2 ounces per pound of wax depending upon the strength you desire for the scent. You will need to melt down the wax first before adding in your desired oils then stir until they are fully blended together with no lumps or bumps residue left behind.
If you are looking for something a bit more creative, powdered pigments may be used. These powdery materials come in dazzling colors that look great on solid colored candles but may require some experimentation depending on their combination mix with other materials used in candle making such as waxes and oils. Glitter can also be added using a stick blender while stirring everything together – just make sure all particles have been properly incorporated prior to pouring into molds! Finally, dried herbs or flowers can be added for texture and visual appeal when working with either unscented or scented candles before putting lip up for display purposes!
Professional Tips for Crafting Beautifully Designed Candles
When you are making candles, there are some important tips to keep in mind. First, use the proper wax for the desired effect. Paraffin is the most common type of wax used for candle making as it has a relatively low melting point and can be easily melted and poured into glass containers. If you are looking for something more eco-friendly, try soy or beeswax.
Another key point to keep in mind is temperature regulation. Make sure that when melting your wax and pouring it into your molds, the area is well-ventilated with non-flammable materials since fumes from burning wax can be hazardous. In addition, take care not to overheat your wax when melting; otherwise bubbles could form that will distort your finished product.
Once you have poured your wax, there are a few simple tricks to make your candle look professional. Try adding different colors of dye or glitter to create beautiful designs and color combinations. If adding scent, make sure to choose high quality essential oils or fragrance oils “remember that lower quality fragrances can quickly break down in hot temperatures. Finally consider adding wicks with metal tabs”this will help center the wick within your candle during curing and cooling so it won’t sink or droop within its mold as it hardens.
Troubleshooting Tricky Candle Making Situations
Sometimes making candles can be tricky, no matter how much research has been done ahead of time. Problems such as failed scent throw, weak wax pools, or air bubbles can plague even the most experienced candlemaker. Luckily, there are some tips and tricks to help ensure success when tackling any tricky candlemaking situation.
To help with a failed scent throw, use either a higher concentration of fragrance without changing the overall amount of wax used or purchase fragrance specifically made for candles. For weaker wax pools and wicking issues use medium diameter pre-tabbed wicks that are specially designed for the container size being used to prevent over- or under-saturation. If air bubbles keep showing up in your candles, tap the sides of the container repeatedly after pouring the melted wax to help release any trapped air before cooling begins. Additives such as paraffin wax chips or Vybar can also be helpful in getting rid of unwanted bubbles. Finally, some candlemakers will increase the amount of dye colorant used to mask these imperfections instead of attempting to further troubleshoot them; however this is not recommended as too much colorant may cause discoloration and affect other desirable characteristics associated with burning a proper candle as intended.
Wrapping Up
After gathering all the supplies and setting up a safe area, the process of making candles can begin. Ensure that everything is ready and within easy reach, such as wicks, fabric squares and wax. Heat up the wax in a double boiler on medium heat and add any desired scent to create an aromatherapy candle. Using a thermometer, make sure the temperature of the wax does not exceed 111 degrees Fahrenheit. Once that is achieved, proceed with filling your tin or jar with the melted wax. Carefully insert a pre-primed candle wick into your container using a clip or skewer for stability; this will be particularly useful when pouring the wax back into your container after melting it.
Once the wax has cooled slightly (but not completely), pour it into your prepared container. This is where having premeasured pieces of fabric comes in handy; take one piece and lay it flat on top of the newly filled container of hot wax. Then place some stones or other decorative objects on top to keep the fabric in place and weigh down its edges accordingly – this will also help give your candle an aesthetically appealing look. After about half an hour, remove these items from your cooled candle’s surface then trim any excess wick which may have stuck out of its sides once fully hardened. Your DIY candle is now finished and ready to be enjoyed! Place it anywhere you please and let its warm scent fill the air with its beautiful aroma!

Welcome to my candle making blog! In this blog, I will be sharing my tips and tricks for making candles. I will also be sharing some of my favorite recipes.


