Introduction
Candle making is a great way to get kids involved and creative. Making candles with children can be a fun and educational activity that can help them understand the science of candle-making. It is important, however, to make sure that safety comes first. Here are some simple candle-making techniques that kids can do while keeping safety as a top priority:
Tips:
1. Using appropriate equipment: Make sure all of the materials used are designed specifically for making candles with kids (e.g., wax melter, wick holders, etc.). Avoid using any sharp objects that could cause any injuries such as scissors or knives, and adjust the stove temperature accordingly when melting wax.
2. Supervising every step of the process: It’s best for an adult to remain present throughout each step of the candle-making process in order to help guide children and keep everyone safe at all times in case something goes wrong.
3. Keeping it clean: Teach kids to wipe away any spilled wax after each step of the process in order to avoid any accidents from slipping or tripping on wet wax patches later on.
4. cooling down effectively: Let the finished product cool down completely before handling or moving it anywhere else in order to prevent burning oneself and other people around them with melted wax or exposed flames attached to their newly made candle creations!
Identifying Safe Supplies & Tools
Although candle-making with children can be a fun and rewarding activity, it requires an understanding of the materials involved. It is important to use age-appropriate materials and take safety considerations into account when selecting supplies for candle making. This involves choosing supplies that are not only safe for children to handle, but also those that will produce quality candles.
One of the most important components for successful candle making is wax. There are a variety of waxes available, although some may not be suitable for young children due to their composition and melting point. Beeswax, soy wax, or general paraffin wax are all good choices because they melt at lower temperatures than other types of wax and are less likely to cause burns. Depending on the type of candle being made, additional ingredients like fragrances or coloring may also need to be purchased. These ingredients should be specifically designed for use in candle-making as some fragrances and colors are not appropriate for burning and could potentially be hazardous if inhaled or ingested by small children or infants.
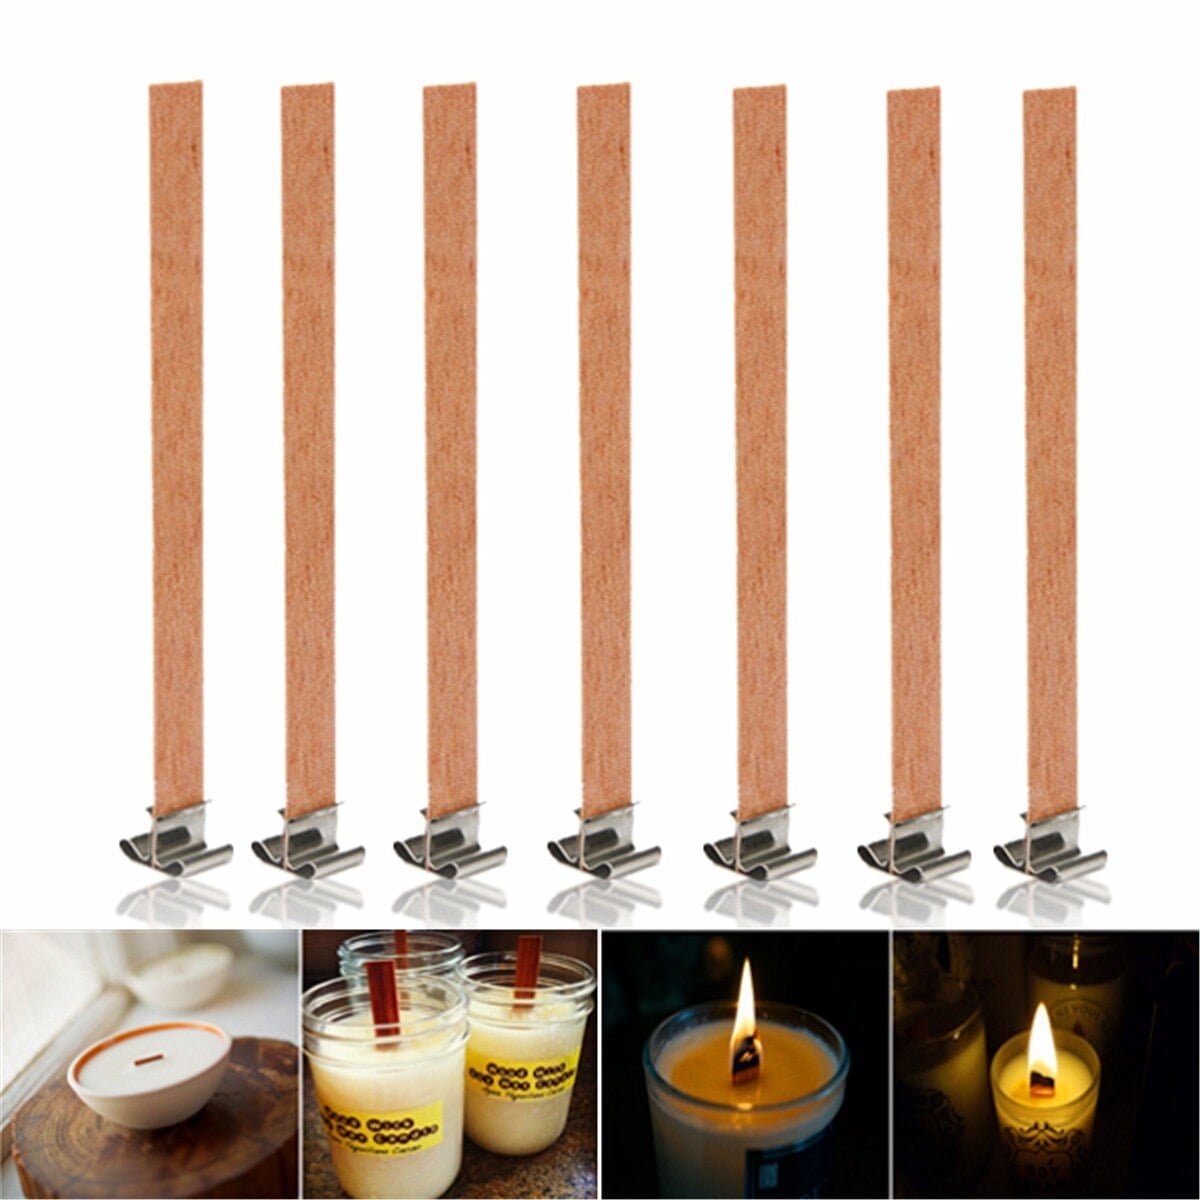
Along with the necessary supplies, a few essential tools and safety items should also be gathered before beginning any project with kids. Wicks, molding tools such as spoons and ladles, dedicated heat sources like stovetop pots or electric melters, thermometers (to check wax temperature), no-drip pouring containers such as jugs with spouts or coffee carafes, heat resistant gloves (for adults) and safety glasses (for everyone!) should all be on hand when starting any project involving fire or hot wax. Adequate ventilation is also recommended; candles poured outdoors with ample airflow can offer better safety overall than indoor projects without proper air circulation precautions taken in advance.
Preparing for the Activity
Before you can start making candles with children, there are several steps you must take. First, you must acquire all of the necessary supplies. This includes things like wax, wicks, fragrance or color dye, a double boiler, thermometer, pouring pitcher, jars and molds in the desired shapes. You’ll also need essential tools to complete your project including a pencil to hold the wick steady while pouring and scissors to cut the excess wick off.
Once all of the supplies have been acquired, you should set up a work area dedicated solely for candle making. Laying down newspaper or plastic tablecloth will help keep any spills from staining your work surface. Have an extra container on hand for gathering up any melted wax that would be disposed afterwards.
Before beginning any activity with children it is important to discuss safety protocols as well as how to handle hot wax properly. Your instructions should include things like monitoring what temperatures synthetic waxes should be heated at, instructing them not to move any pieces of machinery or containers during process and always exercise caution when touching anything hot or sharp i.e.: cutting the excess wick after candles have hardened.
Step-By-Step Candle-Making Process for Kids
Candle-making with children is not only a fun activity that sparks creativity, but they are also learning valuable skills while they work. Below is a step-by-step guide to making candles with kids.
Step One: Gather supplies. Before beginning, make sure you have all the materials needed. This includes wax (paraffin or beeswax), wicks, dye blocks or powder, molds such as old soup cans, jars or plastic containers and a double boiler for melting wax. Also prepare the area with newspaper for easy clean up afterwards.
Step Two: Prepare the wick and mold. Cut the wick cord to 10 inches long and tie one end around an old pencil so it can rest in the middle of whatever container you’re using as a mold. Insert the remaining portion of the wick into the candle before pouring in melted wax; this will help keep it centered during cooling and allow for easier removal once cooled.
Step Three: Melting Wax. Place your prepared wax chunks into the upper portion of your double boiler and fill lower pot with a few inches of water before placing on medium heat to melt wax cubes until it reaches a liquid form (around 300 degrees Fahrenheit). Add dye block cubes or powdered powder if desired at this time to reach desired coloration. Note: Be sure to keep an adult present when operating any open flame device such as stovetop heating devices! A hotplate would also work fine if preferred over low fire ranges!
Step Four: Pouring Wax Into Molds – Once wax has reached its desired temperature carefully pour it slowly into prepped molds ensuring no spills occur onto countertops or furniture surfaces due to high temperatures involved; be especially careful with young children in attendance. Pouring should take about 1-2 minutes depending on size and shape of your chosen molds; however always err on slower side when possible just in case!
Step Five: Let It Cool – Allow candles at least 3 hours of cooling time before handling them in any way; longer for larger/thicker varieties which may need even more cooling time than usual due to increased mass involved upon setting up within molds being used!
Decorating and Personalizing the Candles
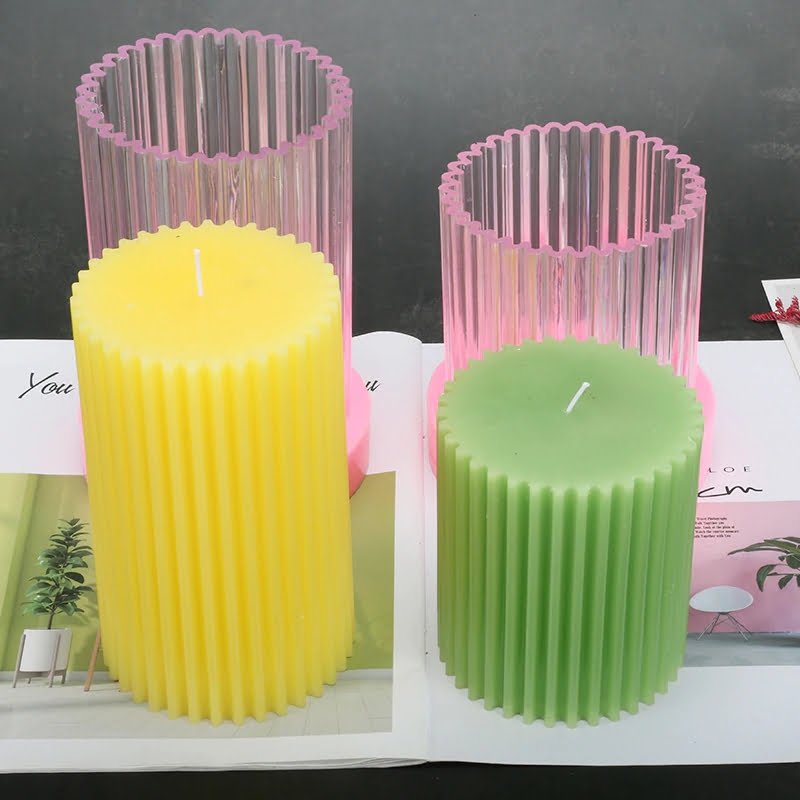
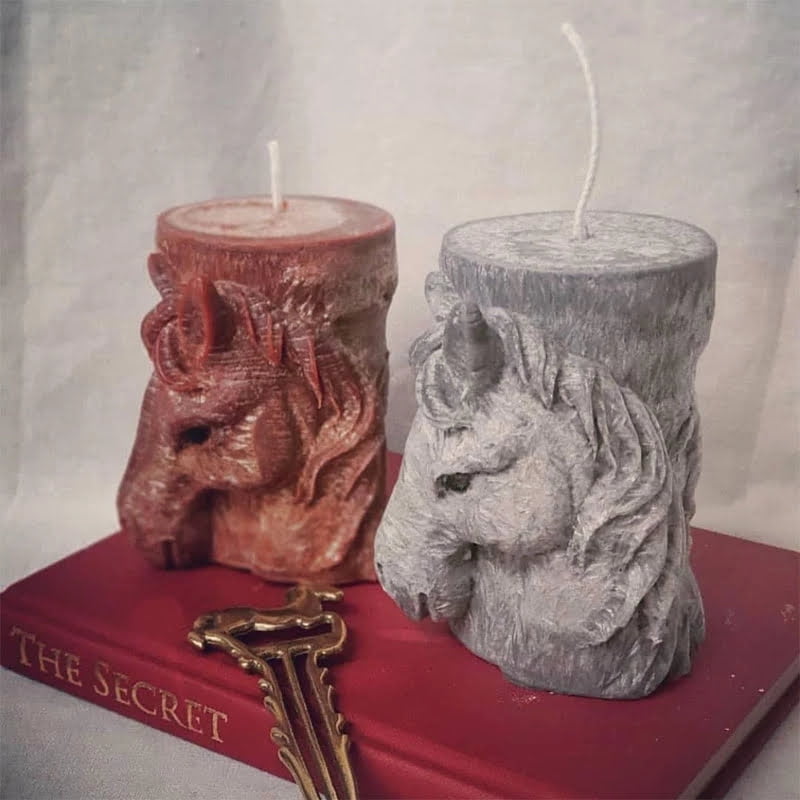
Making candles with children can be an exciting and entertaining activity to help pass the time. Candle crafting is also a great opportunity for kids to explore their creative side by decorating and personalizing the candles in fun, thrilling designs. They can mix and match colors, add ribbons and other accessories, or create unique shapes with wax sticks. Additionally, they can mold these creations into imaginative figures such as flowers, animals, or even their favorite characters. After the candles have cooled off and dried, they can be lit to admire the final product in all its glory! With colorful waxes and different decoration methods, this project of making simple candles into masterpieces can be extremely rewarding for both child and adult. So give it a try ” you never know just how special your creation will turn out!
Caring for Your Candles
One of the best ways to ensure that your candles last is to take proper care of them. This can involve things such as safely storing them, keeping them away from direct sunlight, and never leaving burning candles unattended. If a child is involved in candle-making, they should always be supervised by an adult while they are doing so. It’s important that any flammable materials like wax, wicks, and chemicals stay out of children’s reach and a safe distance away from candles. Additionally, the wick should be trimmed down regularly to about a quarter of an inch before relighting. This helps keep the flame controlled and prevents the formation of soot on larger flames. Lastly, once your candles have cooled down after use, make sure you keep them in an area where they won’t be exposed to mold or dust build-up which could affect their performance over time. Following these steps will help ensure your homemade candles remain vibrant for years to come!
Alternative Options
Beyond the traditional wax candle, there are a variety of creative and fun ways to make candles with children. For example, you can use a large piece of honeycomb cardboard and cover it with crayons in various colors. If you can light the wick of the cardboard, it will create an artistic design as the wax from the crayons melts. Another option is to create a container out of salt dough, let it dry overnight, heat up colored wax in metal cans or jars, and pour into the dough molds. Once cooled, they’ll retain their shape while also creating a unique candle that children can take home or give away as gifts. Finally, another option is to help kids make ice lanterns using metal or glass containers that have water added inside before freezing them overnight and then lighting candles within them. As the ice melts around the candlelight it creates an enchanting display!
Conclusion
When making candles with children, everyone involved can benefit from the experience. Not only do kids learn valuable lessons about chemistry and wax-working, but they also pick up better safety awareness. Making candles encourages creativity and may even be a great way to celebrate special occasions. Additionally, crafting together offers quality time to spend with loved ones while creating memories that will last a lifetime. Whether you’re exploring the science behind it or simply taking time out for fun activities, making candles provides numerous benefits for both kids and adults alike. Plus, what’s more enjoyable than watching the little ones light up as they proudly display their homemade creations?

Welcome to my candle making blog! In this blog, I will be sharing my tips and tricks for making candles. I will also be sharing some of my favorite recipes.


