Introduction
Making candles with mason jars is an incredibly popular and easy way to create beautiful and unique decorations for any occasion. Not only are mason jars cost-effective, but they also come in a variety of designs to fit any style you may have. Furthermore, the combination of a mason jar and candle wax can create a completely personalized gift or home décor item!
The benefits of making candles with mason jars are practically endless as they provide simple tools that allow you to customize your candle in every aspect imaginable. The availability of different types and colors of candle wax allows you to choose the perfect hue and scent while the shapes and sizes of traditional or wide-mouth mason jars give you the ability to create anything from travel size tealights to massive decorative centerpieces. Additionally, the relatively low temperature at which you have to melt the wax means it’s unlikely for amateur crafters dealing with alcohol lamps or similar apparatuses typical used for home-candle making.
You also have your pick from an array of wicks offered at most craft stores ” visually appealing braided wicks add stunning visual effects whether lit or unlit, whereas increasing safety features like beeswax coils for unusual jar depths prevent wax pooling away from burning flames if needed. If that wasn’t enough, by taking advantage of various scents such as essential oils and unscented dyes, you further increase control over your final product. In addition, other embellishments such as dried flowers or herbs bring an extra touch that goes beyond house aroma and enriches your candle with rustic vibes.
Overall, creating candles with mason jars is one of the most enjoyable crafting experiences anyone can do and provides countless options so each person can make something completely unique according their own tastes!
Shopping List
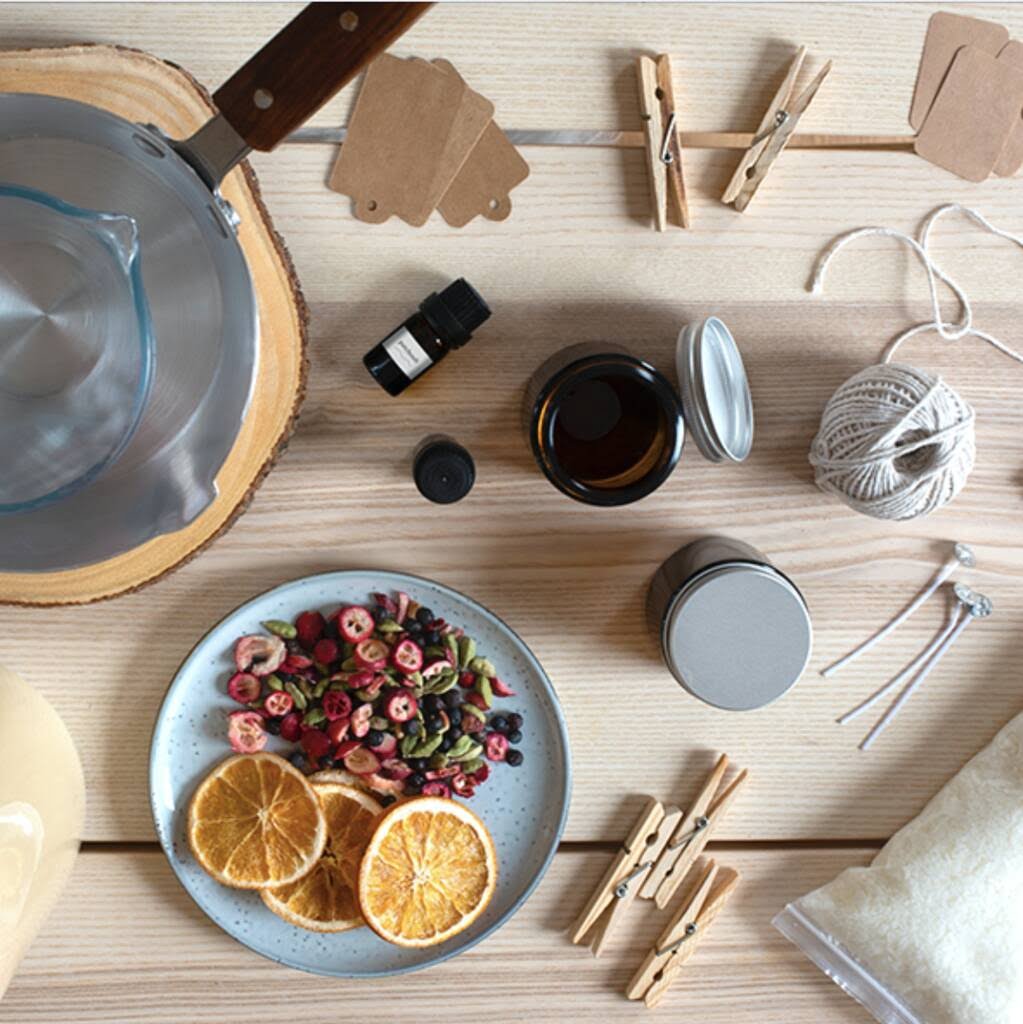
Materials:
Mason jars (as many as you want to make)
Wax flakes
Fragrance oil
Votive wicks or prewaxed wick sticks
Dye chips
Tin can for melting wax
Wooden spoon for stirring wax and dye chips
Tools:
Double boiler or hot plate with a pot with a pouring lip attached
Thermometer to monitor the temperature of the melted wax
Sharp scissors or wire cutters for trimming wick sticks
Steel tongs or heat-resistant gloves to handle hot Mason jars
Instructions:
1. Measure out your wax flakes and add them to the tin can, then set it into the double boiler/hot plate pot. Heat on low until all of the wax is melted; use the thermometer to bring it up to approximately 180 degrees F.
2. Take off of heat, but keep in pot so it stays warm and stir in your fragrance oil, dye chips, and any other ingredients you wish to add in at this time. Stir until everything is blended evenly. Be sure not to overheat as this could damage your scent molecules and affect burning performance.
3. Now take your votive wicks or prewaxed wick sticks and place into mason jars, centering within each jar with steel tongs or heat-resistant gloves (just be sure not to burn yourself!). You may want to lean them against a spoon handle if they don’t stay vertical..
4. Pour your melted candle mixture into each mason jar until full; allow at least an inch off from top so there’s room for air pockets when burning. Allow candles to cool before trimming wicks “” remember not too close because it will prevent proper burning as well! Let cool for about 2 hours before moving for best results.
Preparing the Mason Jar
To begin making candles with Mason jars, you’ll need to prepare the jar. Start by washing your Mason jar with hot, soapy water to remove any dust or debris. Then rinse the jar and dry it completely with a lint-free cloth. Next, use a hammer and nail to punch a hole into the jar’s lid, making sure that it’s small enough for the wick to fit through and large enough for you to thread the wick through it. This will help create an even burn when your candle is lit. When you have finished prepping the lid of your jar, measure out two inches of wick and thread one end through the hole in the lid. Finally, secure the wick with adhesive tape, ensuring that it is centered on your Mason jar.
Making the Candle Wax
When making candles with mason jars, it is important to select the appropriate wax for the desired end result. There are a few different types of candle wax available, each with its own benefits and drawbacks. Paraffin wax is the most commonly used type of wax in DIY candles as it is cost-effective and easy to work with. Soy or vegetable waxes are gaining popularity due to their longer burn times and use of renewable materials; however, they tend to be more expensive than paraffin. Beeswax is another option often chosen because of its natural qualities; however, it can be difficult to work with due to its lower melting point. If you want a more unusual candle, consider using gel or textured wax which comes in a variety of colors and scents. Regardless of which wax type you choose, make sure that it has enough metal structure in order to properly hold together a wick while also giving your candle the best possible fragrance options when adding oil additives such as essential oils or fragrance oils.
Pouring the Wax Into the Mason Jar
1. Start by gathering the supplies needed for candle making, including a large pot, wax, wicks and essential oils (optional). Place wax in the pot and heat over medium heat.
2. Once the wax has melted, place a thermometer into the melted wax and raise the temperature up to 185 degrees Fahrenheit.
3. Insert the wicks into mason jars, ensuring that they are centered and stand upright without falling over.
4. Once the desired temperature is reached, turn off heat source and add any essential oils or fragrance to achieve desired scent (optional). Stir briskly for approximately 30 seconds then pour the wax into mason jars carefully to avoid splashing of hot liquid wax onto yourself or your working environment.
5. Let the candles cool down before removing it from mason jars with care as they will likely still be hot; you would not want to burn yourself while handling them.
6. Allow 24 hours for your candle to fully harden before trimming wick down to ¼ inch if necessary, adding labels or decorations around outside of jar as desired, and lighting your creation!
Finishing Touches
Adding color and fragrance to your mason jar candles is a fun and easy way to customize the aesthetic of your finished product. To add color, you can use liquid candle dye which can be found at craft stores or online. To make sure that your wax takes on the desired shade, you may need to experiment with different amounts of dye to find the perfect hue. As for adding a pleasant aroma to your candles, essential oils are a great option as they are all-natural and provide an array of fragrant scents. Another popular choice is using perfume-grade perfume oils that work best when combined with a candle wax carrier oil before adding it in with the other ingredients. Whichever method you choose, adding scent and color to mason jar candles provides a unique personal touch that people will love!
Lighting and Enjoying the Candle
Mason jar candles are a fun, easy, and inexpensive craft project that can be great gifts or used to add a soothing atmosphere to your home. It is important to use proper safety techniques when making and using these candles.
Before you begin, make sure you have the correct supplies including wax, wicks, mason jars, double boiler or microwave-safe container, thermometer (optional), essential oils (optional), water (to put out any potential fires). You also need wax paper or newspaper to cover your work surface and heat source such as the stove top or microwave.
To ensure your safety when melting wax it is recommended that you wear protective gear like oven mitts and protective eyewear. Make sure you are never melting the wax on an open flame and always keep an eye on the temperature of your wax as this is key for burning safely. When lighting your candle make sure that nothing flammable is too close such as curtains, furniture and bedding material. Additionally keep all pets away from the flame to ensure that no one gets burned by mistake.
When enjoying a candle made with a mason jar it’s important to trim the wick often so it doesn’t become too long which could cause potential hazards such as excess smoke or heat. You should also be mindful not to leave candles burning unattended and put them safely in an area away form children and pets if possible. Furthermore you should never attempt to repurpose any materials from an already burning candle such as releasing melted wax which can create burns if touched too soon after being lit; instead allow them to cool completely before touching. Finally extinguish all flames with water before leaving the room for added safety precautions!
Tips and Tricks for Candle Making Success
When it comes to candle making with mason jars, there are a few basic techniques that you want to keep in mind. Firstly, make sure that your wicks are securely placed and running up the center of the jar before you pour in your wax. This helps keep the heat evenly distributed throughout the jar and reduces the risk of burning around or ‘tunneling’ down one side. Secondly, let your Candles set for at least 24 hours before moving them after pouring. Moving them too early can cause air bubbles or wicking flaws that will negatively affect the final product. Lastly, be patient with the cooling process and give your candles time to fully cool overnight; this will prevent shrinkage or cracking in your candles.
To avoid common mistakes like having dents or bumps on top of the candle, double check that all objects like thermometers or stirring tools have been removed from the wax when it is cooling. Furthermore, pay close attention to your measurements when making scented candles; not adding enough fragrance can leave them unscented and adding too much could be overpowering when lit. Last but not least, be mindful to trim wicks often to ensure a slow burn and better quality of light when they are lit. Keeping these tips and tricks in mind while candle making can help ensure a better product every single time!
Conclusion
Making candles with Mason jars is an easy and fun craft to do and the results can offer a myriad of benefits. With Mason jars, you don’t need any special tools or skills to create a candle and the cost is relatively low if you already have some basic items around the house. This craft project can produce beautiful results as well as provide a soothing scent throughout your home that can even enhance your mood. The jars also serve as wonderful decorative pieces that can be reused and repurposed when the candle has been used up. Furthermore, using mason jars for candles allows for better control over scents, colors, and wax types which makes it an enjoyable experience every time.

Welcome to my candle making blog! In this blog, I will be sharing my tips and tricks for making candles. I will also be sharing some of my favorite recipes.

