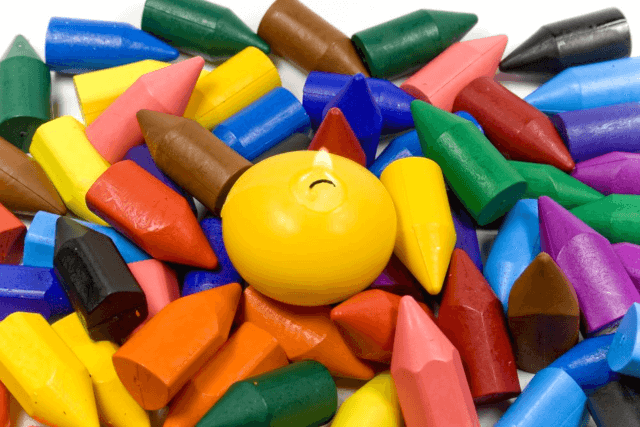
Making candles with old crayons is a great way to reuse something that may otherwise end up at a local trash site. It’s also an art project the whole family can enjoy – from melting the crayons into different shapes and sizes, to picking out the perfect wick for a truly unique candle experience. This craft project does require some basic knowledge of wicking types and melting techniques in order to create safe and beautiful candles.
The most important part of making candles with old crayons is selecting the right type of wick for the job. There are three main types of wicks to choose from: flat braid, square braided, or coreless (no-core) wicks. A flat braid is good for tapers and smaller container candles; it will hold its structure better than round or twisted wicks in higher melt points like beeswax or paraffin wax.
Square braids are more suited for use with harder waxes such as soy wax, providing more support than round or twisted wicks while molten. Coreless (no-core) wicks are ideal for molded and novelty candles since they can accommodate unusual shapes without distortion or displacement as they melt away into a space before being snuffed out.
In addition to choosing the proper type of wick, temperature control during melting is paramount when it comes to making candles with old crayons. You want your finished product to look attractive and not have melted pockets, blemishes or odd shapes throughout your candles.
When melting waxes or crayon material, maintaining a low temperature while slowly warming up can prevent burning any ingredients added to improve fragrance retention, colour vibrancy, etc., which could be harmful if inhaled directly through candle smoke.
Overall, making candles with old crayons can be enjoyable enough that you will want keep doing it even after you used all your scrap material. By following these steps on picking a type of wick and regulating temperatures while melting down all components accurately, you’ll find this craft quite simple yet rewarding in terms of money savings as well as adding a personal touch when gifting homemade gifts.
Gather Materials
- Old crayons – You can choose any colors you like
- Candle wax – Any type of wax will work, but opt for a high melt-point wax for best results.
- Canning jars – These should include a wider mouth and ring band lids.
- Popsicle sticks – Used to stir the melted wax and crayon mixture together.
- (Optional) Decorations – Crafting materials such as ribbons, stars, glitter, etc. can be used for decoration.
Instructions For Making Your Candles
1. Break each old crayon into small pieces by using a small knife or a pair of scissors.
2. Fill the canning jar with as many of the crayon pieces as possible. Aim to fill up about two-thirds of the jar with the colorful bits. The more you use, the brighter your eventual candles will be.
3. Pour enough candle wax into a Pyrex bowl so that you will have enough to fill up each jar once it has melted down fully (Tip: make sure to measure accurately).
4. Place the Pyrex bowl filled with candle wax onto a double boiler pan and wait for it to become molten. Make sure that you monitor and stir it every five minutes or so in order to avoid any burning on the bottom of your container.
5. Once everything is nice and hot, carefully pour your melted wax into each oFf the prepared jars until they are all filled and slightly overflowed (this is necessary in order for them to set correctly).
6. Allow your candles to cool before adding any further decorations (optional).
7. Finally remove them from their containers and put some wicks at the center of each candle before lighting it up.
Removing Wrappers From Crayons
Removing the wrappers from crayons is an easy task that can be done safely and effectively with a few simple tools. The best way to remove the wrappers is with a craft or utility knife. A craft knife provides more control over the motion of the blade than a standard kitchen knife, which makes it easier to make precise cuts in the paper wrapper.
First Step: Prepare and Protect
Before beginning, make sure you gather all supplies necessary including your preferred cutting tool, old crayons, wax paper or parchment paper for protection, and a small trash can to discard wrapper scraps. You will also want to put on protective clothing such as gloves and safety goggles. This will help to ensure your safety while cutting into potentially sharp plastic pieces.
Second Step: Begin To Cut Wrappers
Once you are ready, begin by running your tool of choice along one side of each crayon until you reach its flat base. Gently slide the edge of the blade under any residue sticking to the wrapper near where it meets the crayon’s surface; this will help make sure that all traces of wrapper are removed without having to apply too much force when sliding the blade downwards towards its tip.
Third Step – Continue Cautiously
Repeat this same process across each additional crayon working in slow delicate motions until all wrappers have been removed from their respective tips. Once all wrappers are off, place them and any remaining bits onto wax paper or parchment paper then discard in a nearby trash can when finished. Keep in mind children should not attempt this activity without supervision as crafting knives pose serious risks if not handled properly.
Preparing a Safe & Clean Work Space
When making candles with old crayons, it is important to prepare a safe and clean work space. Not only will this help make the process easier, but it also minimizes the risk of fire hazards or explosions.
A few safety tips to follow when prepping a workspace for candle-making include:
Making sure that these safety precautions are implemented can save you from future problems. Pedestal candles tend to drip and splatter wax onto the floor as they cool, so having proper ventilation can prevent heat buildup or fumes around the area. Utilize burning glasses coupled with eye protection if needed. Have a fire extinguisher handy should an emergency arise. Lastly, staying alert and focused while handling hot wax and treats can prevent matters from turning worse.
Going through these steps before beginning any candle making experience can provide peace of mind while making long lasting memories or beautiful decorations. It is best to plan ahead and double check any potential hazards before starting so that all necessary safety measures are already accounted for.
Heating Crayons to Create Wax Melts
There are several ways to melt the crayons and make melts. The ideal temperature for melting the wax is around 180 – 190 degrees Fahrenheit. It is important to not exceed that amount of heat as overheating can cause smoke and damage to countertops or other surfaces.
- Use a Heat Gun – this item is inexpensive and widely available. The gun should be used outdoors or in a well-ventilated room so fumes don’t overwhelm the person heating the wax. Be careful to not let the heat bottle get too close to crayons, as it can damage them.
- Use a Double Boiler – a double boiler will slowly heat up the wax without reaching high temperatures that could potentially become dangerous. Place the crayon pieces into an ovenproof bowl and suspend it above boiling water in a larger pot gradually melting down the wax.
- Microwave Method – this method offers quick results, but must be done cautiously; be sure to use 15-second intervals set at 50% power or lower for both safety and productivity reasons. Place wax into an ovenproof bowl or microwavable container with no lid before placing inside.
Once melted, select colors that you’d like to combine for your creations along with additives such as essential oils for scenting and bee pollen or herbs for color if desired. Once added, mix together throughly before pouring mixture into molds then let complete cooling before releasing from mold and enjoy.
Choosing a mold is also essential item when making candles from old crayons; materials like aluminum foil, old coffee mugs or chocolate boxes can all work great molds depending on what type of shapes you want your candles in. Experimentation here is key for creative fun.
Another item needed when creating candles with old crayons are wicks; you may need pre-cut lengths of wick needed depending on how tall your candle will be once solidified. Measuring before cutting wick will insure your candles come out level after solidified.
Combining Wax Melts With Pre-Wicked Candle Wicks
When it comes to making candles with old crayons, one of the key steps is combining wax melts with pre-wicked candle wicks. There are several different types of wicks available, each of which have their own unique purpose and characteristics.
The best way to determine which type of wick you need for your project is simply to get familiar with them and understand how they work:
- Square & Braided Wicks – These ‘square’ shaped, braided wicks are made from natural fibres such as cotton or linen, and the extra thickness provides additional support to larger and more heavily fragranced candles.
- Hemp/Organic Wicks – Thin, eco-friendly hemp or organic wicks are usually a popular choice as they have low levels of soot emission and provide a great burn rate.
- Coreless Cotton Wicks – Coreless cotton wicks are composed entirely out of twisted cotton threads. They can take on heavier fragrances and provide excellent flame stability while generally leaving minimal residue or soot.
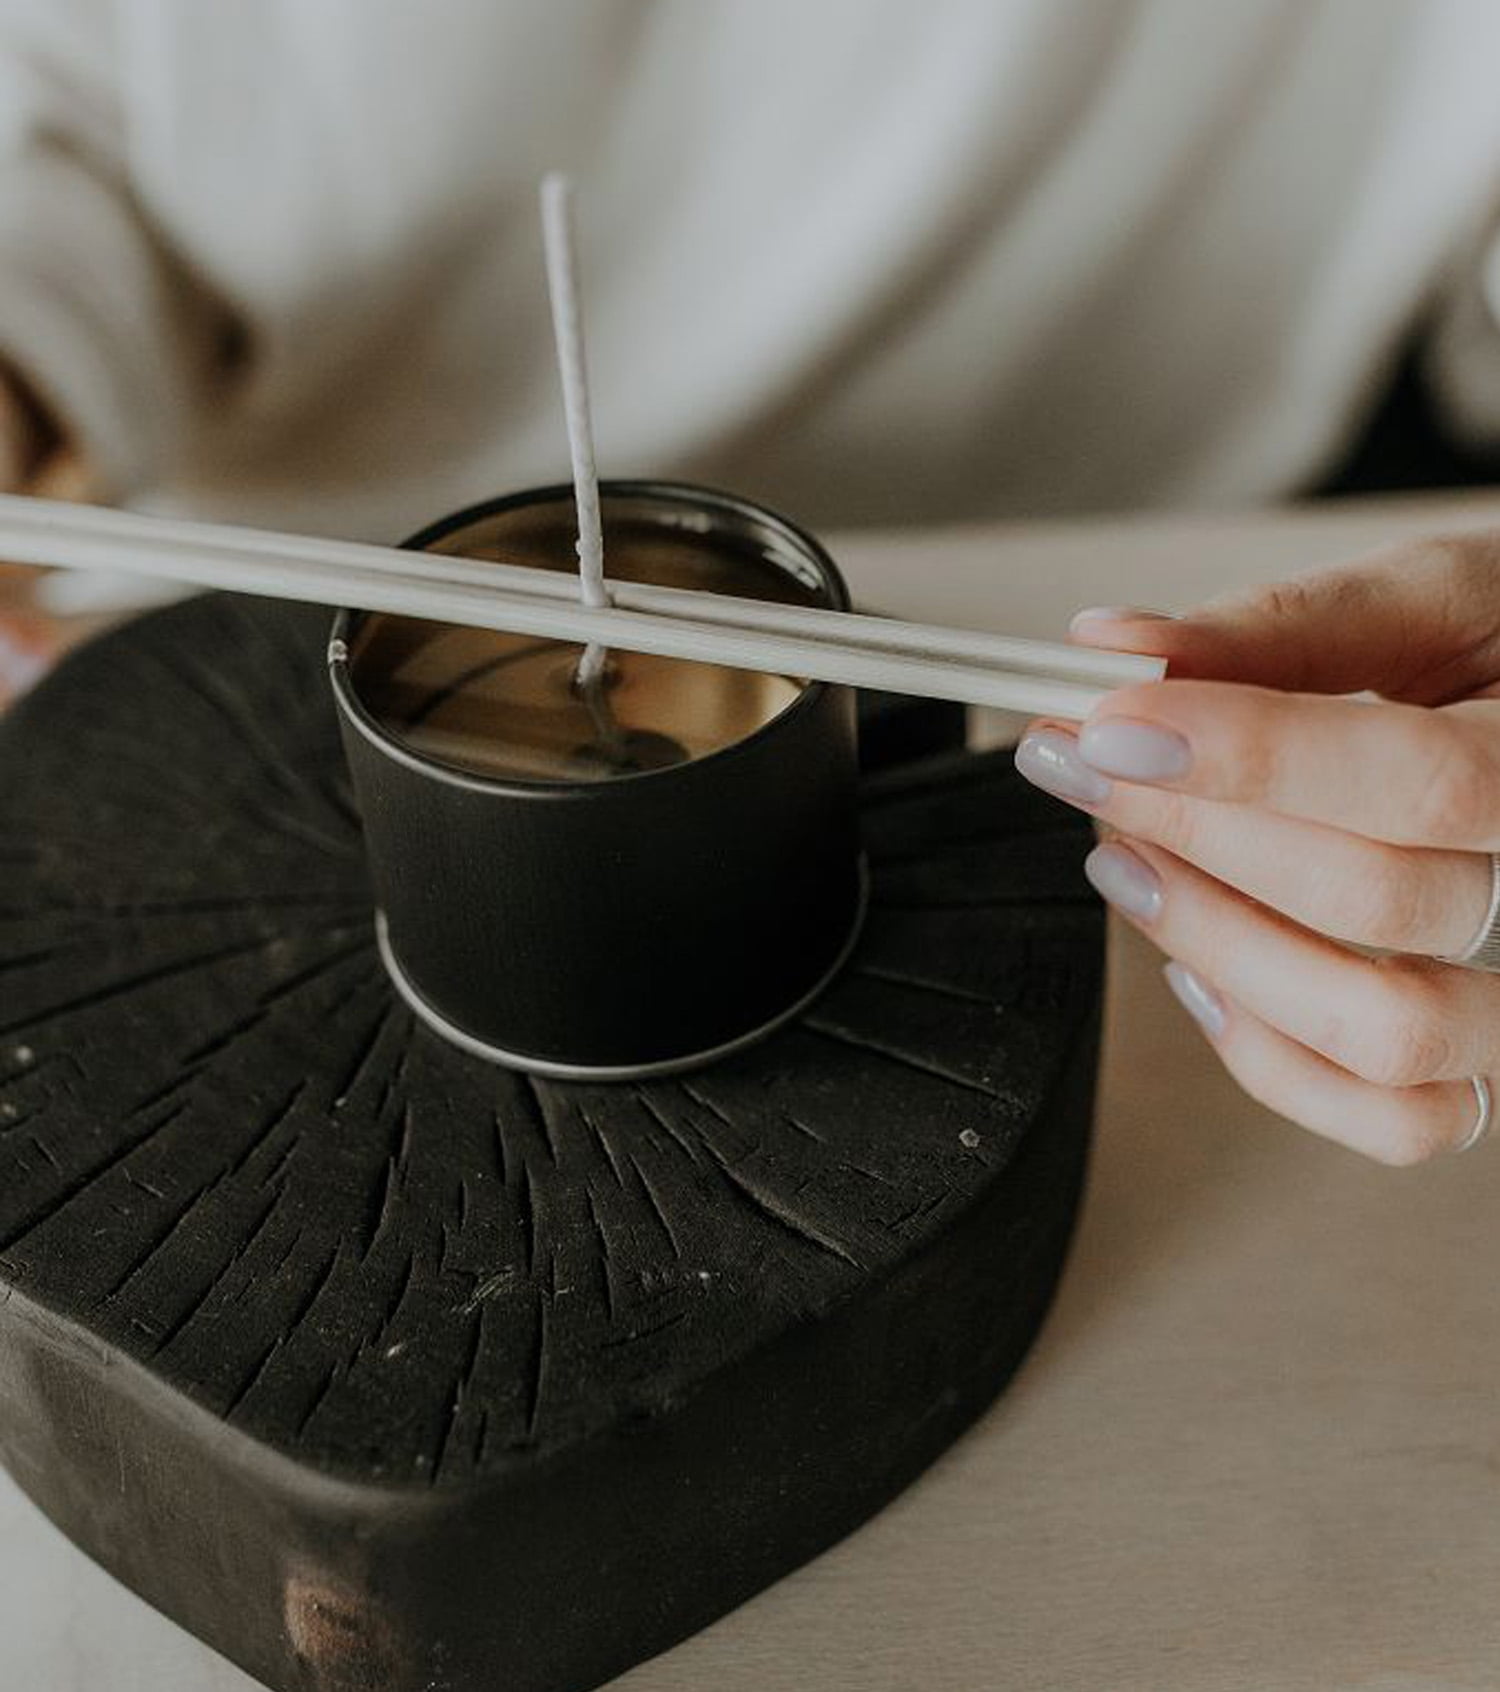
Once you’ve chosen the right type of wick for your candles, it’s time to securely attach it to the wax melt. The first thing you need to do is dip one end of the wick into some molten wax and then press it firmly against the wall of the mould while making sure that it stays centrally aligned. This allows for a secure adhesion when positioning the wick in the centre of your candle during pouring.
To ensure that all sides remain stuck together firmly, pressure pins can be used on both sides to keep things in place before pouring in your melted wax mixture. Lastly don’t forget about safety – use heat resistant gloves when handling burning melts at high temperatures.
Design Ideas
- Plain-colored candles – Selecting a base color for a candle can be done with any number of ways. Old crayons can be melted down and poured into a pre-sized mold for a solid block of color or they can be cut up into small pieces to mix together for a swirled ombre effect.
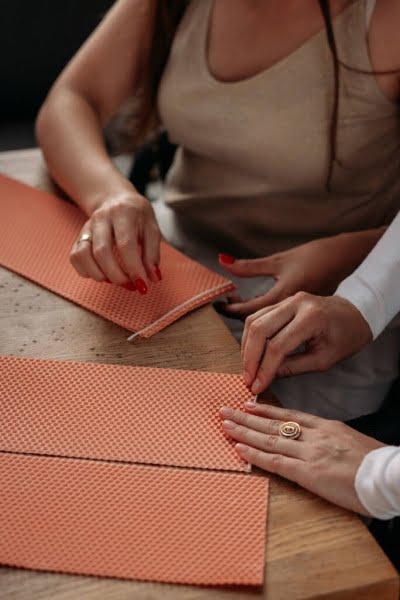
- Geometric shapes – Candles can be made in more intricate and complex shapes than just the classic cylinder style. If using wax sheets, these can be cut with scissors or knives into specific geometrical patterns like rectangles, triangles, stars and even hearts.
- Patterned design – Create an eye-catching pattern by cutting up old crayon wrappers before placing the wax sheet over it and then pouring the blended colors over top. For this look, try working with complimentary colors to add geometric or floral patterns.
Decorating candles is also possible by either adding elements that have already been formed from other kinds of decorative waxes – such as flowers, stars, leaves, butterflies etc., which can create an interesting layered effect. Embossed designs on the surface of the candle through using texture tools is another way to customize candles. Finally, glitter and dry spices add reflective qualities that will bring out any strong colors.
Making candles from old crayons adds a unique creative touch to spruce up any home decorating project. Whether you choose to keep the original shape or experiment with creative forms & designs – these projects are both simple and fun for families who love to express their personal style.
Tips & Tricks to Adjust Flame Size, Brightness & Melting Point
Paragraph 1: The size of a candle flame can be adjusted with the help of wick length and various additives like salt, vinegar, beetroot juice, etc. A longer wick will produce bigger flames while a short wick will generate smaller ones. Other than that, adding salt to wax will result in fluffy peaks and smaller flames, as the salt acts as an absorber to hold in heat.
Vinegar helps to increase the amount of heat and therefore increase flame size. Beetroot juice helps reduce smoke and increase the melting point or reduce flammability of a certain wax mixture.
Paragraph 2: Brightness depends largely on the type of wax used for the candle. Paraffin wax is preferred for making bright light candles; it has no color and minimal scent, unlike other plant-derived waxes such as beeswax which tends to produce more muted tones due to its slightly yellowish color. The intensity of any added colors can also affect how bright the candles become when lit up.
Paragraph 3: Melting point determines how fast or slow your candle melts when burning. This can be manipulated by adjusting ratios between different types of wax even if all the types are near in melting points.
When blended well together, they will interfere with each other’s melting points and create slower burning time for candles that burn longer without dripping too much. Additionally, other additives such as beeswax pellets can be added to adjust melting points further so that it produces longer-lasting yet non-drip burning effects:
- Longer Wick produces bigger flames
- Adding Salt reduces flame size
- Vinegar increases flame size
- Beetroot juice increases melting point & reduces flammability
- Paraffin Wax creates brighter colored flames
- Adjusting different types of Wax (near same melting points) affects melting point & burning time
- Beeswax pellets also manipulate melting point & resulting in non-drip effect
Conclusion
Making candles with old crayons is a great way to give new life to those old boxes of crayons you might have lying around the house. Not only is it a fun craft project, but you get to put your own personal touch and colors into the candles that you make. Plus, it’s a great way to help the environment by reusing items that would otherwise end up in the trash.
The basics of making candles with old crayons are fairly simple and don’t require too many different items. First, all of the crayons need to be unwrapped and broken into small pieces – smaller than 1/4 inch if possible. Once all of the crayon bits are ready, then they can be added to a metal or glass container along with a pre-mixed candle wax or lotion (optional).
From here, simply add your wick and place it in a water bath or double boiler for melting over low heat until all of the wax has melted and combined. While this is happening you can stir in any colorants, fragrance oils or herbs that you wish to have included in your candles too. After this step you can simply pour the liquid wax into your molds or containers before leaving it to set overnight.
With just these basic steps, anyone can get started on making their very own candle creations with some old crayons. A few tips when getting started would be to make sure not to overfill molds as this will cause wax overflow during burning.
And double check if adding any aromatic oils that they are safe for candle use before adding them into your mixture. Lastly, always burn responsibly and never leave an open flame unattended so as to ensure safety standards are adhered to at all times.
In conclusion, making candles with old crayons is an incredibly rewarding activity both because of its reuse factor but also due its creative freedom which allows individuals to create unique colors combinations and fragrances all their own. With some careful attention paid while following safety protocols such as never leaving flames unattended and correctly measuring ingredients individuals can quickly find themselves creating amazing candle creations from things like their old crayons.

Welcome to my candle making blog! In this blog, I will be sharing my tips and tricks for making candles. I will also be sharing some of my favorite recipes.


