Introduction
Christmas candles are an important part of the overall holiday experience, helping to bring a cozy and romantic atmosphere full of festive cheer. But why settle for store-bought decorations when you could make your own unique set of homemade Christmas candles? Creating your own Christmas candles is a great way to enjoy the spirit of the holidays and help you make special memories that will last for years. Whether you want to create simple candle holders out of glass or intricate designs with wax, you can use your creativity and imagination to create something totally unique and beautiful. Making Christmas candles can also be a great family activity as it allows everyone to get involved in the creative process!
What You’ll Need
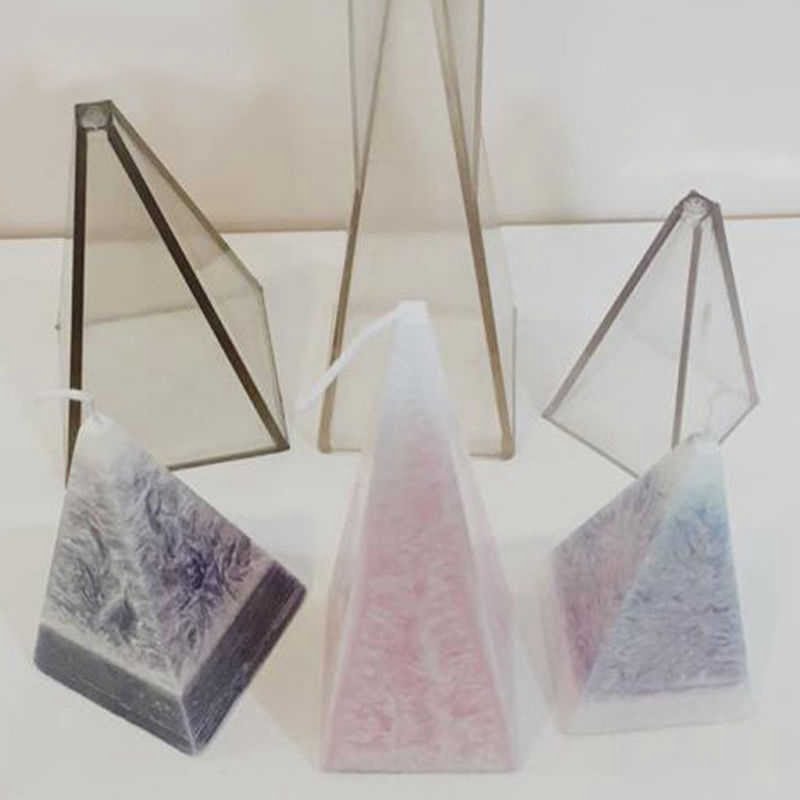
Making Christmas candles requires a number of materials to make your creation a success. First, you need to decide on the type of wax and wick you will use for your candle. Paraffin wax is inexpensive and easy to find, so it’s a popular choice for making candles. Beeswax is also an option; however, it can be difficult to find and is usually more expensive than paraffin wax. The type of wick you use will depend on the size and type of candle you wish to create – pre-braided wicks are widely available in craft stores. You’ll also need some form of heat source such as a double boiler, microwave oven or wax warmer depending on the consistency of the wax used – microwavable versions are often easier to work with as they don’t require access to a stovetop or other source of heat. Lastly, you may want some essential oils and/or scents for scenting your candles, as well as moulds if you wish to shape your candles in any way.
Safety First
When making Christmas candles, it is important to take safety precautions into account for handling hot wax and melted wax. It is also important to ensure proper ventilation of the space where you are working. Do not leave burning candles unattended at any time and keep out of reach of children and pets.
When melting wax, make sure to use a thermometer to avoid having the wax become too hot or cause a fire hazard. Be sure not to over-heat the wax, as it will increase the fire risk. Do not leave melted wax on a stove or near an open flame as this can also be hazardous. When done with melted wax, pour it into a container filled with water so that it cools down quickly and safely.
Store all materials away from the reach of children and other sources of fire or heat when they are not in use. Make sure containers used for melting wax are tightly sealed when not in use and keep them away from potential sources of heat such as radiators or ovens. Keep all flammable liquids such as fuel away from your workspace at all times
Making a Successful Christmas Candle
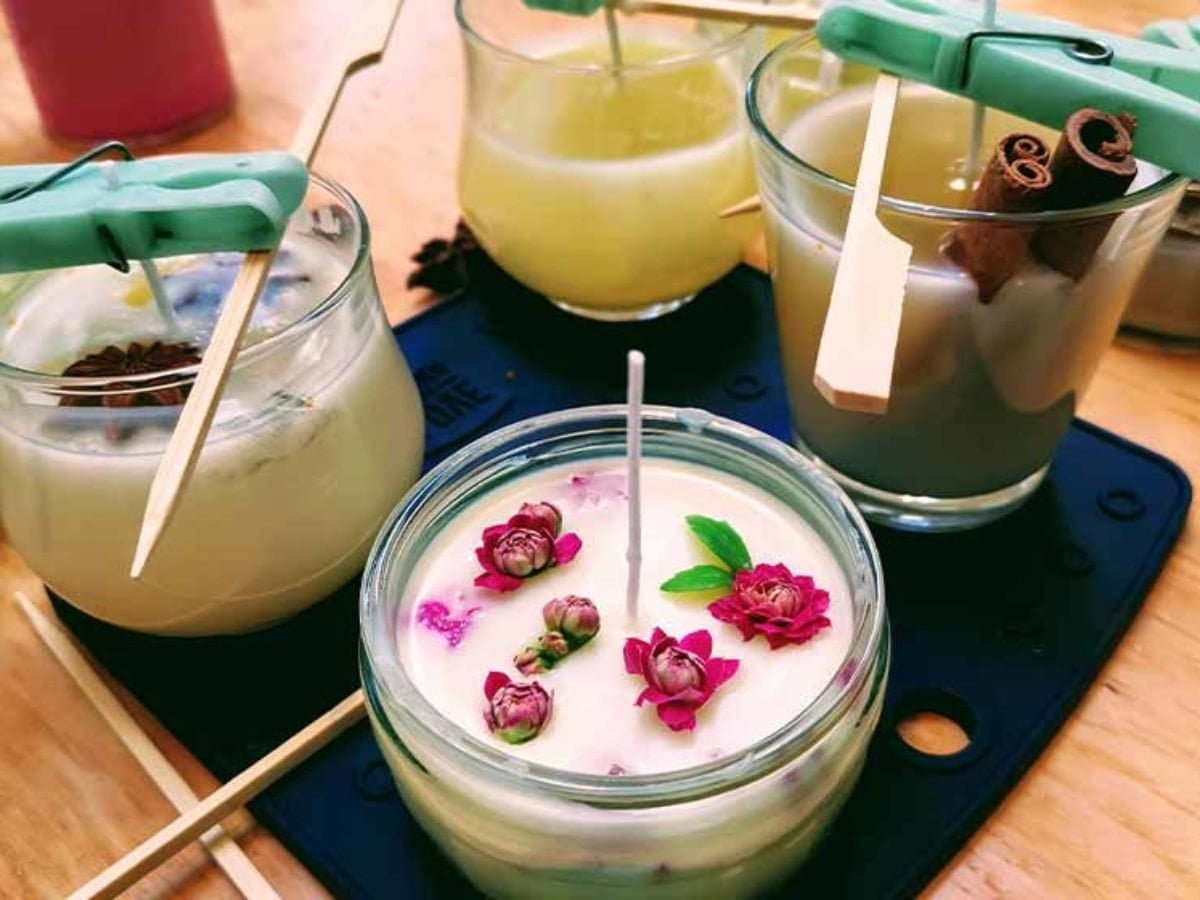
Step 1: Gather Materials – To make a Christmas candle you will need wax, a double boiler or microwave-safe bowl, wick, essential oils (if desired), measuring cups and spoons, mold, thermometer and mixing spoon.
Step 2: Melt Wax – Place wax into the top of the double boiler with heat on low-medium. Stir frequently until all wax chunks have melted completely. If melting wax in the microwave, set it to medium-low power and stir every 30 seconds until completely melted. Monitor temperature as it should not exceed 200F as this could cause fire or explosion.
Step 3: Add Scent – Once the wax has been melted to 165F add Essential Oils for scent if desired using mixed ratios of 5 to 8 drops of Essential Oil per 5 minutes of melting wax. Stir continuously to disperse evenly throughout pouring batch.
Step 4: Pour Candle – Assemble prepped mold with insert such as wood embossing tool or prime wick already placed in mold with wick clip before you start pouring your candle batch. For ease of use pour slowly at a consistent rate while continuing to stir slowly. Aim for a height just below edge of mold box lip. Allow poured candle to cool before handling which may take between 10 minutes & 3 hours depending on volume size and temperature outside of the room environment at time of pour.
Step 5: Cut Wick – After cooling trim the dry harden candle encased in mold by cutting off excess used for holding up center wick with scissors leaving enough gap from wall that it does not leave imprint nor so much that it will dip into snuffed flame after lit allowing oxygen flow but reducing evaporation release from unlít candle . You can test cut length by lighting one end side diagonally lining up the middle stem wick straightly presenting an even heat release when burning too.
Step 6: Unmold Candle – Remove molds gently by warming casing with hands over each side several times before pulling apart sides evenly apart showing hardened cooled candle released within moId cavity container inside now standing erectly ready for decorative wrapping or presentation gifts offering pleasantly scented gift ideas throughout holidays season greetings!
Adding Decorative Elements
Making Christmas candles is an enjoyable and satisfying festive project. You can customize them to match the look of your decorations, or create unique characters with color, shapes and designs. To enhance the look of your candles, you can use items such as glitter, ribbons, dried-out fruit peels, pinecones, sequins or craft leaves.
For example, a simple column candle can be decorated with red glitter and a ribbon at the base for a festive appeal. You could also make an Autumn candle by adorning it with cut-out orange and brown leaves; twine some around the wax for an even more realistic look. To create a candle inspired by nature you could glue on small pinecones at the base of the candle and add pine needles carefully placed for texture. Lastly, to make a decorative reindeer candle collect things like buttons for eyes and ribbons for antlers; glue them onto the side of your finished product to bring it to life!
Presentation Ideas
One appealing presentation idea for handmade Christmas candles is to wrap them in a festive tissue paper and place them in decorative holiday boxes. You could make the boxes yourself with bright, wintery paper designs or purchase pre-made boxes from your local craft store. Additionally, you could add some other details like pinecone sprigs, candy cane sticks, or glittered snowflakes to add finishing touches that will really delight the recipient. When displaying them at a vendor’s market event or in your home decor, you may also want to choose some accent colors like red and green to help create a jolly atmosphere.
Wrapping Up
This blog post provided an overview of the steps necessary for making Christmas candles. The process begins with choosing the correct wax, then adding fragrance and dye. Temperature and speed must also be carefully monitored to ensure that the candles solidify properly and remain undamaged. After cooling, a wick can be added if desired. In conclusion, making Christmas candles is a gratifying activity that yields beautiful results with little effort; however, novice users should remember that temperature and speed need to be adjusted in order to get the desired effects.
For those looking to further explore candlemaking as a holiday activity, additional resources may include tutorials on crafting various types of scented soy and beeswax candles, books dedicated to candlemaking best practices, or workshops on seasonal projects such as making Snowman Tealights. Furthermore, gift baskets containing all of the materials required for creating personalized homemade candles are also available online.

Welcome to my candle making blog! In this blog, I will be sharing my tips and tricks for making candles. I will also be sharing some of my favorite recipes.

