Step One
When it comes to making cool candles, the type of wax you use will have a big impact on the end product. Generally, the most popular types of waxes used for candle-making include paraffin, soy, beeswax, and vegetable waxes.
Paraffin wax is a petroleum-based product that is widely available and affordable. It is durable, has good burning qualities and can hold scent nicely since it does not absorb fragrances into its pores. Soy wax is made from processed soybean oil and is a great choice for those looking to be more eco-friendly as it is a renewable resource. Soy wax burns cleanly with minimal soot residue and generally requires less scent than paraffin in order to achieve an ideal fragrance throw. Beeswax has been used in candles for centuries due to its desirable burning qualities and pleasant honey scent, but it can be harder to work with due to its higher melting point than other types of waxes. Vegetable waxes are composed of various plant derived oils like palm and coconut oil, which burn longer and melt slower than traditional paraffin or soy waxes. They also form stable pillars when moulded correctly and are ideal for more intricate candle designs due to their malleability.
When making cool candles it’s important to consider all these factors when choosing your type of wax; pick something that fits your vision for your project as well as your budget!
Step Two
Temperature control is an essential part of the candle making process. If the wax temperature gets too high, it can cause bubbles to form or unattractive streaks. Additionally, if it is too cold, the wax may not fill up the container properly. Furthermore, a crucial aspect of successful candle-making is achieving a smooth texture which is controlled by controlling the temperature at which wax is melted and poured into containers. It’s also important to consider that oil or scent must be added after the melting process before pouring the wax into its final shape-to ensure it mixes properly and evenly with the melted wax at just the right temperature! Temperature should be monitored constantly during candle making in order to have good results.
Step Three
When pouring the wax, ensure that you are pouring it over a heat source such as a hot plate or an electric stove. Doing this will ensure that the wax is evenly melted when you pour it into your mold. It’s important to pay attention to the temperature of the wax. If the temperature is too high when you pour it, air bubbles can form in the mold which can cause issues with your finished candle. If needed, use a thermometer to keep track of the temperature. Additionally, before pouring make sure that you have stirred the wax mixture thoroughly so no lumps form when you pour it into your mold. Lastly, it’s important to pour your wax slowly and evenly. This will help minimize air bubbles and give you a smoother finish on your candles.
Step Four
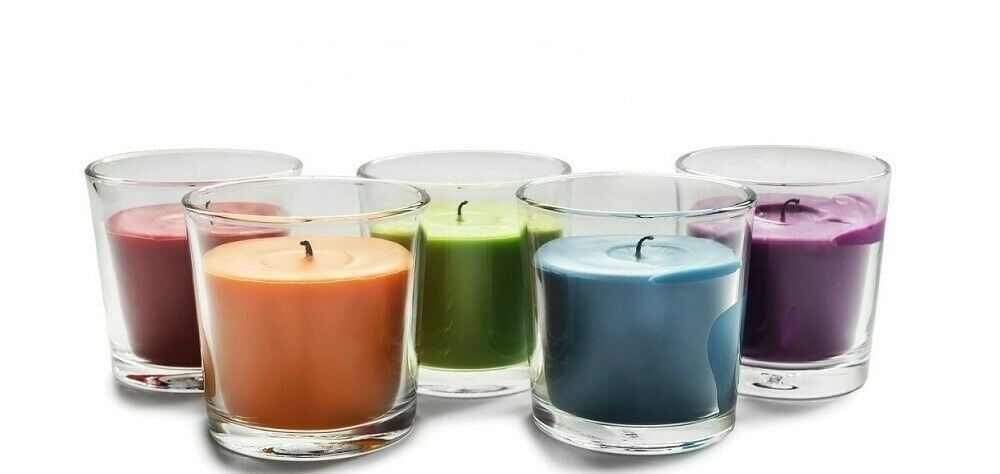
Adding color to your candle can be a great way to make it unique and even more beautiful! Depending on the type of look you are trying to achieve, there are two primary methods you can use: using naturally-derived dyes or using lab-created dyes.
Using naturally-derived dyes is a great way to add some earthy colors and aromas to your candles without having to use chemicals or additives. You can use dried herbs or flowers (such as lavender or rose petals) and spices (like turmeric, paprika, and anise) that are boiled in water before being added to your melted wax.Additionally, different fruits and vegetables can be used too. For example, blueberries could be blended with boiled water to give you a nice blue hue – just remember that boiling the ingredients for a longer period of time will result in darker colors.
Alternatively, you may choose to go the route of lab-created dye blocks that are generally easier to work with than natural options. These blocks come pre-mixed and ready for use, which makes experimenting with colors much simpler depending on the desired effect. Of course, keep in mind these generally involve more chemical processing so may not offer the same authenticity as natural alternatives if that’s what you’re after!
Step Five
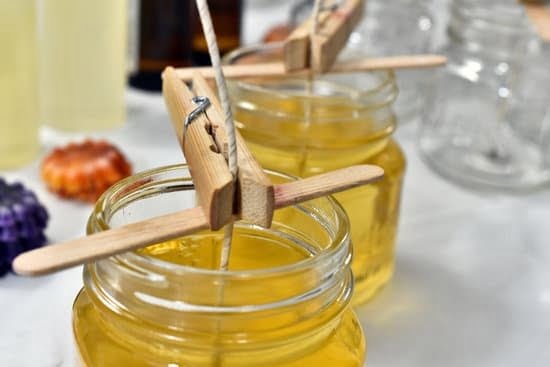
When choosing a wick for your candle, there are several things you need to take into account. Firstly, the size of your container will determine the size of wick you need. Generally, for small containers your wick should not exceed 3/16” diameter and for larger containers it can range from 1/4” up to 1/2” diameter. Secondly, it is important to look at the type of wax you are using. For example softer waxes such as soy or paraffin will require a smaller wick compared to beeswax or palm wax which need larger wicks. Thirdly, look at the amount of fragrance oil added to the candle. 10% or more fragrance oil needs a correctly sized wick.
Finally, you need to consider drinking glass candles that have a large void around the center rod and votive candles that have solid sides with minimal air flow gaps between the walls and base. For these types of candles use tested methods and formulas available from many supplier references to calculate what size and type of wicks will work best in your particular project design.
Step Six
Adding scent to your candles is a great way to customize them and make them truly your own. There are many different types of scents that you can use to add fragrance to your candles. It’s important to choose the right one for your project because if you don’t, it could lead to an unpleasant smell or even discolor your wax. Here are some different types of scents you can use:
Essential Oils – Essential oils are a popular choice for candle scents as they are natural and usually very pleasant. You can find essential oils in many aromatic stores or online and there’s usually a wide variety of scents available. When using essential oils, it’s best to use only 1-2 drops per candle, as too much may make your candle overwhelming.
Fragrance Oils – Fragrance oils are artificially created mixtures of aroma chemicals and vehicles like jojoba or coconut oil. These mixtures allow for more varied scents than essential oils, so artificial versions of food aromas such as raspberry or vanilla can be made! As these have much more concentrated fragrances, around 2 teaspoons should be used per pound of wax when making candles with these substances.
Beeswax Scents – Beeswax has its own natural sweetness that can create lovely smells if burned in the right proportions. If making all-beeswax candles, you don’t need any additional fragrances but may want to mix in some spices such as cinnamon or cardamom for extra warmth.
It’s important to do some research before picking out a scent for your candles, as certain combinations that sound appealing might not actually smell good when burned together! Some simple experiments may be needed along the way until you find the perfect balance between scent ingredients!
Step Seven
Trimming the Wick: The wick needs regular trimming in order to maintain the appropriate flame size and stability. To do this, snip off the top of the wick when it starts to become crooked or too long. Make sure to wait until the wax has completely cooled and hardened before attempting this, as hot wax can temporarily stick to scissors.
Adding Embellishments: Adding extra decorations to your candles is a great way to make them unique. Ribbons, beads, charms and other decorative items can be glued onto the outside of cooled candles using a special adhesive made for candles. Alternatively, add a few drops of essential oils or fragrance oil into melted wax before it hardens for some subtle aromatization.
Caring For Your Candles: To ensure that your candles last longer and stay looking pristine care must be taken while burning them or storing them away between uses. Keep them away from extreme temperatures, humidity, pets and children; never leave a burning candle unattended; burn one at a time when possible; always place them on a heat-resistant surface protected with an absorbent material like parchment paper; extinguish any excess smoke when done by suffocating it rather than blowing out (this helps avoid their sooty buildup).
Troubleshooting
When it comes to troubleshooting common issues with making candles, there are a few main areas of concern: cleaning up wax in the pot, fixing cracks and bubbles in your wax, and dealing with discoloration. To help clean up wax in the pot after you have finished pouring the candles, use a damp cloth or paper towel to wipe away any excess. You can also try using an old toothbrush to scrub away any remaining wax. If you notice any cracks or bubbles in the candle once it has cooled, you can either add more wax to the top of the candle or place some tape across the crack and reheat it gently until it is sealed together. Discoloration can be caused by additives such as fragrance oils or coloring dyes that may not mix properly with the wax itself. To avoid this, use only high-quality ingredients from trusted suppliers. Additionally, make sure you blend your ingredients well before adding them into the melting pot and ensure that each new ingredient is at room temperature before incorporating it into your melted wax.
Conclusion
In conclusion, making cool candles is a fun and creative activity that can be done at home with little effort. By taking the time to get the right tools and supplies, you can create unique and professional-looking candles of all sorts. In order to make your own cool candles, start by purchasing quality wax, wicks, and molds. Consider different types of fragrances to add distinctive aromas to your candles before beginning the melting process. Finally, assemble each candle by utilizing natural or decorative materials for a finished product that will last for many years. Now that you have finished learning about how to make cool candles, why not give it a try yourself? Start sourcing materials today and get creative with your designs!

Welcome to my candle making blog! In this blog, I will be sharing my tips and tricks for making candles. I will also be sharing some of my favorite recipes.


