Introduction
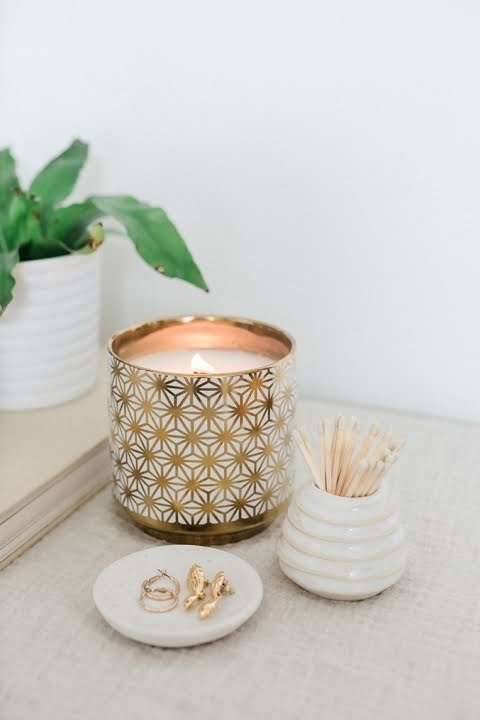
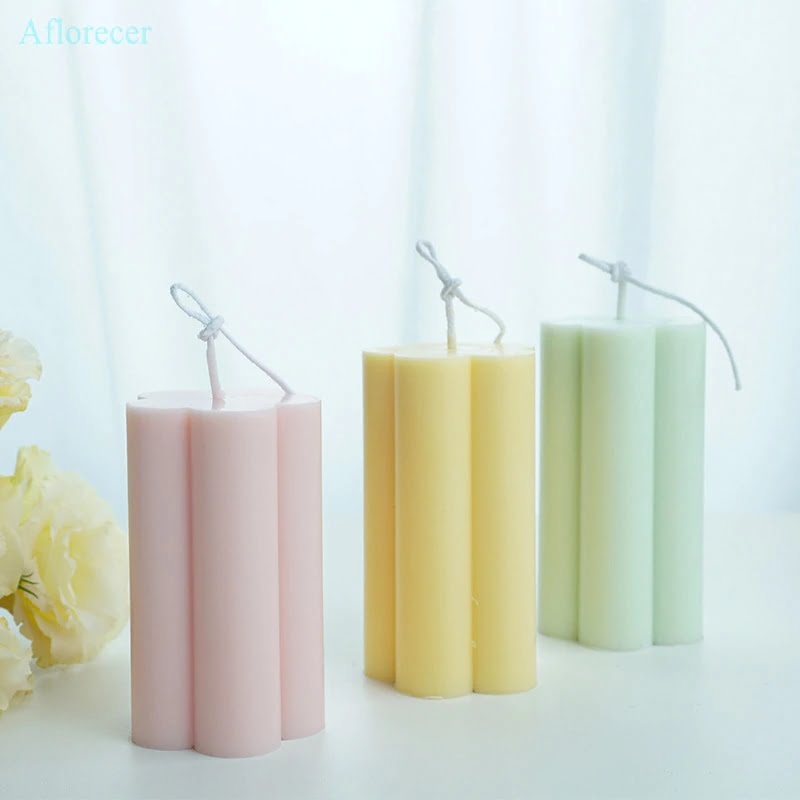
Custom candles are a wonderful and creative way to add ambiance to any room or occasion. Popular custom candles are often used for parties, weddings, holidays, religious events, or just for decoration in the home. They come in many different styles and can be customized with scents, dyes, decorations, essential oils, and more. Some popular examples of custom candles include aromatherapy candles featuring scented waxes and essential oils that help promote relaxation or romance; dye-based candles that create colorful and vibrant displays of light; poured candles featuring unique scents such as lavender or vanilla; handcrafted soy candles offering an eco-friendly option; decorative pillar candles with lovely carvings and intricate designs; and other specialty items such as DIY kits which allow customers to make their own personalized candle. Customized candles are attractive to customers because they allow individuals to tailor a product exactly to their personal needs and preferences. Furthermore, the fact that these products are often handmade gives them a unique touch unavailable elsewhere on the market.
Reasons to Make Custom Candles
Making custom candles is a wonderful way to express your creativity, craft something entirely unique and personal, and even potentially launch a small business of your own. There are many reasons that someone might have for wanting to make their own custom candles. For some people, they might find that making custom candles is a fun hobby or creative outlet where they can get creative with colors and scents. Others may want to use candle-making as the foundation for launching their own business and selling handcrafted candles at craft fairs, online stores, and other boutique suppliers. Regardless of the reason behind it, making custom candles is an exciting endeavor that yields beautiful results.
Materials Needed for Making Custom Candles
Materials Needed for Making Custom Candles:
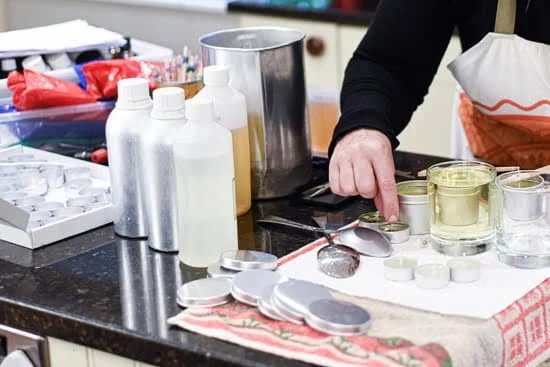
– Candle wax: There are a few different types of candle wax available including paraffin wax, soy wax, and beeswax, each with its own unique set of characteristics. It is important to select the right type of wax for the desired end result of your custom candles.
– Wax melting pot: For safely melting down the candle wax, a melting pot ensures it can be melted down evenly without having to worry about potential accidents or spills.
– Wick: The wick provides the flame needed to properly burn the candle each time it is lit up. It should be able to stand upright in the melted wax so that once you pour in the melted wax into your mold, it will stay where you need it.
– Candle dye: If desired, this allows you to pick the perfect color for your candles; however, you do need to pay attention to what type of dye works best for what type of wax as certain dyes may not work well with certain types.
– Scented oils: Adding scented oils can create a wonderful aroma when burning your custom candles. Be sure to choose high quality oils and mix them into the melted wax before pouring it into any molds or containers.
Tools Needed for Making Custom Candles:
– Double boiler or second dedicated melting pot (if not contained within the first): This makes it easier and safer when melting different types of waxes together while also removing the risk of contamination from other materials such as fragrance oils or colourer’s dyes.
– Pouring pitcher(s): Using a pitcher assists in providing an even flow when pouring any candles during production, which helps reduce imperfections in shapes or accidental clumps within individual candles created.
– Thermometer: Although some more experienced candle makers may be able to ‘eyeball’ temperatures successfully without accurate stats being provided via a thermometer; having one on hand ensures all elements remain hot enough and cool fast enough at proper intervals when creating custom designed candles, allowing for greater control during their creation process over results achieved.
Step-by-Step Guide to Making Custom Candles
Step 1: Prepare a Work Area – Place a candle-making mat, preferably made of silicone, on a flat surface that is well lit. Gather all the necessary tools and supplies to make custom candles, such as wicks, wax chips or pellets, essential oils (optional), candle dye blocks, mason jars or tins for the finished product, thermometer, double boiler or microwave safe container to melt wax with, ruler and pencil to measure and mark the wicks.
Step 2: Prepare Wicks – Cut the desired number of wick lengths using the ruler and scissors. Insert one end of each wick into its corresponding holder and place holders on the bottoms of your containers with the unburned ends facing up toward the surface of your candles. Mark off 1/2 inch intervals on each wick near its holder with a pencil. This will help you center them properly once placed inside your containers.
Step 3: Melt Wax – Set up a double-boiler if using wax chips over indirect heat; if using wax pellets skip to Step 5 if desired scent and dye have already been added during production. Gradually melt wax on low heat until it is completely liquid; check temperature often with thermometer ensuring not to go above 180 degrees Fahrenheit. Add in pre-scented oil if desired along with powdered dye blocks or other colorant solutions before pouring into containers.
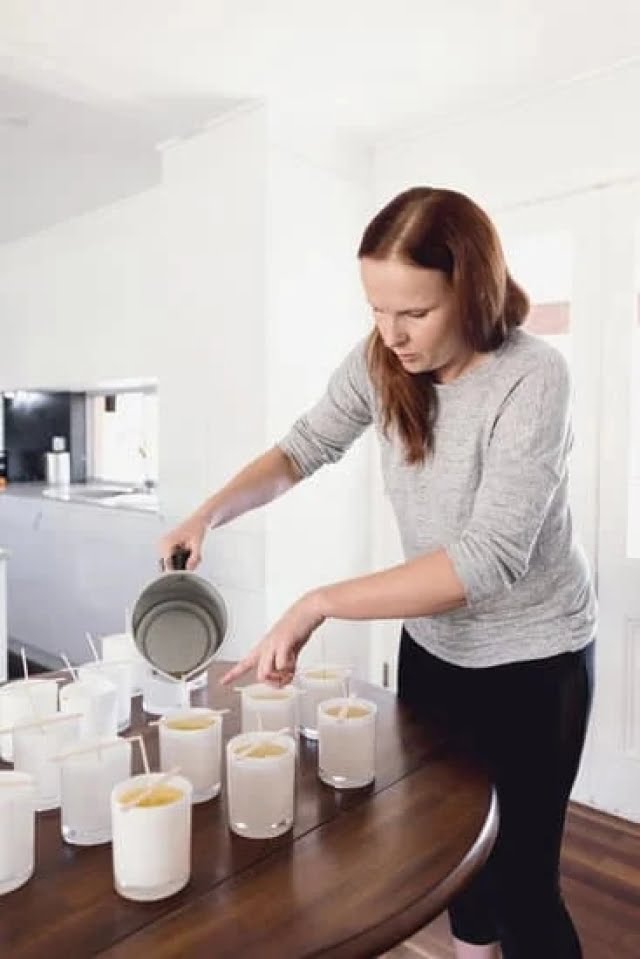
Step 4: Pour Wax – Tie off unburned ends of wicks at their new 1/2 inch markers and dip them in the liquid wax contents making sure they stay anchored within their holders at the bottom surface of each container. Carefully pour melted wax into containers until full but leaving 1/4 inch from top to allow for an even surface after cooling down. Using a craft tool submerge each wick ensuring there are no air bubbles near base and that it remains centered when finished pouring entire batch.
head 5 Step 5: Cool Down & Trim Wick – Allow candles 30-60 minutes before they become cool and harden up completely around edges while staying slightly soft in middle still. If needed use craft tools to prevent any ripples forming around edges while they solidify fully; if successful candles should show smooth surfaces upon completion evenly along sides of jar or metal tin used. Remove excess amount of length on burned ends by cutting it close to surface level with scissors when cool enough without touching actual flame area of wick itself so as not too shorten lifespan noticeably during burn time process later on down road in order for final product success every time getting creative customizing options beyond just basics against multiple competitors online .
Benefits of Making Custom Candles
Custom candles allow individuals to get creative and express themselves through the design and fragrances they choose. Whether a candle is made of wax or soy, each one can be hand-poured with custom dyes and fragrances, adding a personal touch to each candle. In doing so, a custom candle can add value to any product or craft — not just for the stunning smells it will bring but also for its stylish appearance. Aside from being aesthetically appealing, custom candles are a great way to give gifts that have the recipient’s favourite scent, making them feel special. The gift of customized candles helps to mark special occasions such as anniversaries and birthdays, by putting in thought and effort into them. People can also use custom candles in their home decorating too — turning any room into an oasis of beautiful scents. Through dyes and fragrances, one has the limitless opportunity to design their own unique candle creation that can never really be replicated elsewhere. Essentially, creating custom candles allow individuals to scream originality through art.
Tips and Tricks for Making Custom Candles
1. First, select the type of candle you want to make and choose the materials that best suit your project, such as wax, wicks, dyes, and scents. Use non-toxic fragrance oils for a longer scent life.
2. Prepare your workspace by gathering all necessary tools like a double boiler, thermometers, measuring cups and spoons, candle molds or containers to hold the molten wax. Place these items on a flat surface covered with newspapers or an old cloth to prevent any spills or messes.
3. Using the double boiler, heat wax until it reaches its melting point. Once melted, add dye then stir slowly and continuously to avoid bubbles forming in your custom candles.
4. Now pour the hot liquid wax into prepared molds or containers then insert wicks in an upright position along the center of each vessel so they remain steady throughout cooling process. Make sure wick is centered and also trim them by about 1/4 inch at this stage so you can achieve even burning and avoid smokey flames for when your candles are lit up later on.
5. Lastly leave your candles aside for few hours until they harden completely then enjoy lighting up a unique creation of yours!
Conclusion
Making custom candles can provide numerous benefits. Firstly, it allows for creative expression and personalization. With custom candles, you can get creative with your designs and fragrances to create a personalized candle that reflects you or a special person in your life.
Secondly, it creates an opportunity to save money. By making the candles yourself, you can reduce costs significantly since you don’t have to buy the expensive pre-made candles from stores. You also won’t have to worry about shipping fees and other additional costs associated with ordering online.
Finally, making custom candles is an enjoyable and relaxing activity. Making them yourself allows you to take advantage of the therapeutic nature of crafting, as well as to enjoy the pleasant scent of the candle during the process! Plus, seeing how your hard work has turned into a beautiful candle makes for a rewarding experience – one that will leave you wanting to make more of them!

Welcome to my candle making blog! In this blog, I will be sharing my tips and tricks for making candles. I will also be sharing some of my favorite recipes.


