Introduction
Candle making is the process of creating decorative and scented candles using natural ingredients like wax, wick, oils and dyes. Bee’s wax is a popular choice for candle makers due to its easy release properties, natural scent, and rich golden color. Beeswax candles are known to be long-lasting, clean burning, and even offer aromatherapeutic benefits when combined with fragrant oils added during the dipping process. Additionally, beeswax has been shown to help filter the air of pollutants and reduce allergens in a given space. All in all, beeswax makes a great staple material for any candle maker.
Overview and History of Beeswax Candle Making
Beeswax candle making has been a popular craft for centuries. Wax from beehives was first used to light the home in China as far back as 300 BC, and beeswax candles have been found in ancient Egyptian tombs dating back to around 2420 BC. In 1400 AD England, beeswax was a prized commodity, with payment made taxes paid with it, while in colonial America they were very popular in homes all over the country. Throughout history, the production of beeswax candles has been an art form and one that is still enjoyed today.
The art of making dipped candles with beeswax has remained almost unchanged over the years. Beeswax is melted and then wicks are slowly dipped into the wax multiple times, letting it dry between coats until eventually you’re left with a candle of desired thickness. It’s an easy and therapeutic craft that produces some beautiful handmade candles that can be scented or dyed to add your own personal touch. And perhaps best of all, these homemade candles burn much cleaner than those made from paraffin wax making them much more eco-friendly!
Modern day honeybees (Apis Mellifera) produce approximately 65-million pounds of wax annually which makes up about 3 percent of their total product volume worldwide (others being royal jelly and propolis). The major sources of natural beeswax come mainly from Austrailia, Europe and Asia and forms what is known as “blended wax” when mixed together so there are no issues with colour or consistency throughout processing. The modern colour of white or ivory comes from bleaching naturally occurring yellow or brown shades which is most often done using hydrogen peroxide or ultraviolet light due to its lack of impact on essential oils used during scenting processes unlike changes through formulated chemical treatments like chlorine dioxide bleach. Since beeswax becomes brittle at cooler temperatures, professional candlers try to keep their working environment at temperatures above 20 °C during processing for greater flexibility and durability in their final product.
Gather the Necessary Supplies and Prepare the Work Area
Before making dipped candles with beeswax, it is important to gather all of the necessary supplies and prepare your work area. You will need 100 percent pure beeswax (available at most craft stores), 100 percent cotton string or cord for the wicks, a double boiler, scented oils (optional) for scenting the candles, wax coloring dye (optional) to color the candles, and some sort of holder that can fit the wick-ends (ex. clothespins). Make sure you have an area with good ventilation as working with wax can get smoky. Have a few pieces of parchment paper handy to protect your workspace while you’re dipping. Finally, be sure to keep any flammable materials away from your work station as melted wax is highly flammable!
Step-By-Step Tutorial
1. Place the beeswax in an old saucepan or double boiler and melt over a low heat. During this melting process, stir with a spoon to help the wax melt evenly. Make sure that no water enters the mixture as it can cause the melted liquid to become brittle and break apart when it cools.
2. Once the consistency of the beeswax has been achieved, add any desired scents, such as essential oils or fragrances. Stir well until everything is fully incorporated into the wax.
3. Gather your supplies for making candles such as cotton wick, scissors and candle holders. Cut the wick so that it is approximately 1/2 inch shorter than the height of your holders and use tape to secure one end of each wick to their respective holder base. It’s important to ensure that each wick stays centered throughout this step; be sure to do so carefully!
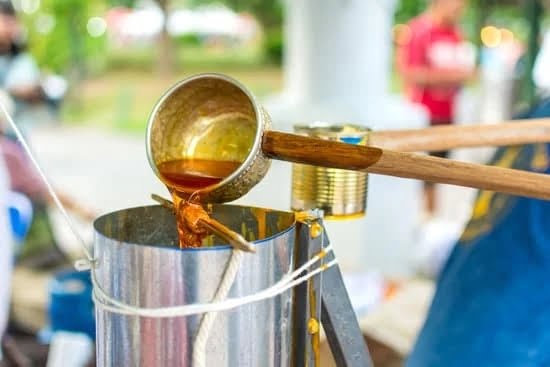
4 .Using a ladle, pour small amounts of molten beeswax into each candle holder around the bottom edges of where you’ll place your wicks. Allow this layer of wax to harden before pouring more onto it ” you’ll want at least two layers here for stability purposes once all is said and done!
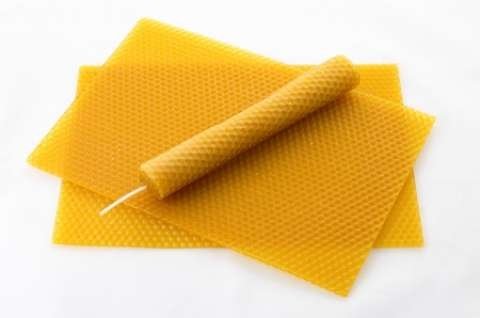
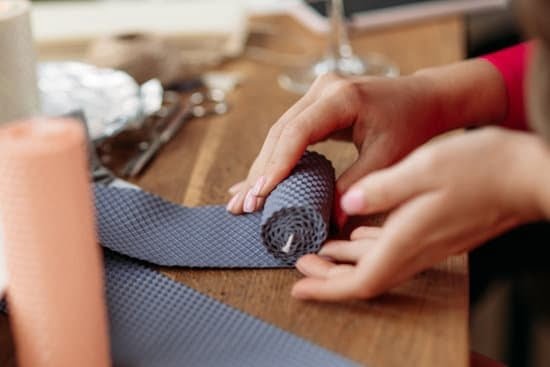
5 .For larger drip-style candles, roll out long ropes of cooled wax while they’re still pliable between two pieces parchment paper or on another nonstick surface ” then prep each rope by attaching one end in place with melted wax onto a designated holder prior to dipping! This will be the starting point right before you begin dipping them downwards into molten beeswax mixture repeatedly until desired look is achieved”you may need up to several dips since thickness will increase with each session done!
6 .Once complete, allow your finished candles some time (at least 24 hours) for total hardening before display or gifting”just make sure none are disturbed during this period for best results!
Enhancing Your Candles
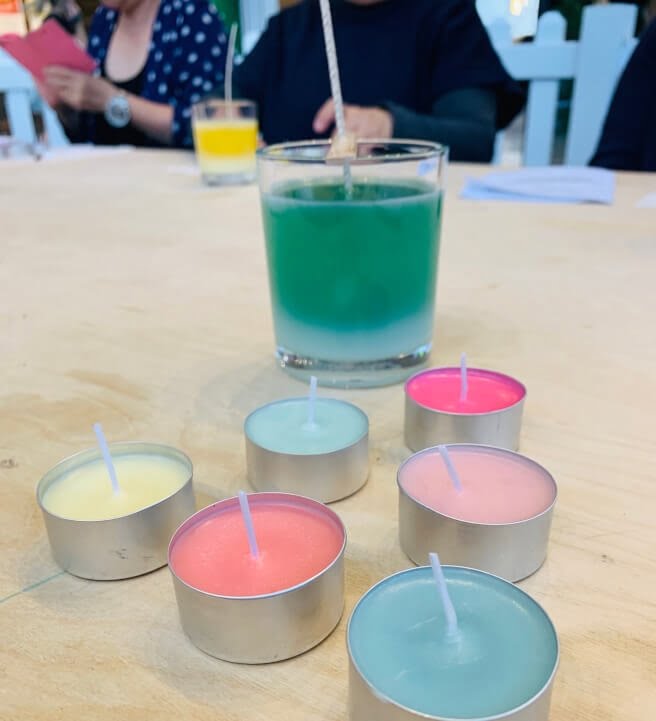
Making dipped beeswax candles has long been prized for their all-natural and organic appeal. Beeswax is a very versatile wax and offers beautiful golden hues when melted in its natural form or various colors when you mix it with high quality candle dyes. To make your candles even more special, you can add scents with high quality candle fragrances. These come in a variety of options and family friendly scents that range from light floral to robust earthy aromas. When scenting your candles, try to opt for fragrance oils as they are oil-soluble which helps ensure that the scent will hold up through the entirety of the burn time between each dip.
You can also decorate your dipped beeswax candles with things like mica powders, sand, star anise, and bows for added appeal. Mica powder gives a shimmery effect to the finished look of your candles while sand adds texture to provide interesting highlights when lit. Star anise adds visual texture but no scent as its properties dissipate during the melting process yet still provide an attractive contrast to other aesthetics. Ribbons are also great fun! Whether color coordinated with seasonal themes or simply added for decorative flair, ribbons offer a festive touch that’s sure to stand out on display or give as gifts! All of these embellishments help make your candle gift special and unique while still retaining the classic pillar style – perfect for any occasion!
Expert Tips on Achieving Professional Quality Dipped Candles
Making dipped candles with beeswax is a fun and creative activity that can transform ordinary wax into beautiful, individual works of art. There’s something special about the warm, natural aroma of beeswax; it looks and smells like nothing else. Crafting your own dipped candles is an inexpensive and highly rewarding hobby, but obtaining professional quality results may require some practice. Here are some helpful tips on how to get started:
First and foremost, start with high quality materials. Purchase pure beeswax pellets or blocks, wick cord specifically designed for candlemaking, and molds that fit your desired shape. You will also need several containers for melting wax and dipping the candles. Keep in mind that choosing the wrong type of wick or mold can produce unsatisfactory results so select materials with care.
Before you proceed with actually creating your candles, practice the dipping technique by making samples on scrap paper or parchment paper. This will help you understand the process of layering wax in order to build up a good thickness on the ends before patiently waiting for each layer to cool before dipping again. Achieving an evenness in candle size and shape requires patience and skill”make sure to practice until you become comfortable with the process before moving onto larger projects!
Finally, ensure adequate ventilation when handling raw beeswax as certain toxins can be inhaled if it is heated at too high of a temperature (think 300°F or greater). Be mindful of open flames as well when using an open source heat source such as a hot plate or chafing dish burner”it’s always wise to have an extinguisher on hand when working near any kind of fire! With the right materials, tools, techniques and safety measures in place you should be well equipped to make beautiful dipped candle masterpieces!
Safe Burning and Proper Care of Your Candles
Once you have created your beautiful and unique dipped candles using beeswax, the wick should be trimmed regularly to encourage proper burning. When lit, make sure the flame never touches the wax or holders of neighboring candles; this could cause dripping and a fire hazard. If your candle begins to drip excessively, blow it out and allow it to cool down before trimming back the wick. To prolong the burning time of your beeswax candle maintain an upright position during use, as laying it flat can cause it to burn unevenly.
When you have finished with your candle for the night, blow out the flame and wait for any smoke or melted wax on top of the wick to harden before extinguishing it completely. Additionally, ensure that your beeswax candle is burning away from any potential hazards such as drafts or flammable objects. Regularly check for warping as this may be an indicator that too much heat is being released from the flame which could potentially lead to a dangerous situation. With proper care and maintenance of your dipped beeswax candles they should last up to several hours without issue!
Helpful Resources and Concluding Thoughts
Making dipped candles with beeswax is an easy and enjoyable way to get creative while producing a sustainable, healthy, and safe light source. To create this type of candle you will need pure beeswax, wicks, scissors or a wick-clamp holder (available at candle stores), and a double boiler for melting the wax. There are several different techniques for dipping the wax onto the wick such as single or multiple dip, spiral twisting the wick for multiple burn points and so on. The best technique to use depends on preference and results desired.
Once the materials are assembled it is time to go through a few safety precautions when dealing with hot wax. Always wear protective clothing such as an apron or long sleeves. Place newspaper under the area where you’ll be pouring the wax and make sure there is enough room between both ends of your wicking material so they won’t get too close while heating. As far as acquiring beeswax, local beekeepers may be an excellent resource since they can provide reasonably priced raw wax that has not been bleached or filtered in any way thus preserving its natural qualities. Candle-making websites feature a myriad of helpful resources and guides related to every step of creating your own unique dipped candle from start to finish”such as types of wicking materials best suited for your project and estimating size of materials used”that may prove invaluable when undertaking this craft.
In conclusion, making dipped candles with beeswax can be extremely satisfying activity regardless if you’re new to working with wax or have years of experience under your belt! Not only do you get to connect with nature by using locally sourced bee products but you also produce something that is more environmentally friendly than conventional form paraffin based candles. Having done our research we’re confident these beautiful luminaries make perfect additions to any home decor; especially during those much needed relaxing moments spent curled up with a good book!

Welcome to my candle making blog! In this blog, I will be sharing my tips and tricks for making candles. I will also be sharing some of my favorite recipes.

