Introduction
Drip candles come in a variety of different styles and colors. You can find them in classic tapers, thrown down pillars, or rounded globes. Some are scented while others have no smell at all. Some candles even come with a textured outer layer that create interesting patterns when the wax drips down. Depending on the type of candle you purchase, you may also be able to customize the color and various elements like a wooden wick or scented additives.
Benefits of Making Your Own Drip Candles
One of the main benefits of making your own drip candles is cost. Store-bought candles can be quite expensive, however making your own allows you to control both the ingredients and cost. When you make your own drip candles, you can choose which wax or oil to use, along with an array of fragrances and dyes to achieve the perfect candle for a fraction of store bought prices. You can also customize them with unique holders or glitters to fit any space in your home. Finally, by making your own drip candles, you can ensure that they are made out of natural materials such as beeswax or essential oils free from any harmful chemicals that many store-bought candles contain.
Gathering Supplies
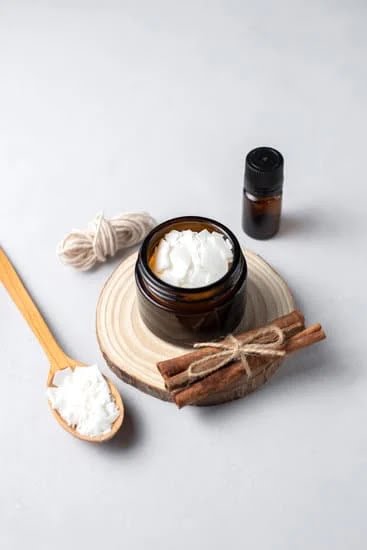
When making your own drip candles, it’s important to first gather the necessary supplies. To get started you will need:
• Paraffin wax
• Candle dye (optional)
• Wick and wick sustainer
• Double boiler with a temperature gauge
• Candle pouring pot (aluminum or stainless steel)
• Pouring pitcher or large measuring cup with spout
• Cookie sheets to set completed candles on for cooling
• Gloves that can withstand 200°F/93°C heat
• Safety glasses and face mask for protection from hot wax splatters
• Thermometer to measure ambient air temperature
Getting Started
Before beginning to make drip candles, it’s important to properly prepare your work space. First, make sure that you lay out the necessary materials: wax, wicks, wick stickers, pencils or chopsticks, double boiler and thermometer. Next, select an area with good ventilation to avoid smoke inhalation and sources of heat or open flame. Cover the area with a cloth or an old tablecloth as wax can easily spill and damage surfaces. Finally organize all of your supplies so that everything is easily within reach as you work. Once you have done this you are ready to begin making drip candles.
The Melting Process
1. Begin by preparing your workspace: wear safety goggles and create a safe spot where you can melt the wax by clearing away any flammable objects. Next, determine how many candles you want to make.
2. Place a metal pot over indirect heat, such as a double boiler to avoid scorching the wax.
3. Cut up high-grade paraffin wax into one-inch cubes and slowly add them to the pot until it is three-quarters full. Put on an oven mitt before handling the metal container, as it will become hot when melting the wax.
4. Turn on medium heat for about 20 minutes and wait for all of the cubes to liquefy into a clear liquid. Once melted, turn off the heat and use an oven mitt to lift and move the pot from indirect heat.
5. If desired, add pre-measured colorant or fragrance oils, stirring it for 2 minutes using a wooden spoon on low heat yet avoiding boiling temperatures that would evaporate ingredients such as essential oils used in making scented candles.
6. Use tongs or heat resistant gloves and pour liquefied wax carefully into pouring containers – an easy variation of measuring each candle is purchasing already prepped containers made specifically for drip candles so everything is sized similarly which helps with even burning time down the line – while maintaining consistent temperatures throughout 80-95°F (27-35°C).
Adding the Wick
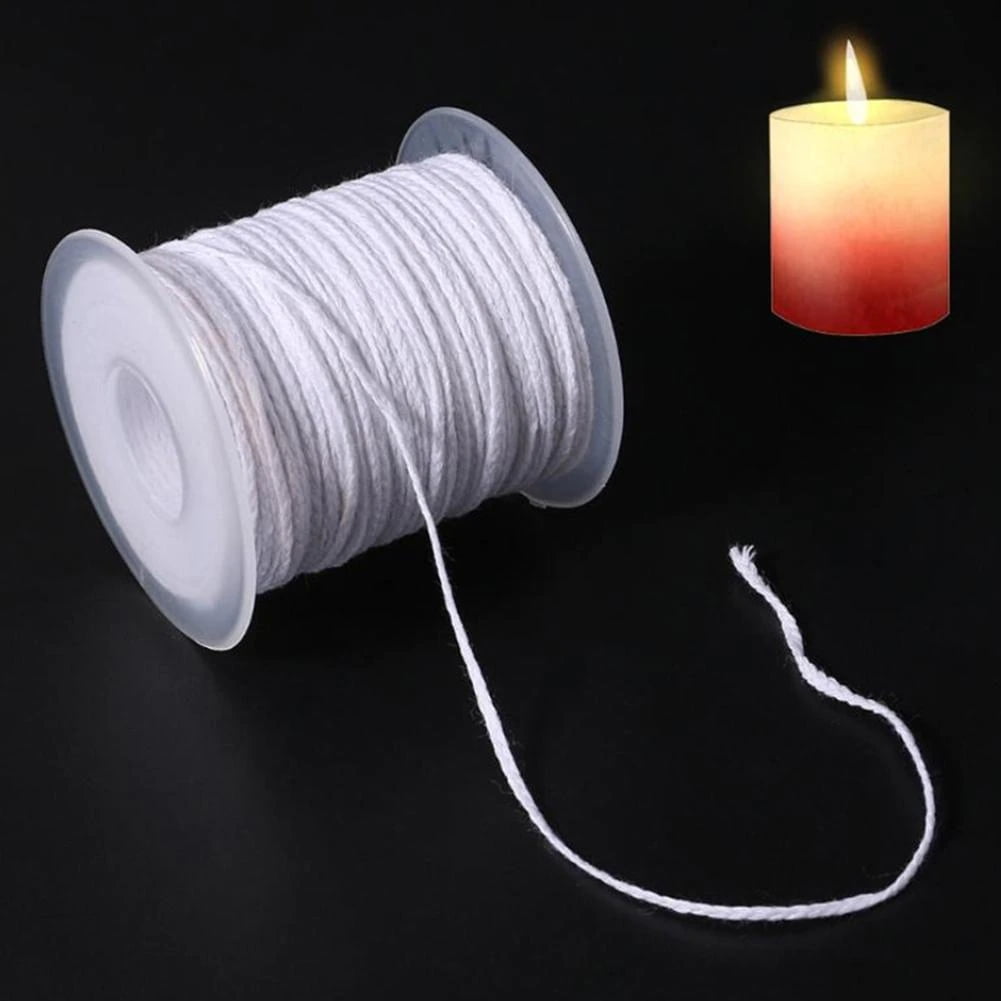
To attach the wick, cut it to your desired length and then submerge it into a container of warm water for about 10 seconds. Remove the wick from the container and wrap it around a pencil twice, pressing each wrap so that the wick is secured onto itself. Press one end of the wrapped wick firmly against the bottom of your candle mold, then carefully place the opposite end in a position that will allow it to remain stretched and centered when you pour in your melted wax. Secure with a dab of melted wax or low-temperature hot glue. Once the wick is securely attached, set something nearby — such as a chopstick or dowel — across the top of your candle mold to support the wick in place while pouring in melted wax.
The Pouring Process
When making drip candles, specific pouring techniques should be used in order to achieve the desired result. One example is using a pouring pot or ladle instead of simply pouring wax directly from the container. You fill the pot with wax and slowly pour it over your wick in a steady and consistent stream. This is especially useful for creating the classic dripped candle look. Another method for adding texture to your candles is to hold the candle at an angle and pour in a circular fashion to create circles or rings of drips. Finally, allow several minutes after pouring each layer of wax, before adding another layer of wax. This way, each layer will have time to cool and become firmer before pouring on more wax, thereby avoiding any pooling between layers
Troubleshooting Common Issues
Issue: Wax separation: Solution: Separation occurs due to improper heating and cooling. Try waiting until the wax is completely melted before pouring. Make sure that you are using a double boiler system, and heat evenly. Be patient, as separating wax will not simply re-heat itself together.
Issue: Uneven burning: Solution: To fix uneven burning, make sure that wicks of the same size have been used throughout the batch. If one pillar is slightly taller than another or a jar candle burns one side faster than the other, switch out your wicks for ones of a higher melting point if you are doing paraffin or soy candles.
Issue: Poor scent throw/cold scent throw Solution: This can be fixed by adding more scent oil than what is suggested from the manufacturer’s directions. A stronger scent must also be used and it can be beneficial to use more than one type of oil to create a unique blend that will help increase longevity in the oil’s aroma throw contribution.
Adding the Final Touches
Once the wax has melted, add different embellishments to personalize and customize your candles. One way to do this is with a feature layer. This is a thin layer of wax containing extra colorants or scents which can be poured over the top of the main bulk wax before it cools and sets. It doesn’t need to be anything fancy – even tiny pieces of dried flowers pressed into the surface work well as a feature layer. Alternatively, you could use ground-up herbs and spices, glitter, or even a sprinkle of edible flower petals! If you choose something edible (like rose petals), make sure not to eat them afterward – they won’t taste very nice!
Finally, you can use decorations like ribbons or twine around your candles for a touch of personality. You can add intricate or simple designs – it’s up to you! A few examples could include painting on the dripping wax with a thin brush; wrapping various colored strings around the entire candle for added texture; and using melted synthetic dye chips to swirl in between layers after pouring each one . Let your imagination run wild when choosing how you want your drip candles to look!
Taking Care of Your Drip Candles
When storing and packaging your drip candles, it is important to keep them away from heat and direct sunlight. For long-term storage, wrap them in plastic wrap or place inside an airtight jar. If you are not using a jar, make sure the lid provides enough of an airtight seal to prevent the wax from melting.
When packaging drip candles for friends or family, use sturdy materials like cellophane or gift bags. Place each candle separately in an individual bag so that they don’t rub together and cause any damage. You may also want to put wax paper between the candles as an extra precaution. To secure the bags, you can use twine, ribbon, or string that matches the theme of your candle collection. Finally, include some words of encouragement and instructions on how to properly light and burn your candles for safety purposes.
Conclusion
Making drip candles is a fun and creative activity. To make your own drip candle, you will need paraffin wax, wicks, a double boiler, and some form of coloring or scenting. Once you have all the materials you need, you can begin by melting the wax in the double boiler. After the wax has melted, you can add color and scent to personalize your candle. Make sure to leave a few inches at the top of the container for when you insert the wick. When done correctly, your handmade drip candle should last for several hours when burning. With some practice, anyone can master making their own homemade dripped candles.

Welcome to my candle making blog! In this blog, I will be sharing my tips and tricks for making candles. I will also be sharing some of my favorite recipes.

