Hand dipped candles have a long history dating back centuries, where they were primarily made by hand for practical lighting purposes. Today, these traditional candles have seen a resurgence in popularity due to their charming aesthetic and the satisfaction of creating something with your own hands. Making hand dipped candles allows you to customize the color, scent, and size of your candles, making each one unique and personal.
The process of making hand dipped candles is a fulfilling craft that requires just a few specific materials to get started. From selecting the right type of wax to choosing the correct wick size and adding in fragrance oils or dyes, each step plays a crucial role in creating beautiful hand dipped candles.
Whether you are a beginner looking to try your hand at candle making or an experienced crafter seeking new ideas, this guide will provide you with the necessary information to create your own hand dipped candles.
In this detailed article, we will explore the step-by-step instructions for making hand dipped candles, from melting the wax to dipping and cooling. We will also delve into important considerations such as choosing the right wick size for optimal burn time, adding color and scent using natural dyes and essential oils, troubleshooting common issues that may arise during the process, creative variations for customization, and safety tips to ensure a safe and enjoyable candle making experience.
Let’s dive into this timeless craft of making hand dipped candles together.
Materials Needed
When it comes to making hand dipped candles, having the right materials is essential to ensure a successful and enjoyable candle making experience. Here is a detailed list of the specific supplies required to make hand dipped candles:
Types of Wax
The first and most crucial material needed for making hand dipped candles is wax. There are various types of wax available for candle making, including paraffin wax, soy wax, beeswax, and palm wax. Each type of wax has its own unique characteristics, such as burn time and scent throw. Be sure to choose the type of wax that best suits your preferences and needs.
Wicks
In addition to wax, wicks are another essential component for hand dipping candles. Wicks come in different sizes and materials, such as cotton or wood. Selecting the right wick size is crucial as it directly affects the burn time and quality of your candles. Make sure to choose a wick that is appropriate for the diameter of your candles to ensure an even burn.
Dyes and Fragrance Oils
To add color and scent to your hand dipped candles, you will need dyes and fragrance oils. Dyes can be in liquid or solid form, allowing you to create a wide range of colors for your candles. Similarly, fragrance oils come in various scents like lavender, vanilla, or citrus, giving you the freedom to customize the aroma of your candles. Be mindful of using high-quality dyes and fragrance oils that are safe for candle making to achieve desired results.
By gathering these essential materials – wax, wicks, dyes, and fragrance oils – you can start your journey into making hand dipped candles with confidence and creativity. Experimenting with different combinations of these supplies will allow you to craft unique and personalized candles that reflect your style and preferences.
Step-by-Step Instructions
Making hand dipped candles is a craft that has been around for centuries, dating back to early civilizations. Despite the availability of mass-produced candles, the art of hand dipping remains popular due to the unique and personal touch it adds to each candle. By following traditional methods and techniques, individuals can create beautiful hand dipped candles that make perfect gifts or home decorations.
To start making hand dipped candles, you will need some essential materials. This includes wax (such as paraffin or beeswax), wicks, a double boiler or melting pot, dye chips or liquid dye for coloring, fragrance oils for scent (optional), and a heat-resistant container for cooling the candles. It is important to gather all these supplies beforehand to ensure a smooth candle making process.
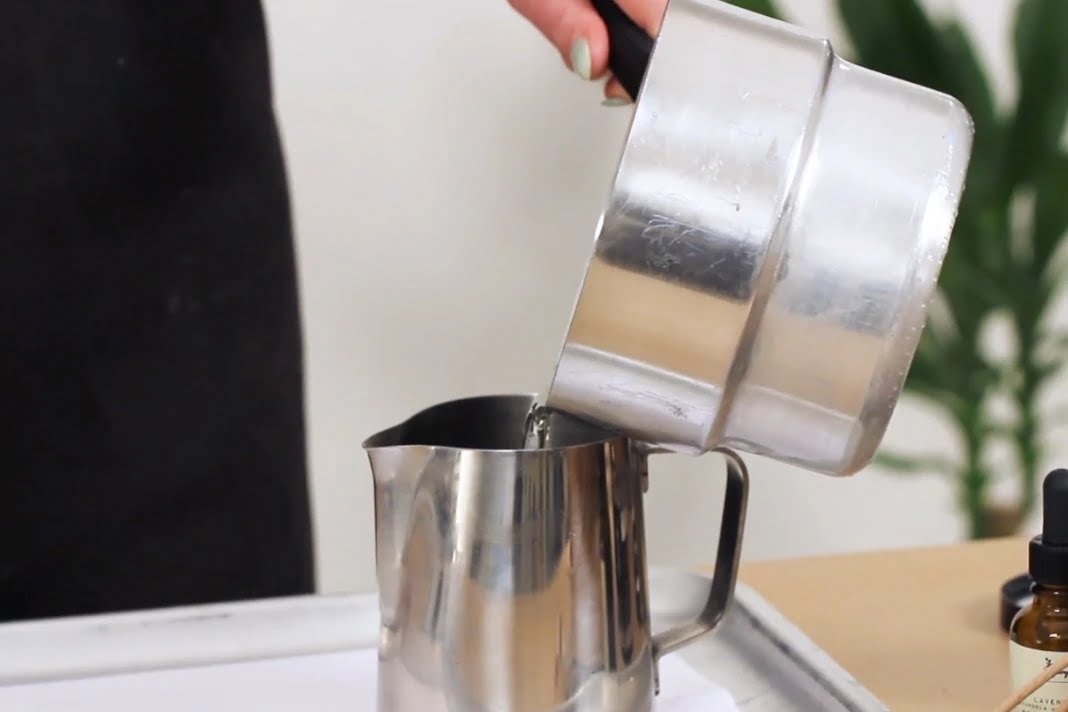
Once you have your materials ready, it’s time to begin making hand dipped candles. First, melt the wax in a double boiler over low heat until it reaches the desired temperature. Then, prime the wicks by dipping them in hot wax and allowing them to cool. Next, repeatedly dip the wicks into the melted wax, allowing them to cool and harden between each dip.
Continue this process until you achieve your desired candle thickness. Finally, trim the wick and allow the candles to fully cool before trimming them to size. Making hand dipped candles requires patience and attention to detail but results in beautifully crafted homemade candles that are sure to impress.
| Material | Description |
|---|---|
| Wax | Main material used for making hand dipped candles |
| Wicks | Used for creating the core structure of the candle |
| Dye and Fragrance Oils | For adding color and scent to the candles |
Choosing the Right Wick
When making hand dipped candles, selecting the right wick size is crucial to ensure optimal burn time and performance. The wick serves as the pathway for the melted wax to travel up to the flame, where it is then vaporized and burned.
Choosing a wick that is too small can result in tunneling, where the candle burns down the center and leaves excess wax around the edges. On the other hand, a wick that is too large may cause the candle to burn too quickly and produce excessive soot.
To determine the correct wick size for your hand dipped candles, consider factors such as the type of wax being used, the diameter of the candle, and any added fragrance or colorants. Different wicks are designed to work best with specific types of wax, so be sure to match your wick choice with your wax selection. For example, cotton wicks are commonly used for soy or beeswax candles, while wood wicks are preferred for paraffin blends.
Testing different wick sizes before committing to a final choice is recommended when making hand dipped candles. By conducting burn tests with various wicks, you can observe how each performs in terms of flame height, wax consumption, and overall burn quality. Keep detailed notes during your testing process to track which wick sizes yield the best results for your specific candle-making recipe.
| Wick Type | Recommended Candle Type |
|---|---|
| Cotton Wicks | Soy or Beeswax Candles |
| Wood Wicks | Paraffin Blends Candles |
Adding Color and Scent
When it comes to making hand dipped candles, adding color and scent can take your creations to the next level. Not only do colored and scented candles enhance the aesthetic appeal of the final product, but they also create a delightful ambiance when lit. There are various methods for incorporating color and fragrance into hand dipped candles, with natural dyes and essential oils being popular choices among crafters.
To add color to your hand dipped candles, you can use natural dyes derived from plants, fruits, or vegetables. These dyes not only infuse your candles with rich, vibrant hues but also offer a more eco-friendly alternative to synthetic colorants.
Some commonly used natural dyes include beet powder for a deep red shade, turmeric for a sunny yellow tone, and spirulina for a calming green hue. To use natural dyes effectively, simply mix them into your melted wax before dipping the candles.
In addition to adding color, scent is another key element in creating captivating hand dipped candles. Essential oils are popular choices for candle making due to their natural fragrances and therapeutic properties.
Whether you prefer the calming aroma of lavender, the invigorating scent of eucalyptus, or the warm notes of cinnamon, there is an essential oil to suit every preference. When using essential oils in your candle-making process, be sure to add them after the wax has been heated and cooled slightly to preserve their delicate aromas.
Troubleshooting Common Issues
When it comes to making hand dipped candles, there are common issues that may arise during the process. One of these issues is uneven dipping, where the layers of wax on the candle do not form smoothly and evenly.
This can be due to a variety of factors, such as temperature fluctuations in the wax or uneven pulling speed when dipping the candle. To avoid this problem, it is important to ensure that the wax is maintained at a consistent temperature and to dip the candle at a steady pace.
Another common issue that candle makers may encounter is air bubbles forming in the wax as it cools. These air bubbles can create unsightly blemishes on the surface of the candle and affect its overall appearance.
To prevent air bubbles from forming, it is essential to stir the melted wax gently and avoid overheating it, as excessive heat can trap air within the wax. Additionally, tapping the candle gently on a flat surface after each dip can help release any trapped air bubbles and promote a smoother finish.
To address these common problems during the hand-dipped candle making process, patience and practice are key. It may take some trial and error to perfect your technique and achieve flawless results. By closely monitoring factors such as wax temperature, dipping speed, and air bubble prevention, you can overcome these challenges and create beautiful hand dipped candles that burn brightly and evenly every time.
Creative Variations
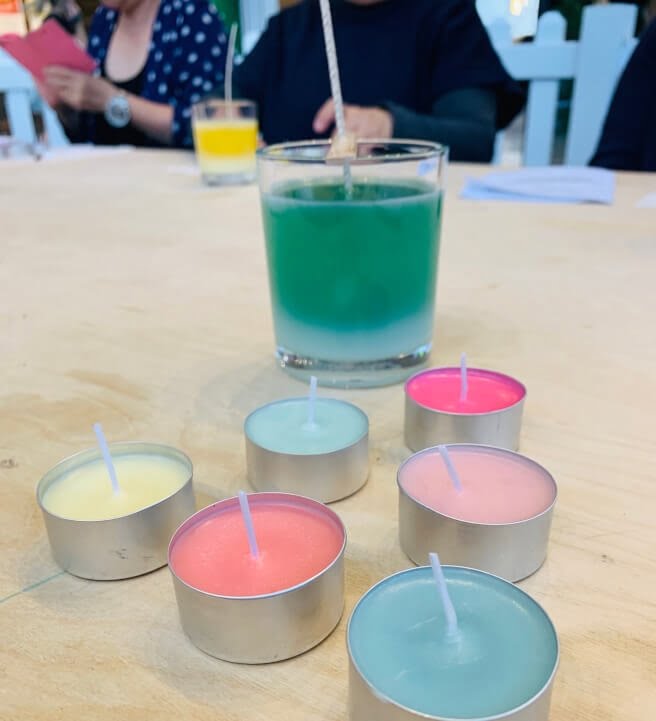
Hand dipped candles offer a unique and customizable way to add warmth and ambiance to any space. One creative idea for making hand dipped candles is to experiment with layering colors. This technique involves dipping the candle into different colored wax layers, creating a beautiful gradient effect. By carefully controlling the dipping process and allowing each layer to cool before adding the next, you can achieve stunning multi-colored candles that are sure to impress.
Incorporating botanicals into your hand dipped candles is another creative way to elevate your candle making experience. Whether you choose to embed dried flowers, herbs, or even citrus peels into your candles, adding natural elements can bring a touch of nature into your home. Not only do botanicals enhance the visual appeal of the candles, but they can also infuse them with subtle scents when combined with fragrance oils.
For those looking to take their hand dipped candle making skills to the next level, consider experimenting with different shapes and sizes. Instead of traditional straight candles, try twisting or braiding multiple wicks together before dipping them in wax for a unique look.
You can also play around with varying lengths and thickness to create candles that are truly one-of-a-kind. The possibilities are endless when it comes to customizing hand dipped candles, so don’t be afraid to get creative and let your imagination run wild.
Safety Tips
When making hand dipped candles, safety should always be a top priority to ensure a smooth and enjoyable candle-making experience. Working with hot wax and open flames can pose potential risks if proper precautions are not taken. By following some key safety tips, you can create beautiful hand dipped candles without any accidents or mishaps.
One important safety tip when making hand dipped candles is to use the appropriate protective gear, such as heat-resistant gloves and goggles, to prevent any burns or injuries. It is also crucial to work in a well-ventilated area to avoid inhaling fumes from the melting wax. Additionally, always keep a fire extinguisher nearby in case of any emergencies involving open flames.
Another key aspect of ensuring safety when making hand dipped candles is to never leave a heat source unattended while melting wax or dipping candles. Always supervise the entire process from start to finish to prevent any potential fire hazards. It is also recommended to have a clean and clutter-free workspace to minimize the risk of accidents.
Overall, by following these safety tips and being cautious throughout the candle-making process, you can enjoy creating hand dipped candles without any harm or danger. Remember that taking proper precautions not only ensures your safety but also allows you to fully embrace the creative and meditative aspects of making hand dipped candles. Stay safe, have fun, and let your creativity shine through in every handmade candle you create.
Frequently Asked Questions
How Do You Make Hand Dip Candles?
Making hand-dipped candles involves dipping a wick repeatedly into hot wax to build up layers of wax around it. The process requires patience, coordination, and attention to detail to create evenly shaped candles.
What Is the Best Wax for Hand Dipped Candles?
The best wax for hand-dipped candles is typically paraffin wax due to its low cost, availability, and ability to hold color and scent well. Beeswax is another option known for its natural and clean-burning qualities.
What Kind of Wicks for Hand Dipped Candles?
When choosing wicks for hand-dipped candles, it is important to consider the size of the candle being made. Cotton braided wicks are commonly used for their burn quality and ability to absorb wax evenly during the dipping process. It’s crucial to match the wick size with the diameter of the candle being created to ensure proper burning.

Welcome to my candle making blog! In this blog, I will be sharing my tips and tricks for making candles. I will also be sharing some of my favorite recipes.


