Are you interested in exploring the art of candle making? One essential aspect of this craft is learning how to make molds for candles. Whether you’re a beginner or experienced candle maker, understanding the process of mold-making is crucial for creating unique and customized candles. In this article, we will delve into the world of making molds for candles, from understanding different mold materials to exploring creative options for decorating and customizing your candle molds.
When it comes to making molds for candles, there are various materials to consider, such as silicone, plastic, and metal options. Each material has its own benefits and drawbacks, so it’s important to understand their differences before selecting the right one for your candle-making project.
Additionally, the size and shape of your candle molds play a significant role in the outcome of your candles. This section will guide you through the process of selecting the appropriate size and shape for your candle molds.
In the following sections, we will provide a step-by-step guide to making custom candle molds at home. We’ll also share tips and techniques for using release agents and properly preparing your molds to ensure successful candle pouring. And if you encounter any issues along the way, our troubleshooting section will help you navigate common problems in mold-making and candle pouring.
Whether you choose to make homemade or store-bought candle molds, we’ll also compare the two options to determine which is better suited for your needs. Join us as we embark on this exciting journey into the art of making molds for candles.
Understanding Different Mold Materials
When it comes to making molds for candles, one of the most important decisions you will need to make is the choice of materials for your molds. There are several options available, each with its own set of advantages and disadvantages. Understanding the different mold materials will help you choose the best option for your specific candle-making needs.
Here are some of the most common mold materials used in candle making:
- Silicone: Silicone molds are flexible and durable, making them easy to use and long-lasting. They are also resistant to heat, which makes them suitable for both hot and cold pour techniques. Additionally, silicone molds produce smooth and detailed finished candles.
- Plastic: Plastic molds are affordable and lightweight, making them a popular choice for beginners. They come in a variety of shapes and sizes, making them versatile for different candle designs. However, plastic molds can be more prone to wear and tear over time.
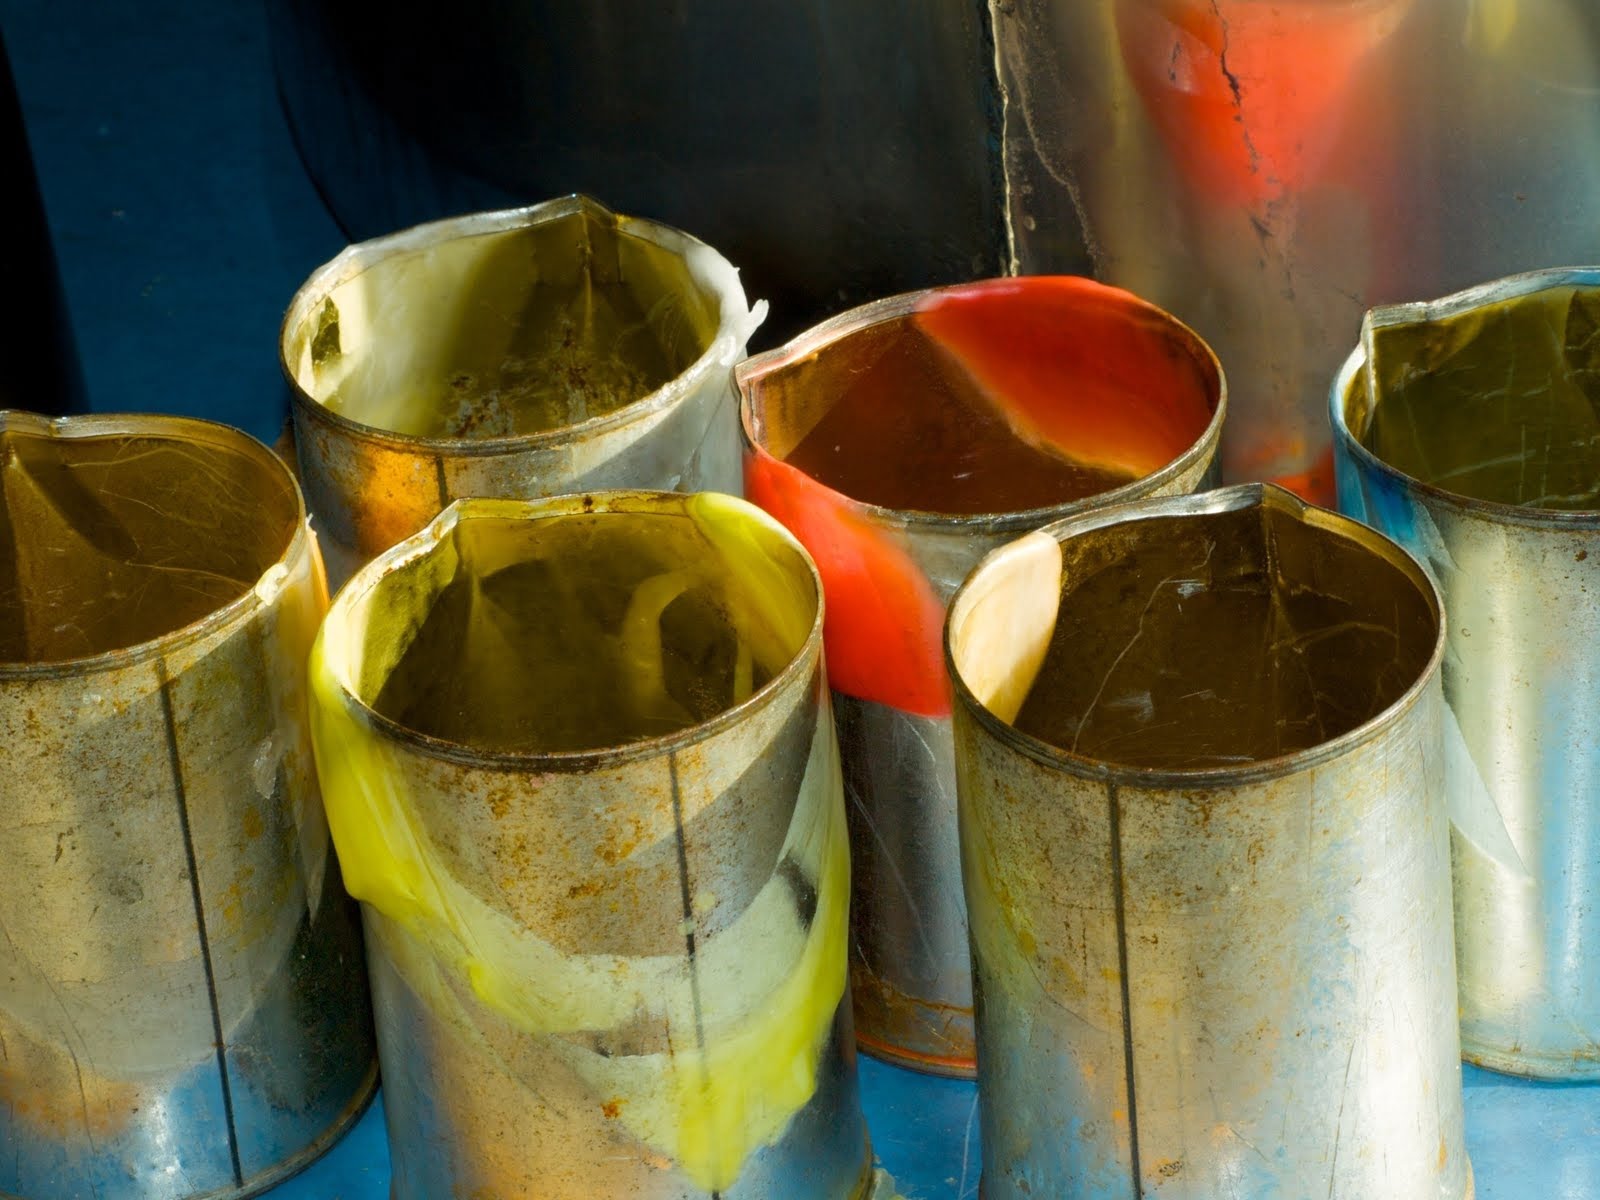
- Metal: Metal molds are known for their excellent heat conductivity, which allows for faster cooling and setting of the wax. They are also durable and can withstand repeated use without warping or bending. However, metal molds may require additional maintenance to prevent rusting.
Regardless of the material you choose for your candle molds, it is important to consider factors such as ease of use, durability, and the specific requirements of your candle-making process. Each material has its own unique features that can contribute to the success of your candle-making endeavors.
Selecting the Right Size and Shape for Your Candle Molds
When it comes to making molds for candles, selecting the right size and shape is crucial in achieving the perfect candle. The size and shape of your mold will determine the final look and dimensions of your candle, so it’s important to choose wisely.
There are a variety of options available, from classic cylindrical molds to unique shapes like hearts, stars, or even animals. Consider what type of candle you want to create and what purpose it will serve before making your decision.
The size of your mold will also play a significant role in determining the burn time of your candle. Larger molds will naturally produce larger candles with longer burn times, while smaller molds will result in smaller, quicker-burning candles. Additionally, the shape of your mold can affect how evenly and cleanly your candle burns. For example, taper candles require a specific tapered mold to ensure they burn consistently from top to bottom.
It’s also important to consider the material of your mold when selecting the right size and shape. Different materials offer different benefits – silicone molds are flexible and easy to release the finished candle from, while metal molds conduct heat well for an even burn. Take all these factors into account when choosing the right size and shape for your candle molds, as they will significantly impact the outcome of your homemade candles.
| Size & Shape Selection Tips | Mold Material Options |
|---|---|
| Consider final look and dimensions of candles | Silicone: flexible & easy release |
| Think about burn time & evenness | Plastic: affordable & lightweight |
| Purpose of candle & desired effect | Metal: conducts heat for even burn |
Step-by-Step Guide to Making Custom Candle Molds at Home
Making your own custom candle molds at home can be a fun and rewarding process. Whether you want to create unique shapes or sizes that aren’t available in stores, or you simply enjoy the satisfaction of crafting your own supplies, making molds for candles is a great way to personalize your candle-making experience.
To get started, here’s a step-by-step guide to making custom candle molds at home:
1. Choose the mold material: Decide on the material you want to use for your mold. Silicone molds are popular for their flexibility and ease of use, while plastic molds are durable and inexpensive. Metal molds can withstand high temperatures and are ideal for creating pillar candles.
2. Create the mold form: If you’re using silicone or plastic, you can easily make your own mold forms using everyday household items such as containers, cups, or even carved foam blocks. For metal molds, consider using PVC pipe or other heat-resistant materials to create the desired shape and size.
3. Prepare the mold: Once you have your mold form, it’s important to prepare it for pouring the candle wax. This may include applying a release agent such as mold release spray or vegetable oil to ensure easy removal of the finished candle.
4. Pour the wax: After preparing the mold, carefully pour your melted wax into the prepared mold form and allow it to cool and set according to the specific instructions for your chosen wax type.
By following these steps, you can create custom candle molds at home that suit your unique style and preferences, adding a personal touch to your candle-making hobby.
Tips and Techniques for Using Release Agents and Properly Preparing Your Molds
When it comes to making molds for candles, properly preparing your molds and using release agents are crucial steps to ensure successful candle making. Release agents are substances used to create a barrier between the mold and the candle wax, allowing for easy removal of the finished candle without damaging the mold.
There are several effective release agents available, including commercial options specifically designed for candle making, as well as DIY alternatives such as vegetable oil or non-stick cooking spray.
Before pouring your candle wax into the mold, it is important to properly prepare the mold to ensure a smooth and clean finish on your candle. This can involve cleaning the mold thoroughly to remove any dust or debris, as well as using release agents as mentioned earlier. Additionally, ensuring that your mold is completely dry before pouring in the wax is essential to avoid any imperfections in the finished product.
One popular technique for using release agents involves spraying or brushing a thin layer of the chosen substance onto the interior of the mold before pouring in the wax. This allows for easy removal of the hardened candle without leaving any residue behind. It’s important to follow specific instructions for each type of release agent, as some may require drying time or additional steps for optimal results.
| Release Agent | Usage Technique |
|---|---|
| Commercial Release Agent | Follow manufacturer’s instructions – usually sprayed or brushed onto mold surface |
| Vegetable Oil | Applied with a brush or cloth, ensuring even coverage |
| Non-Stick Cooking Spray | Sprayed directly onto mold, ensuring complete coverage |
Exploring Creative Options for Decorating and Customizing Your Candle Molds
When it comes to making molds for candles, the creative options for decorating and customizing your molds are endless. Whether you are looking to add a personal touch to your candle-making process or create unique and eye-catching designs, there are several techniques and materials you can use to elevate your candle molds.
Adding Color and Texture
One way to customize your candle molds is by adding color and texture. You can use a variety of coloring agents such as liquid dyes, powdered pigments, or even natural ingredients like spices or herbs to give your candles a unique look. Additionally, you can experiment with textures by adding dried flowers, glitter, or embeds into the mold before pouring the wax.
Using Different Mold Shapes
Another way to get creative with your candle molds is by experimenting with different shapes. Instead of traditional cylindrical molds, you can explore geometric shapes, animal figures, or even abstract forms. This can add visual interest to your candles and make them stand out from store-bought alternatives.
Customized Labels and Packaging
In addition to the actual mold itself, you can also customize the look of your candles through personalized labels and packaging. Consider creating custom labels with unique designs or adding decorative elements such as ribbons, tags, or stickers to enhance the overall presentation of your finished candles.
By exploring these creative options for decorating and customizing your candle molds, you can take your candle-making hobby to the next level and produce one-of-a-kind creations that reflect your personal style and preferences.
Troubleshooting Common Issues in Mold-Making and Candle Pouring
Issues With Air Bubbles in Candle Molds
Air bubbles can be a common problem when making molds for candles. These pockets of air can create imperfections in the finished candle, ruining the overall look and potentially affecting the burn quality. To prevent air bubbles, it’s important to thoroughly mix the mold-making material and pour it slowly into the mold. Additionally, gently tapping or vibrating the mold can help release any trapped air bubbles.
Overcoming Problems With Mold Release Agents
Mold release agents are crucial for easily removing your finished candles from their molds. However, using too much release agent can lead to issues such as a greasy or slippery finish on your candles.
On the other hand, not using enough release agent can result in difficulty in removing the candle from the mold. Experimenting with different types of release agents and finding the right balance for your specific mold material is key to successfully releasing your candles without any hiccups.
Troubleshooting Candle Pouring Problems
When pouring wax into your molds, there are several potential issues that might arise. Uneven pouring can lead to lopsided or misshapen candles, while overheating the wax may cause cracking or other damage to the finished product.
It’s important to carefully monitor both the temperature of the wax and the pouring process to ensure smooth, even results. Additionally, allowing enough time for the wax to cool and harden completely before attempting to remove it from the mold is essential for preserving its shape and quality.
By addressing these common issues in mold-making and candle pouring, you can ensure a more successful and enjoyable candle-making experience.
A Comparison of Homemade vs Store-Bought Candle Molds
In conclusion, making your own molds for candles can be a rewarding and cost-effective way to enhance the art of candle making. With the right materials and techniques, you can create custom molds that suit your specific needs and artistic vision. Whether it’s choosing the right mold material, selecting the perfect size and shape, or exploring creative options for customization, there are many benefits to making your own candle molds at home.
While store-bought candle molds offer convenience and a wide range of options, homemade molds provide the opportunity for complete customization and creativity. By understanding different mold materials, utilizing release agents properly, and troubleshooting common issues, you can ensure successful candle pouring with your homemade molds. Furthermore, making your own molds allows you to experiment with unique shapes and designs that may not be readily available in stores.
In the end, whether homemade or store-bought candle molds are better ultimately depends on your personal preferences and specific needs as a candle maker. Both options have their advantages and limitations, but with proper knowledge and skill, making custom candle molds at home can truly elevate the art of candle making to new heights.
Frequently Asked Questions
What Is the Best Material to Make Candle Molds Out Of?
The best material to make candle molds out of is typically silicone, as it is flexible and heat-resistant. Aluminum and metal molds are also popular choices due to their durability and ability to conduct heat evenly.
What Household Items Can Be Used as Candle Molds?
Household items that can be used as candle molds include empty yogurt containers, mason jars, tin cans, and glass or plastic bottles. These items can easily be repurposed to create unique candle shapes and sizes.
Can You Use Silicone Molds to Make Candles?
Yes, silicone molds can be used to make candles. Silicone is a popular choice among candle makers due to its flexibility, ease of use, and ability to withstand high temperatures. It allows for easy removal of the finished candles without damaging their shape.

Welcome to my candle making blog! In this blog, I will be sharing my tips and tricks for making candles. I will also be sharing some of my favorite recipes.


