Introduction
Making your own natural wax candles has a variety of benefits. First of all, it is both aesthetically pleasing and therapeutic. You can take pride in the fact that you have crafted something with your own two hands, and enjoy the calming effect that comes with the creative process.
You also get to select the type of wax that is used for your candles. By opting for natural ingredients, such as soy or bee’s wax, you know exactly what materials have gone into making your product and can ensure those ingredients are free from any toxins or pollutants. Furthermore, all of the components involved in creating your candle are completely renewable and sustainable. This means that you won’t be overburdening the environment by producing these delightful items!
Not only does making your own candles eliminate any impurities from entering our airways due to toxic artificial fragrance oils, but you also get to customize them entirely according to preference; tailored colors, scents, and shapes are now within reach! You are not bound by stock-standard options anymore”you can let creativity loose to create one-of-a-kind pieces.
Preparing Your Supplies
Essential Materials for Making Natural Wax Candles:
1. Wax – There are several types of wax available, each with its own purpose in candle-making. Soy wax, beeswax, and paraffin are the three most common types of wax used to make candles, while stearin is great for pillar candles. Each type has different properties and requires different preparations before use.
2. Candle Wicks – The right wick size is important for your candle burning correctly and safely. Select wicks appropriate for the diameter of your finished candle, as too small or too large wicks will cause it to burn improperly and potentially be dangerous. Pre-tabbed or primed wicks are easiest for beginners.
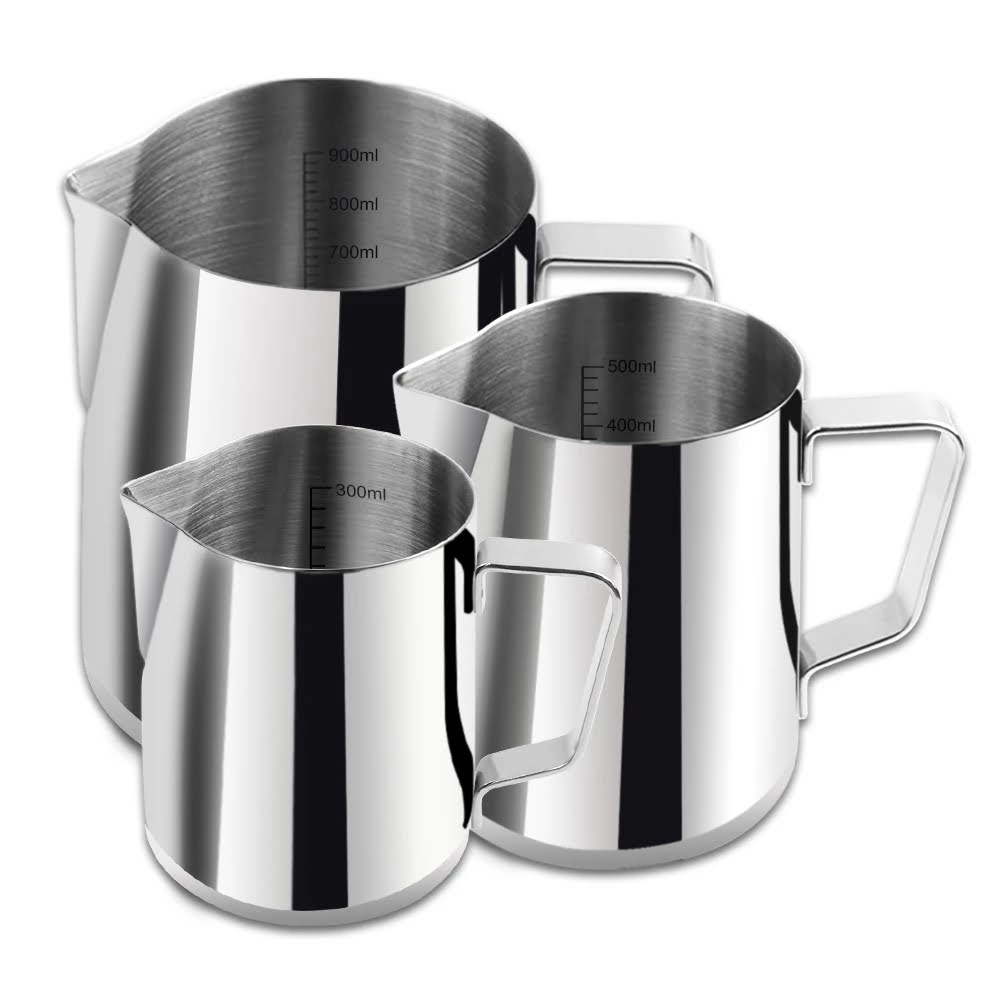
3. Molds or Containers – In order to create your candle shape, you need molds or containers that can withstand high temperatures, usually made from metal or glass. These mold materials should be nonporous so that the melted wax does not seep through them and onto your work surface when pouring.
4. Thermometer – A thermometer is essential for getting your wax temperatures correct throughout the entire process of making candles, from melting the wax to cooling it just prior to removing it from the moulds.
5. Wick Centering Devices – Wick centering devices help keep wicks centered when pouring in hot liquid wax into containers so they stay in place while cooling without having to manually hold them down (which can be very difficult).
6 Other Tools ” Depending on what type of natural soy candles you plan on making will determine what other tools you might require such as a double boiler, heat source like a stovetop burner; microwaves; heat gun; chopsticks; cooking utensils; stirring sticks etc….
Safety Considerations
When making natural wax candles, it is important to take safety into consideration. Wax can quickly become hot and ignite, so it is important to keep a fire extinguisher nearby in case of an emergency. To prevent any accidents from happening, always use protective eyewear, heat resistant gloves, and clothing when handling hot wax.
Additionally, place the candle-making area on a flat surface away from any flame sources or potential flammable materials. This should be an environment that is well ventilated and away from children or pets as they can pose additional risks due to their lack of knowledge of the consequences. It’s also important to keep a close eye on the wax while heating; do not leave it unattended as it can boil over and create messes or even cause fires in some cases. Finally, once finished with the burning process make sure to completely submerge any leftover material in cold water before disposing of properly to ensure that there are no combustible materials left behind.
Step-by-Step Instructions
To make natural wax candles, you will need to prepare supplies and make sure to have a safe, well-ventilated area for the process. In terms of materials, you will need candle-making containers (e.g., tins or jars), natural wax (e.g., soy, beeswax, or tallow), wicks made specifically for your type of wax, scissors, a double boiler pot or microwaveable container that can fit the amount of wax you are melting. Additionally, if scenting your candles is desired you may also need essential oils or fragrance oils seen to use with natural wax preparations.
When ready to make your candles begin by preparing all the supplies above and setting up a flat surface area with newspapers covering it in case of drips from pouring/mixing process. Take your prepared containers and secure the wicks inside with glue dots or hot glue and set aside until finished working with them until later steps.
Take the double boiler pot on medium heat on stovetop or microwavable bowl in microwave and begin melting natural wax flakes by slowly adding them bit by bit into double boiler/bowl. Monitor temperature carefully as overheating can degrade quality and fragrance drops may volatilize off at certain temperatures if using fragrances/essential oils later on in prep process. Once melted turn off heat source while stirring continuously adding any essential oils/fragrance drops now before taking off heat until fully mixed and fully dissolved so candle have some pleasant smell when complete burning the candle. Be sure to not overheat the mixture as it changes its chemical composition specifically for soy wax which affects its end product performance such as flame height when burning later on.
Once finished mixing put off heat source Carefully and slowly pour heated liquid wax mixture into prepared containers making sure to not touch wick bottom that was affixed earlier in prep phase and let air dry at cool place overnight preferably away from pets, childrens till they become solidified usually harden in 1-2 hrs depending on kind of container
Customization
Making natural wax candles can be a great way to create unique and interesting decorative pieces in any home. When creating natural wax candles, there are many options for customization that can help make each candle truly unique and add a special personal touch. For example, using things like essential oils or stinging nettles can give the candles a wonderful aroma. Additionally, by using molds or adding dried flowers, stones, shells or other natural elements to the wax as it is cooling, you can add a decorative flair to these pieces. To further customize your natural wax candles and create something truly special you could even add a label or some calligraphy on the outside of the candle. With a few simple decorative touches you can make your own original creations with natural wax candles!
Finishing Touches
Adding color and scent to your natural wax candles is a great way to make them stand out and be memorable. Coloring your candles with dyes can turn them into vibrant, unique pieces that you will love showing off in your home. You can choose from an array of colors or even create custom shades by blending dyes together. For scent, you can either use concentrated fragrances customize the scents or simply add essential oils directly to the wax.
Special touches are also something that can really make your candles stand out – there are endless possibilities here! Embellishing with glitter and sparkles or adding trinkets such as charms or beads can make each candle truly one-of-a-kind. Finally, giving a personal touch to label your creations by writing something special on the packaging or adding personal logos or monograms is an extra special way to show just how much time and care went into making each creation.
Inspiration
Creating natural wax candles can be a wonderful and creative activity. With just some simple supplies, you can make beautiful natural wax candles tailored to fit your personal style.
Here are some ideas for different types of natural wax candles you can create:
•Vanilla-infused beeswax: If you’re looking to evoke feelings of relaxation and comfort, try adding real vanilla extract or essential oils to melted beeswax to make homemade vanilla candles. The subtle yet tantalizing aroma is sure to fill any space with a calming ambiance.
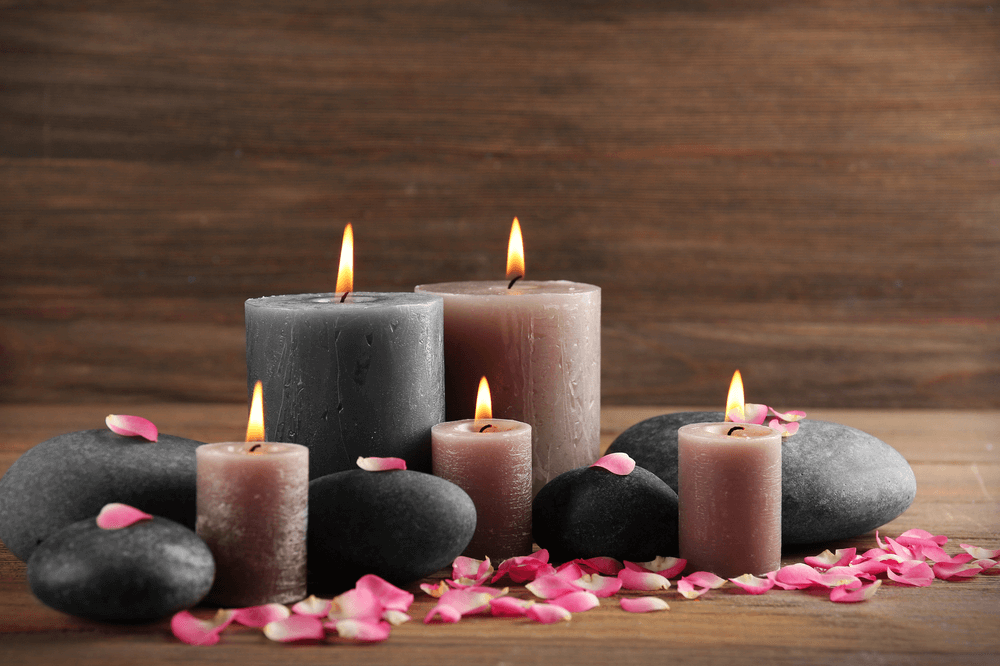
•Rose petal taper: This DIY candle creation is the perfect indulgence for anyone wanting an eye-catching piece that releases a unique, subtly sweet scent as it burns. Start by melting your choice of wax (either soy or beeswax works best) over low heat. Then place a few drops of rose essential oil and dried rose petals before filling up the taper molds with the mixture. Allow it time to cool before popping out gorgeous little floral candles that will add an elegant touch to any room.
•Lavender honey jar: Create any sized jar of soothing lavender scented candle with this recipe! Begin by warming honey in a saucepan until it reaches liquid form (don’t let it get too hot!). Add some dried lavender leaves, essential oil and grated beeswax and mix everything together so they’re evenly combined. Once cooled off pour the blend into your old glass jars and wait for it to harden up”experimenting with different sizes will result in a range of beautiful designs perfect for gifting!
Conclusion
Making natural wax candles can be a rewarding craft. Once mastered, it is possible to create exciting and unique candle designs which provide beautiful sources of light. In conclusion, the key steps in making all-natural wax candles are gathering, melting and pouring the natural wax, adding essential oils for scent and color, wicking the containers, allowing the candles to cool and set up correctly. Finally, it is important to store natural wax candles in optimal conditions such as dark spaces away from moist air or direct sunlight. With practice and patience, anyone can make long-lasting natural wax candles that look amazing as well as smell delightful!

Welcome to my candle making blog! In this blog, I will be sharing my tips and tricks for making candles. I will also be sharing some of my favorite recipes.


