Are you interested in learning a new hobby that can also be a therapeutic and creative outlet? Making pillar candles at home could be the perfect activity for you. In this beginner’s guide, we will explore the step-by-step process of creating your own beautiful pillar candles right in the comfort of your own home.
Making pillar candles at home allows you to personalize your creations with different scents, colors, and designs. It is a fun and rewarding DIY project that can also make for unique gifts for your loved ones. Whether you are a seasoned candle maker or just starting out, this guide will provide you with all the information you need to get started on your homemade candle-making journey.
From understanding the materials needed to troubleshooting common issues, this article will cover everything you need to know about making pillar candles at home. So gather your supplies, set aside some time for creativity, and let’s dive into the world of DIY candle making together.
Materials Needed for Making Pillar Candles
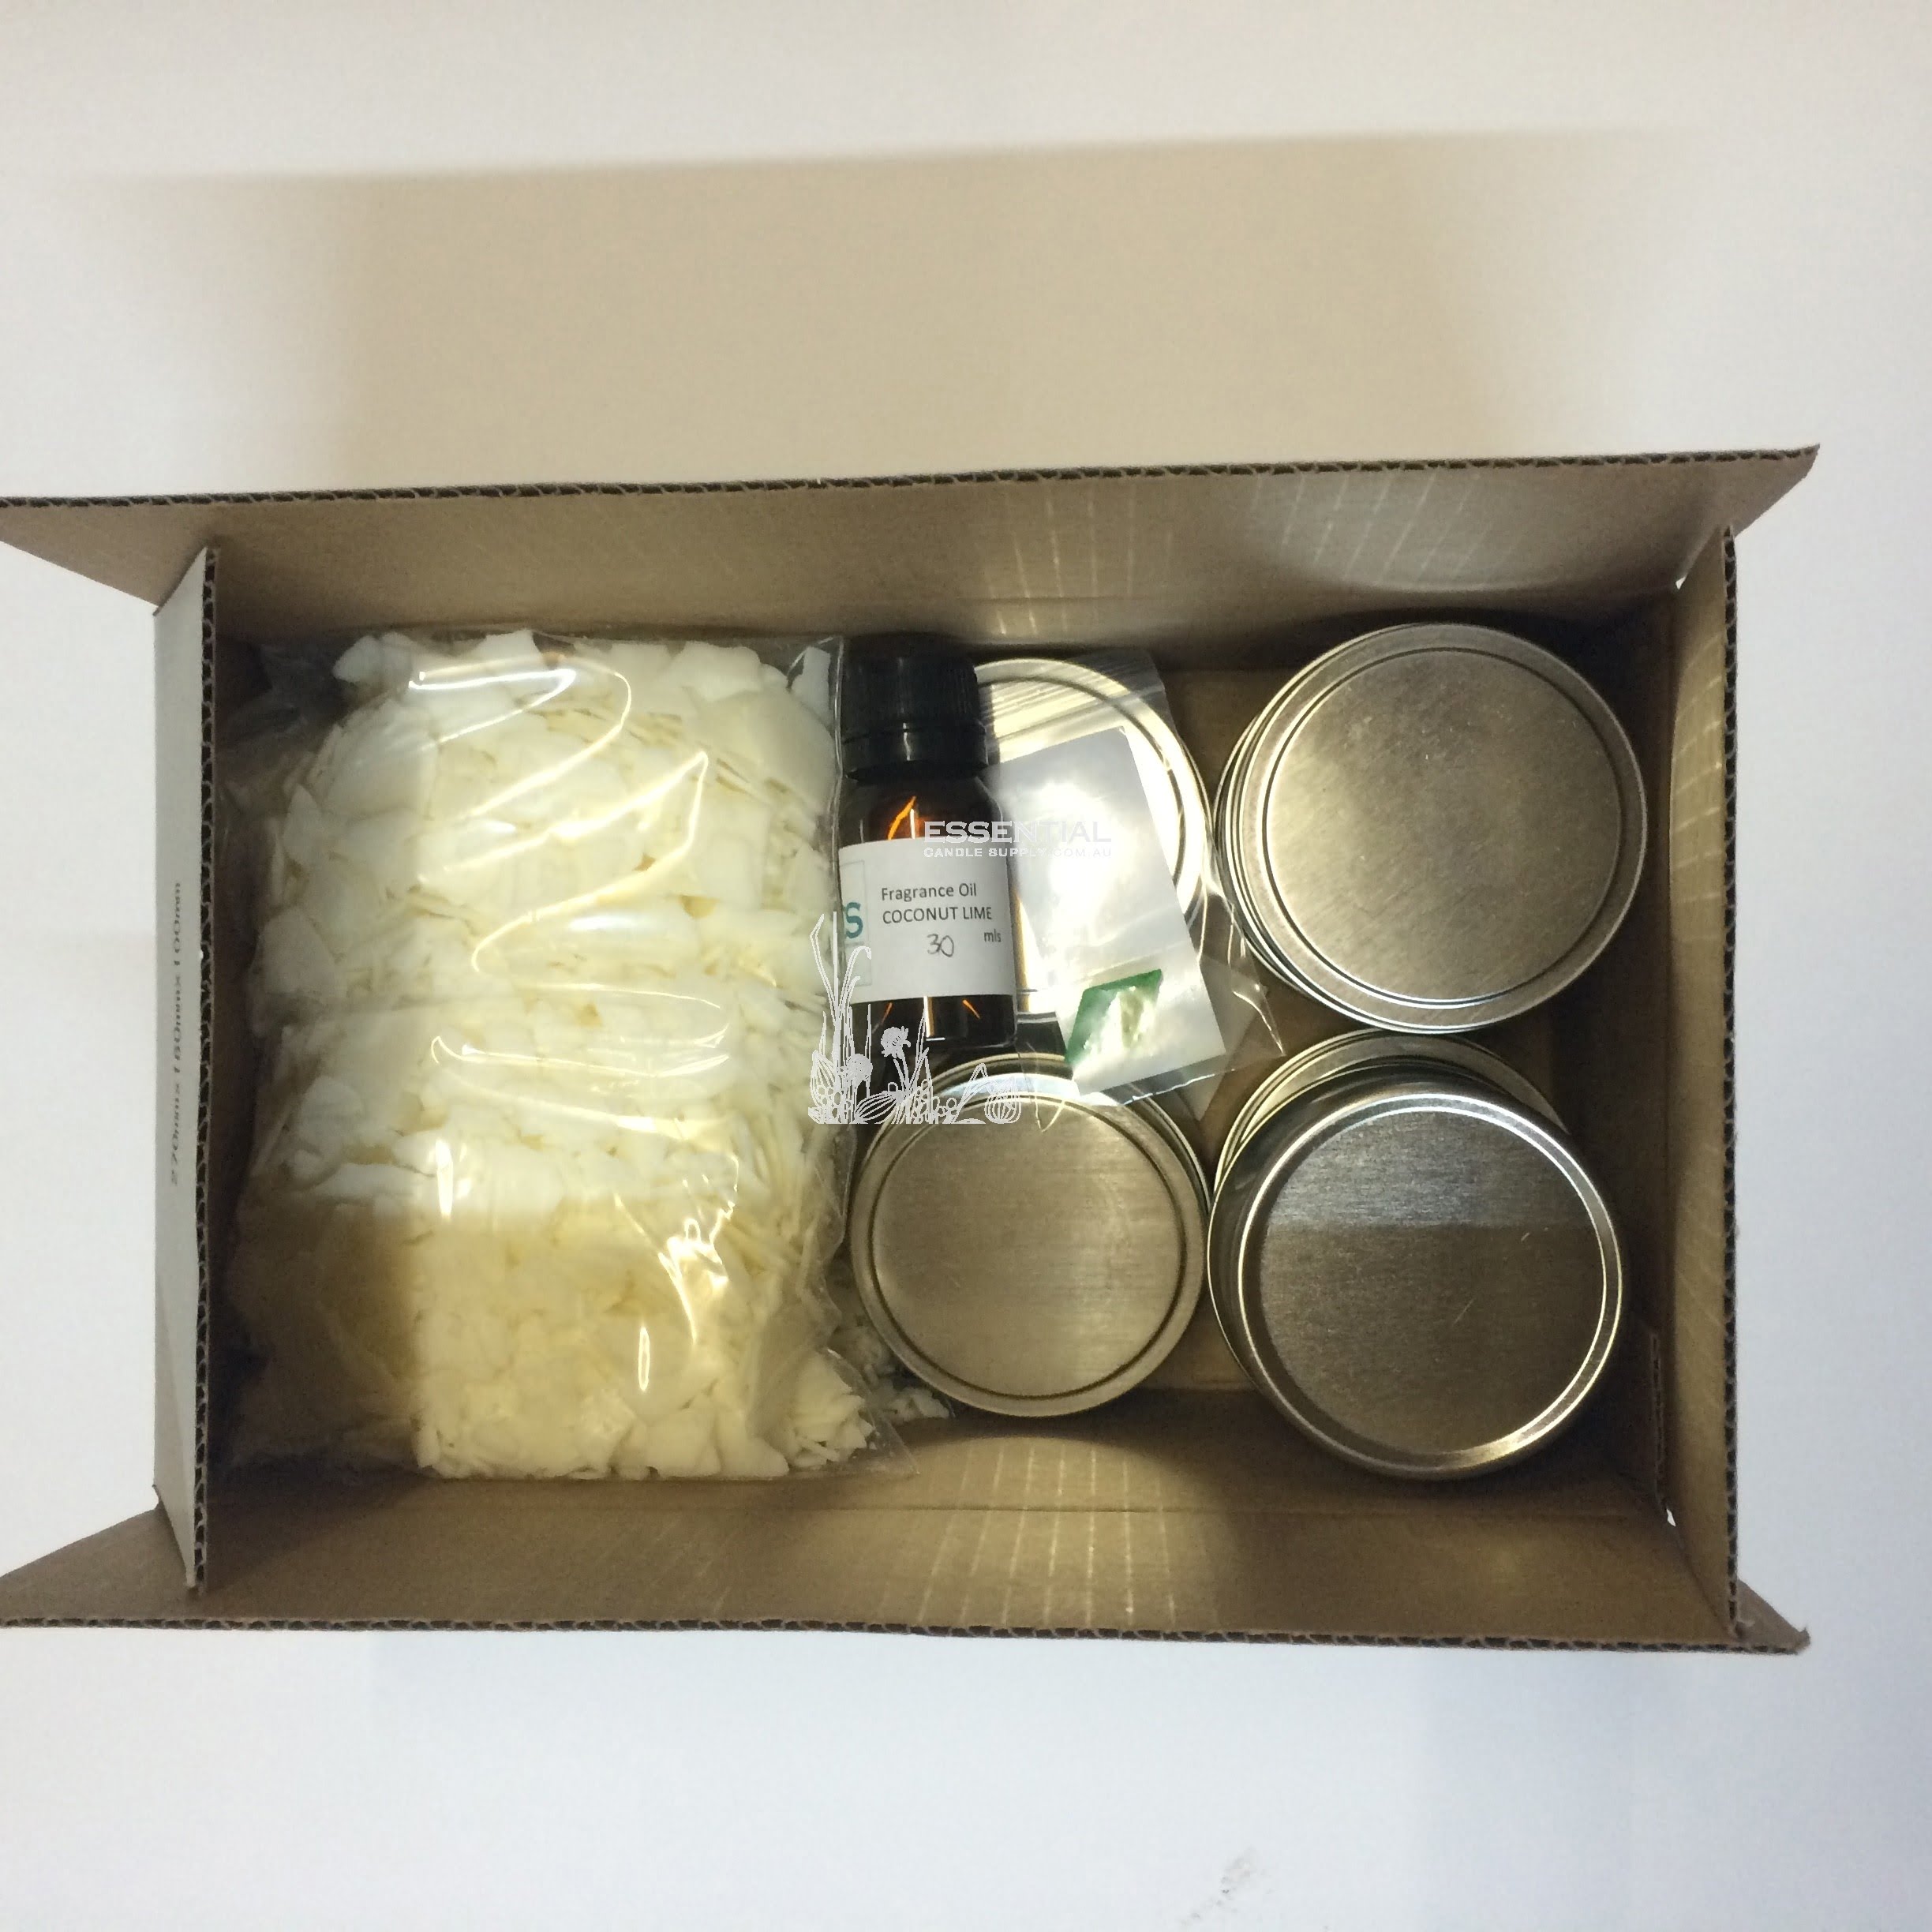
When it comes to making pillar candles at home, having the right materials is essential to ensure the success of your DIY project. Here are some basic supplies you will need to get started on creating beautiful homemade pillar candles.
Wax
The most important material for making pillar candles is wax. There are different types of wax available, such as paraffin wax, soy wax, and beeswax. Each type of wax has its own unique characteristics and melting points, so it’s important to choose the one that suits your preferences and needs. Make sure to purchase high-quality wax for the best results.
Wicks
Wicks are another crucial component in candle-making, as they are responsible for keeping the flame burning steadily. When selecting wicks for your pillar candles, consider factors like size, material, and thickness. It’s also recommended to choose wicks specifically designed for use in pillar candles to ensure proper burning.
Molds
To shape your pillar candles, you will need molds. You can find a variety of molds in different shapes and sizes at craft stores or online retailers. Look for molds made from materials like silicone or metal that can withstand high temperatures. Additionally, consider the size of your mold based on the desired dimensions of your finished pillar candle.
By gathering these essential materials and investing in quality supplies, you can kickstart your journey into making pillar candles at home with confidence and creativity. Experiment with different combinations of wax, wicks, and molds to create unique designs that reflect your personal style and preferences.
Step-by-Step Guide on How to Melt Candle Wax Safely
Melting candle wax is an essential step in making pillar candles at home. Ensuring that the wax is melted safely and efficiently will result in high-quality candles. Below is a step-by-step guide on how to melt candle wax safely for your DIY project:
- Prepare your workspace by covering surfaces with newspaper or a protective layer to avoid any spills or mess.
- Gather all the materials needed, including a double boiler or a heat-safe container, thermometer, stirring utensil, and of course, the candle wax.
- Fill the bottom pot of the double boiler with water and place it on the stove over medium heat. Place the top pot (or heat-safe container) on top of the bottom pot without letting it touch the water directly.
- Once the water starts simmering, add your candle wax to the top pot or container. Stir occasionally to help the wax melt evenly. Make sure to monitor the temperature with a thermometer to prevent overheating.
- Remove from heat once the wax is completely melted. Be cautious when handling hot wax and always use oven mitts or gloves to avoid burns.
By following these steps, you can effectively melt candle wax safely for your homemade pillar candles while ensuring a smooth and successful crafting process. Remember that safety is key when working with hot wax, so always exercise caution throughout this process.
Choosing the Right Molds and Wicks for Your Pillar Candles
When it comes to making pillar candles at home, choosing the right molds and wicks is crucial to the success of your project. The type of mold and wick you select can greatly affect the appearance and burning characteristics of your homemade candles. There are various options available in the market, so it’s essential to understand the different choices to make informed decisions.
Types of Molds
There are different types of molds that you can use for creating pillar candles. Some common options include aluminum molds, silicone molds, and plastic molds. Aluminum molds are durable and provide a smooth finish to the candles. Silicone molds are flexible and easy to remove the finished candle from, making them ideal for intricate designs. Plastic molds are affordable and come in a variety of shapes and sizes.
Choosing the Right Wicks
Selecting the correct wick size is essential for ensuring that your pillar candles burn evenly and efficiently. The size of the wick will depend on the diameter of your candle. If you use a wick that is too small, it may drown in melted wax, leading to tunneling.
On the other hand, using a wick that is too large may cause your candle to burn too fast or produce excessive smoke. It’s recommended to use cotton wicks as they offer a clean burn compared to other types of wicks.
Customizing Your Molds and Wicks
Once you have chosen the type of mold and wick for your pillar candles, consider customizing them further to suit your preferences. For example, you can experiment with different shapes, textures, or sizes of molds to create unique candles. Additionally, you can try incorporating different colors or scents into your wax for added personalization. Being creative with your choices will allow you to produce one-of-a-kind handmade pillar candles that reflect your style and taste.
Adding Color and Scent to Your DIY Pillar Candles
One of the most enjoyable parts of making pillar candles at home is adding color and scent to customize your creations. Coloring your candles can be done using dye chips, liquid dyes, or even crayons for a more creative touch. It’s important to remember that the amount of dye used will determine the intensity of the color in your candle. Start with a small amount and gradually increase until you achieve your desired shade.
When it comes to adding fragrance to your pillar candles, there are endless possibilities to choose from. Essential oils, fragrance oils, or even natural ingredients like dried lavender can infuse your candles with delightful scents. Be mindful of the type and amount of fragrance you use as some oils may affect the burning properties of the candle. Experiment with different combinations to find what works best for you.
Incorporating color and scent into your DIY pillar candles opens up a world of creativity and personalization. Whether you prefer calming lavender scents or vibrant hues, there are numerous options available to cater to your preferences. With practice and experimentation, you can create pillar candles that not only look beautiful but also fill your space with enticing aromas. Let your imagination run wild as you explore different ways to enhance your homemade candles with color and fragrance.
| Aspect | Details |
|---|---|
| Coloring Options | Dye chips, liquid dyes, crayons |
| Fragrance Choices | Essential oils, fragrance oils, natural ingredients |
| Tips for Beginners | Start with small amounts of dye and fragrance; experiment with different combinations |
Tips and Tricks for Creating Unique Designs With Different Techniques
When it comes to making pillar candles at home, the possibilities for creating unique designs are endless. One popular technique is layering different colored waxes to achieve a beautiful ombre effect. To do this, simply pour melted wax of one color into your mold, let it cool and harden slightly, then repeat the process with another color on top. You can continue this layering process until you reach your desired look.
Another fun technique is embedding objects or decorations into your pillar candles. This can range from dried flowers and herbs to small decorative items like seashells or beads. To do this, pour a small amount of melted wax into the bottom of your mold, place your chosen decorations, then continue filling the mold with more wax. Make sure to strategically place the objects so that they are visible once the candle is finished.
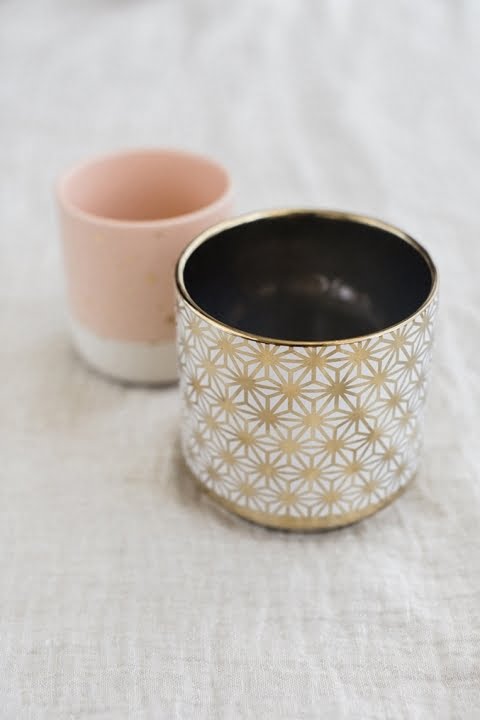
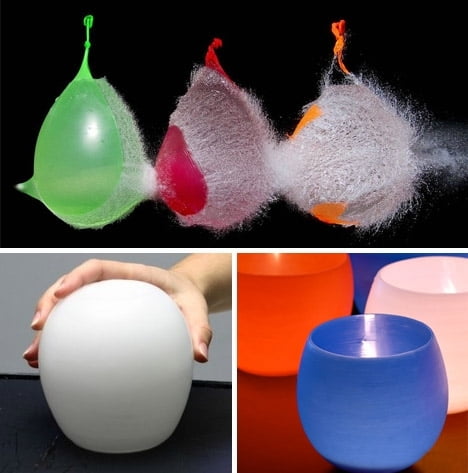
Additionally, experimenting with different types of molds can also lead to unique designs in your homemade pillar candles. Consider using silicone molds with intricate patterns or shapes for a more detailed finish. You can also try using unconventional containers like vintage teacups or mason jars for a quirky twist on traditional pillar candles. The key is to let your creativity guide you and have fun exploring various techniques to make each candle special and personalized.
| Technique | Description |
|---|---|
| Layering Colors | Pouring different colored waxes in layers to create ombre effects |
| Embedding Decorations | Incorporating objects like dried flowers or seashells into the candle design |
| Using Unique Molds | Experimenting with silicone molds or unconventional containers for distinct shapes |
Troubleshooting Common Issues While Making Pillar Candles
When making pillar candles at home, it is common to encounter a few issues along the way. From air bubbles to uneven surfaces, these problems can be frustrating but with the right knowledge and techniques, they can be easily resolved. Here are some common issues you may face while making pillar candles and how to troubleshoot them:
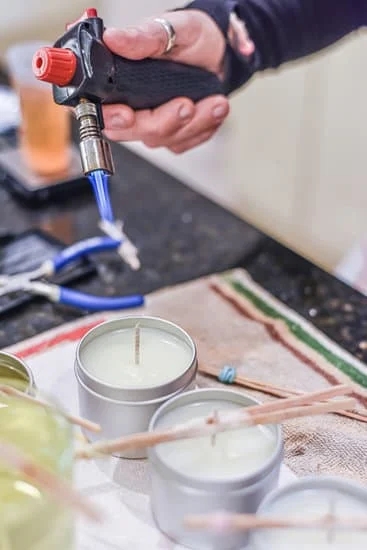
- Air Bubbles: Air bubbles can form in your candle as it cools, creating unsightly holes or pockets. To prevent this issue, make sure to tap the mold gently on a flat surface after pouring the wax to release any trapped air. You can also use a heat gun to carefully pop any bubbles that rise to the surface.
- Sinkholes: Sinkholes can occur when the wax contracts as it cools, leaving a depression in the center of your candle. To avoid sinkholes, try pouring your wax at a slightly higher temperature and filling any craters with additional melted wax once the candle has cooled.
- Rough Tops: If your pillar candle has a rough or uneven top after cooling, you can smooth it out by gently warming the surface with a heat gun and smoothing it out with a spoon or knife. Alternatively, you can pour a thin layer of melted wax over the top to create a more polished finish.
By addressing these common issues effectively, you can ensure that your homemade pillar candles turn out beautifully every time. Remember that practice makes perfect, so don’t be discouraged if you encounter challenges along the way. With patience and persistence, you’ll soon master the art of creating stunning pillar candles at home.
Safety Precautions and Proper Storage for Homemade Pillar Candles
When it comes to making pillar candles at home, safety should always be a top priority. Working with hot wax and open flames requires caution to prevent any accidents or injuries. To ensure a safe candle-making experience, there are several key safety precautions that should be followed. First and foremost, make sure to work in a well-ventilated area to avoid inhaling fumes from the melting wax.
Another important safety tip is to never leave your melting wax unattended. Always keep an eye on the process to prevent any potential spills or fires. It’s also essential to have a fire extinguisher nearby in case of emergencies. Additionally, wearing protective gear such as gloves and long sleeves can help prevent burns while handling hot materials.
Proper storage of homemade pillar candles is crucial to maintaining their quality and longevity. Store your finished candles in a cool, dry place away from direct sunlight and heat sources. This will help prevent them from melting or warping prematurely. Make sure to store your candles upright to maintain their shape and avoid any bending or cracking. By taking these safety precautions and proper storage measures, you can enjoy your handmade pillar candles safely for longer periods of time.
Conclusion
In conclusion, making pillar candles at home can be a truly rewarding and fulfilling experience. Not only does it allow you to unleash your creativity by choosing colors, scents, and designs that speak to you, but it also gives you the satisfaction of creating something unique with your own hands.
Whether you are crafting these candles for personal use to create a cozy ambiance in your home or as thoughtful gifts for loved ones, the process of making them can bring immense joy and pride.
Creating homemade pillar candles also offers a sense of accomplishment and empowerment. As you follow the step-by-step guide and experiment with different techniques to achieve unique designs, you are honing your skills and expanding your craft-making abilities. The ability to customize every aspect of the candle-making process allows for endless possibilities and enables you to tailor each candle to suit specific preferences or occasions.
Furthermore, not only are handmade pillar candles a beautiful addition to any space, but they also make for meaningful gifts that show thoughtfulness and care. By creating these candles yourself, you are adding a personal touch that cannot be replicated by store-bought alternatives.
So next time you’re looking for a creative outlet or a thoughtful present idea, consider delving into the world of making pillar candles at home – it’s an enjoyable hobby with endless opportunities for self-expression and creativity.
Frequently Asked Questions
What Kind of Wax Do You Use for Pillar Candles?
The ideal wax to use for making pillar candles is a firm and dense type, such as paraffin or soy wax. These waxes have the necessary structure to hold their shape when poured into molds, resulting in long-lasting and stable pillar candles.
What Do You Need to Make Pillar Candles?
To make pillar candles, you will need several key ingredients and supplies. These include the wax of your choice, a double boiler or microwave for melting the wax, a mold specifically designed for pillar candles, a wick suitable for pillar candles, fragrance oils or essential oils for scenting, coloring agents (if desired), and tools like a thermometer and stirring utensil.
What Kind of Wick Do You Use for Pillar Candles?
When choosing a wick for pillar candles, it’s important to opt for one that is sturdy and appropriately sized for the diameter of the candle being made. Cotton wicks are commonly used for pillars due to their ability to burn evenly and steadily.
Choosing the right wick size is crucial to ensure proper burning and prevent tunneling in pillar candles.

Welcome to my candle making blog! In this blog, I will be sharing my tips and tricks for making candles. I will also be sharing some of my favorite recipes.

