Scented candle melts have become increasingly popular in recent years, as more and more people are seeking ways to create a soothing and aromatic atmosphere in their homes. These small wax cubes are designed to be melted in a warmer or oil burner, releasing a delightful fragrance throughout the room.
Whether you are looking to add a relaxing ambiance to your living space or create a warm and inviting scent for special occasions, making your own scented candle melts can be a rewarding and enjoyable experience.
In this article, we will guide you through the process of making scented candle melts at home, from understanding the basics to selecting the right materials and tools. We will provide step-by-step instructions on creating your own unique blends of fragrances, as well as exploring different color and design options to add a touch of creativity. Additionally, we will offer tips and tricks for achieving the best results and ensuring a safe candle making experience.
Whether you are new to the world of candle making or have some previous experience, this article is here to inspire and guide you on your journey of making scented candle melts. So let’s dive in and explore the wonderful art of creating these aromatic delights that can transform any space into a cozy haven filled with delightful aromas.
Understanding the Basics
Scented candle melts, also known as wax melts or wax tarts, are a popular alternative to traditional candles and have gained significant popularity in recent years. These small, scented pieces of wax are designed to be used in a wax warmer or burner, which gently heats the melt and releases its fragrance into the air. Scented candle melts offer a safer and more convenient option for enjoying aromatic scents in your home.
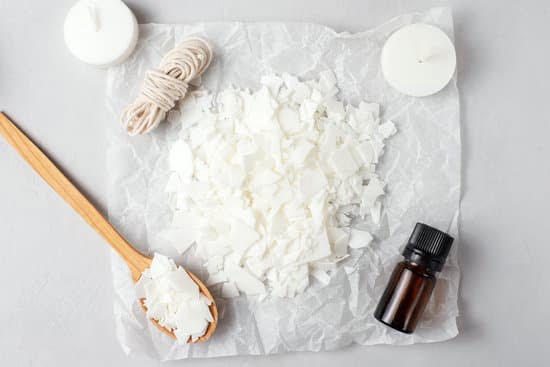
To create scented candle melts, you will need a few essential materials and tools. Firstly, you will need wax, which can be either soy wax, paraffin wax, or a blend of both. Soy wax is a natural and eco-friendly option that burns cleaner than paraffin wax.
In addition to the wax, you will need fragrance oils or essential oils to add scent to your melts. It’s important to choose high-quality oils that are specifically formulated for use in candles.
Other materials include molds or clamshell containers to shape the melts and packaging options if you plan on giving them as gifts. Tools such as a double boiler or microwave-safe container for melting the wax, a thermometer for temperature control, and a stirring utensil are also necessary.
Once you have gathered all the necessary materials and tools, making scented candle melts at home is relatively simple. The process involves melting the wax, adding fragrance oils or essential oils to achieve your desired scent strength, pouring the melted mixture into molds or clamshell containers, and allowing it to cool and harden.
Afterward, you can pop out the melts from their molds or break apart the clamshell container into individual pieces ready to be used in your favorite wax warmer.
Understanding these basics about scented candle melts is essential before embarking on creating your own personalized blends of fragrances and designs. In the following sections of this article, we will explore further aspects of making scented candle melts at home – from selecting the right type of wax and fragrance, to adding color and design elements.
Essential Materials and Tools Needed for Making Scented Candle Melts
To make scented candle melts at home, you will need a few essential materials and tools. These items are necessary to ensure a smooth and successful candle-making process.
1. Wax: The choice of wax is crucial in making scented candle melts. You can use either soy wax or paraffin wax, depending on your preference. Soy wax is natural, renewable, and has a slower burn time, while paraffin wax is cheaper and easier to work with.
2. Fragrance oils: Fragrance oils are what give scented candle melts their enticing aromas. Choose high-quality fragrance oils specifically designed for candle making. It’s important to follow the recommended usage rate to achieve the desired scent strength.
3. Dye: If you want colored candle melts, you will need candle dye. There are different types of dyes available, such as liquid dyes or color blocks. Experiment with different colors to create unique and visually appealing melts.
4. Heat source: A heat source like a double boiler or a melting pot is needed to melt the wax safely and evenly. This prevents the wax from overheating or burning.
5. Thermometer: To ensure the ideal temperature for adding fragrance oils and dyes, a thermometer is essential. Different waxes have different melting points, so it’s important to closely monitor the temperature during the melting process.
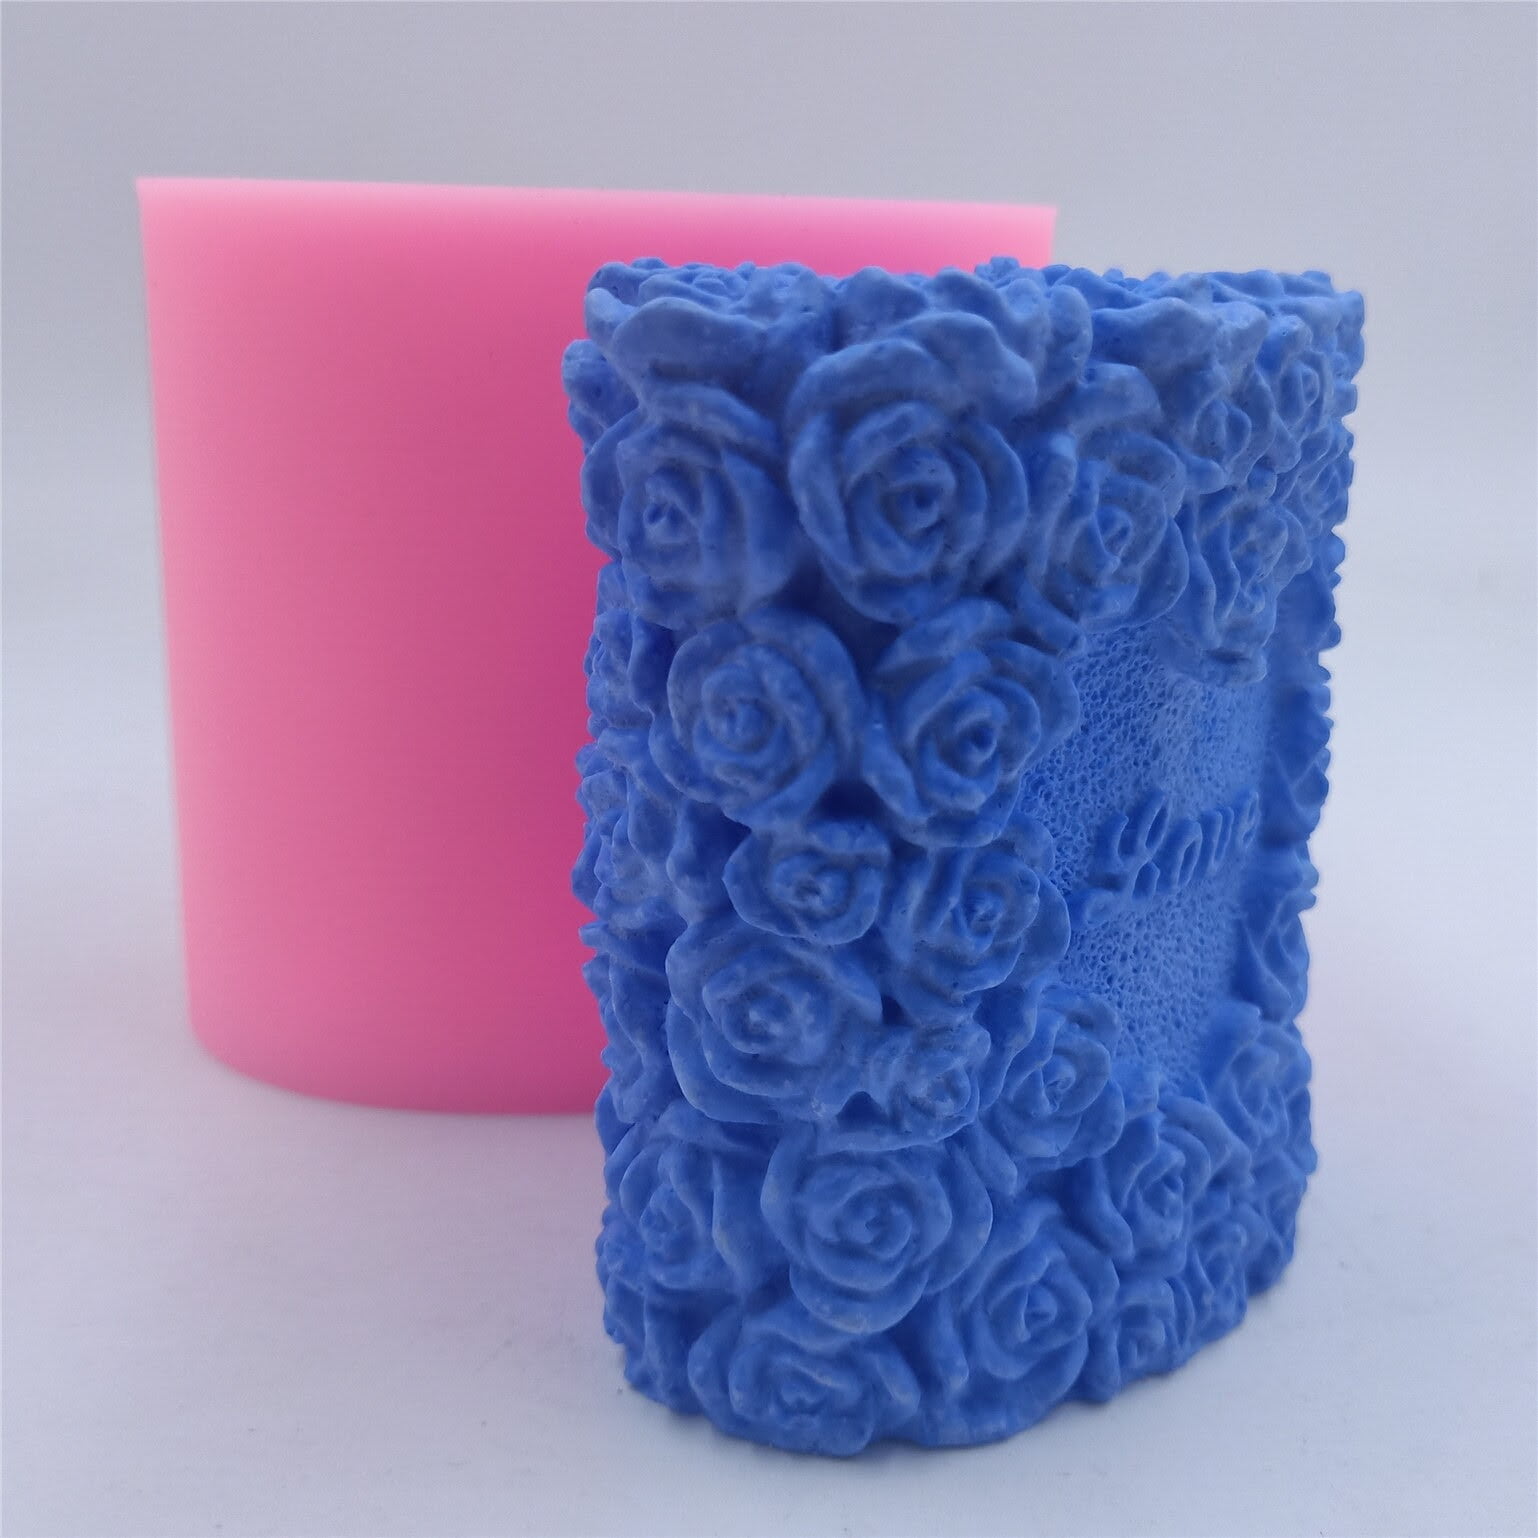
6. Mold: You will need molds in various shapes and sizes to pour your melted wax into and form your candle melts. Silicone molds are popular choices as they are flexible and easy to remove the finished melts from.
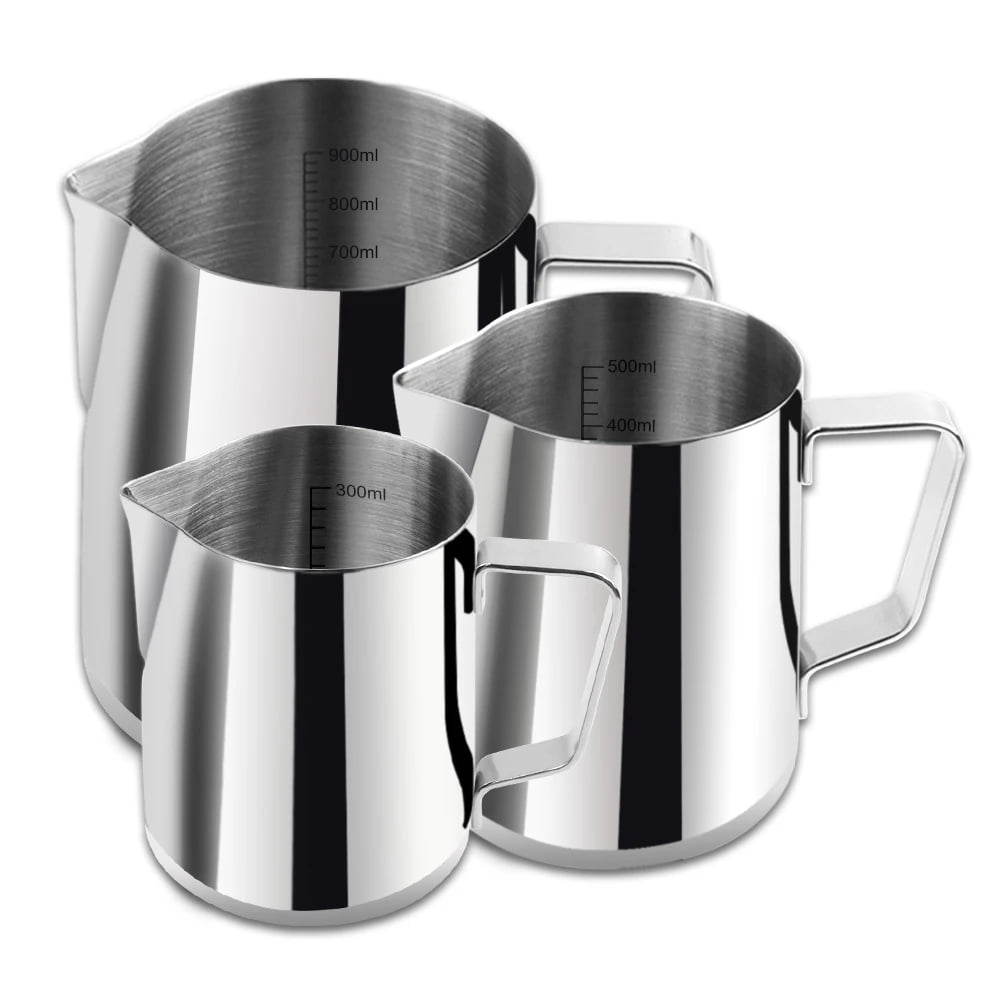
7. Pouring pitcher: A pouring pitcher with a spout makes it easier to transfer the melted wax into the molds without creating a mess.
8. Stirring utensil: A heat-resistant stirring utensil like a wooden spoon or silicone spatula will be used for mixing in fragrance oils, dyes, or any additives you may choose to use.
9. Packaging: Once your scented candle melts have hardened and cooled, you will need packaging materials such as bags, jars, or tins to store and display them. Consider labeling your packages with the scent name or design for a professional touch.
10. Optional tools: Some optional tools that can enhance the candle-making experience include a wick cutter, a wick centering device, and a scale for precise measurements.
Having these essential materials and tools on hand will ensure a smooth and enjoyable process when making scented candle melts at home. With the right supplies, you can let your creativity soar and create personalized melts that fill your space with delightful aromas.
Step-by-Step Guide
Making your own scented candle melts at home is a rewarding and enjoyable process. Not only do you get to customize the scents, colors, and designs to your liking, but you also have control over the quality of ingredients used. Follow this step-by-step guide to create your own scented candle melts that will fill your home with delightful aromas.
Step 1: Gather Your Materials
Before you begin, make sure you have all the essential materials and tools needed for making scented candle melts. These include:
– Wax: Choose a wax that is specifically made for candle making, such as soy wax or beeswax.
– Fragrance oils: Select high-quality fragrance oils in your desired scents. Make sure they are safe for use in candles.
– Dye or color blocks: If you want to add some color to your melts, choose either liquid dye or color blocks made for candle making.
– Wicks: Use pre-tabbed wicks that are suitable for the size of your molds.
– Molds: You can use various types of molds such as silicone molds, clamshell molds, or ice cube trays.
– Double boiler or melting pot: This will be used to safely melt the wax.
– Thermometer: A thermometer is crucial for monitoring the temperature of the wax accurately.
– Heat-resistant container: This will be used to pour the melted wax into the molds.
Step 2: Melt and Prepare the Wax
Begin by placing the desired amount of wax into a double boiler or melting pot. Heat it gently until it reaches the recommended melting temperature specified by the manufacturer. Stir occasionally to ensure even melting. Once melted, add any desired color blocks or liquid dye and mix well until fully incorporated.
Step 3: Add Fragrance Oil
Carefully measure and add fragrance oil to the melted wax according to the recommended usage rate. Stir gently but thoroughly to evenly distribute the fragrance oil throughout the wax.
Step 4: Pour and Set
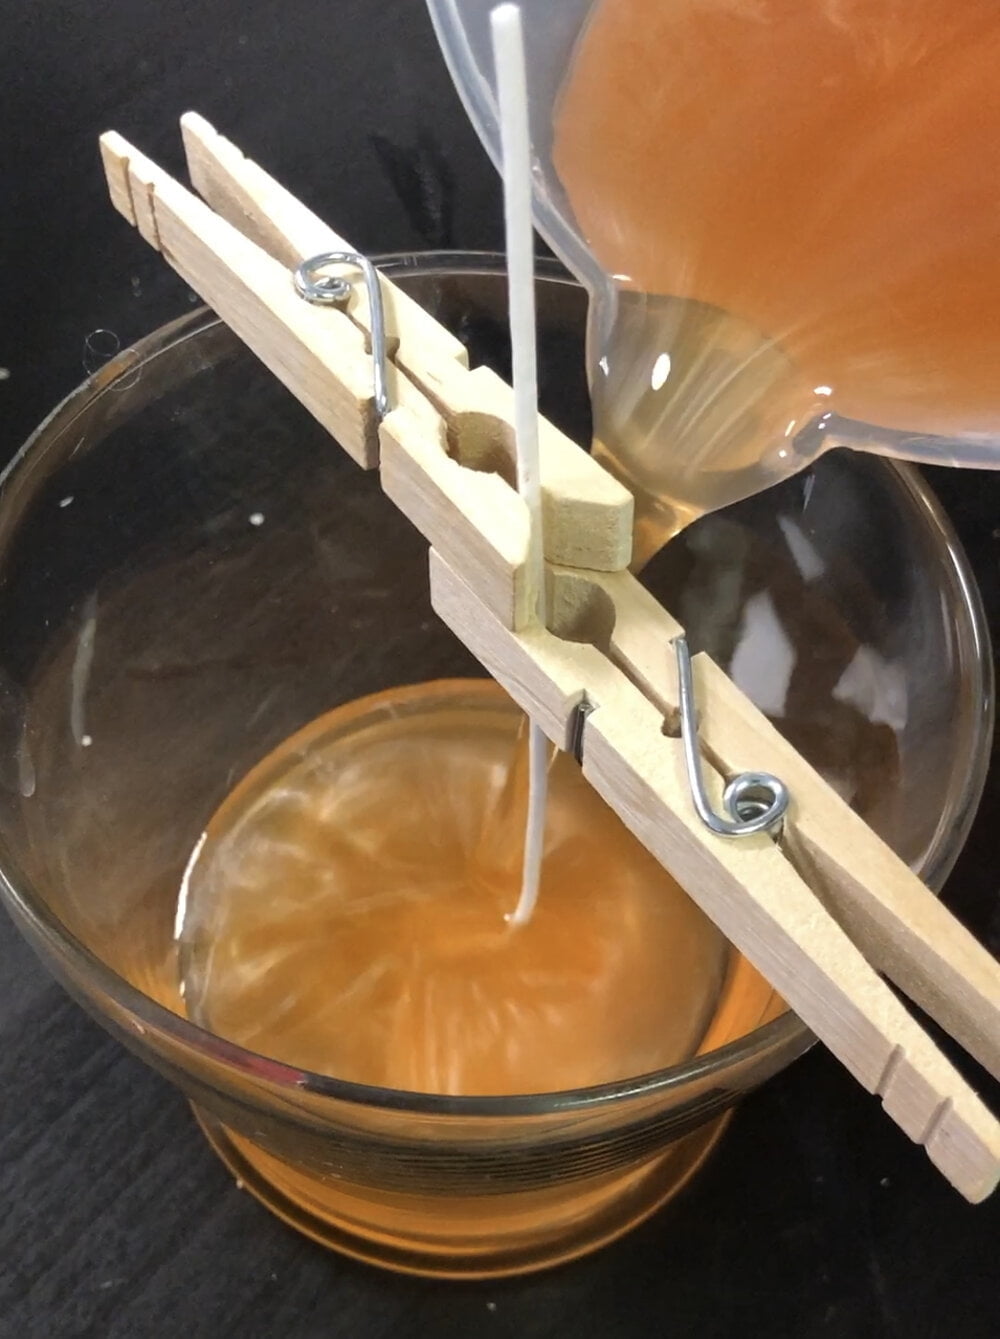
Pour the scented wax into your chosen molds, filling them up to the desired level. Make sure to leave a little space at the top for any additional design elements you may want to add later. Allow the melts to cool and harden completely before removing them from the molds.
By following these simple steps, you can easily create your own scented candle melts at home. Experiment with different fragrances, colors, and designs to find what suits your preferences best. Enjoy the process of making these delightful melts and revel in the soothing ambiance they bring to your home.
Choosing the Right Wax for Your Scented Candle Melts
When it comes to making scented candle melts, choosing the right wax is crucial for achieving optimal results. There are several different types of wax available, each with its own unique characteristics and benefits. Here are some popular options to consider:
- Soy Wax: Soy wax is a natural option that is derived from soybeans. It has a clean and slow burn, which allows for a longer-lasting fragrance in your scented candle melts.
- Paraffin Wax: Paraffin wax is a widely-used option due to its affordability and easy availability. It has excellent scent throw, meaning it provides a strong and long-lasting fragrance.
- Beeswax: Beeswax is a natural and environmentally-friendly choice. It has a pleasant, honey-like scent and produces a beautiful, golden flame.
- Palm Wax: Palm wax is made from the oil of palm trees. It has a unique crystalline structure that gives candles an interesting texture and appearance.
When selecting your wax, consider factors such as burn time, scent throw, eco-friendliness, and personal preference. Experimenting with different types of wax can be an exciting way to discover your favorite combination of ingredients for creating scented candle melts.
Once you have chosen your wax type, it’s important to ensure that you are using high-quality waxes from reputable suppliers. This will help ensure the best results and reduce any potential safety hazards.
In addition to the type of wax, you may also want to consider using additives or blends to enhance the performance of your scented candle melts. Some common additives include stearic acid (to increase opacity), vybar (to improve scent retention), or UV stabilizers (to prevent discoloration). These additives can be mixed in with your chosen wax to achieve specific effects according to your preferences.
Remember, the choice of wax is just one component of creating high-quality scented candle melts. The fragrance oils and dyes you use, as well as your technique in pouring and setting the melts, will all play a role in the final product. Be sure to carefully consider these factors as you embark on your scented candle making journey.
The Power of Fragrance
The scent of a candle melt plays a crucial role in creating a soothing and aromatic atmosphere. When selecting the perfect scents for your candle melts, it is important to consider factors such as personal preference, room size, and intended mood. With a wide variety of fragrance options available, you can easily customize your candle melts to suit any occasion or desired ambiance.
One popular category of scents for candle melts is floral fragrances. These scents evoke feelings of freshness and serenity, making them perfect for relaxation and creating a calm atmosphere in your home. Popular floral scents include lavender, rose, jasmine, and lily. These fragrances are often associated with aromatherapy and can help promote relaxation and stress relief.
For those who prefer more invigorating scents, citrus fragrances are an excellent choice. Scents like lemon, orange, grapefruit, and bergamot add a refreshing and uplifting touch to any space. Citrus scents are known for their energizing properties and can help improve focus and productivity.
Another popular category is the sweet aroma of baked goods. These warm and cozy fragrances can create a welcoming atmosphere in your home. Popular choices include vanilla, cinnamon, pumpkin spice, and caramel. The comforting smell of these scents can be especially enjoyable during the colder months or when hosting gatherings.
| Intended Mood | Recommended Scents |
|---|---|
| Relaxation | Lavender, Chamomile |
| Energizing | Citrus (Lemon, Orange) |
| Romantic | Rose, Vanilla |
| Festive/Warm | Cinnamon, Apple, Pine |
By understanding the power of fragrance and selecting scents that align with your desired ambiance, you can create a truly immersive and pleasurable experience with your scented candle melts. Experimentation and personalization play key roles in finding the perfect scents that resonate with your senses and uplift your mood. Whether it’s a tranquil evening at home or a special occasion, the right fragrance can enhance the overall atmosphere and make your candle melts memorable.
Adding a Touch of Creativity
When making scented candle melts, one of the most exciting aspects is the opportunity to get creative with colors and designs. Adding unique touches to your candle melts can enhance their visual appeal and make them stand out. There are several options to consider when exploring different color and design ideas for your scented candle melts.
Firstly, you can experiment with different colors of wax to create vibrant and eye-catching candle melts. Using liquid or powder dyes specifically designed for candles, you can add color to your melted wax before pouring it into molds. Start by adding a small amount of dye and gradually adjust the intensity until you achieve the desired color. Remember to mix the dye thoroughly to ensure even distribution throughout the wax.
In addition to coloring the entire melt, you can also create intricate designs by layering different colored waxes. This technique involves pouring one layer of colored wax into the mold, allowing it to partially set, and then pouring another layer of a contrasting color on top. You can repeat this process multiple times to create beautiful patterns and gradients in your candle melts.
When it comes to design options, there are various possibilities to explore. One popular technique is incorporating additives such as botanicals or glitter into the wax before pouring it into molds. These additives can add texture, visual interest, and even enhanced scent throw when they melt along with the wax.
Another creative option is using decorative molds that shape your candle melts into unique forms like flowers, animals, or geometric patterns. Silicone molds are particularly versatile as they allow for intricate details and easy release of the finished melts.
To keep track of all your color and design experiments, it’s helpful to maintain a record of each combination you try along with any notes on how they turned out. This way, you can recreate successful designs in future batches or make modifications based on previous experiences.
Adding a touch of creativity through colors and designs is an enjoyable part of making scented candle melts that allows you to personalize your creations and make them truly one-of-a-kind. With a bit of experimentation and imagination, you can create visually stunning candle melts that not only indulge your sense of smell but also delight your eyes.
| Color and Design Idea | Description |
|---|---|
| Layered Candle Melts | Create visually appealing patterns by pouring layers of different colored waxes. |
| Additives | Incorporate botanicals or glitter into the wax for added texture and visual interest. |
| Decorative Molds | Use molds that shape your candle melts into unique forms like flowers, animals, or geometric patterns. |
Tips and Tricks for Achieving the Best Results When Making Scented Candle Melts
Choosing the Right Mold
When making scented candle melts, choosing the right mold is crucial for achieving the best results. There are various options available, including silicone molds, metal molds, and plastic molds. Silicone molds are popular among candle makers as they are flexible and allow for easy removal of the melts.
Metal molds can provide a smooth and professional finish to your melts but may require additional release agents for easy removal. Plastic molds are affordable and widely available, making them a suitable choice for beginners. Consider your preferences and the desired outcome when selecting a mold for your scented candle melts.
Adding Fragrance at the Right Temperature
To ensure that your scented candle melts have a strong and lasting fragrance, it is important to add the fragrance oil at the correct temperature. It is recommended to add fragrance oils at around 185°F (85°C) for soy wax melts and around 200°F (93°C) for paraffin wax melts.
Adding fragrance oil at lower temperatures may result in weak-scented melts, while adding it at higher temperatures may cause the scent to dissipate quickly. Use a thermometer to monitor the temperature of your wax during the melting process and add fragrance oil when it reaches the appropriate temperature.
Properly Curing Your Candle Melts
Curing is an essential step in candle making that allows the scent to fully develop and adhere to the wax. After pouring your melted wax into the molds, it is important to let them cure for a specific period of time before using or packaging them. The curing time varies depending on factors such as the type of wax used and the specific fragrance oil.
As a general guideline, soy candle melts typically need 24-48 hours to cure, while paraffin or beeswax melts may require up to one week. During this time, it is crucial to store the melts in a cool, dry place away from direct sunlight and other strong odors. Properly cured candle melts will have a stronger and longer-lasting scent when melted.
By following these tips and tricks, you can achieve the best results when making scented candle melts at home. Remember to choose the right mold for your desired outcome, add fragrance oil at the appropriate temperature, and allow your melts to fully cure for maximum scent throw. With practice and experimentation, you can master the art of making scented candle melts and enjoy the soothing and aromatic experience they bring to your home.
Safety Precautions
Importance of Safety in Candle Making
When it comes to making scented candle melts, safety should always be a top priority. Working with hot wax and an open flame can pose certain risks if proper precautions are not taken. By following a few simple safety guidelines, you can ensure a safe and enjoyable candle making experience.
Creating a Safe Candle Making Space
Before you begin making scented candle melts, it is essential to set up a designated workspace that is both safe and well-ventilated. Choose an area away from any flammable materials or surfaces that could easily catch fire. It is recommended to cover your work surface with a fire-resistant material such as aluminum foil or a silicone mat.
It is also important to have easy access to a fire extinguisher in case of emergencies. On top of that, keep a first aid kit nearby in case of any minor burns or accidents during the process.
Protective Clothing and Equipment
To protect yourself from potential hazards, appropriate clothing and equipment should be worn while making scented candle melts. Use heat-resistant gloves to shield your hands from the hot wax and steam. Long sleeves made of natural fibers like cotton can help prevent accidental burns.
Safety goggles are another important item to consider wearing as they can provide protection against splashing hot wax or fragrance oils getting into your eyes. Lastly, it is advisable to tie back long hair and remove any loose jewelry that may get caught in the candle making process.
Fire Safety Precautions
Since working with an open flame can be dangerous, it is crucial to implement fire safety precautions when making scented candle melts. Always keep flammable materials like paper, fabric, or cleaning supplies away from the candle making area.
Never leave melting wax unattended on the stove or heat source as this could lead to accidental fires. Keep children and pets out of the candle making area to prevent any accidents.
By taking these safety measures, you can minimize the risk of fire or injury during the candle making process, ensuring a safe and enjoyable experience for everyone involved.
Making Scented Candle Melts for Special Occasions
Gift Ideas
One of the great things about making scented candle melts is that they make fantastic gifts for special occasions. Whether it’s a birthday, anniversary, or holiday celebration, scented candle melts are a thoughtful and personalized present that anyone can enjoy. Here are some gift ideas to help inspire your creativity:
- Customized Fragrances: Consider creating custom scent combinations based on the preferences of the recipient. You could mix different essential oils to create a unique scent that resonates with their personality or invokes cherished memories.
- Theme-Based Melts: Tailor your candle melts to match the theme of the occasion. For example, if it’s a beach-themed party, you could make ocean-scented melts in shapes like seashells or starfish.
- Spa-Inspired Sets: Put together a spa-inspired candle melt kit that includes relaxing scents like lavender or eucalyptus, along with other pampering items such as bath salts or a mini bottle of massage oil.
- Seasonal Selections: Celebrate the changing seasons by creating candle melts that embody the spirit of each time of year. Pumpkin spice for fall, peppermint for winter, floral scents for spring – the possibilities are endless.
Packaging Options
To make your gift truly special, don’t forget about packaging. Here are some packaging options to consider:
- Decorative Containers: Find attractive jars or containers to hold your candle melts. Look for those with intricate designs or personalized touches that match the occasion.
- Ribbons and Bows: Add an extra touch of elegance by tying ribbons and bows around containers or gift boxes.
- Gift Boxes or Bags: Opt for pre-made gift boxes or bags specifically designed for candles and wax melts.
- Personalized Labels and Tags: Create custom labels or tags with the recipient’s name, event date, or a special message to give your gift a personalized touch.
Remember that the packaging should complement the theme or occasion and enhance the overall presentation of your scented candle melts. With a little creativity, you can make your gift truly stand out and impress your loved ones.
Frequently Asked Questions
Scented candle melts have gained immense popularity in recent years, providing a convenient and long-lasting way to fill your home with delightful aromas. However, many people have questions and concerns about using these fragrant wax melts. In this section, we will address the most frequently asked questions and provide answers to help you achieve the best results with your scented candle melts.
One common concern is whether scented candle melts are safe to use around pets or children. The answer is that while scented candle melts are generally safe, it’s important to exercise caution. Keep them out of reach of children and pets to prevent accidental ingestion or burns.
Additionally, avoid using scented candle melts with essential oils that may be toxic to pets like dogs and cats. Always read the labels carefully and choose fragrance oils that are safe for your household.
Another question often asked is how long do scented candle melts last? The longevity of scented candle melts depends on various factors such as the size of the melt, the strength of the scent, and how frequently they are used. On average, a single melt can provide fragrance for around 8-12 hours.
However, this timeframe can vary significantly based on personal preference and usage patterns. Experimenting with different sizes and brands can help you determine which options last longest for your needs.
Lastly, many people wonder if they can mix different scents together to create unique combinations in their wax warmer. The answer is yes. Mixing scents is a fantastic way to personalize your home fragrance experience.
However, when blending fragrances, it’s important to consider how they will interact with each other. Certain notes might clash instead of harmonizing, resulting in an unpleasant scent combination. It’s recommended to start by mixing complimentary scent families or follow pre-made recipes until you become more comfortable blending on your own.
By addressing these common concerns about scented candle melts, we hope we’ve provided useful information that will enhance your experience. Remember to always prioritize safety and read instructions carefully before using any new product. With the right knowledge and a touch of creativity, scented candle melts can transform your home into a soothing and aromatic sanctuary.
Conclusion
In conclusion, making scented candle melts can be a rewarding and enjoyable experience that allows you to create a soothing and aromatic atmosphere in your home. By understanding the basics, gathering the essential materials and tools, and following a step-by-step guide, you can easily make your own scented candle melts at home.
One of the key factors in achieving the best results is choosing the right wax for your melts. Whether you prefer soy wax or beeswax, each type has its own unique qualities that can impact the fragrance throw and burn time of your candles. Experimenting with different waxes can help you find the perfect balance for your desired scent intensity and longevity.
Additionally, selecting the perfect scents is crucial in enhancing the overall experience of your candle melts. From floral to fruity to warm and cozy aromas, there are endless options available. Don’t be afraid to mix and match fragrances to create your own signature scent. Furthermore, exploring different color and design options can add a touch of creativity and personalization to your candle melts.
Lastly, it’s important to prioritize safety when making scented candle melts. Always follow safety precautions such as using heat-resistant containers, handling hot wax carefully, and keeping an eye on burning candles at all times. With proper precautions in place, you can enjoy a safe and enjoyable candle making experience.
In conclusion, making scented candle melts not only allows you to personalize your home’s ambiance but also makes for wonderful gift ideas for special occasions. By embracing this art form, you can create a soothing environment that indulges your senses with beautiful fragrances and captivating designs. So why not delve into this creative endeavor and bring a little warmth and tranquility into your life through the art of making scented candle melts?

Welcome to my candle making blog! In this blog, I will be sharing my tips and tricks for making candles. I will also be sharing some of my favorite recipes.

