Introduction
Soy candles provide a much safer and healthier alternative to traditional paraffin candles; they’re non-toxic, clean burning and all natural. Soy wax candles can be made in any number of different shapes, sizes, and even colors, making them a fun craft project for beginners. But when it comes to containers for soy candles, glass jars provide the best solution.
Glass jars are quickly becoming the go-to choice for candle makers because they offer superior quality and protection against heat while maintaining an attractive aesthetic. The glass essentially acts as an insulator that helps keep your candle wax from melting or boiling during extended use. This allows soy wax candles made with glass jars to burn cleaner and longer than those housed in other types of containers like metal tins or plastic molds.
Besides safety concerns and energy efficiency, there is also the matter of appearance – glass jars create an aesthetically pleasing look that complements nearly any décor. Additionally, you can find glass containers in practically every size imaginable so you never have to worry about where you’ll be able to fit your latest homemade creation!
Overall, making soy candles in glass jars provides users with a range of advantages that traditional container materials simply can’t match. From visibility and protection to aesthetic appeal and convenience -there’s no doubt why many craftspeople have begun favoring this setup over others on the market today!
What You Will Need
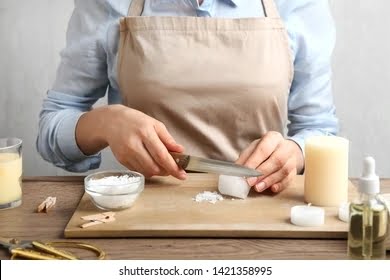
To make soy candles in glass jars, you will need the following supplies: Soy wax flakes, essential oils (optional), lead-free wick tabs, small glass jars, a pot large enough to suspend a heat-safe jar over boiling water, and a wooden spoon. You may also need a pair of scissors or kitchen shears to cut your wick too.
You will also need wax melting thermometer, a hot glue gun and glue sticks for attaching the wick tab to the bottom of the jar. Additionally, you might want to obtain some triple scented fragrance oil (optional) as this can add extra potency and scent to your candles. Safety equipment such as oven mitts, eye protection, and lab aprons should be worn while working with melted wax as it can cause skin burns if spilled directly on skin or clothing. Finally, be sure to have on hand newspaper or paper towels in case there are any spills while making your candles.
Step-by-Step Guide
1. Prepare the wax: Using a double boiler, melt the soy wax flakes until they are fully liquified. If you want to add color or scent to the candle, do so while the wax is melting, following instructions on your materials packaging.
2. Prepare the wick: Dip one end of your candle wick into melted wax and let it cool for a few seconds. Once cooled, take the wick and quickly wrap it around a pencil or chopstick and hold it in place with a clothespin or some similar device.
3. Pour the wax: Carefully pour your melted soy wax into the clean glass jar of your choice, making sure that the wick stays easily centered in the middle of the jar. Hold it in place with a chopstick if necessary.
4. Allow to cool: Allow your candle to cool undisturbed to room temperature for about 24 hours before attempting to light it; this will ensure that it produces an even burn as opposed to tunneling away from the sides of its container.
5. Trim the wick & Enjoy!: When you’re confident your candle has cooled down completely, trim away any excess length from your wick and light it up – carefully! Soy candles can fill rooms with beautiful scented ambience and make great gifts too – once you’ve practiced making basic soy candles, experiment with different scents & colours for more creative results!
Personalization Tips
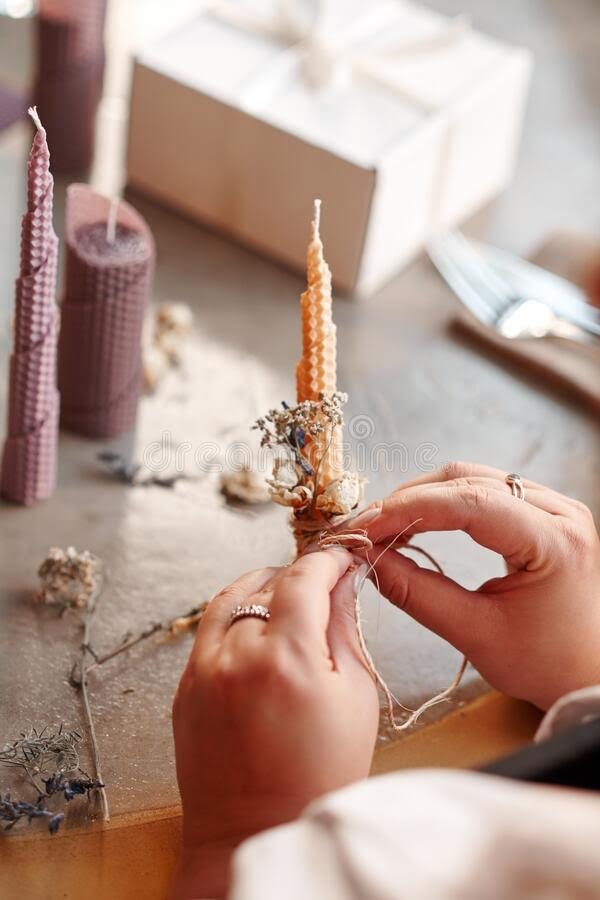
Creating a personalized candle in a glass jar offers endless possibilities. There are numerous ways to decorate the containers, allowing crafty individuals to make each piece unique according to their own style and preference. One way is with paint: Use stencils or hand-painted designs to add simple yet eye-catching visuals to the jars. Accentuate them with various ribbons, embellishments and twine for an added dose of charm. Another great option is decoupage; cut out pictures from books or magazines that inspire you and use a decoupage medium to attach them onto the jars for a memorable decoration that can be enjoyed for years. Finally, try etching glass mason jars with special messages, images or even names – just keep in mind that stronger chemicals are required for this technique, so it’s best suited for those who’ve already had ample experience working with them in the past. No matter which approach you choose, make sure you select an appropriate glue alternative approved for use on glass so that your artwork will stay intact over time.
Professional Touches
If you want your soy candles to look like they were purchased in a store, there are some finishing touches you can add. To begin with, make sure the candle jar is perfectly clean before pouring the melted wax. Carefully pour your wax with the flame of a long wick at least 1/3″ down from the top of the glass jar. This will create an attractive branding “trough” at the top of your candle when finished. Once it is cool and solid, tie a decorative ribbon around the jar that ties in with the color or theme of your candle, such as a black ribbon for Halloween themed candles or yellow gingham for summer scents. You can also add printed labels to provide additional information about the scent you’ve used and other details about ingredients and burning instructions recommended for optimum safety and performance. If you would like to go further, consider adding extra design elements like permanent flower petals around the inner edges of your jars or eye-catching figures glued inside that match with the theme or season of fragrance chosen. Ultimately, taking extra time to finish your candles off suggests added attention to detail and elevates their overall appeal compared to mass-manufactured items.
Alternative Ideas
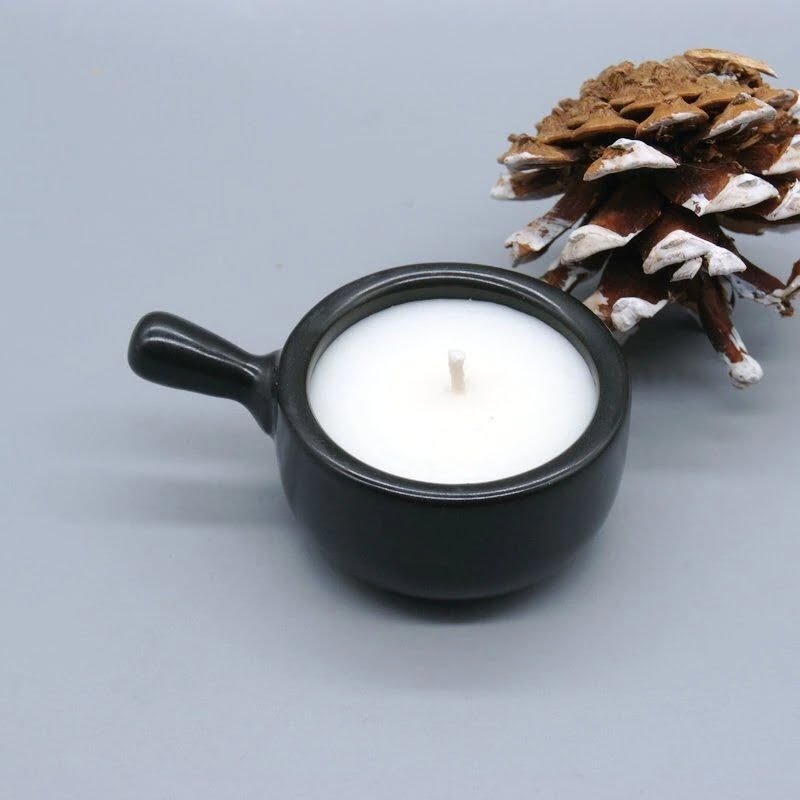
For those looking to experiment, there are plenty of other methods and materials you can use to make different types of candles in glass jars. You can try dipping the wick into a vegetable-based wax such as beeswax and soy wax, or if you have some paraffin wax you could use that as well. Alternatively, experimenting with essential oils or fragrances is an excellent way to create aromatic candles with your favorite scent. Adding dye to your candle mixture is another great way to customize the color of your finished product – although be sure not to add too much or the candle could become brittle and difficult to light later on. If preferred, you could even add dried flowers, herbs, glitter, stone chips and more for decorations. Finally, instead of glass jars, why not try repurposing a cute mini basket or terracotta pot for a unique twist?
Conclusion
Once your soy candle project has come to fruition, it’s time to seal the moment with an unveiling. Light up your new candle and take in the sweet aroma of your hard work. Take a picture or frame the finished products to admire on your mantle piece! And don’t forget to show off your homemade candles by adding them as decoration to special occasions and events, creating endless possibilities for home decor with your crafted creations.

Welcome to my candle making blog! In this blog, I will be sharing my tips and tricks for making candles. I will also be sharing some of my favorite recipes.

