Introduction
Making soy pillar candles is a great way to be more eco-friendly with your candling ritual. Soy wax candles don’t require the high heat needed for beeswax or paraffin, and are naturally biodegradable. They also burn longer and smell great when combined with natural essential oils. This makes them an ideal option for those wishing to maximize their green credentials, whilst still having a safe and pleasant candle experience. Furthermore, soy wax candles are inexpensive and easy to find; making DIY soy pillar candles an easy and affordable recycled project, suitable for everyone from experienced craftsman to newbies alike. Follow our simple instructions below to discover the art of creating your own soy pillar candles!
Materials Needed
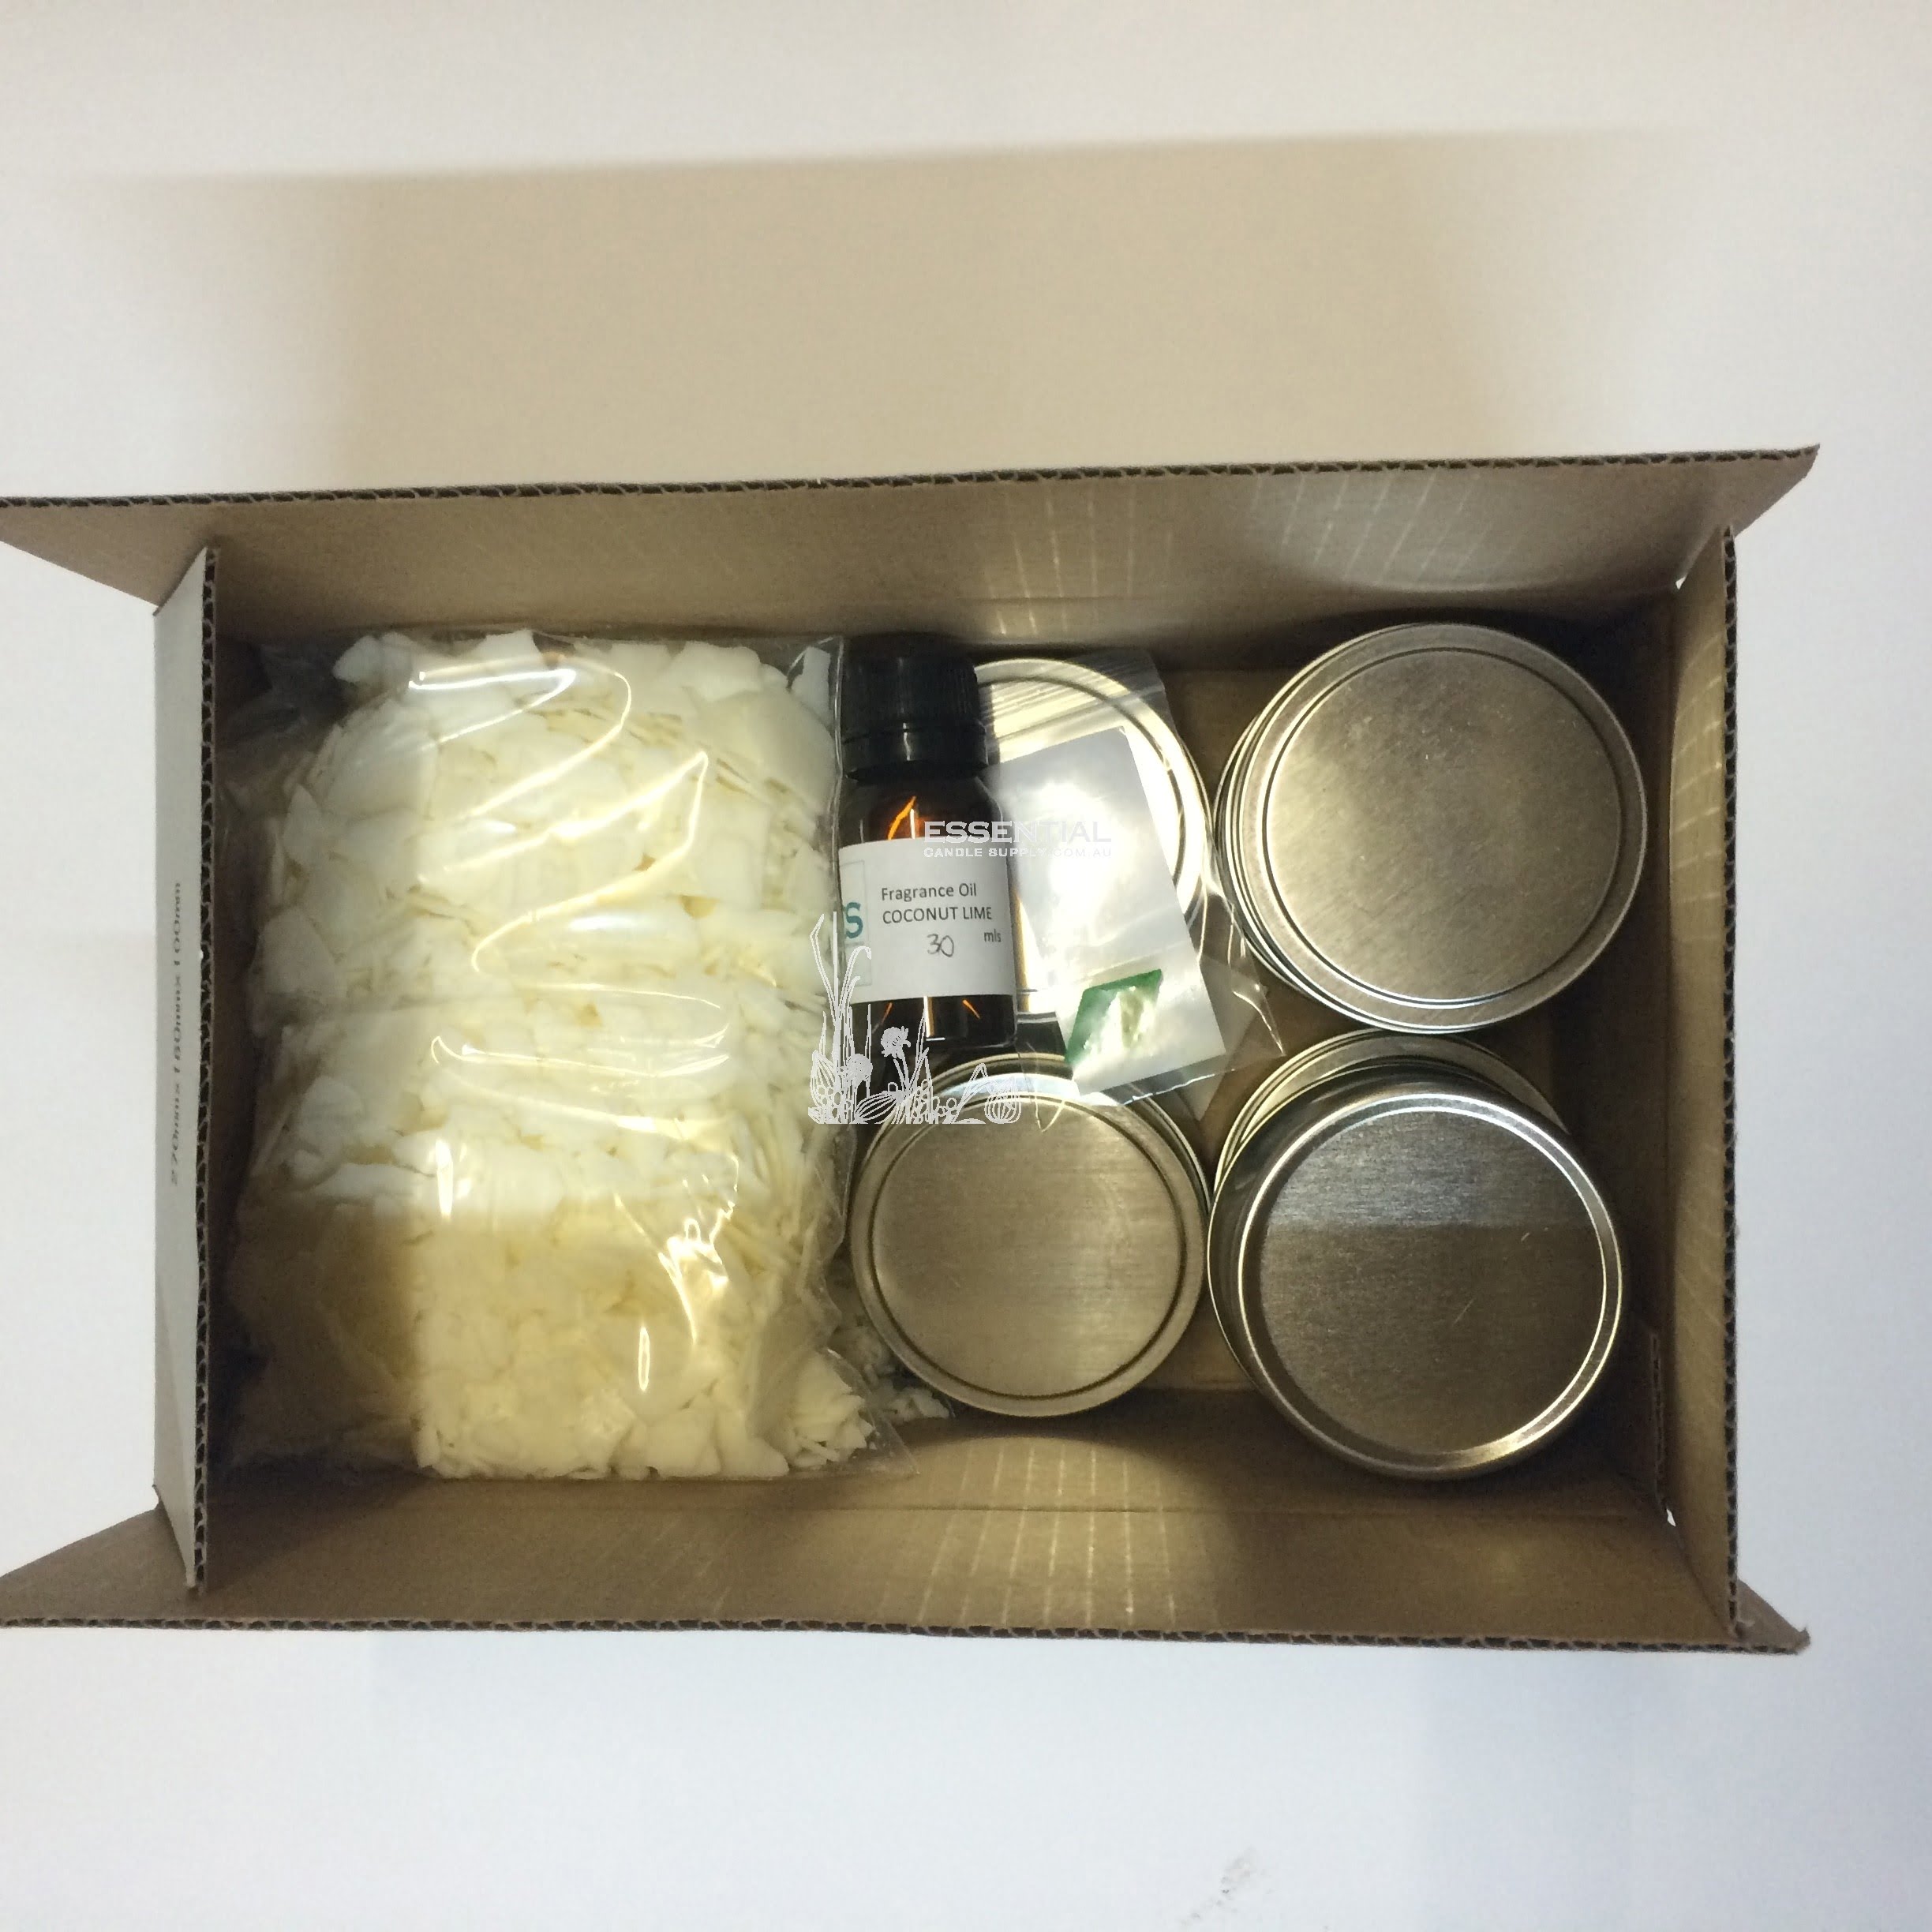
To make soy pillar candles, you will need the following materials and tools:
– 1 lb. of high quality, 100% all-natural vegetable based soy wax
– Candle Making Essential Oil of Choice
– Dual Pour Pot (or 2 separate pouring pots)
– Two Thermometers (for measuring temperatures)
– Wax Wicks with Clips (should be 6” to 8” long)
– Bow Tie Clips (for keeping ends of the wick in place when burning candle)
– Double Boiler or Waring Pro Professional Ceramic Heat System, or Candle Melting Tank
– Pillar Molds of Choice
– Microwave Oven (optional item – can use this to melt wax quicker than double boiler method)
– Large Bowl/Tub with Water
– Scoop & Hot Glue Gun
Additionally, you also may want to use a few other things such as wick centering sticks for centering wicks for larger candles or beeswax or paraffin for wax blends.
Packing the Candle Mold
The process of packing a candle mold with the wax involves multiple layers so that the end product is able to hold its shape and burn for a reasonable amount of time. Before adding any wax, the mold should be preheated to a lukewarm temperature of about 120 degrees Fahrenheit. for an even and consistent heating of the wax.
Once the mold is prepped, begin pouring soy wax flakes or cubes into your melting pot, making sure not to overfill it. Once melted, you should use a food safe ladle or pump to transfer the molten wax into the shape or mold. Start off with fill in the bottom half of the mold completely; make sure it’s even and consistent throughout. Allow this layer to dry or solidify fully before starting with your next layer.
Repeat this step until you have as many layers as you desire and make sure each subsequent layer is dully dried before continuing and keep each layer thinner than its previous one, this will ensure that all part are evenly prepared when being extinguished. To ensure proper drying in between coats, allow between 10 and 15 minutes depending on your environment temperature for each layer.
If there are any bubbles formed during the course of pouring and settling your wax, take you heat gun around areas where bubbles appear and hover over them until they disappear from sight but don’t leave it more then 3 seconds on one area at a go since overexposure could lead burning spots on your candle surface which would eventually cause unevenness as well . Finally let it rest for 24 hours before taking it out from its mould
Making the Wick
Making a wick for a soy pillar candle is a relatively simple process, but it’s important to imbue the right materials and structure to ensure that the candle will burn properly. To begin, the wick should consist of two strands of cotton thread which have both been twisted together. Generally, a thickness of 12-ply (or two strands each with 6-ply thickness) is recommended as this is best suited for soy wax candles. However, there are also other materials available to use as wicks such as hemp, linen or paper twine. These can all produce effective and safe flames in combination with soy wax, although they may require some experimentation in order to figure out the optimum size and shape for each particular type of material. Once these threads have been matched and the desired wick length has been cut from the spool, it can be securely fastened at either end by either dipping it into molten wax or tying knots. Finally, the sizings of your candle must also be taken into account as too large a wick will cause an unnaturally tall flame whereas too small a one will struggle to keep alight on its own. If possible, experiment with different sizes against your particular design before you commit to manufacture your product.
Finishing Touches
The last few steps when making soy pillar candles involve embedding the wick, adding fragrance, and trimming the finished product. Embedding the wick is an important step to ensure proper placement of the candle, and should be done securely with a glue gun or wax pellet. When adding fragrance, use a spoon or ladle. Make sure to use only fragrance oil approved for candle making, as other types of oils may cause sporadic burning and strengthen unpleasant odors during burning. Once the desired amount of scent has been added, temperature must be maintained below 180 degree Fahrenheit so that any additional fragrance will not burn off. Finally, when your candle is completely cooled and set-up , trim your wick to 1/4″ inch for optimal performance – too long a wick can produce excessive amounts of smoke or pooling larger than desired.
Conclusion
Making soy pillar candles provides many environmental benefits. Soy Pillar candles are non-toxic, and are typically made with essential oils that promote a pleasant ambiance without the harsh smoke of petroleum-based candles. They burn more cleanly than conventional paraffin wax candles, giving off virtually no soot, and as a result will not stain fabrics or walls. Soy pillar candles can take on the unique scents of your choosing, making each individual candle distinct and alluring in its own way.
Soy wax is also compostable, making it one of the greenest candle bases available. Additionally, due to their nature as organic materials, their carbon footprint is lower than paraffin wax alternatives.
Hand-crafted soy pillar candles make unique gifts or décor items that bring aesthetic beauty as well as sweet smelling aromas to a room. Not only can they add an elegant touch to any home environment, but being handmade also makes them very personal and special for those receiving them.
If you would like to start making your own soy pillar candles at home, there are numerous resources available online such providing step by step tutorials and guiding you through the basic supplies needed to get started.

Welcome to my candle making blog! In this blog, I will be sharing my tips and tricks for making candles. I will also be sharing some of my favorite recipes.


