Introduction
Making soy wax pillar candles is a creative and rewarding venture. Many candle makers, from novice to expert, enjoy making these special luminaries as gifts or for sale. Not only do homemade candles create an ambiance that is not possible with store-bought varieties, but soy wax is all natural, sustainable, and burns longer than traditional paraffin. Moreover, since soybeans are abundantly found in the United States of America and other parts of the world, this makes it an accessible material at reasonable prices.
Using soy wax opens up exciting possibilities to go beyond plain white pillars, such as making mottled or crackle-finished candles in many different hues. Since each individual candle is unique and require specific tools such as melting pots, molds and fragrances they can be personalized to fit any room’s décor! With patience and practice any candle maker is able to perfect their styles of making these beautiful pillars – allowing them to showcase their own personality in their final product.
Advantages of Soy Wax Candle Making
Soy wax is a great alternative to traditional wax for those looking for a natural, eco-friendly and renewable material to use in their candle projects. Soy wax is made from hydrogenated soybean oil, making it biodegradable and composed of elements that are quickly absorbed by the environment. When compared with paraffin wax (which has historically been the most popular option for candles), it also gives off less soot when burned, meaning that you don’t have to worry about your candles causing damage to walls or furniture. Therefore, not only are you supporting an environmentally friendly business, but you’re also creating a product that won’t leave behind an unpleasant smell or black marks on surfaces! Additionally, soy candles burn longer than their paraffin counterparts. This means that you can enjoy them for longer periods of time before needing to replace them. Finally, soy wax pillar candles offer a unique visual appeal since they come in different colors and sizes. This feature makes them perfect for adding a special touch to any room!
Selecting the Appropriate Supplies for Pillar Candles
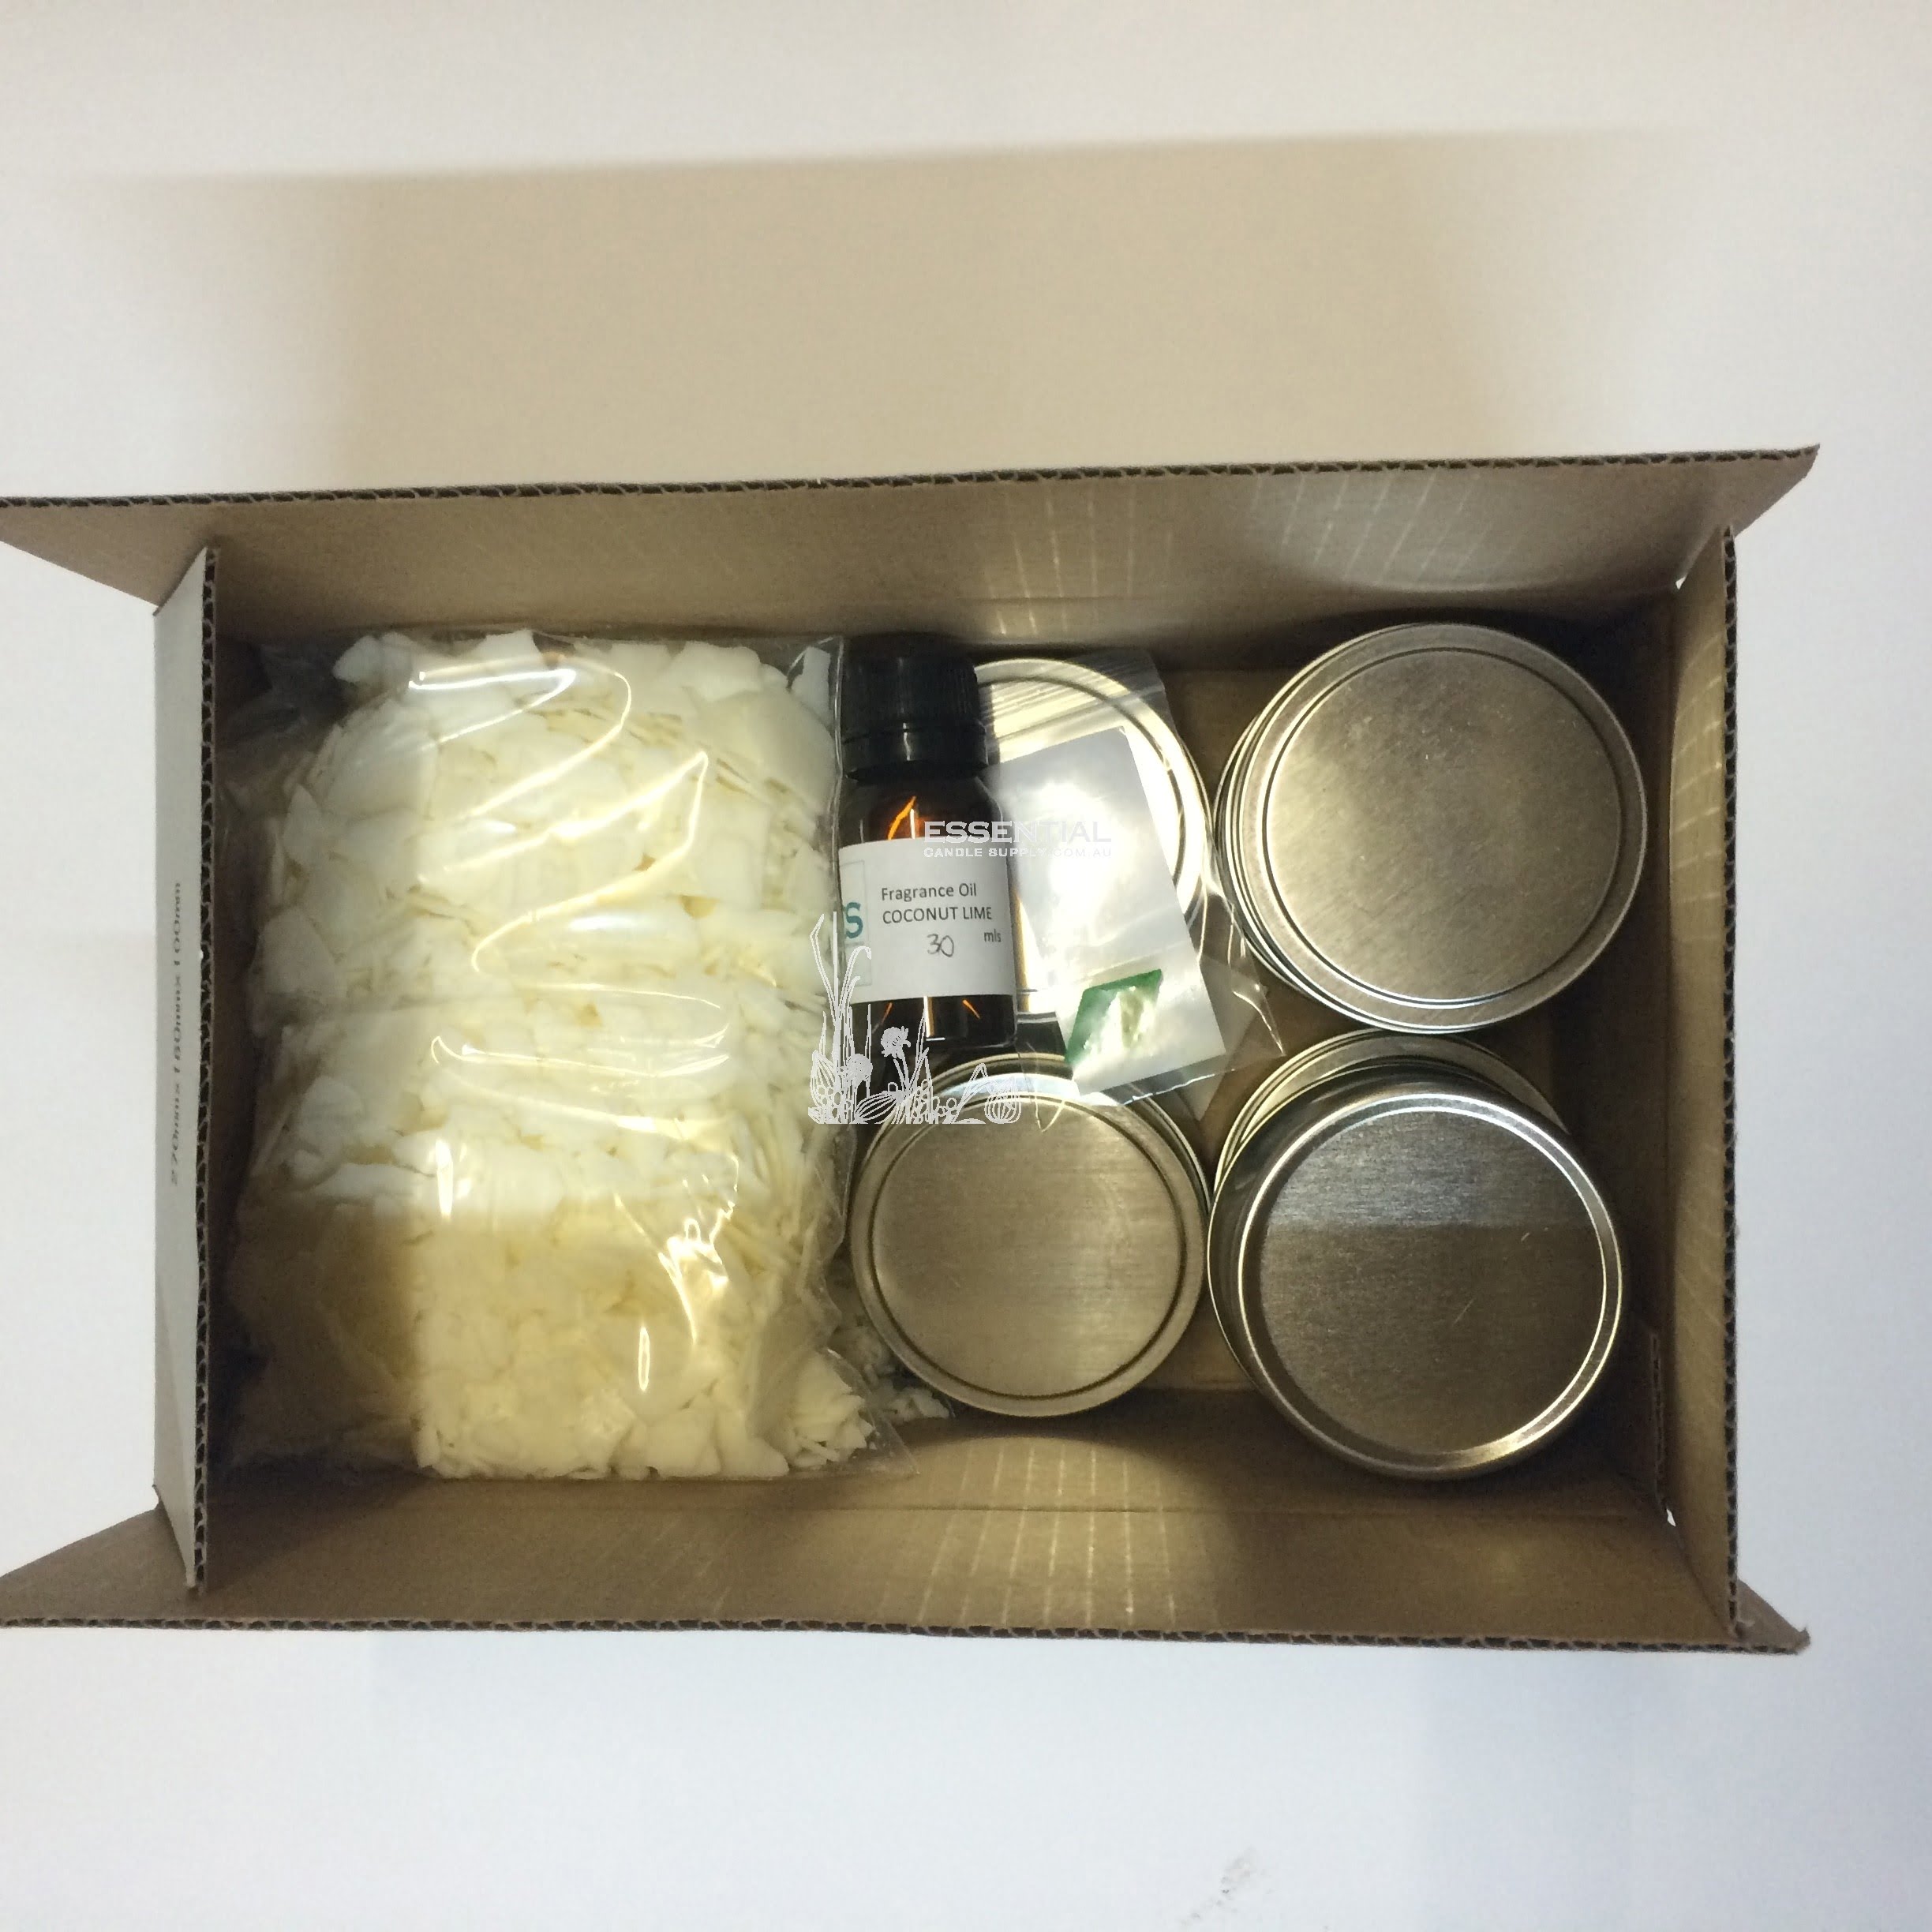
The type of supplies needed to make soy wax pillar candles will depend on the size and design of the candle you wish to create. The primary tools you need are a heat-safe container for melting your wax, wicks, metal wick sustainers and eco-friendly soy wax flakes. Depending on the desired result, there are a variety of colors and fragrances you can incorporate when making your candle. To create colorful candles, use liquid or powdered colorants which come in a range of colors and shades. To scent your candles, choose essential oils or fragrance oils made specifically for candles that will disperse evenly throughout your complete wax pour. Additionally, small decorations can be added such as glitter, floral petals or ocean glass beads to give each candle a unique look and feel. Other necessary items to have on hand include a thermometer to measure the temperature of the melted wax, glue dots, scissors and paper towels. With this selection of materials you’ll be able to make beautiful soy wax pillar candles that are sure to light up any room in your home!
Crafting Your Wax Formula
When it comes to making soy wax pillar candles, the most important step is creating a wax formula. This is where you decide the type and amount of each individual ingredient that will go into your candle. Most formulations include some combination of paraffin or beeswax as well as additives such as stearic acid, vybar, and fragrance oil. To ensure the best results, talk to experienced candle makers in order to gain insight on which ingredients work best for different types of candles. Additionally, research online or in published books dedicated to candle making in order to further your understanding of how different ingredient combinations affect burning time, opacity and fragrancing power. Once you have determined your ingredients and amounts, mix them together following any specific pre-melting instructions included with the product; this step is key since melting temperatures can vary from product to product. Lastly, be sure to test burn one or two samples before starting a full batch! Taking these extra steps up front allows you to avoid unpleasant surprises later and ensures an optimal outcome for your final product.
Pouring into Moulds
After melting the wax and adding fragrance and dyes, you are ready to pour the wax into your moulds. Begin by preheating the moulds. This helps keep the heat of the wax from shrinking or cooling too quickly, resulting in an uneven surface around your candle. Then, slowly pour your hot wax into the moulds taking care to not overfill them. Tapping the mould lightly can help reduce air bubbles in the finished product. If you need to add a wick at this step, use a specially designed wick centering device or rest it across a pencil balanced on top of the mould before pouring. Finally, let candles cool for several hours before removing them from their moulds.
Priming and Securing Wicks
Creating soy wax pillar candles requires a few steps in order to ensure the candles are properly formed and safe for use. The first step is to prime and secure the wick. This process ensures optimal burning of the candle, preventing large mushroom-shaped flames, which can cause soot buildup. Priming the wick involves dipping the end into melted soy wax, typically made from 100% renewable resources that are biodegradable and environmentally friendly. Once dipped, you should cut the wick to length before allowing it to harden securely in place. Depending on your intended design, securing wicks may require additional efforts such as placing clips at specific intervals on either side of the mold before running a tabbed or perfected-wick through each clip securely; this helps create perfectly centered and even burning pillars. After securing your wicks properly, you’ll be ready to start pouring your candle wax into the mold.
Incorporating Scent and Colors
Making soy wax pillar candles can be a fun and creative hobby. Before you begin, you will need to purchase a few simple materials such as soy wax, wicks, containers or molds, scents, and dyes. Soy wax is an environmentally friendly choice because it burns cleanly with no toxins released into the air.
Once you have gathered these items, it’s time to begin! Start by preheating your oven to about 150 degrees Fahrenheit for melting the wax in the container or mold. To ensure the best results, before melting your wax it is important to measure out the proper amount for your desired candle size using measuring spoons or scales. As you melt the wax in the oven, be sure not to exceed its maximum temperature of 250 degrees Fahrenheit; otherwise it could ignite!
The next step is adding scent and color to your soy wax pillar candles. This can done at any point during the candle-making process–before or after melting the wax in the oven–depending on whether you would like a light or more intense aroma. Fragrances and dyes can either be added directly into melted wax or drizzled on top of solidified candles. Once complete, let your candles cool completely before handling them for optimal results. These simple steps will give you beautiful and unique soy wax pillar candles that make wonderful gifts for any occasion!
Techniques for Trimming and Refining
Trimming and refining your soy wax pillar candles can be a challenging but rewarding task. To begin with, you will need to make sure that all of the wax has cooled completely before attempting any trimming or refining. It is also important to ensure that your work space is well ventilated, as when the wax is melted it may produce fumes that are harmful if inhaled.
Once the wax has cooled, you should begin by cleaning off any remaining traces of wick or cotton from the candle. This can be done with a clean cloth or brush, depending on what level of detail you want in your finished product. When this is complete, you should use a sharp knife to even out the top edge of the candle. You will likely want to make several passes with this knife in order to create an even line around the circumference of the candle.
After achieving a consistent shape from trimming, refining may begin. This step involves using sand paper or other delicate abrasives to take away small bumps and ridges which have formed during cooling. For finer sparkles and details on an already polished surface, steel wools are best suited for polishing down the irregularities caused by heating and cooling cycles. After completing this step, it’s time for sealing! Using wax sealants will help protect your completed work from staining and damage due to dust particles or moisture from air humidity. Sealing also allows for easier cleanup–just wipe away excess fuzz if needed! Once everything is dried up and ready, it’s time to light up! Enjoy your beautiful pillar candles as they bring warmth into any indoor area!
Answers to Frequently Asked Questions
Q: What materials do I need?
A: Making your own soy wax pillar candles requires a few materials and supplies. These include soy wax, wicks, containers for your candle, dye chips or natural colorants (optional), and a thermometer to monitor the temperature of the wax during the pouring process. You may also want to purchase an electric melting pot, which will make the entire process much easier. Additionally, you’ll need wax paper and wick holders to keep your wicks upright while pouring in the melted soy wax. It is also recommended that you use stick or sheet fragrances with a maximum concentration of 5%. Lastly, some form of heat protection is required such as mitts or tongs for handling hot containers as well as long matches for lighting the candles.
Q: How difficult is it to make my own soy wax pillar candles?
Step by step instructions can vary depending on the container size and desired outcome but generally speaking, making a soy wax pillar candle is fairly straightforward. Start by Prepping Your Containers so they are ready for pouring or filling with melted wax – this includes securing your wick holder and wick into place inside each vessel so that your completed candle has an even burn throughout its lifespan; next add fragrance if desired and then measure out your designated amount of melted soy wax into a separate container before adding any dye chips or natural colorants if desired; Finally pour this warm mixture into each vessel allowing an adequate space between the top of each container and your final fill level ensuring you leave enough air around each wick area; once all vessels have been filled securely cover them with their pre-cut lid covers before allowing them to cool completely over a period of several hours. And there you have it – one perfect homemade soy wax candle ready for burning!
Finale
After your finished making soy wax pillar candles, you can finally enjoy the beautiful and handmade creations! To light the candle, be sure to use an owl or long match. Find a flame safe place, such as a fireproof dish, and hold the match at a 45-degree angle to ensure that the flame fully lights up. Then, let it sit for around 3 minutes until there is an even pool of wax all around the wick before blowing it out. Be sure to keep near by any potential water sources and keep a close eye on the candle while burning. Finally, sit back and relax with your new handmade creation!
When it comes time to put away your soy wax pillars, they are pretty easy to store and maintain! Make sure all excess debris has been removed around the sides prior to storage and ensure that all of your candles were only stored in airtight containers during their down time. This will help them from cracking from extreme temperatures as well as prevent dust buildup from collecting on top of them. If you want extra security for longer periods of storage, consider wrapping each individual candle in cling wrap before placing into its respective container for added protection against cracked and fading colors!

Welcome to my candle making blog! In this blog, I will be sharing my tips and tricks for making candles. I will also be sharing some of my favorite recipes.


