Introduction
Candles are a product with a long and varied history. The earliest examples of which are said to date back to 3000 BC when Egyptians used rush lights, dipped in beeswax and rendered tallow. Candles were also widely used during the Roman Empire but it wasn’t until the Middle Ages that candles became widely available and used as a source of light during night time. It was during this period when candle making tools such as moulds started to emerge, allowing people to shape candles into unique forms like stars. From the 16th century onwards, candle makers began creating beautiful multi-colored designs with natural pigments, often combined with fragrant essential oils. Today, many remember star shaped candles as a traditional Christmas decoration, giving off enough light to bring joy to dark winter months.
What You’ll Need
Materials:
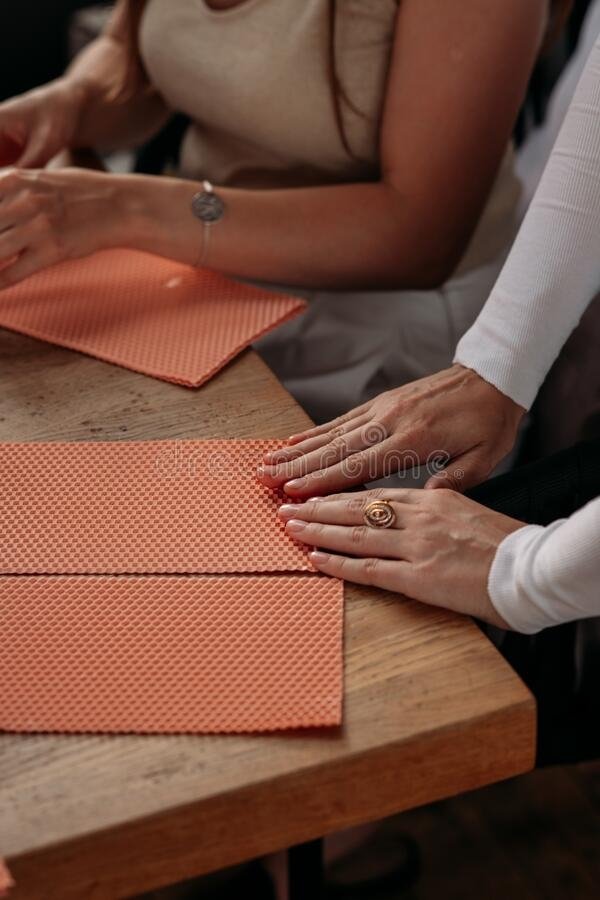
– Beeswax sheets: An alternative to making the star shapes from traditional candle wax, use beeswax sheets. The thin, pliable sheets are easy to manipulate into the desired shape and size of a star-shaped candle.
– Wicks: Most materials used to make candles, such as beeswax, work best with pre-tabbed wicks. Cotton is always a popular choice but hemp offers an eco-friendly alternative for those looking to reduce their environmental footprint.
– Essential oils: Adding essential oils like lavender or eucalyptus will not only make your candle smell great but can also create a calming atmosphere in any room.
Tools:
– Scissors: Scissors will help you cut the wax into star shapes. If you don’t have scissors at home, try using a craft knife for more intricate cuts.
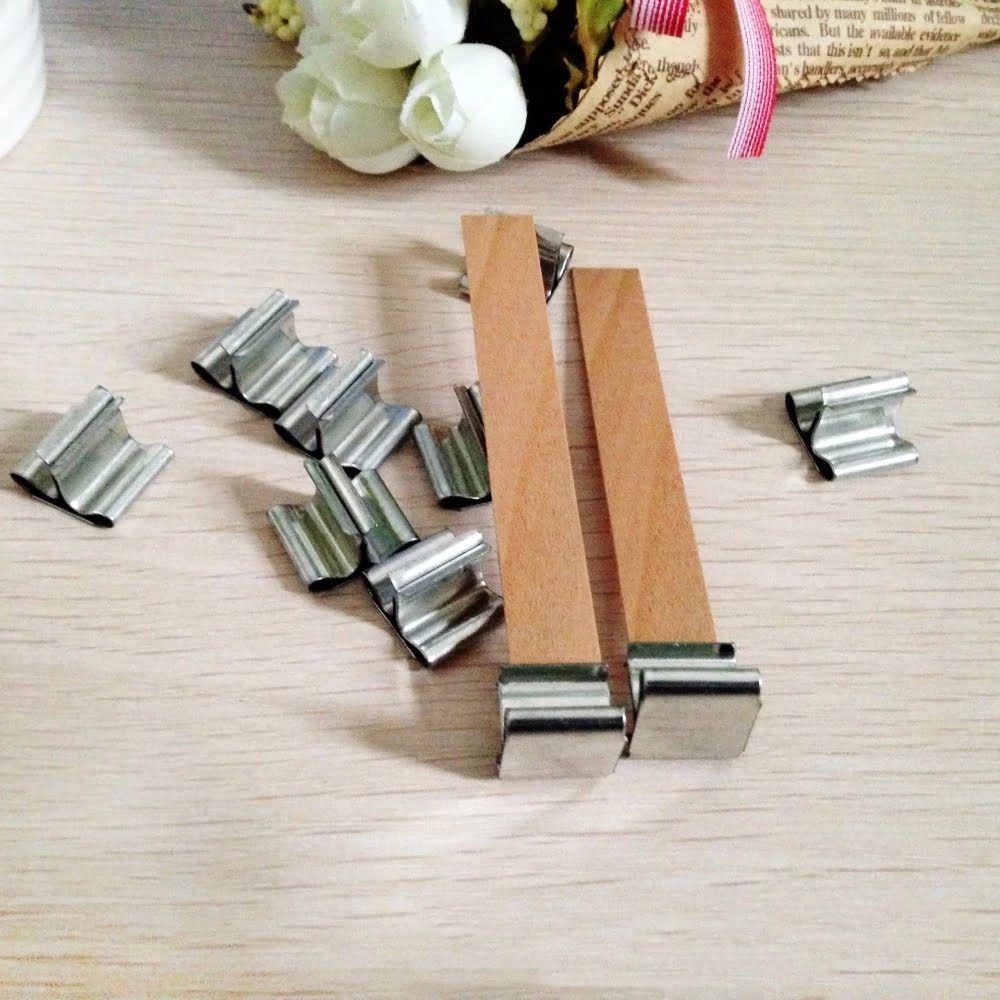
– Wick holder clips: Wick holders are used to secure the wick in place while your wax is melting and make sure it will stay put when you start building your candle shape. You can purchase these online or find them in most craft stores.
– Double boiler or melting pot: Unless you have access to active double boiler systems, it is recommended that you use a dedicated melting pot designed specifically for candlemaking. This will ensure that all of your wax melts safely and evenly without burning or causing any other accidents.
Step-by-Step Guide to Making Star Shaped Candles
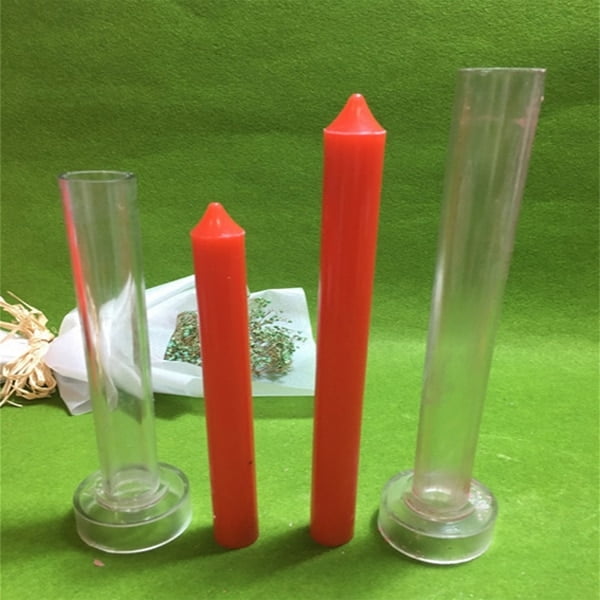
1. Get your materials ready: Set up a double boiler on a heat-proof surface, with wax chips and a wax thermometer in the top pot; some star-shaped candle molds; a stirring rod; and some wicks soaked in wax for easy threading into the molds. Have some newspaper or an absorbent cloth handy to clean up spills.
2. Make sure that your workspace is well ventilated and you are wearing protective gear like safety glasses and glove before you get started.
3. Begin heating the wax until it reaches 190 degrees Fahrenheit. Stir often as the wax melts with long-handled stirring rods as this will improve texture of the finished candles. Monitor temperature closely throughout the process for optimal results.
4. Once melted, add color and scent if desired, then carefully pour the hot wax into each mold up to 1/4 inch from the mold’s rim while avoiding overfilling or spills so that shapes remain intact post-cooling phase.
5. After pouring has been done, immediately insert pre-soaked wicks into molds making sure they are centered properly and wait till something hardens at least slightly (about 15 minutes). Reheat existing layers of wax if needed by immersing plastic lid of mold until necessary adjustments have been made.
6. Once shape has hardened gently remove excess wax near rim to allow large exposures of star shape once cooled properly from above suggested steps (this should take about 4 hours). Lastly, don’t forget that cutting away extra strings will make your product look interesting once put on sale!
Creative Decorating
Making star shaped candles can be a fun and creative activity! Star shapes have powerful symbolism and making them into candles can make them even more special. You can personalize your star-shaped candles in a variety of ways.
First, you can decorate the outside of your candle with colorful beads, sequins, glitter, or buttons that match its color scheme. This will give your candle an extra sparkle that will catch everyone’s eye. You can also paint it with wax enamels to customize the design even further. For example, you could make white stars with blue accents or yellow stars with purple spots.
Another great way to personalize your star-shaped candles is by adding a scent. Whether it’s lavender, rose petals, or sandalwood oil, adding fragrances will give the candle a special touch. Finally, you can create personalized labels for the Container or wrapping paper surrounding the candle to further enhance its look and aroma.
Altogether these additions really take your star-shaped candle from plain to extraordinary! With just a few simple supplies and steps you can bring nature indoors ” transforming your home into something magical!
Conclusion
There are many resources available to those interested in pursuing the craft of making star-shaped candles. Local kitchen stores, craft shops, and even online marketplaces often carry all the supplies needed for candle making. Additionally, libraries and bookstores offer a plethora of sources such as instructional books, pattern tutorials, and recipe ideas that can expand on the basics. With plenty of practice, trial & error, research, and dedicated work anyone can begin making beautiful candles from the comfort of their home.

Welcome to my candle making blog! In this blog, I will be sharing my tips and tricks for making candles. I will also be sharing some of my favorite recipes.

