Introduction
Making taper candles with a mold can be a great way of creating beautiful and classic candles. It is ideal for those who want to make their own materials as the process is much more relaxed and laid back compared to other methods such as hand-dipping and rolling. Molded candle shapes are easier to achieve, meaning you don’t need to worry about any intricate details or irregularities in your design. This makes them perfect for those who want an easy yet creative project that appears professional and polished. Furthermore, while handmade candles require individual attention and care, the use of a mold allows you to create several identical products at once, making it an efficient yet rewarding candle-making activity.
Gather Supplies
In order to make taper candles with a mold, one will need certain equipment and materials. This includes:
• A mold – The size of the candle should correspond with the shape of the chosen mold; molds designed specifically for taper candles can be found in craft stores or online.
• Candle wax – Wax used for candle making can range from low grade cooking paraffin to forms specifically made for candle making such as beeswax, soy wax, or gel wax.
• Dye – Candles can be colored by adding dye specifically made for candle making.
• Scent – Many fragrance oils are available for creating scented candles.
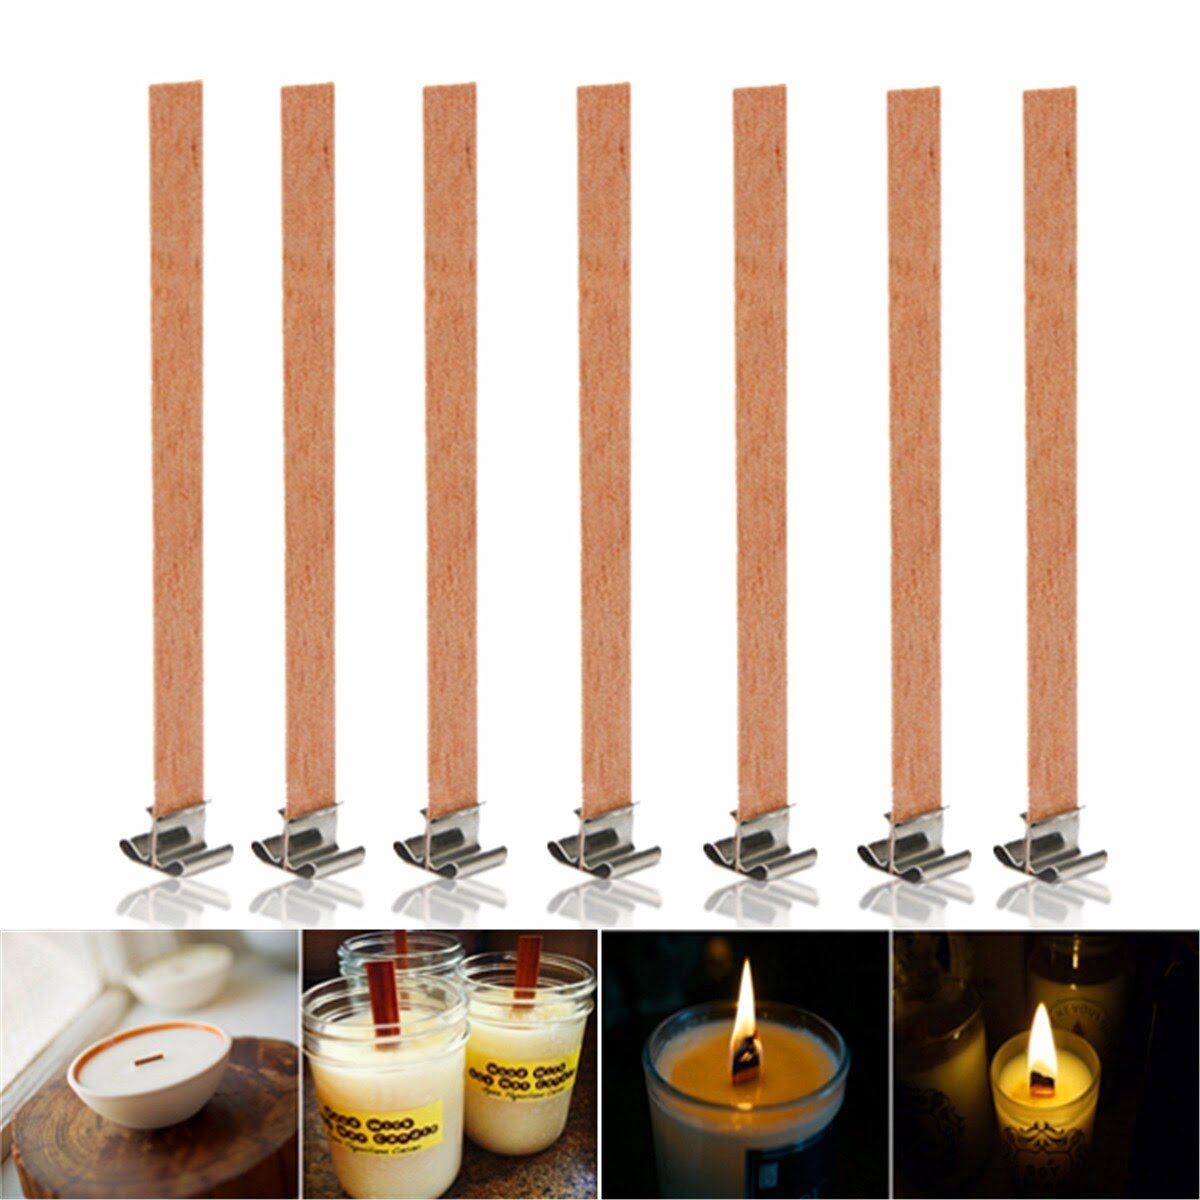
• Wick tabs and wick – These may come with pre-measured lengths on them and be attached to a tab that fits into the mold cavity in which the melted wax is poured. The length of wick should correspond with how long you want your finished product to be. Pay attention to which type of wick works best with your particular type of wax blend. Usually “square” braided cotton core is suggested, although zinc-core is good when dealing with vegetable based waxes like soy or palm wax. Natural fiber wicks such as hemp or jute tend not to work as well as traditional cotton core.
• Melting equipment such as a double boiler, melting pot or slow cooker – Melt the wax according to instructions on packages or those given by suppliers who prepare pre-formulated vessels for candle burning purposes only. As each type of wax has its own unique characteristics, it is important that temperature instructions are followed exactly unless deviating from instructions would result in more desirable properties in a finished product (soy-based blends burn better when cooled slightly longer before removal from molds).
• Protective gear such as safety glasses, heavy duty insulated gloves and other protective clothing items – Wearing these items guards against burning oneself when pouring hot wax into molds and possible splattering when cutting away any excess once cooled down completely after pouring into molds.
Prep the Mold
First, make sure the mold is free from dirt and debris. A damp cloth can be used to clean it down. Alternatively, mild soap and water can be used for particularly grubby molds. After the cleaning process is complete, the sprue attachment needs to be set up by fastening a coin in the center of the candles.
Next, identify where the wick will go and attach an appropriate number of wick pins into the mold at this point with a mallet or small hammer. Ensure that the height of each pin is even according to your desired candle size. Insert the wick through each pin before tying a knot at one end so that it can stay securely in its place throughout pouring.
Once all prepping elements have been completed, brush some cooking oil onto any exposed areas (inside and outside) of the mold to avoid sticking after cooling. This step should allow for easy removal of candles when they have finished setting.
Add Melted Wax
When melting the wax, make sure that you are doing so in a dry and flame-proof surface. For example, good surfaces to use include pans or metal containers set inside a stock pot filled with water. This is because paraffin wax melts at high temperatures and should never come into contact with an open flame. In case of mistakes while melting the wax, such as spilling or sparking, turn off the heat source immediately and take extra precaution while handling the hot wax. Additionally, be sure to pour any melted wax slowly and steadily from at least 6 inches above the mold to ensure that it coats the inside evenly. If pouring too fast or from too close creates imperfections, carefully use a small wooden stick to smooth these out. Finally, always remember to check for air pockets by tapping on the mold lightly before cooling in order for your candles to burn evenly afterwards.
Cool & Remove
Once the wax cools down, you’ll want to remove your candles from the mold. This can be done by slowly working a butter knife or spatula around the edges of the candle until it comes out. Once removed from the mold, you may have some excess wax around the wick, which can be easily scraped away with a razor blade. Tie off the wick at either end and trim any excess so that there is only about one-eighth of an inch sticking above any unevenness. Be sure to wait until the candles are completely cooled before attempting to remove them from the molds. If they are still warm they may lose their shape when taken out, so should be left to set and cool properly.
Trimming & Finishing
1. Start by cutting off the excess wax around the base of your candles. To do this, carefully slice off any uneven edges with a sharp knife or a razor blade. Make sure you are using extreme caution when taking this step.
2. Measure how high you want your candles to be and then using a wick trimmer or scissors, trim your wicks to the desired height.
3. Centre the wick in each candle and press down firmly to ensure it is secured in place.
4. Pick up each taper candle gently and slowly turn it between both of your thumbs about 4-5 times until its centre is nice, round and even all around.
5. If necessary you can use an emery board to smooth out any wick points or bumps on each taper candle’s surface before finishing them off with a little bit of wax polish for that glossy shine you’re looking for!
Enjoy & Display
Burning scented taper candles has a range of health benefits, from reducing stress and calming the mind, to helping with better concentration and focus. Scented taper candles can add fragrance to any space in your home, office or classroom. From uplifting citrus smells like oranges, lemons and limes”to grounding scents like sandalwood, lavender and vanilla”the possibilities are truly endless!
When it comes to displaying the newly made taper candles that you’ve poured into a mold, there are many ways to show them off. A few ideas include adding them as centerpieces for dinner tables or accents for bookshelves, mantles and windowsills. Cluster together multiple tapers with different shapes and colors, or display a single candle in all its waxy glory with a bright patterned plate serving as the backdrop. Visit thrift stores for inventive combinations of vases, stands and plates that work together perfectly!

Welcome to my candle making blog! In this blog, I will be sharing my tips and tricks for making candles. I will also be sharing some of my favorite recipes.


