Introduction
Tealight candles have become increasingly popular in recent years as they provide a convenient and attractive way to light up any area. Beyond their convenience, tealight candles offer several benefits that make them especially desirable for many candle owners. They are small and can be used with a variety of holders, from decorative glass cups to metal teapots. Also, tealight candles produce interesting lighting effects without producing too much heat or soot. Making your own tealight candles is an easy project that requires minimal supplies and very little effort. With just a few simple steps, you can create beautiful, customized tealight candles that will bring extra sparkle to your home.
One of the great things about making your own tealight candles is that it allows you to customize them according to preference. You can choose the type of wax you want to use and the types of additives incorporated into each batch. Options include beeswax, paraffin wax, coconut oil, essential oils as fragrance additives, natural colors like cinnamon or turmeric powder as dye additives, or even dried flower petals for an added touch of beauty. With these options, you can create beautiful colored scented tealight candles in any color or scent that you desire!
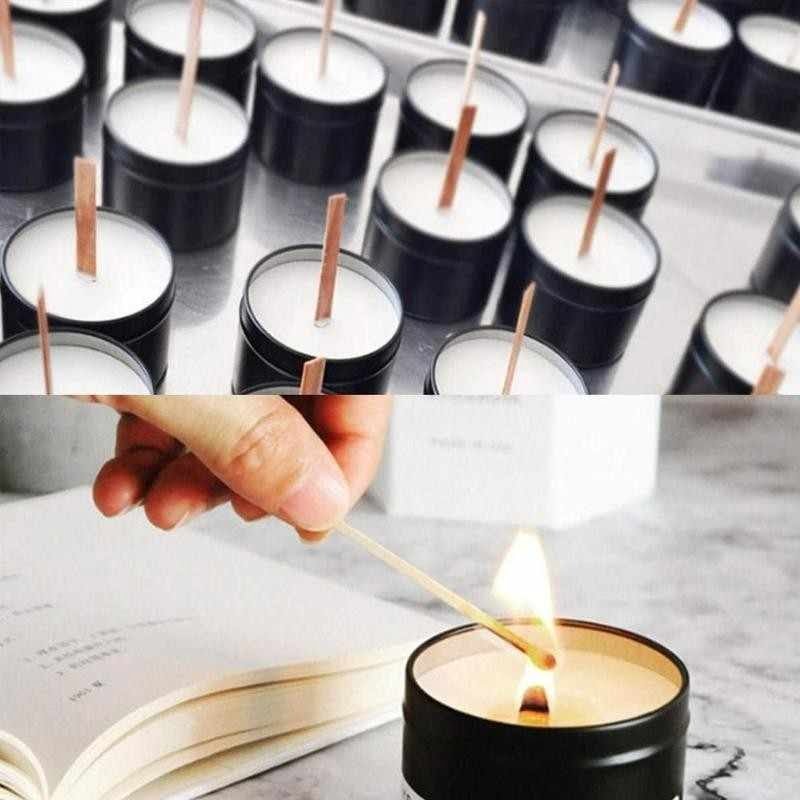
The actual process for making your own tealight candles is quite simple. You’ll need tealight candle molds (available at craft stores or online), candle wax and any optional fragrances/dyes/flower petals you may wish to add for effect. The first step is to melt down your wax on low heat until it is liquid enough so it can be poured into the mold cavities. Once the liquid wax has cooled off initially, one can add pieces of wick into each cavity and gently press down on it to help hold it in place while the wax hardens completely within the next few hours depending on temperature conditions outside the mold. When completed you can carefully pop out each individual tealight once completely cooled and reuse the molds by simply washing them out with water before beginning again with new batches!
Tealight candles offer many benefits beyond their convenience and aesthetic appeal due to their small size yet powerful light source capabilities; they’re also easy to make yourself with a minimal amount of supplies needed making them perfect for anyone looking for an enjoyable creative activity at home! Not only does this allow one complete freedom over design but keeps costs low compared to buying premade versions around stores easily without compromising on quality since each batch done at home usually yields far more than what one would buy from stores in general – playing win-win situation all along!
Supplies and Equipment Needed to Make Tealight Candles
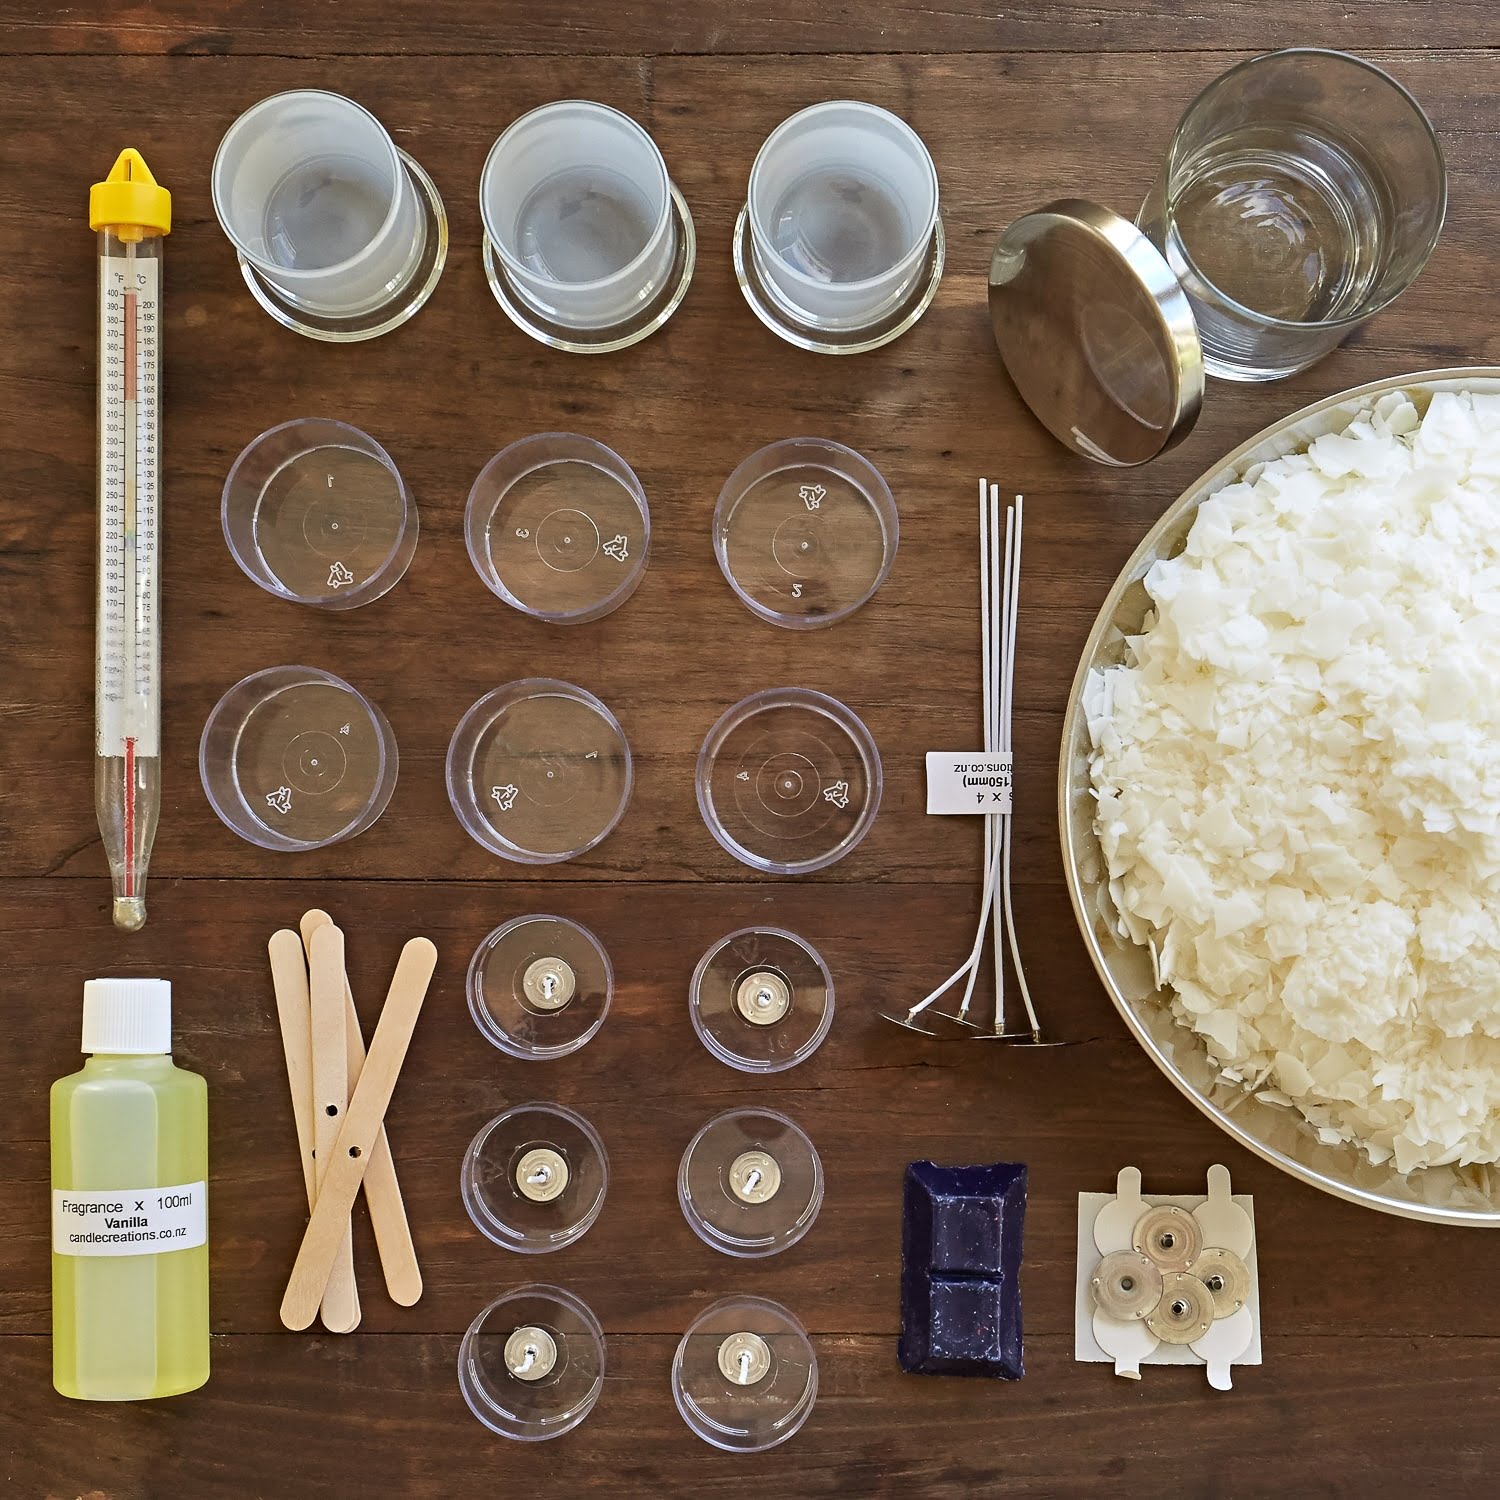
The supplies and equipment needed to make tealight candles include candle wax, wicks, wick sustainers, a double boiler, thermometer, a pouring pot specifically for candle making, empty tealight cups, heatproof mat or surface on which to work, and a spoon or spatula. The wicks must be chosen according to the size of the tealight cup and the type of wax being used. The wick sustainers must be large enough to hold the height of the wick in place. For safety reasons it is recommended to use a double boiler rather than direct heating so that you do not infiltrate your melted wax with water. The thermometer should be used to measure the temperature of the wax throughout the whole process. A pouring pot specifically made for candle making is necessary to prevent any sort of contamination from other materials. Finally, an appropriate heat-proof material such as felt or plastic is important to have on hand so that you have an appropriate working space for your candles. Once all these items are gathered you are ready to begin!
The Step-By-Step Process for Crafting the Perfect Tealight Candle
1. Clean and prepare the workspace: First and foremost, be sure to select an appropriate space with adequate ventilation for crafting your tealight candles. Make sure to clear away all debris from previous projects. Keeping your tools and supplies within easy reach is also extremely important so you can stay organized during the process.
2. Gather Materials: To make a tealight candle, you will need palm wax flakes, candle wick tabs, tealight cups and a double boiler. For perfect results, choose high-quality materials when buying these items; this allows for the best possible burning result when finished. Be sure to have enough of each item – a good rule of thumb is one pound of wax flakes per twelve tealight cups. In addition to materials, you may also need scissors, a thermometer and superfine glitter if desired as decorations.
3. Prepping the Wax: Begin by melting the wax in your double boiler over medium heat until it reaches 125 degrees Fahrenheit or 52 degrees Celsius. During this step avoid walking away from the pot as wax has a tendency to overheat quickly if unattended for even brief periods of time. You can add in essential oils, fragrances and any other additives now as well just before pouring it into the tealight cups – be sure not to exceed 100 drops per recipe though!
4. Adding Wick Tabs: Once cooled slightly start assembling your wicks into each cup using your wick tab holders then place onto a pan lined with foil or parchment paper for holding everything together while cooling properly later on
5. Pouring Wax Into Tealight Cup: Add melted wax slowly then carefully into each cup filling up to just below the rim depending upon desired look and desired burn time of candle Fill remaining spaces with more heated melted wax but allow some headroom at top edge before proceeding If adding any decorative accents such as glitter or other particulates do so at this stage too (but move swiftly).
6 Cooling &Trimming Wick: Allow candles to cool completely before trimming down wick tab post removal from holder if required – remember that having too long of a tab might create uneven burning or smoke issues
Suggestions for Making Quality, Eco-Friendly Tealight Candles
1. Start with quality, natural materials: The best way to ensure your tealights are as eco-friendly as possible is to start with the highest quality, natural materials. Use beeswax for the base of your candles, as that will produce a cleaner burn than paraffin wax or soy wax. Cotton wicks are also much better for the environment than their synthetically made counterparts.
2. Choose essential oils instead of fragrances: Fragrance oils are often synthetic and can be harmful to the environment. Instead, opt for essential oils like lavender, lemon, or peppermint which have a more natural aroma and are yielded from plants.
3. Reuse containers: Rather than buying new candle holders each time you make tealights, consider reusing existing containers such as metal cans or glass jars you may already have lying around your home. This form of upcycling helps minimize waste and puts an old item to good use!
4. Engage in proper disposal methods: Once used, it’s important to properly dispose of any wax leftovers from your making process. Recycle these wax pieces into new batches of candles or opt for a biodegradable option like composting them in a backyard garden bed!
Creative Ideas for Decorating Tealight Candles
Tealight candles make a wonderful decoration for any room in the house. There are so many creative ideas for decorating them to give your living space a unique and inviting look. Here are some of the most popular and creative ideas for decorating tealight candles:
Paint Them: You can paint your tea lights with simple acrylic paints to create beautiful, unique designs and colors. Use stencils or paint freehand to add flowers, stripes, polka dots, or any kind of design you’d like. If you prefer, use natural pigment inks that can be applied with just a sponge or brush.
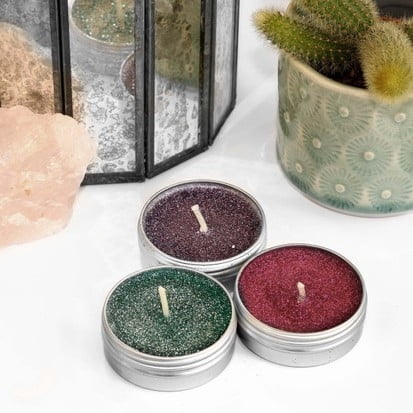
Embellish: Embellishment such as rhinestones, beads, stickers or glitter can give your tea lights an extra flair. Simply attach these decorative items to the outside of each candle using hot glue or craft glue. You may even opt to cover the entire outside of the tea light with colored glitter or confetti pieces to really bring out some pop!
Create Your Own Holders: Instead of buying candlestick holders from a store, why not make one yourself? Tealight candle holders can easily be made from wood crates, mason jars, terra cotta pots or old vases. Paint them in different colors and patterns for an extra special touch. Fill them with stones in assorted shapes and sizes for a unique floating effect when lit.
Bake Them into Desserts: Transform tealight candles into edible treats by baking them into cakes and cupcakes! Fill a cupcake liner with cake batter halfway up then place a tealight candle in the middle before filling it up with more cake batter on top. Bake until golden brown and enjoy as desserts that light up like sparklers!
Solutions for Solving Common Issues with Making Tealight Candles
One common issue that arises when making tealight candles is the wick falling over. To prevent this, you can use a metal sustainer to keep the wick upright. You should also ensure your wax temperature is not too high when pouring. If it is too hot, it will become more fluid and combined with gravity, make the wicks lean. Another common problem is air bubbles. This can be avoided by making sure the container you are using has its surface clean and dry before pouring in the wax mixture. It may also help to blow on the container lightly after pouring in order for any large bubbles to float up and released through the surface. Poor burn times can often be related to incorrect wicking patterns or incorrect wax temperatures when melting your wax. For example, long burning candles benefit from being poured into colder temperatures as it allows them to have a slightly harder structure around their outside edge ” this results in a longer burn time due to less evaporation of their fuel (wax). Lastly, be careful of candle smoke and sooting issues when burning your tealights – this problem can arise when there isn’t proper ventilation or if an unsuitable wick size is used in relation to that type of wax blend being burned (e.g., a too-large diameter for a certain blend). To ensure proper ventilation when burning, ensure there is plenty of space between each lit tealight and never obstruct your candle burner from having fresh air come in contact with its flame.
Conclusion
When creating your own tealight candles, you have the opportunity to customize each one down to selecting the wax, wick, and fragrance. With a wide variety of combinations to choose from, you can make tealight candles that range from subtle and neutral to boldly scented. Once lit, these small candles will provide both mood-enhancing light and beguiling aromas around your home. Perfect for candlelit dinners or romantic evenings by the fireplace, you’ll be amazed at the wonderful atmosphere that these tiny flames create. Furthermore, since they don’t require watching and are self-contained within a metal tin, no need to worry about spills or mess! With just a few simple supplies and some measurements in hand, you can become a full fledged tealight candle maker in no time at all! Sit back and relax as you revel in the unique aroma and ambience of handmade tealight candles created by your skillful hands. Even better spread the joy with friends by gifting them delightful creations of your own design–you’re sure to receive plenty of compliments along with a pinch of pride as they bask in their warm glow.

Welcome to my candle making blog! In this blog, I will be sharing my tips and tricks for making candles. I will also be sharing some of my favorite recipes.

