Introduction
Votive candles, also known as prayer candles, are candles which are lit and left to burn in combination with a prayer or wish. Votive candles have been used for centuries, sometimes simply in memorium but primarily as a way of asking God or the gods of a particular faith to intervene in a specific situation. The term “votive” is derived from Latin votum meaning wish or promise.
There are two main types of votive candle”beeswax and paraffin wax. Beeswax has been burned since Biblical times to represent prayers entering heaven. Paraffin votive candles became popular in the mid 19th century and were the first form of commercialized votive offerings found today in churches, shrines, temples and homes around the world. Paraffin wax is typically poured into small glass containers called votive holders which help life the burning time from between 2 and 6 hours up to 15-20 hours depending on the size of the candle. For added effect it is possible to scent votives using various fragrances such as jasmine, lavender or cinnamon.
In more recent times there has been an increase in interest in handcrafted beeswax votive creating with many crafters now making their own arrangements either for home use or sale at craft markets, boutique stores and online outlets. Making votive candles requires careful planning when creating your own molds (especially if you opt for larger sizes), an understanding of ratios given different waxes melt differently depending on their particular makeup as well as sourcing supplies including wicks and fragrance oils (for scented versions).
Preparing the Supplies
Before making votive candles, it is important to gather the necessary safety, materials and equipment. Safety is paramount as melted wax can be dangerous. Therefore making sure that areas are clear of children and pets and wearing protective gloves throughout the process of candle making is critical.
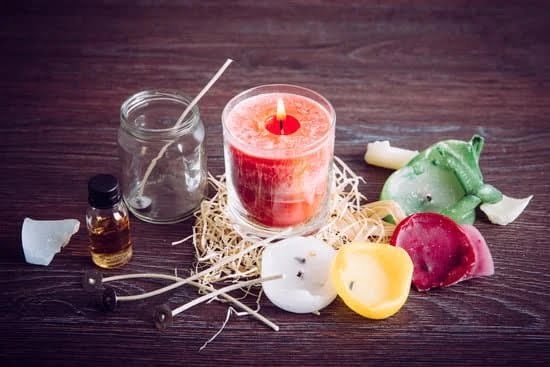
Materials that will be needed include wax, wicks, dyes and fragrances for scenting the candle. The type of wax to use varies, with beeswax and soy being the most common, but depending on what you are trying to accomplish there are a variety of types available. Wicks come in different sizes and should be chosen accordingly through trial and error if it is unfamiliar how thick or thin they should be for a certain size candle. Dyes are used to color votive candles using drops in melted wax pre-pouring; however this may change based on the type of dye or pigments used. Lastly fragrances which provide a pleasing smell when burning can be added drop by drop with higher concentrations usually providing better result than those with lower concentrations based on the level desired.
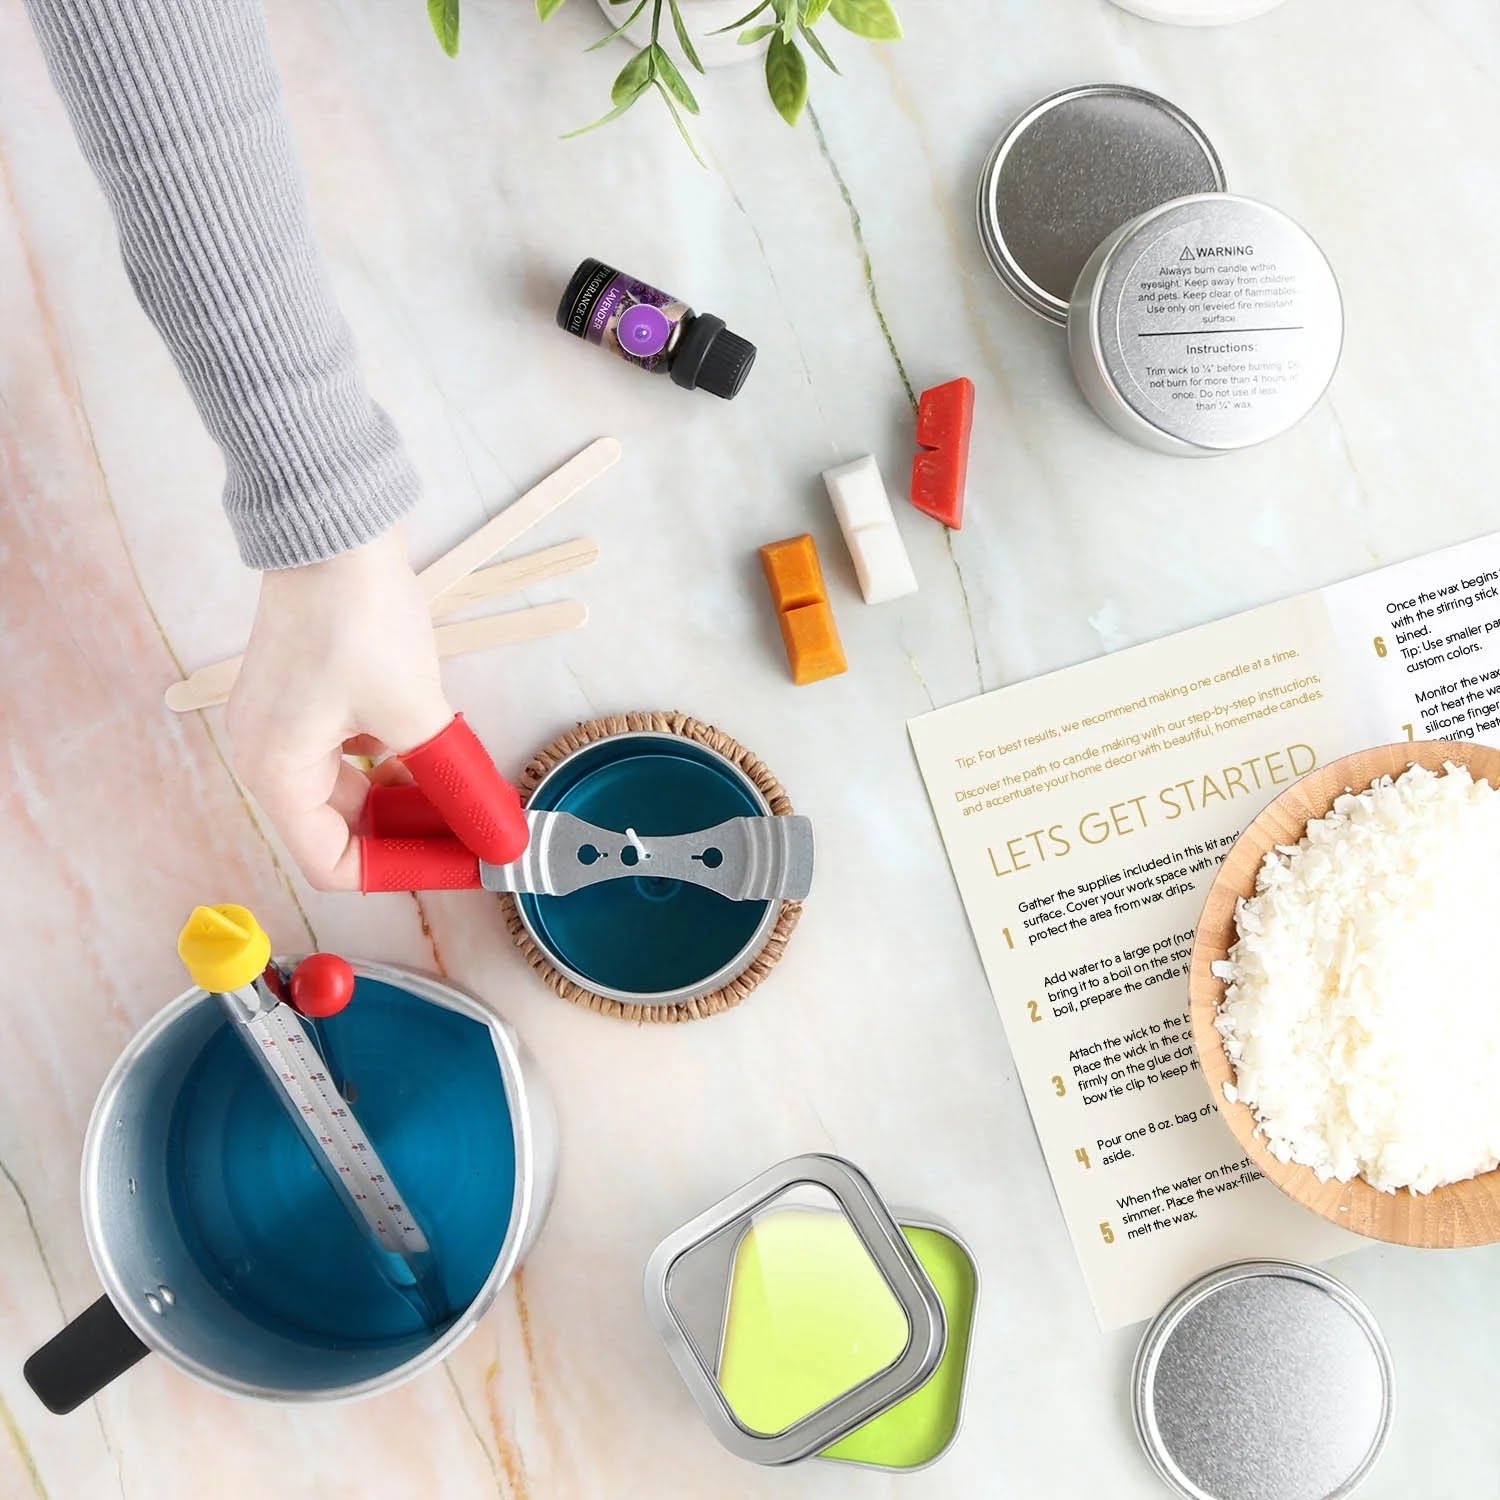
In order to make these votive candles properly, other necessary supplies such as thermometers to determine temperature during melting, measuring cups/spoons or graduated cylinders weigh out ingredients accurately etc., will also need to be gathered before beginning any project involving melted wax like this one. Melt pots such as saucepans (if small amounts) or double boiler set ups should likewise be accessible when pouring the liquid into votive molds. Lastly mixing spoons used for stirring ingredients together along with timer to keep an eye on how long items should stay in their molds before cooling off completely must also be present overhead whichever desired end product given form wanted at end .
Making the Wax Base
Creating votive candles can be an enjoyable and creative activity. Before you start crafting, it is important to first select your container option. Votive candles generally must be placed in glass that is heat safe so the wax does not overflow. Popular glass container options include Mason, jelly and tea light jars. Additionally, any old glass container can be reused such as wine, beer or soda bottles. After selecting your containers, place a wick in each one and secure in place with hot glue to ensure the wick stays centered. The next step involves melting down wax for pouring into your containers. The wax you select will determine the type of votive candle you end up with – beeswax is known for its smooth creamy texture while soy wax has longer burning time. When it comes to actually melting and pouring the wax base, use cautions as overheating wax can be extremely dangerous! Utilize a heat-resistant stainless steel vessel suitable for double boiling and keep a close eye on the temperature until all of your wax is melted through. Afterward, pour the liquid wax into each container with caution until they are all full and set aside to cool – never move them while they’re still hot! Once cooled and hardened, trim each wick to a quarter of an inch so as not to inhibit combustion when lit. Now that you have created the perfect base for your votive candle you may choose to embellish them by adding colors or scents!
Adding Color and Fragrance
When making votive candles, you will need to choose a candle color and scent. To add color to your candles, you can use either liquid dye or dry pigment powder. These come in a multitude of colors, so the possibilities are practically endless! When deciding on a scent for your votive candles, consider the types that are available. Some popular options include floral (which can be created with essential oils), earthy (like patchouli), herbal (such as lavender), spicy (like clove or cinnamon), and citrus (like orange or grapefruit). You’ll also need to decide how much fragrance oil to add to your melted wax. Around 1-2 ounces of fragrance per pound of wax is what’s recommended by most candle makers, although this is adjustable based on preference. The amount of fragrance oil will affect the strength of the scent in your finished product – experiment and adjust the amount until you achieve your desired result.
Finishing Touches
Customization and Embellishments
When it comes to votive candles, there are many options for customization and embellishments. For example, you can add essential oils or herbs to the wax when you are melting it to give the candle a wonderful scent. If color is important to your custom votive design, consider adding dyed wax or dye chips specific to your desired hue. Think about adding decorations such as glitter or herbs into the wax while pouring so that they appear “frozen” in time! Moreover, beads, stones, laser-cut wooden pieces and other elements can be added directly into the mold before pouring in cooled wax.
Choosing Accessories and Labels
After your votives have been designed and set up, it is time to choose the right accessories and labels. Many customers also like personalized ribbons or satin bows coordinating with their décor colors. Similarly, if you’re creating multiple sets of candles for a wedding anniversary celebration or other event, name tags with customized messages tucked inside a container of votive candles make unique gifts for each guest! As for labeling, make sure to include basic information about each candle such as the scent used and the amount of wax used in case of allergies or sensitivities. Also consider having both printed labels as well as hand-written ones – such as small paper tags – on hand depending on what look you want go for!
Burning and Using Votive Candles
Burning votive candles is a beautiful and safe way to add ambiance to any occasion, but there are certain concerns you should always be aware of prior to using them. Before burning your candle, make sure that it’s placed in a sturdy and heat resistant container or holder. You should also trim the wick of the candle down to 1/4” before lighting it ” this prevents candles from smoking, flaring, and creating soot build-up. Additionally, it’s important not to place votive candles near drafts or combustible materials such as paper or curtains ” drafts may cause the flame to bend and wax to spill over onto surrounding items.
When you light your votive candle for the first time, allow the wax pool (the melted wax found around the top area) to reach all edges of the container. This will ensure that your candle will burn evenly and save time in which you need to re-burn the candle later on. Always extinguish your votive candles when they have a ½ inch of wax left at the bottom; not only is this safer than letting all of the wax melt away quickly with one big flame, but also helps extend the life expectancy of your votivecandle. To store votives after use refrigerate them between uses – this will help bring back any scent lost due lackof continuous scent releasing. Last but not least, never leave burning candles unattended and practice sensible practices such as blowing out all fires during sleep or leaving a room for an extended period of time
Conclusion
Votive candles can be a lovely and inexpensive way to bring light, warmth, and beauty into your home. When making votives correctly, you can add an elegant ambiance to any space. Choose the wax type carefully in order to decide the burn time for your candles, as some will last much longer than others. Carefully prepare and melt the wax, then add scent or color if desired. Make sure that you do not overfill the containers so that they will burn evenly; it’s best to leave a 1/2-inch of space between the top of the wick and the edge of the container. Let your candles cool completely before removing them from their molds, and enjoy them safely with correct supervision.
When crafting votive candles, it is important to remember that they must be tended vigilantly while they are burning. Keep away from flammable items and drafts of air, place them on heat-resistant surfaces such as ceramic trays or mats only. Never leave lit candles unattended or asleep in a household with small children or pets.
The benefits of making votive candles include not only being able to customize them to make them truly yours but also it can be much more cost-effective than store-bought alternatives. You are also helping decrease waste when using recyclable containers for your projects!
So now you know how satisfying it is craft your own candle creations! To conclude, here are some simple suggestion for taking care of your handmade votives: Always keep wick trimmed 1/4 inch above wax level before lighting; never move a lit candle; extinguish completely after use; don’t let wick access oxygen during storage by covering with lid when cooled completely; regularly check for drops of liquid wax near base that could potentially weaken vessel and cause breakage or spillage ” discarding if found damaged in any way.
Ready to give it a try? Why not create something beautiful with votive candles today!

Welcome to my candle making blog! In this blog, I will be sharing my tips and tricks for making candles. I will also be sharing some of my favorite recipes.


