Introduction
Making wax melts out of candles is a fun and easy DIY project that anyone can do. With minimal supplies, you can easily recycle old candles and create beautiful wax melts for your aromatic home. In this project, you’ll learn how to melt old candles to make wax melts. You’ll also learn how to scent the wax with essential oils or fragrance oils before pouring the melt into molds and letting it harden so that you can enjoy your custom made aroma. Finally, you will explore ideas for projects like making gift sets out of your homemade wax melts for friends and family. So grab some old candles, your essential oil stash, and let’s get started making wax melts!
Gather All the Supplies You Will Need
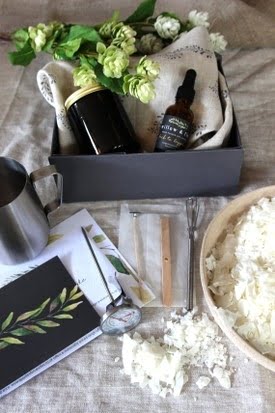
Making wax melts out of candles requires a few supplies. Here is a list of the materials you will need, along with where to find them:
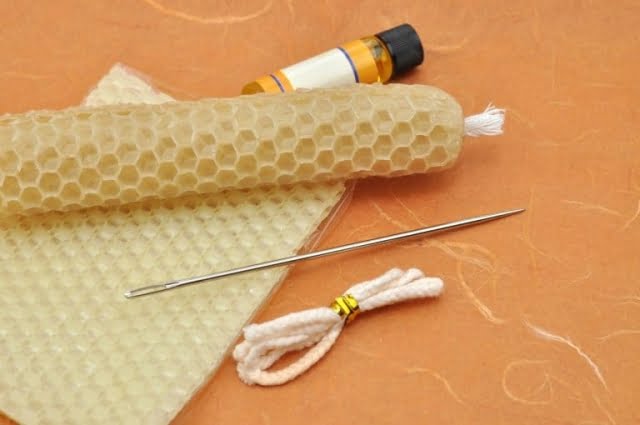
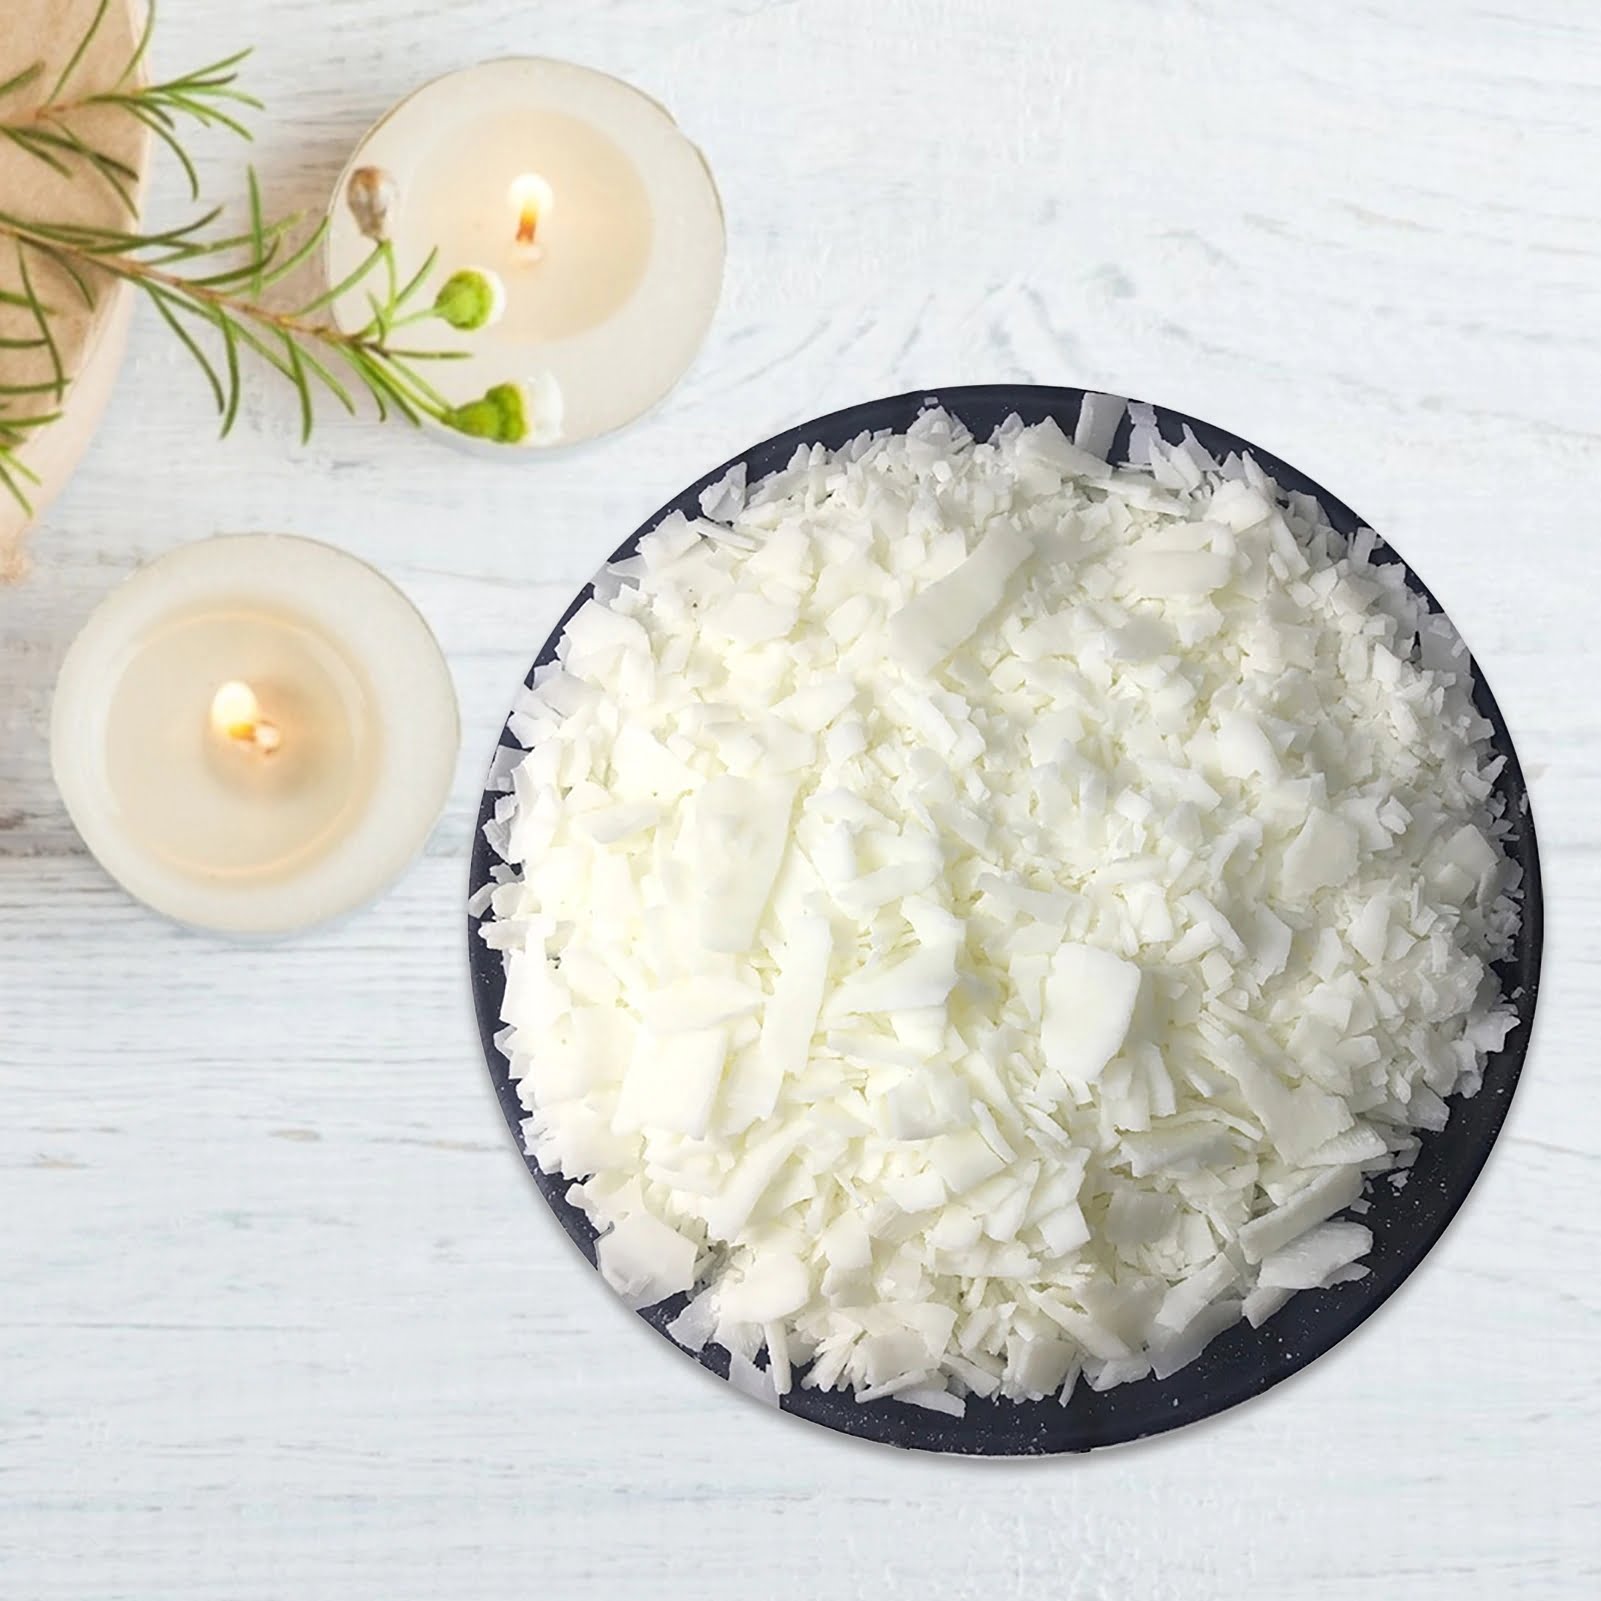
• Wax – You can buy wax specifically designed for making wax melts at your local candle making store, or pick up some paraffin wax or beeswax from your craft store.
• Wicks – You can find wicks at any craft store and many candle stores. It’s best to get pre-waxed wicks for this project.
• Container for Melting the Wax – Make sure to use a container that is made of glass or metal so as not to melt when the temperature gets hot.
• Fragrance Oils (Optional) – Fragrance oils are available at most craft stores and can be used to add a pleasant scent to the wax melts.
• Melting Pot – To melt the wax in, you can use an electric melting pot that you can find at your local craft store or purchase one online.
• Pouring Pitcher – A pouring pitcher makes it easy to measure out liquid wax and then pour it into molds without spilling it all over your countertop. These can also be found at most craft stores.
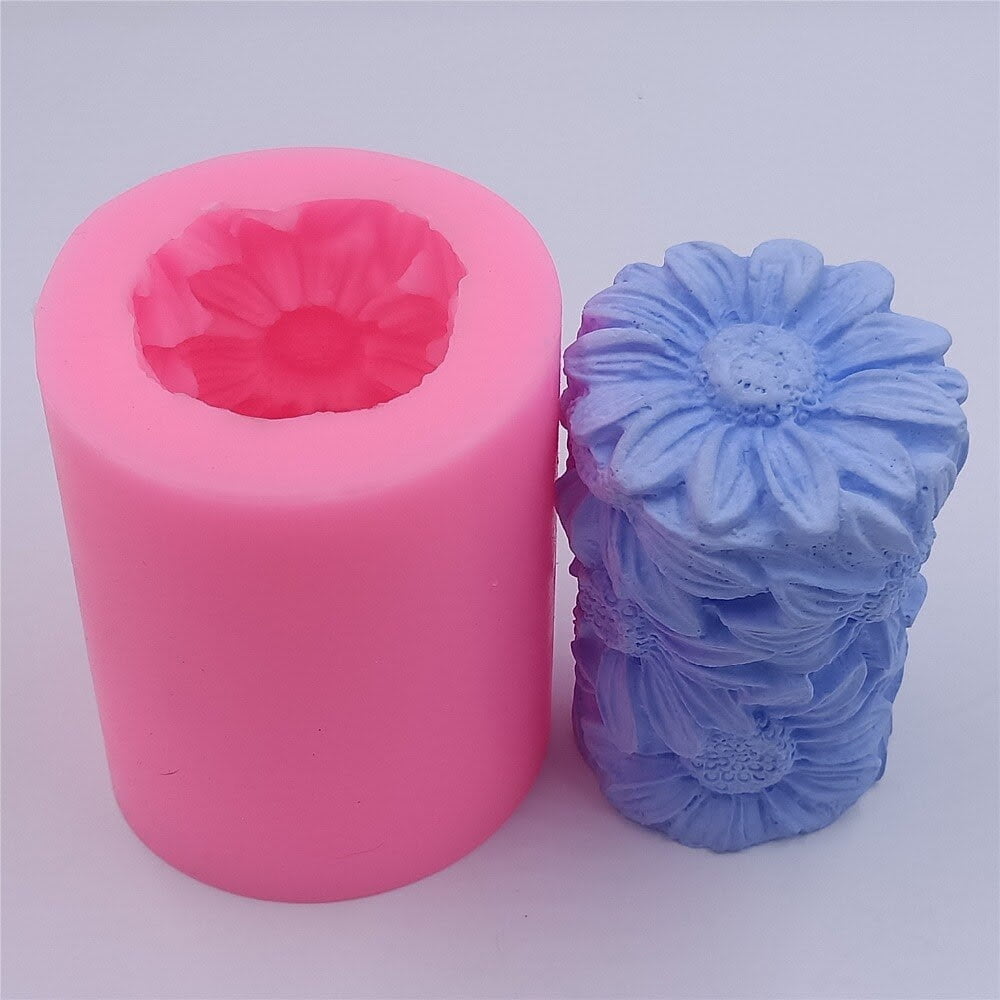
• Molds – Any type of mold will work just fine! You could reuse old lovs from candles that you no longer use or purchase molds from a candle-making shop specifically made for creating wax melts.
Flame or Heat Source Options
Candles are a great way to make wax melts, as the candles provide a heat source to melt the wax. This is excellent for people who lack access to an electric heater. Here’s some of the main sources you can use to melt your candle wax:
Crock Pots or Double Boilers – These are great options because they provide a steady, consistent heat that won’t get too hot or too cold. However, they are slower to get up to temperature than most other methods so if you need a quicker melt then this might not be ideal.
Stove Top – This is probably the most common method and involves placing the wax in a metal container over top of boiling water on the stove top until it has melted. The advantage is that it’s a relatively easy process without needing any specialized equipment. The downside is that if you aren’t careful and don’t monitor the temperature vigilantly, it could lead to scorching or burning which will ruin your wax.
Indoor Garland Lights – These type of lights emit from a low-voltage power cord and generate minimal heat that can be used for melting your candle wax quickly. One downside is that their wattage isn’t strong enough for larger amounts of wax, so you may need multiple light sets when doing larger batches. It can also be difficult to maintain an even temperature throughout all areas of your batch as one area may receive more heat than others due to how they are distributed around the container of melted wax.
Outdoor Garden Lights – These garden lights generate higher voltage and are stronger than indoor garland lights but still pack less wattage compared to halogen bulbs or hot plates which means they shouldn’t be used with larger quantities of wax either. Just like with garland lights, with outdoor garden lights you need to ensure an evenly distributed heat throughout all areas of your batch unless you want some parts turning gritty on you.
Selecting the Right Candle
When selecting the right candle for making wax melts out of candles, one should not only take into account the type of wax but also the scent. Different wicks and waxes will produce different fragrances, along with varying levels of intensity. To get the desired scent, one should choose a candle specifically designed to create the desired effect. For instance, beeswax candles have a naturally sweet smell and are perfect for those looking to craft a cozy scent in their home. The soy-based wax has a more subtle aroma that does not overpower rooms, making them suitable for large areas. For those looking for something stronger, paraffin-based candles tend to burn more steadily and release more aromatic compounds as they burn. Consider what kind of scent you plan on creating before settling on one type of candle – from fresh florals to calming lavender or warm spice scents – and use it as your guide in choosing the perfect wax melt material.
Choosing a Mold
When it comes to making wax melts out of candles, the shape you choose for your mold is an important factor. You want to make sure that your melts are the right size and fit comfortably into vaporizers or tart warmers. Additionally, the shape you choose for your mold will affect how quickly or slowly the candle or scent will fill the space with aroma.
The larger the mold, the bigger area it will take up in the warmer, meaning there is more surface exposed for burning and fragrance dispersal. Conversely, a smaller or more detailed shape will help create a concentrated scent throw and burn time before needing replenishment in a warmer.
As such, making sure you select a mold shape that works well with your vaporizer or tart warmer is key to achieving the desired results from your creation. Be sure to consider its capacity limits as some molds become too full when melted down into wax form. With this in mind, look for shapes with deliberately designed flat backs and generous widths that can accommodate enough wax without overflowing so that you won’t be left feeling frustrated as this happens regularly with certain molds where exact calibration isn’t ensured. Additionally, you may also wish to think about what types of embellishments may be suitable given their shape — any extra accents should provide an adequate surface area upon which they rest securely while burning so you don’t have floating objects shooting around your wax melt burner during use!
Taking the Wax Out of the Candle
1. Begin by setting down a sheet of wax paper on your workbench and place the candle you would like to reuse the wax from on top.
2. Using a sharp knife, carefully slice open the candle and remove the wick that is inside.
3. Cut off any label or other material that is covering the outside of the candle, being careful to leave as much of the wax intact as possible.
4. Carefully pour or scoop out all of the wax from inside; it will probably be unexpected thick so you may have to use extra force or a tool such as an old butter knife or spoon in order to get all the wax out.
5. Place all of the removed wax on top of the wax paper, making sure no foreign materials are mixed into it; some implements may be okay if they can easily be scraped clean and kept sterile.
6. Now it’s time to prepare your molds for creating your melts! Take each mold and lightly spray with cooking spray or use a small amount of melted shortening on each one; this will help ensure that your melts come out easily once cooled and hardened. Be sure not to scuff up any lettering along with edges of molds too severely when spraying/using shortening–you want them to come out in one piece!
7. Melt down your reused candle wax over low heat either in a double boiler or large pot filled with water that is positioned above an electric stove–whatever medium you prefer!
8 Stirring constantly while heating up, make sure not to let your wax become too hot–high temperatures can lead to burning & lower quality end product results!
9 Once fully melted & blended well turn off heat & use a glue-gun type tool needed for precise pouring/dropping’s small amounts into desired molds without having spillage occur too often! As soon as all sections filled allow cooling completely before attempting removal process due potential cracking if trying beforehand even slightly warm pieces might still need released form its surroundings carefully using either palms hands or butterknife type device depending on model size shape etcetera…
Tips & Tricky Bits
One common mistake that people make when making wax melts out of candles is using a double-boiler to melt the wax. This can create a temperature too high for the wax, and it can flame or smoke. To prevent this from happening, use an electronic melting pot instead. It helps regulate the heat to an appropriate temperature that won’t damage the wax.
Another common mistake when making wax melts is adding too much scent to them. This can result in the finished product being very overpowering and unpleasant smelling. The best way to avoid this issue is by measuring carefully and adding scent slowly, only increasing as needed until you reach your desired strength of fragrance.
Lastly, many people forget that beeswax has a different melting point than other types of wax and thus requires specific temperatures when working with it. If you’re melting beeswax, be sure to set your pot or electric heater to 165 degrees Fahrenheit (73 degrees Celsius). Otherwise, you risk burning off the scent or changing its character entirely!
Putting Your Wax Melts to Good Use
Once you’ve made your own wax melts out of candles, there are a number of creative and fun ideas for using them. Here are some to consider:
• Home Fragrances – Use your wax melts to scent any space in an efficient and safe way. Place one in an oil burner with a tea light candle or electric burner and it will release the scent quietly throughout the room.
• Aromatherapy Massage – Melted wax can make massage more relaxing and enjoyable by enveloping both masseuse and client in pleasant aromas. Use essential oils from your local health store or mix your own blends to add even greater healing benefits.
• Stress Relief Toys – Put a few drops of scented wax into stress relief toys like kids’ putty, as well as crafts such as ribbon wands or paper stars to spread nice fragrances when used.
• DIY Candles – Add heated wax melts during the candle-making process to create unique scents, colors, and effects. It’s also an excellent option for customizing gifts for friends or family members who appreciate handmade items.
• Potpourri – Make potpourri using dried herbs, flowers, wood chips, bark pieces, etc., then add melted wax melts on top to bring everything together in a harmonious aroma experience. The result can be kept in decorative jars or baskets around the house; it will slowly release its scent with no need for supervision of any kind.
Conclusion
Making wax melts out of candles is an enjoyable and creative activity that anyone can do. By melting down leftover pieces of candles, you can create beautiful scented wax melts to enjoy or even give away as gifts! The process for making your own wax melts is relatively easy – all you need is your old candles, double boiler, cookie cutters (or other mold), plus a wick. Start by melting down the chunks of candle in a double boiler, then pour the liquid wax into the cookie cutter moulds. Let them cool and harden for several hours before carefully popping them out and adding a wick to the top. With each new batch, why not try different fragrances or colors?
In conclusion, making wax melts from old candles is an easy and fun project that allows you to get creative with scents and shapes. Whether you’re looking to make a unique gift or simply want to enjoy some homemade aroma-therapy, this activity has something for everyone. For those interested in learning more about the process of making their own wax melts at home, there are various online tutorials available both through YouTube and various blogs.

Welcome to my candle making blog! In this blog, I will be sharing my tips and tricks for making candles. I will also be sharing some of my favorite recipes.

