Introduction
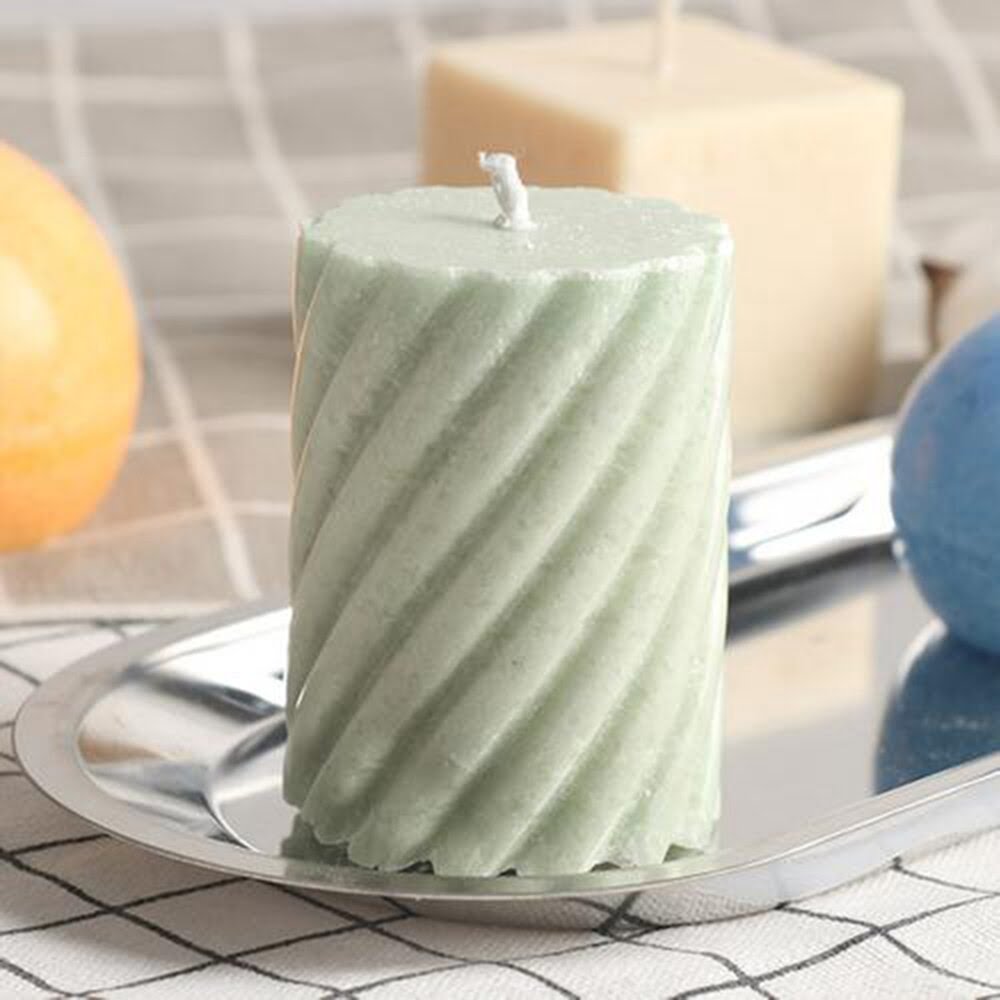
White Vanilla Pillar Candles are handmade candles that look beautiful as pieces of home decor and bring warmth and a gentle aroma to any space. The classic look of these candles make them perfect for any kind of decorative styling, from the more traditional abodes to the trendy modern homes. Candles made with white paraffin wax can be found in unscented or scented varieties. The gentle scent of vanilla is great for adding a little bit of cozy nostalgia to any room. The soft glow brought by these candles makes a warm ambiance that is inviting and calming.
Selecting the Best Materials for Making White Vanilla Pillar Candles
Before beginning the process of making white vanilla pillar candles, it is important to select the best materials for creating a quality product. The two main components in making a candle are wax and wick. Beeswax is often chosen as it provides superior texture, durability, and a subtle honey note. For color, bleached fabrics such as cotton or linen can be used for exclusive whiteness. For scent, high-grade essential oils give off their full fragrant benefits when added to candles. Vanilla is a pleasing and classic option that can be combined with other oils to create unique scents such as jasmine or orange blossom. Additionally, wicks should be made from natural cotton yarn with zinc or tin cores for reliable burning. Lastly, molds of various shapes and sizes can be used depending on the desired outcome of the candle. Choosing high-quality materials will ensure that your candles look beautiful and burn evenly without leaving soot behind after use.
Preparing Your Work Area for Candle Making
When you’re preparing to make white vanilla pillar candles, it’s important that you have a safe, clean work area so that your candles come out perfect. First, find a space in your home where you are able to work without interruption and away from any heat sources, such as windows or vents. If you plan on using the stovetop for double boiling the wax, turn off any power points and make sure no flammables are nearby. Next, get a designated workspace covered with newspaper or craft paper and gather all the necessary supplies–a double boiler setup and scales/measuring cups to measure ingredients; molds and wick pins to form the candle shape; wooden sticks to stir the wax; wooden chopsticks for pressing down the wick into the wax; safety gloves; safety goggles; fragrance oils and dye chips (if desired). Lastly, put together an emergency cleaning kit in case of spilled wax or drips — cloth pieces for soaking up warm spills and an alcohol solution for hardening cold spills. When you have everything ready in your work area beforehand, candle making will be much easier!
Heating and Cooling the Wax for Smooth Pouring
Making white vanilla pillar candles is a fun and simple process that uses wax, an aromatic oil for scent, wick, and a few other ingredients. Before beginning the candle-making process, the wax must be prepared for pouring. To do this, it needs to be heated and cooled. First, the wax must be melted in a double boiler. This ensures that it will reach its melting point without burning or scorching. Once all of the wax has been melted, it needs to be stirred continuously until all lumps have dissolved and it appears uniform throughout. Then, the aromatic oil should be added back into the mixture and stir until completely blended with the melted wax. After that has been accomplished, lower the temperature to around 140°F (60°C) as this is what is needed to ensure that the finished product has a smooth texture when pulled out of the mold. Finally pour the warm wax mix into your molds or containers ensuring that all safety precautions are taken such as wearing heat resistant clothes and working in a well-ventilated area away from any open flames or sparks. Then you can leave them to cool overnight before proceeding with finishing touches like adding additional decoration or trim.
Adding Aesthetics with Dye and Scent to the Wax
Making white vanilla pillar candles is a simple and effective process that can add beauty to any space. The first step in making these candles is to melt several pounds of white paraffin wax at the desired melting temperature—generally between 130-140°F. Once melted, the wax can be stirred with a stainless steel spoon to ensure it’s consistent throughout. To create a pleasing aesthetic, various colors of mica dye or pigment powder can then be added to achieve a desired color. As well, essential oils, fragrance oils, or other scents can also be added to provide an even more attractive candle that has a pleasant aroma. After ensuring everything has been thoroughly mixed, the wax should be poured into molds or glass jars to form their shape and left at room temperature until they harden. Lastly, cotton wicks should be placed into each candle while the wax is still soft allowing them to fully harden before using them as décor pieces in any home.
Pouring the Wax into the Pillar Molds with Care and Precision
When making white vanilla pillar candles, the most important step is to make sure the wax is poured into the candle molds with care and precision. This process should be handled delicately as the wax can easily be damaged during this part of the project. All of the materials needed should be ready before beginning, including: a mold for each candle, wicks and white vanilla scented wax; keep in mind that different types and sizes of molds will require different amounts of wax to fill them. Once all items have been gathered, melt the wax over low heat until it reaches 190-200 degrees Fahrenheit (be sure not to exceed this temperature) and then pour it carefully into each mold. Wait until it cools completely before taking them out of their molds – this could take a few hours at least. Finally, if desired attach wicks to ensure even burning once lit. With patience and careful attention to detail during this step your candles should turn out perfectly!
Burning and Enjoying White Vanilla Pillar Candles
Before you can enjoy the pleasant scent of white vanilla pillar candles, there is a process that needs to be followed when making them. Start by gathering your materials: wax, dye or liquid candle color, fragrances, wicks and waxed paper. Next, you need to measure out the correct amount of wax and place it in a melting pot over medium heat. When the wax has melted, carefully remove it from the heat and add desired colors and fragrances. Once you have blended everything together, pour it into your molds or containers and let it cool for several hours until it becomes solid again. When fully cooled, insert the wicks into each candle before removing it from its container or mold. You should allow each of your homemade candles to set up overnight then snuff out any remaining smoke residue before burning them.
Once the candles are ready to burn, light them in a safe location away from curtains or other flammable objects. As they burn enjoy their sweet aroma which will fill your space with an inviting and cozy atmosphere. Be sure never to leave burning candles unattended and always keep an eye on their flame at all times as uncontrolled fires can easily occur if not monitored properly. To get extended use from your newly created white vanilla pillar candles, routinely trim off any carbon buildup from their wicks with scissors or a tool specifically designed for this task to prevent smoke emissions and large soot clouds when lit again. Clean-up afterward is a breeze too – simply let any leftover wax cool before scraping it away with a spatula!
Avoiding Common Candle Making Mistakes
White vanilla pillar candles are classic and timeless. Crafting these candles is a surprisingly simple task, but as with any candle making, a few preventable mistakes can ruin an entire batch. To produce the perfect white vanilla pillar candles every time, it is important to be aware of some common candle making mistakes and how to prevent them.
The first mistake is improperly measuring materials when crafting the candle. When melting and pouring the wax into the mold, it needs to have just the right amount of material in order to properly set and keep its shape after cooling. If too much or too little wax is used, it won’t solidify correctly and will be a misshapen mess that might not even light properly. Similarly, when mixing scents with wax, make sure you don’t add too much fragrance as this can negatively affect how the flame burns and cause it to smoke excessively.
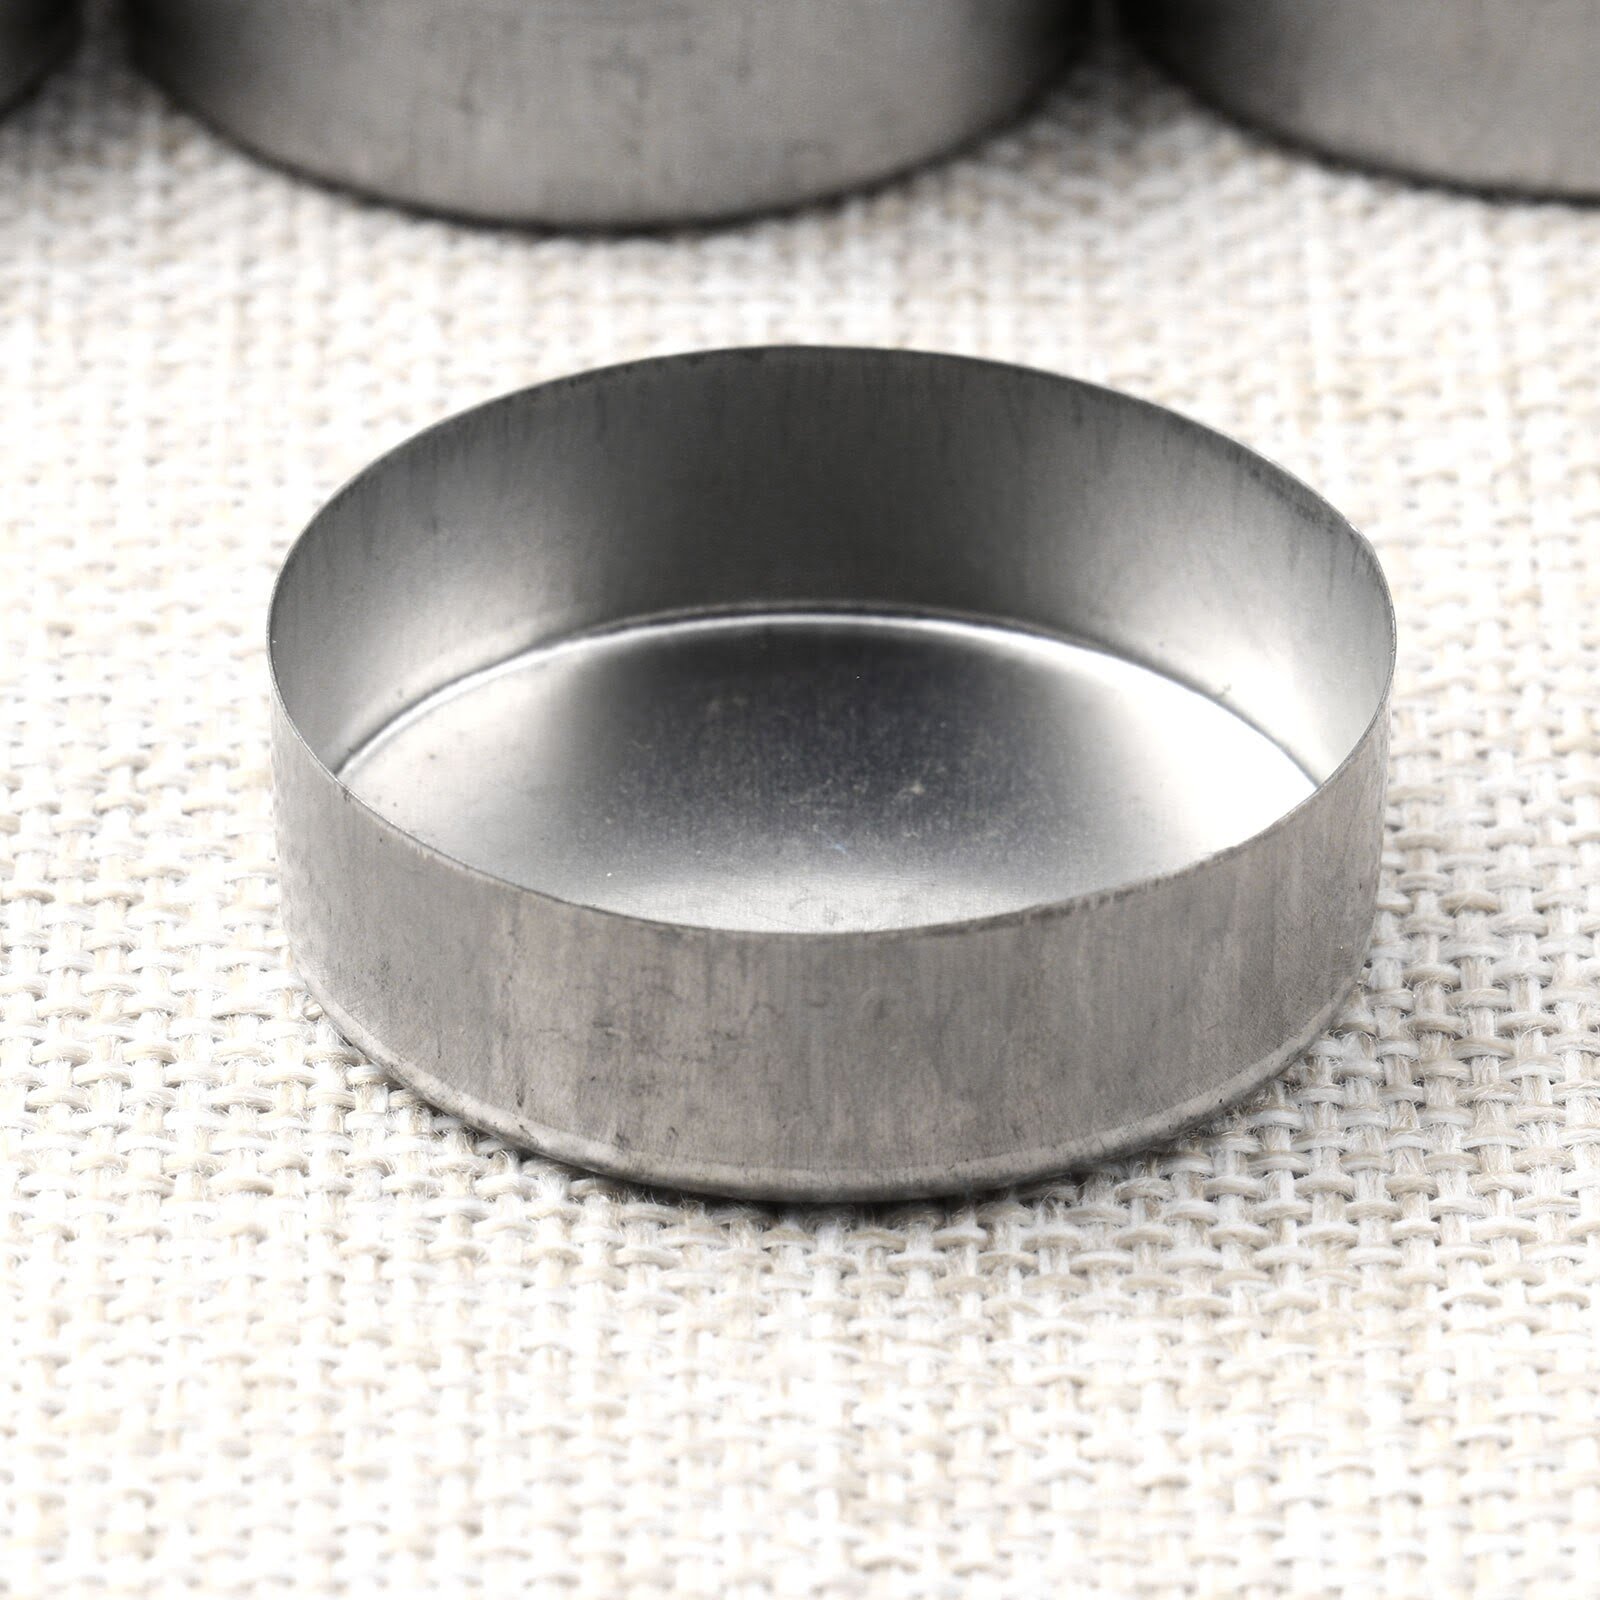
Another common mistake is using molds that are not made for holding hot liquids such as candle wax. Wax gets extremely hot when melted; therefore, using plastic containers or mason jars for a mold will leave you with melted plastic in your candle instead of a smooth finished exterior. It is important to use either heat-resistant glass containers or metal tins since they are designed specifically for handling hot material without breaking or melting down.
In addition, many novice candle makers think that once they have poured their mixture into the mold they simply need to wait until it cools completely before removing it from the container; however this could cause cracking in your pillars due to uneven cooling cycles across different areas of the wax leading to different rates of contraction while cooling down. The best way to avoid this issue is by cooling down your mould gradually instead of performing plunging it immediately into ice water or blowing cold air on it directly after pouring in your wax; recommended would be allowing the moulds to sit undisturbed at room temperature until completely cooled out before inserting sticks for wicks and trying to remove them from their molds
Conclusion
Making white vanilla pillar candles is a great way to add a touch of beauty to any room or setting. At the end of this guide, having followed step-by-step instructions, you will have crafted your very own set of gorgeous and aromatic handmade white vanilla pillar candles.
To ensure the quality of your homemade white vanilla candles, we highly recommend reviewing these final tips before continuing:
• Be mindful of the flashpoint temperature when purchasing wax for your candle. Different types of wax require different temperatures for melting and pouring.
• Keep in mind that curing time for any type of candle is crucial; it’s best to check daily whether each candle is completely cured before attempting to light them.
• Pay attention when choosing wicks! Natural cotton wicks work best with certain types of wax. It’s always important to double-check the details before starting a project like this one.
• Additionally, make sure you use minimal fragrance oil (1oz per lb) when adding scents so as not to affect burn times or pooling of waxes.
• Finally, never forget to take safety precautions at all times when working with hot wax – use eye protection and heat resistant gloves whenever possible.
With these reminders in mind, happy crafting! Your homemade white vanilla pillar candles are sure to be beautiful additions in any setting!

Welcome to my candle making blog! In this blog, I will be sharing my tips and tricks for making candles. I will also be sharing some of my favorite recipes.


