Introduction
Making wine bottle candle holders is a fun, inexpensive, and easy project that has great potential for both artistic expression and recycling. Not only is it an enjoyable activity for a craft night, but it is also a great way to repurpose your old wine bottles and give them new life as decorative elements in your home. The process of crafting these candle holders does not require too much time, tools or money and results in one-of-a-kind decor that you can proudly show off. Whether you choose to give them away as gifts or keep them for yourself, they are the perfect way to make your creative talents shine while staying mindful of the environment.
The best part about making wine bottle candle holders is that no two will ever be alike and they allow you to show off your unique style. From painting intricate designs on the glass to adding rhinestones or incorporating different fabrics into the design, there is no limit to what you can do with this simple project. Additionally, you don’t have to stop at creating just one; why not create an entire set with several coordinating pieces? The endless possibilities make this craft ideal for channeling your inner artist without breaking the bank.
Not only are wine bottle candle holders beautiful pieces of artwork but they are a cost effective way to help save the environment from unnecessary waste. Recycling is becoming increasingly important in our everyday lives and repurposing old materials helps contribute significantly towards reducing our impact on nature. By using all of the materials we have around us rather than buying new ones all of the time, we can work together as a community to reduce waste and live more sustainably. Moreover, animal lovers should rest assured knowing that making wine bottle candle holders provide an alternative solution to disposing waste responsibly that won’t harm any animals or landfill space!
Essential Tools and Materials Needed & Recommended Sources
Essential Tools:
– A heat gun (available at craft stores or online outlets)
– Glass cutting tool (available at craft stores and home improvement stores)
– Wood glue
– Sandpaper (ranging from 80 to 220 grit)
Recommended Sources:
Most of these essential tools and materials can be purchased relatively easily. The heat gun can be found at many craft stores or online outlets such as Amazon. Glass cutting tools are available in most home improvement and hardware stores, while both the wood glue and sandpaper can usually be found at craft supply and hobby shops. Additionally, buying in bulk often helps save money on supplies.
Preparing the Wine Bottles & Basic Cleaning Techniques
When preparing the wine bottles to make candle holders, there are several steps to take. First, rinse out the bottles with water and a bit of mild dish soap to remove any labels or other debris that may be stuck on the glass. Then, use a bottle brush to scrub away any dirt or smudges inside of the bottle. When finished, rinse the bottles one last time to make sure they are clean and ready for use. If needed, carefully discard any sharp glass shards that could hurt you while working with them. Guarding your hands and avoiding contact with these cuts is essential when dealing with potentially broken glass. Once cleaned and labeled if necessary, now it’s time for the fun part – creating your own custom designed wine bottle candle holders!
Preparing the Wick & Safe Practices for Wick Placement
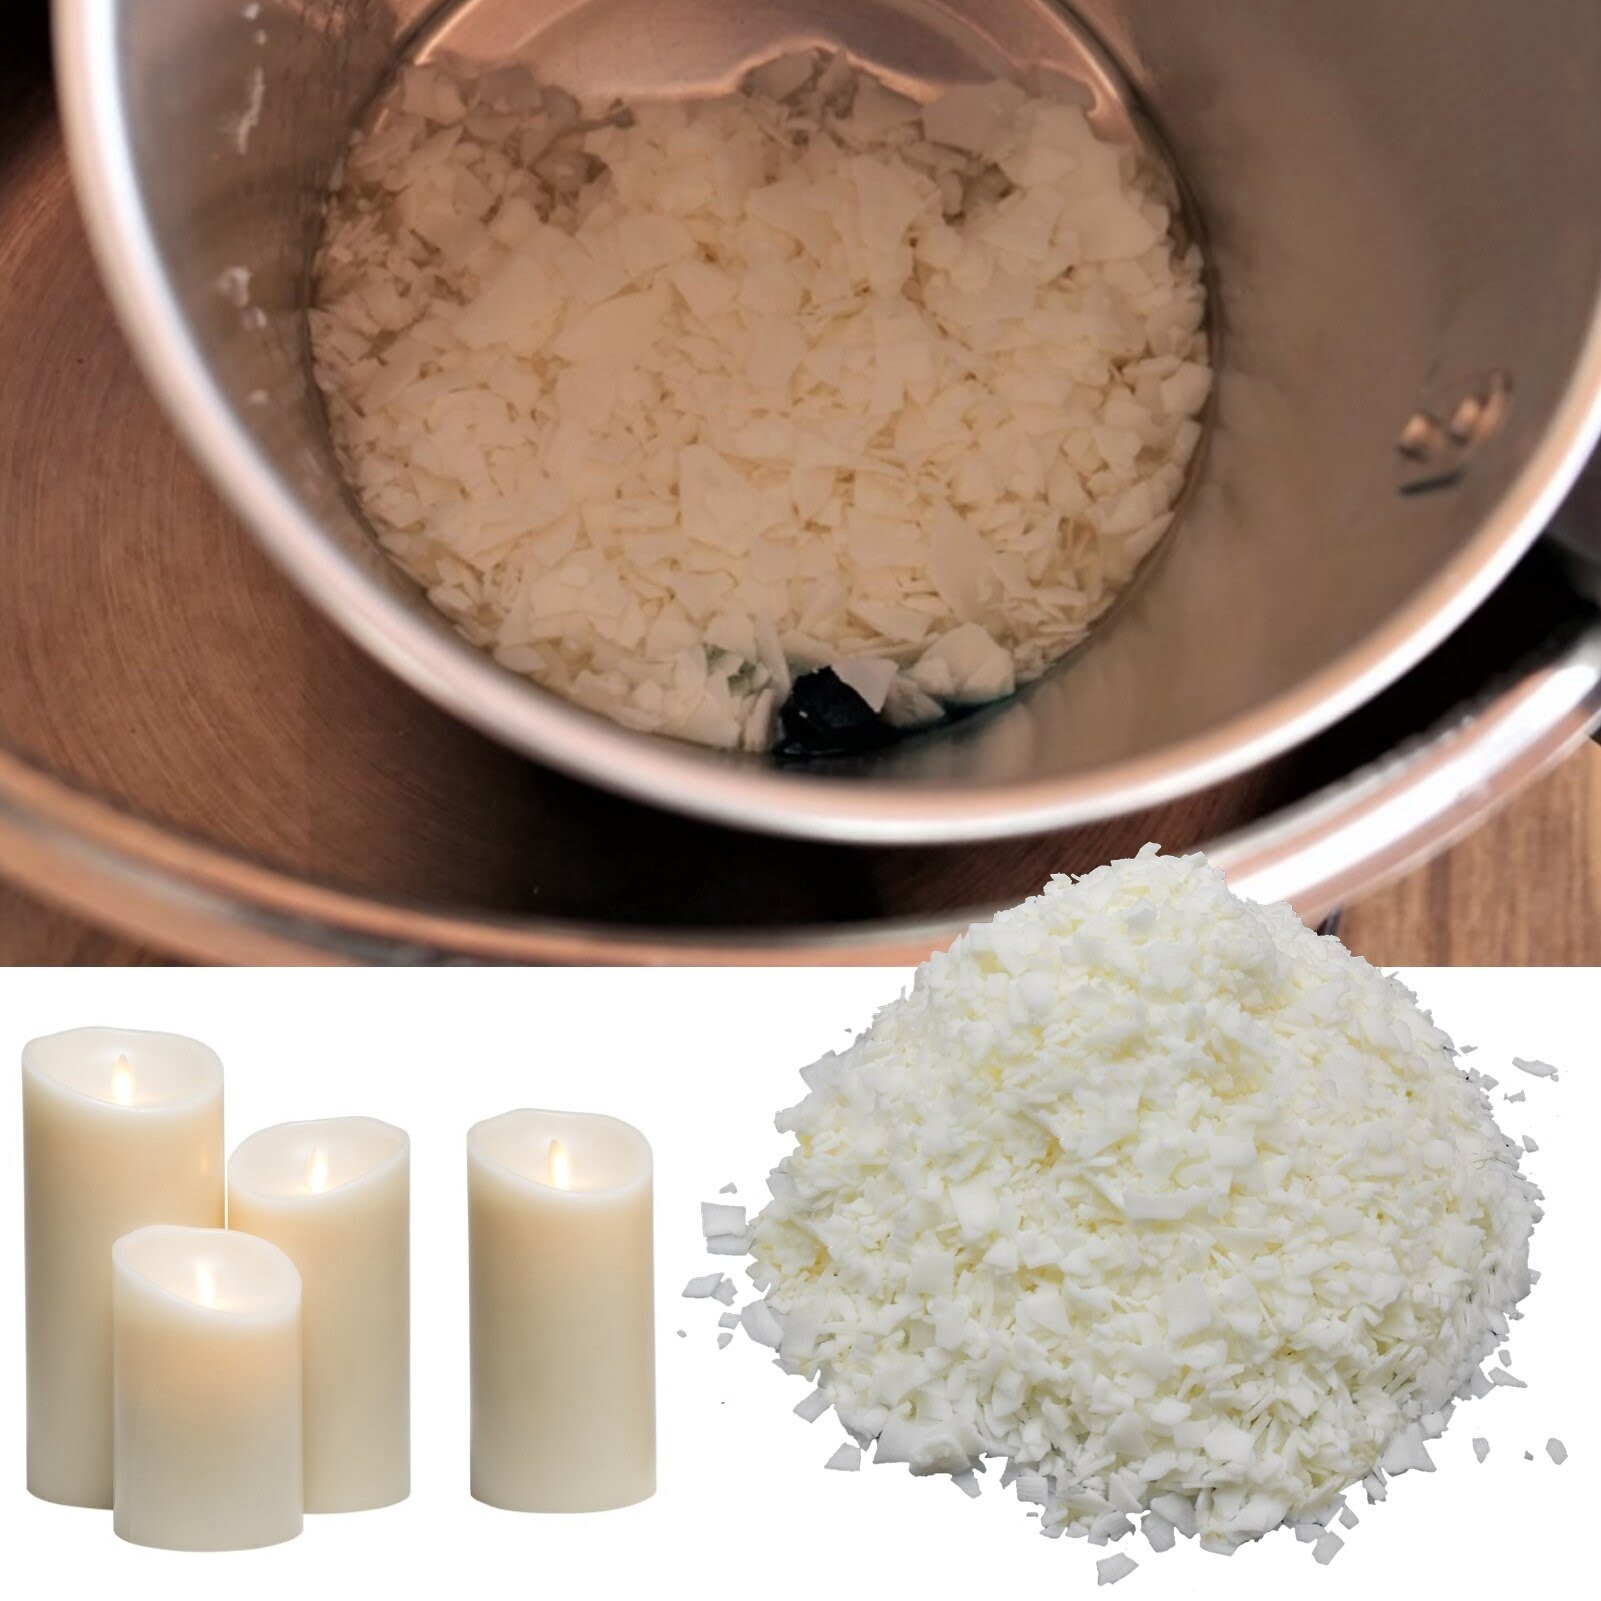
Making wine bottle candle holders is a fun, unique DIY project that creates beautiful decorations for the home. To make a candle holder, you will need to start by preparing the wick for placement inside the bottle. Be sure to start with cotton core wicks and natural wax or soy wax flakes, as these types of wicks can handle the heat from a burning candle best. You’ll need something sturdy to hold your wick too – typically a piece of wire or an uncooked chopstick works well for this purpose.
When threading your wick through the wire or chopstick, be sure to leave enough length at one or both ends so that whichever side you choose to place in your bottle will reach all the way to the bottom. This ensures even burning across the entire surface of wax. Additionally, try to space out any twists in your wick so that they remain evenly spaced throughout their length – this creates more space for hot air and melted wax to travel through and continues providing even burning all around on both ends of your candle holder once lit. As always when working with fire, it’s important to practice safety: before placing your wick inside your candle holder, double check that its starting position is set away from any flammable materials and that it cannot easily be knocked over by accident once lit.
Preparing the Wax & Blending Different Scents
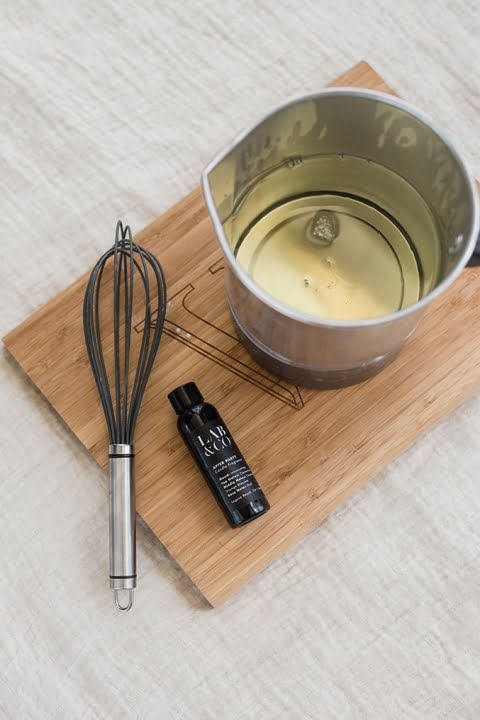
When making wine bottle candle holders, you will need to prepare the wax in advance. You will want to melt it down and pour it into the bottles so that it has enough time to solidify. Many people like to blend different types of scents for a unique smell for their candles. This can take longer than just using one scent, but it produces a more robust aroma that lingers for a much longer time. Once you have your wax melted and blended with any added fragrances, you’ll need to pour the mixture into your prepared bottles and let them cool completely before adding the wick. It’s important not to rush this step or else your candle holders may be flawed or unevenly weighted. After the wax has cooled, add the wicks and secure them at the bottoms of each bottle where they should stay even when poured extremely full.
Melting the Wax & Recommended Temperature Settings
Making wine bottle candle holders is a fun, creative project. It involves melting wax to create a unique and beautiful decoration for your home. When melting the wax, it’s important to take care not to cause your workspace to become too hot. Excessive temperatures can lead to increased flammability, making your workshop unsafe. The best approach is to use a double-boiler set up or invest in a large slow cooker specifically for heat-sensitive projects. The temperature of the water should be kept at around 135°F (57°C) and the bottom of the double boiler subtracted from direct heat. Melt the wax slowly and monitor its temperature as you move along with your project. Keep in mind that if you are using pre-made wax melts, they may have their own suggested temperature ranges; follow their directions carefully to ensure best results.
Pouring the Wax Into the Bottles & Adding Colorant to Wax
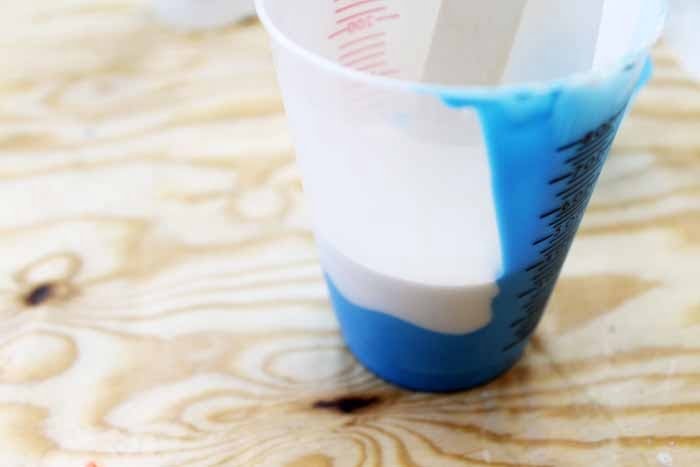
To prepare the wine bottles for pouring the wax, you must start by cleaning them thoroughly. Use soap and water, then rinse the bottles with a mixture of water and vinegar to remove all traces of residue. Allow the bottles to air-dry before proceeding. Once the bottles are clean and dry, it is time to add colorant to the wax. You can purchase ready-made liquid colorants or you can use crayons as a cheaper alternative – just make sure to melt them down in advance. The amount of colorant depends on your desired intensity so experiment with different amounts until you get what you want. After adding the desired amount of colorant, pour wax into each bottle up to where you want the candle portion to end. Make sure that there are no air bubbles by using a straw to push down any evidence of them once you reach your desired spot in each bottle. As the wax cools, use something pointed and thin like a pencil or knitting needle to create channels down which the wick may be placed when it’s time for assembly. Once everything has cooled completely and set up correctly, it’s time to add your wicks! Secure them at both ends using hot glue or more wax as needed and trim off any excess if necessary. Now you have completed beautiful homemade wine bottle candle holders that are perfect for gifting or decorating!
Adding Special Touches & Choosing the Right Topper
Making wine bottle candle holders requires some special touches to ensure they come out looking their best. One of the first steps is to choose the right topper for each bottle. A great way to finish off a candle holder is with a vintage-style, metal lid with a handle. These can often be found in antique shops and fairs, providing an added touch of character. Alternatively, you could use a repurposed glass lid from other bottles or even craft your own tealight holder out of clay.
Once you have your lids picked out, it’s time to assemble the wine bottle candle holders! Make sure the bottle is clean and dried inside and out, then wrap it up in jute twine or cotton rope for added texture. You could also consider adding a contrasting ribbon just above the rim of the glass for a pop of color. Finally, fit the chosen lid on top and let it rest until your next project – lighting up your space with stylish DIY wine bottle candle holders!
Final Assembly & Eye-Catching Labels
Once the wine bottle is complete, it’s time to assemble the candle holder. Start by gluing the base of an ornamental candlestick holder to the center of a flat board. Ensure that the stick is secured firmly before adding any candles. Once that is completed, place several tea light candles around the candlestick holder and glue them in place so they are secure. Finally, take out any desired labels or stickers and ornamentally apply them to the outside of the wine bottle.
When selecting labels for your wine bottle candle holders, consider colors that will fit with your decor. Whether you opt for bright colors like blues and pinks or subtle colors like beiges and yellows, they should complement each other while also providing eye-catching details that take this craft project up a notch. Artistic labels can help you add unique touches if you’re feeling creative; feel free to use patterns or cutouts from colorful paper as well! Glue these labels along the neck or body of the bottles to create extra detail; shimmery or glittery adhesive paper can make for a fabulous effect when placed on the candle holders. If you wish, small pieces of ribbon can be added around each bottle for texture and contrast—they look great when tied in bow knots!
Troubleshooting Common Issues & How To Avoid Poor Wax Coverage
If you experience poor coverage of the wax on your wine bottle candle holders, some possible causes and solutions include:
• Insufficient melting of the wax – If the wax was not melted at a high enough temperature to create an even finish, it is likely that some areas won’t have adequate coverage. To ensure full coverage, use a higher heating setting or allow more time for the wax to melt completely.
• Incorrect usage of heat gun – Make sure you are using the heat gun on a low setting and following all safety guidelines so as to not overheat certain areas of the bottle. Additionally, be sure to evenly move the heat gun around in order to ensure that each section is being evenly heated and covered with wax.
• Incorrectly adding dye – If you’re using colored dyes for your wine bottle candle holders instead of natural wax, add small portions at a time in order to avoid too much dye ending up on one area. Use a soft brush or cloth to evenly spread out any excess dye if needed.
• Using too thick layers of wax – Additionally, if you find that you have an uneven wax layer it could be because you used too thick a layer when coating your bottles; this will result in bigger clumps instead of an even spread over the glass surface. Thin out your layer by scraping off any excess with a trowel or spoon.
Tips for a Long-Lasting Candle & Storing Unlit Candles
When making wine bottle candle holders, it is essential to use candles that are able to burn safely and will last a long time. For this reason, it is important to look for candles made with vegetable-based wax, as they burn the longest and the cleanest. To ensure the wax pools properly and your candle burns evenly all the way down, trim the wick of your candle before lighting. Additionally, when in not in use, store un-lit candles away from direct sunlight in a cool and dry place for optimal results. Make sure that your storage space does not become too hot or cold so that your candle does not melt or become brittle. With these tips you can ensure that you get many uses out of your wine bottle candle holders!
Conclusion
Once the wine bottle candle holders are completed, they can be used as lovely decor in any room. They look beautiful when they are used around the home to spruce up a cocktail table or mantelpiece. Place multiple candles together in various sizes and colors for an eye-catching display that is sure to be a conversation starter. If you’re feeling creative, you could even add some decorative ribbon or twine between each bottle for extra flair.
Wine bottle candle holders make great gifts too! Wrap them up in some colorful tissue paper and pair them with a colorful candle. For an extra special touch, why not write a heartfelt note on the back of a label? Any recipient would be sure to appreciate this thoughtful gift.

Welcome to my candle making blog! In this blog, I will be sharing my tips and tricks for making candles. I will also be sharing some of my favorite recipes.


