Introduction
Making wine bottle candles not only provides a creative and enjoyable afternoon activity, but also makes a unique and practical home décor item. Once completed, each beautiful candle will burn brightly with a pleasant scent that is sure to improve any atmosphere. By customizing colors and fragrances, this project can be personalized to fit any event or occasion such as dinner parties with friends or simple nights in enjoyed alone. Furthermore, the act of pouring wax into the glass bottle itself will undoubtedly provide great satisfaction and accomplishment. With no two candles likely to look exactly alike, the process of creating candles out of recycled wine bottles allows one to express both personal style and ingenuity while still producing an attractive product. All in all, making wine bottle candles is an enriching experience that yields lovely results to boot!
Supplies Needed
Supplies:
1. Empty, cleaned wine bottles
2. Wicks and wick tabs
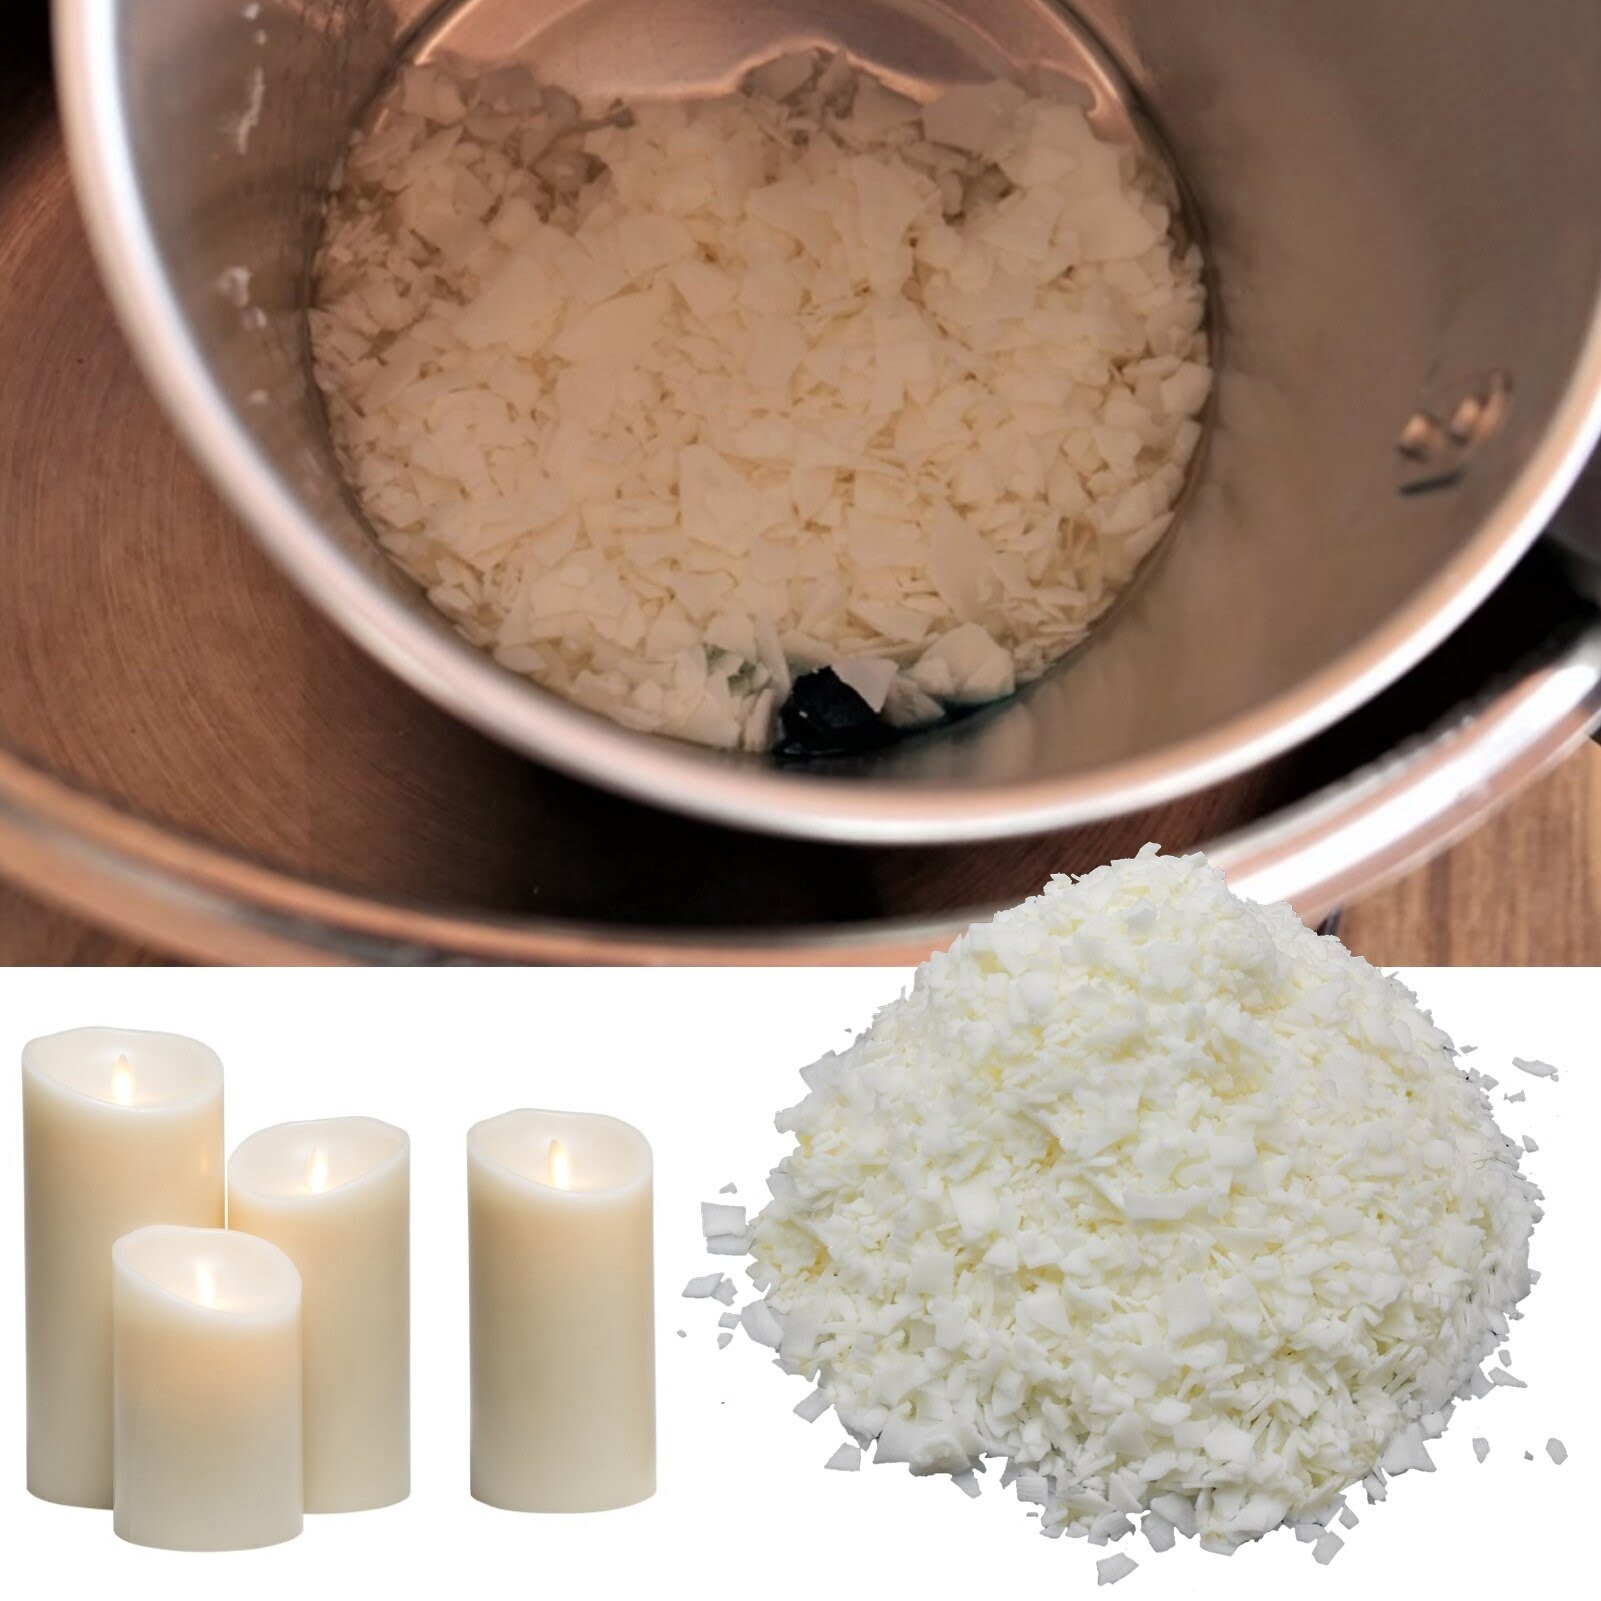
3. Wax/paraffin chips/pellets as well as dye (for colouring) or a pre-made candle wax block
4. Double boiler
5. Safety gloves and safety glasses
6. Candle thermometer for measuring melting temperature of wax
7. Kitchen scale for weighing the wax components
8. Decorative jar lids or candle dishes to fit over the necks of the bottle openings, such as glass gems, sea shells, even coins if desired
9. Stirrer and pouring pitcher for easy access during wax melting and repouring within double boiler setup
Tools:
1. Heat gun or hair dryer – to dry up any water residue after washing bottles
2. Utility knife or scissors – to trim off excess from bottom of wick tab once affixed in neck of bottle
3. Hot glue gun – for fastening wick tab directly into neck of bottle securely
Preparing the Wine Bottle
The first step to make a wine bottle candle is to prepare the wine bottle. To ensure safety, it’s important to wear protective eye-wear and gloves when handling the glass components. Use a damp cloth to wipe away any dust or particles on the surface of the bottle. Once clean, you can use an acetone-soaked rag or paper towel to remove any remaining dirt or residue from the label and provide a clean, flat surface for candle wax adhesion. Afterwards, dip one end of the neck of the bottle in hot water to help soften it temporarily until you’re ready to cut with a cutter or glass saw. This will also help prevent cracking or breakage as you make your incisions when trimming off the top part of the bottle. With careful preparation and patience, you’ll be able to successfully create stunning wine bottle candles for yourself or for gifting purposes!
Wax Selection
When making a wine bottle candle, you have many wax options. The two most popular choices are natural and synthetic. Natural waxes are typically made from vegetable or beeswax, and they give off a pleasant scent when burning. They’re also environmentally friendly since they’re biodegradable. However, they may not burn as long as some other types of waxes and you will require more wax to fill the container.
Synthetic waxes include paraffin, soy, and palm waxes. These often last longer than natural waxes and are easier to work with due to their lower melting point and greater heat resistance. Some brands of paraffin wax even come in colors so you can achieve more creative designs with your candles. However, these types of waxes are derived from fossil fuels and may produce carbon emissions while burning. Overall, both synthetic and natural waxes have their own benefits and can be used for making wine bottle candles!
Pouring and Wicking the Wax
Pouring and wicking the wax into the wine bottle is a relatively simple, yet highly satisfying process. Before you begin, ensure you have protective equipment such as safety glasses and gloves. To get started, you will also need a container for melting your wax, wicks with metal discs, wax adhering dots or hot glue.
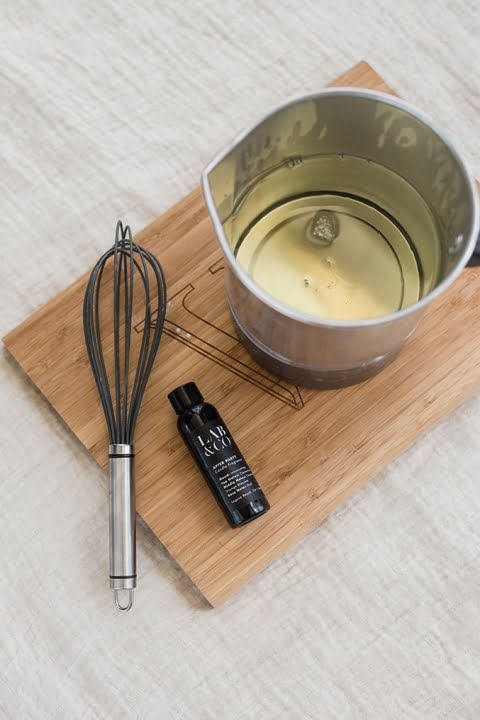
Begin by setting up a double boiler to melt your wax. Allow the wax to reach 150 degrees Fahrenheit before pouring the melted wax into your wine bottle. This acts as the base of your candle so make sure it reaches the desired height. After allowing your melted wax to cool slightly (around 120–140°F), insert one end of the wick into the prepared hole in its metal disc and press it firmly against the bottom of the glass bottle using either hot glue or other adhesive glue/tape designed for use on glass. Make sure it is secure before proceeding to pour more melted wax into the bottle to fill out the rest of its shape. Pour enough melted wax until you are happy with results; be sure to leave around 1/2 inch at the top between liquid and solidified wax at all times so that people can easily open their candles when they’ve burnt down far enough.
Release any air bubbles that may form when pouring your melted wax by jabbing carefully with a sharp utility knife; this prevents uneven heat distribution during burning time. When all air bubbles are released, allow an hour for your candle’s surface to cool until it forms an even flat top – helping avoid excess dripping or puddles forming around its edges during burning time – before lighting for best results!
Adding Aroma
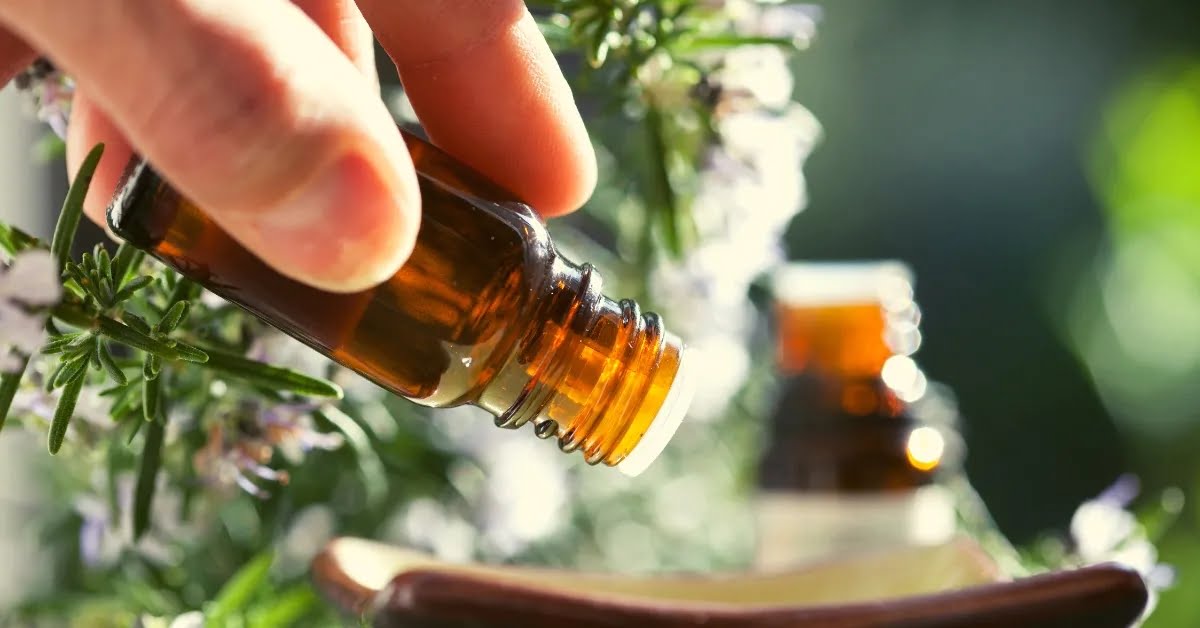
Adding scent to your wine bottle candles can be done in several different ways. One of the most popular methods is to directly add essential oils or fragrance oil into the melted wax at a ratio of 10-20 drops per pound of wax. You can also use scented wax melts by adding them to the melted wax, typically one cube per pound of wax. This method provides a stronger and longer lasting scent as the scent won’t evaporate with time. Another popular way is to add dried herbs and spices along with essential oils into the melted wax mix for more complexity and depth in the scent profile. Lavender, chamomile, cloves, rosemary, cinnamon, lemon zest, and orange zest are all great examples that bring out interesting aromas when used together.
Finishing Touches
When creating a wine bottle candle, one can customize the finished product using a variety of embellishments, colorants and personalizing touches. For instance, one could add a decorative bow or strip of ribbon around the top of the bottle to add an elegant touch. Those wanting to add a pop of color can paint a glass bead in their desired hue and secure it on the neck with glue or wax. If you’re looking for something special, etched designs also look great and add an extra personalized and unique look. Additionally, melted wax on the outside can be easily tinted with a dye chip or powdered dye to get any desired hue. Wine corks are also excellent choices when it comes to designing personalized decor pieces that sit atop your upcycled candle holder; some designers even offer customized engravings directly into the cork itself!
Conclusion
Making Wine Bottle Candles is a simple and enjoyable process that can be done with limited materials. Using supplies such as wax, wick holders, dye, and essential oils makes these candles both decorative and fragrant. You can even customize each candle to your preference by using different colored waxes or scents. Now that you have created the perfect wine bottle candle, it can be used in many different ways such as center pieces for tables or as decorations for special events. Additionally, wine bottle candles make perfect gifts for friends and family! The takeaway from this post is that making candle from a wine bottle is easy, fun, and allows you to create something unique.

Welcome to my candle making blog! In this blog, I will be sharing my tips and tricks for making candles. I will also be sharing some of my favorite recipes.


