The therapeutic and calming effects of aromatherapy provide an unparalleled relief from stress and everyday anxieties. Making your own aromatherapy candles offers a great way to take advantage of the numerous benefits that come with aromatherapy without breaking the bank.
The comforting scents of essential oils allow you to feel relaxed, clear your head, and connect with yourself in an intimate way as you create something beautiful. Additionally, by making your own DIY aromatherapy candles, you get the chance to play around with different fragrances and explore the healing properties of essential oils.
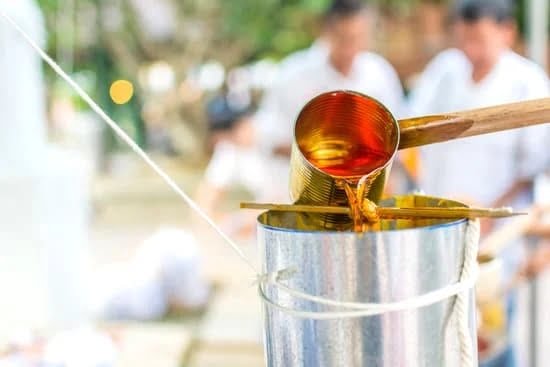
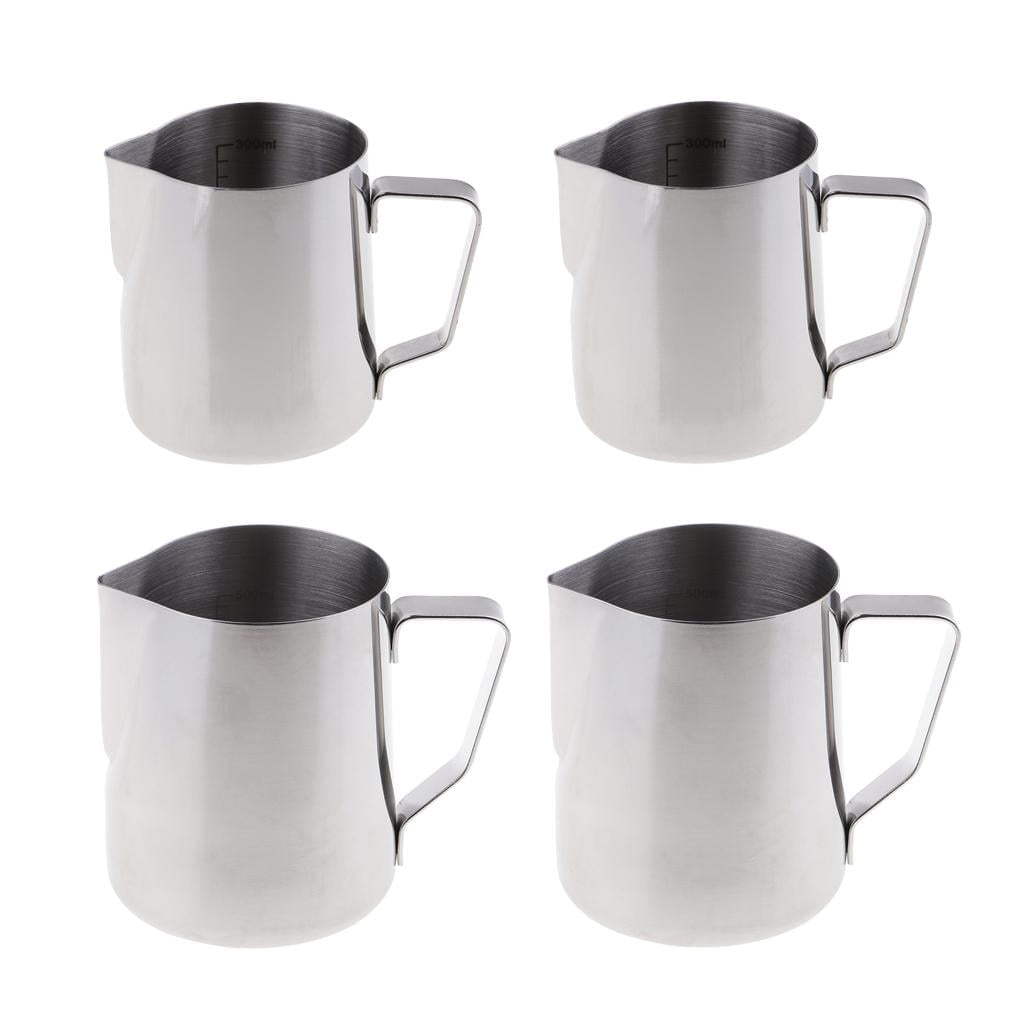
Creating DIY Candles Armed with quality wax, fragrant essential oils, wicks, and dye coloring (if desired), anyone can make their own homemade aromatherapy candles with relative ease. Start by placing your wick inside a heat-safe bowl or measuring cup before pouring melted wax over it until it’s completely submerged. Once the wax has reached room temperature, add a few drops of essential oil in your preferred scent before stirring gently.
If needed, add dye coloring or sparkle glitter for added effects before pouring the final mixture into a mason jar or candle holder. As tempting as it may be to light up the candle as quickly as possible, let the wax cool naturally at room temperature overnight – doing otherwise risks damaging your work and ruining any possibility for success.
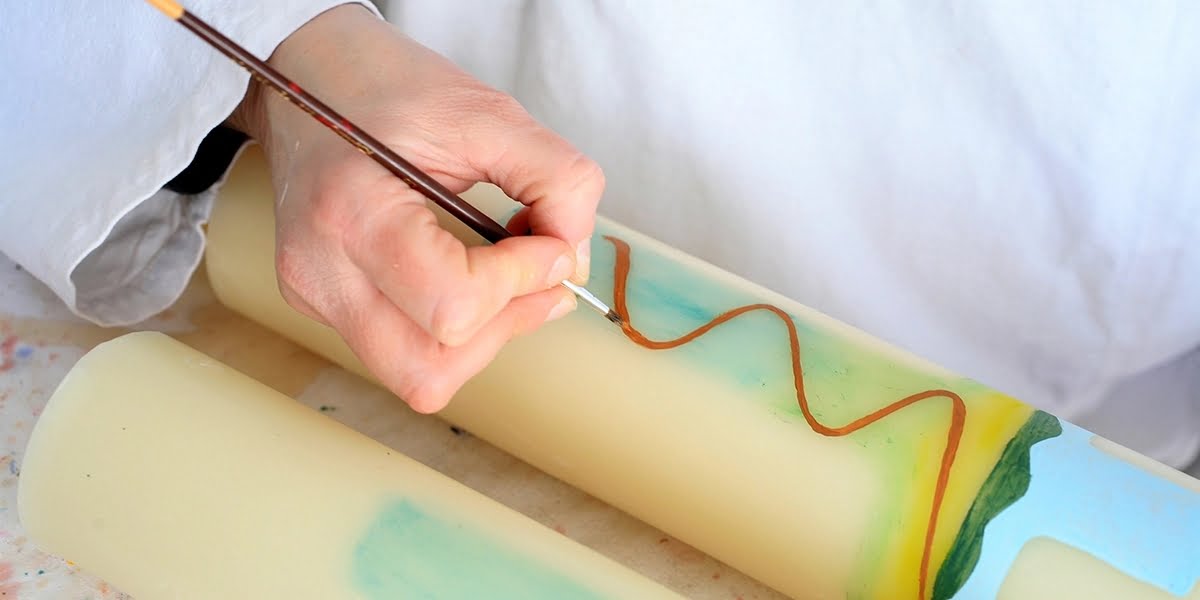
Finishing Touches For those who desire extra detail on their handmade production, there are additional embellishments that one can use to further decorate the candles surface such as paper clips if you plan on tying ribbons to it later on – anything goes. To embellish it even further, sprinkle petals surrounding the side walls of its base or weave some twine or ribbon around its neck – giving any guest something guaranteed to catch eyes in no time.
Enjoying these homemade creations also doesn’t have to come at a price as this low cost craft model is perfect for beginner makers looking for a fun time while learning about what they like best in regards to fragrance & color combinations available by simply mixing & matching different ingredients alongwith one another.
Gather the Supplies You Need to Make Your Aromatherapy Candle
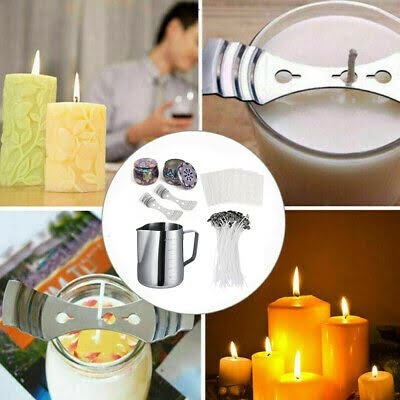
Making your own aromatherapy candle can be rewarding and fun. Below is a list of the supplies you need to make a great smelling, aesthetically pleasing aromatherapy candles:
- A container – jars, tins or wax cups can all be used
- candle wax. Soy and beeswax are both good options
- candle fragrance oil
- Wicking
- candle holders
Prepare Your Supplies for Candle Making
Once you have gathered the necessary supplies it’s important to get them ready before you start making the candles. First, place your chosen holder into the jar or tin and cut the wick to size so that it will fit in your container.
Secure the wick at either end by looping it around either a pencil or skewer which can be laid across the top of the container whilst you pour in your wax later. This keeps the wick in position until everything has set.
Then prepare some wax. Place your soy or beeswax into a heatproof bowl and melt it over a pan of boiling water on your stovetop for approximately 20 minutes until it has liquified. Avoid using any containers made out of metal as they transfer heat too quickly which can lead to burning or smoking from the wax.
Assemble Your Aromatherapy Candle
Once melted, take off heat and add about 10% of your chosen candle fragrance oil to act as scent for your candles. Stir with a wooden spoon and then carefully fill each container with hot wax.
If wicking was not possible beforehand you may have an easier time using tweezers to position your wicks into place now but make sure that they are left untrimmed at this point as keeping them long will help keep them upright in the liquid wax going forward.
Choosing Aromatherapy Essential Oils and the Right Wax
When trying to make your own aromatherapy candles, it is important to pick the right wax and the correct essential oils. Beeswax is often the most popular choice as a base for aromatherapy candles because of its natural scent.
It also helps to lock in the scent of the essential oils, creating a home with a beautiful aroma. Paraffin wax can also be used, but it does not provide the same results as beeswax and can actually smother the scent of certain essential oils.
Steps for Making Your Aromatherapy Candle
After picking out your materials, there are several steps you must take to properly make an aromatherapy candle. Before you start melting the wax, premeasure your wick so that it fits snugly in your container and prep your workspace. Safety should always be your number one priority so you should always use protective gloves and eye protection when preparing any flammable items.
Making An Aromatherapy Candle List
- Determine which type of wax to use (Beeswax or Paraffin)
- Choose which essential oil scents you would like
- Buy all necessary supplies
- Premeasure wick
- Protective gear (gloves, safety glasses)
- Prepare work area
- Melt wax in a double boiler
- Once melted allow to cool slightly before adding essential oil (should not exceed 140°F)
Setting Up the Equipment and Candle Burning Safety Tips
Making your own aromatherapy candles is a fun and rewarding experience. Not only can you customize them to your preferred scents and colors, but there’s also the satisfaction of knowing that you made them all on your own.
Before getting started with this process, it’s important to make sure that you have the right equipment set up in a safe area. When selecting a space to work in, make sure that there is adequate ventilation and plenty of room so that nothing will clutter your workspace.
The supplies required are easy enough for anyone to get their hands on: soy wax or beeswax, essential oils, wicks and holders for the wicks, thermometers, candle jars (or other containers) and dyes if you prefer more colorful candles. All of these items can be purchased from local craft stores or specialty stores online.
It should also be noted that when working with waxes it’s always recommended to take all necessary safety precautions; such as wearing protective clothing and eyewear as well as having a fire extinguisher nearby just in case of an emergency.
Next you are ready to melt down the wax over medium heat using either a double boiler or an electric melting pot. Once melted add scent using some of your favorite essential oils or fragrance oils. Also determine how much coloring dye you want to use – adding too much can cause the candle surface to crack after hardening. Now time for the wick.
After cutting it to length thread it through the metal tab which will hold down the end of the wick once inserted into the melted wax – do not stretch the wick too tight otherwise it may bow up when burning.
Use binder clamps along with bricks or similar heavy objects, ensuring everything is secured before pouring in the hot wax mixture into each container separately allowing each one to cool at its own pace before moving onto another batch – patience is key here.
Finally find sturdy holders for each filled jar – don’t forget about ventilation when choosing these spots around your house – remember that proper safety measures should be taken no matter what type of candles you are making.
Aromatherapy candles can liven up any home while providing physical advantages like stress relief and improved sleep quality due to their pleasant scents when used during aromatherapy sessions; making them well worth putting effort into crafting them themselves. With simple steps like setting up equipment correctly and following safety guidelines – anyone can create their very own aromatherapy candles at home.
Step-by-Step Procedure
Aromatherapy candles make a wonderful addition to any self-care routine. Whether you are looking to soothe anxiety or relax after a long day, candlelight paired with the power of essential oils can be absolutely transformative. To unleash your inner home-maker and customize your own aromatherapy candles, follow these simple steps:
- Choose Your Wax – Start by selecting your wax; soy, beeswax or paraffin are all popular options.
- Melt Your Wax – Place the wax in a double boiler until it melts fully.
- Add Essential Oil – Carefully add 6-10 drops of your desired essential oil for every one cup of melted wax.
- Mix – Gently mix the hot wax and oil mixture using a wooden spoon or popsicle stick.
Once you have thoroughly mixed the contents, dip a wick into the melted liquid and wait until it is saturated at least halfway up its length. Carefully fix it into an empty jar or container of your choice. Allow the mixture to cool completely before lighting it up. For a more luxurious experience, add herbs or petals of flowers at this stage-additional color and decoration never hurts.
Finally, trim the wick about ¼ inch above the surface. You can now enjoy your very homemade aromatherapy candle. Enjoy its calming ambiance together with its curative fragrance.
A Guide to Troubleshooting Common Candle Making Problems
There comes a time in every craft project where troubleshooting becomes part of the process. This is especially true when it comes to making aromatherapy candles, a labor of love which takes some trial and error before getting right. After all, you can’t exactly take them back for a refund or exchange if something goes wrong. As such, we’ve compiled a list of common candle-making problems and how to solve them.
My Candles Are Too Soft
A lack of beeswax in your recipe is the likely culprit for this issue. Try consulting with an experienced candle maker or reputable online tutorial to double check your measurements – you may need more wax for a firmer texture. Incorporating palm wax into your blend can also help make harder candlesticks that will burn longer and brighter. However, be sure not to exceed 33% palm wax as too much can have an adverse effect on your candles.
My Candles Are Burning Too Quickly
For most people, too much soy or vegetable wax in their recipe is the main cause of this problem. Switching out some of that wax with beeswax should slow down burn time significantly and lead to more evenly burning candles.
Some smokers are specially designed to slowly burn wax cubes over several hours without being lit again – these burns are ideal for using in aromatherapy applications as they steadily diffuse calming scented vapors into the room without any attention required from you.
The Aromas I Added Aren’t Coming Through
It could be that there simply isn’t enough scent oil used in your candle recipe. Flavoring agents should comprise no less than 2-4% volume wise, so try adding three times more scent oils than previously used until the desired strength of aroma is reached.
Alternatively, some essential oils don’t play nicely with other ingredients – like citronella or lemongrass – so consider replacing those in favor of others since they might not be volatilizing properly due to incompatibility issues with other components within the mixture.
Additional Aromatherapy Candle Making Ideas
Aromatherapy candles provide a wonderful, calming effect on the atmosphere. They are simple to make and allow you to customize each candle to your own preferences. Many aromatherapy candles come with a fragrance of one type, but creating your own candles allows you to change the scent according to what brings the most peacefulness for yourself.
One way to start with aromatherapy candle making is by collecting wax of different colors and scents. Candle wax can be found in craft stores in various colors and fragrances as well as microwaveable containers specifically made for melting wax. You can also use a double boiler if you don’t have access to a microwave.
To add an extra layer of personalization, essential oils can be used instead of pre-made scents for extra customization by mixing the colors and fragrances you want. Once melted, pour some of the wax into your preferred candle molds such as mason jars or glass votives, adding an appropriate amount of wick in the center before it sets completely.
When finished, warm tones such as orange or yellow create a sense of happiness while muted shades like blues and greens promote relaxation. The wicks that were placed within the mold is going to need regular trims as you would traditionally do with store-bought candles so they don’t smoke up too much when lit.
To go even further, one could put additional decorations inside their molds like herbs or small stones for added interest; just be sure whatever is included is clean and heat resistant.
Lastly, once all the individual components are completed it’s time to actually light them up – this is when true aromatherapy takes place. Lighting your candles will fill any room not only with beautiful flames but also subtle calming scents that encourage tranquility throughout the entire space – providing both visual and olfactory stimulation at once.
Remember that safety should always come first so make sure there are no flammable objects nearby and never leave your lit aromatherapy candles unattended at any time during its burning hours; once finished extinguish it completely with some soft tongs or by blowing out gently.
Conclusion
Aromatherapy candles are a great way to improve the atmosphere in your home. Whether you’re looking for a scent that embraces relaxation or one that energizes your space, there’s something out there for everyone. With some simple ingredients and supplies, you can create the perfect aromatherapy candle experience.
The key to crafting a perfect aromatherapy candle is using the right oils and waxes while following all safety precautions during assembly. Start by picking out the type of wax that fits with the desired scent strength.
Beeswax tends to be stronger than paraffin but generally requires more time, effort, and supplies to work with. Those creating their first aromatherapy candle may want to start with soy wax as it has a low melting point and is much easier to work with than beeswax or paraffin wax.
Now that you have your wax ready, choose appropriate essential oils for your desired scents. Fortunately, most essential oil bottles come with recommended uses for different types of candles so you know what type of blends provide which type of aromas. When mixing oils into your melted wax, be sure not to overdo it; too many drops of essential oils can begin causing problems due to the volatile organic compounds released when lit.
Once blended and poured into a mold, leave your aromatherapy candle undisturbed until completely cooled off before use or packaging. Make sure not to place in direct sunlight or any other hot area as this can cause burnouts or weaken the wax structure leading to uneven burning when in use. Enjoy crafting custom candles tailored for yourself or friends. Aromatherapy candles are easy enough for beginners yet complex enough for those wanting more control over scent distribution throughout their homes.

Welcome to my candle making blog! In this blog, I will be sharing my tips and tricks for making candles. I will also be sharing some of my favorite recipes.


