Making Your Own Candles At Home
Candles are a great way to create a relaxing and calming atmosphere in your home. Not only do they provide light and warmth, but they can also be used to scent the air and create a relaxing ambiance. If you’re looking for a way to save money, you can also make your own candles at home.
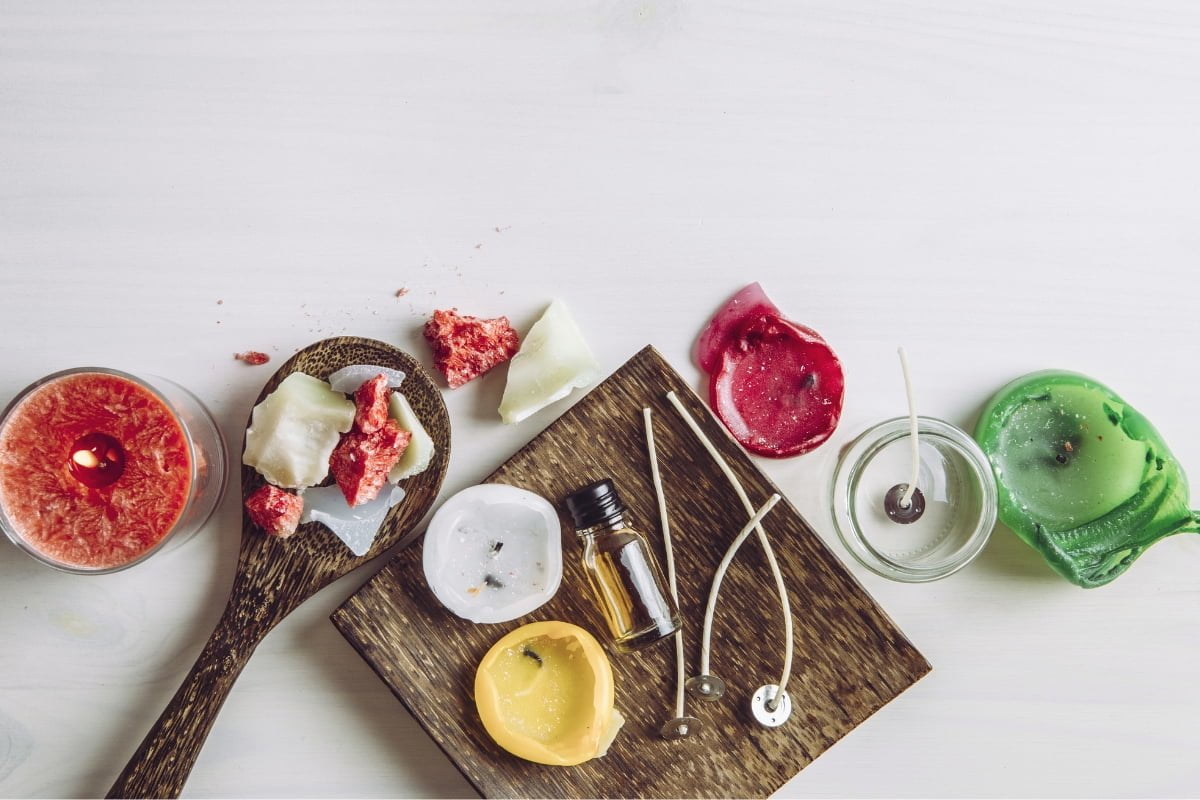
The first step is to gather the supplies that you’ll need. You’ll need a jar or container to hold the wax, wicks, a heat source such as a stove or microwave, and of course, the wax. You can use a variety of different waxes, such as soy wax, beeswax, or paraffin wax.
Once you have your supplies, you’ll need to decide on the type of candle that you want to make. There are a few different types of candles that you can make, including votives, pillars, tapers, and tealights.
For votives, you’ll need to cut the wicks to the desired length and then glue them to the bottom of the votive holder. You can do this by using a hot glue gun or by dipping the wick in to a small amount of wax.
Next, you’ll need to melt the wax. You can do this by using a stove or microwave. Once the wax is melted, you can add any desired scents or colors. You can also add additives, such as soy wax chips or beeswax pellets, to make your candles last longer.
Then, you’ll need to pour the wax in to the votive holder. Make sure to leave about a half inch of space at the top of the holder. Finally, insert the wick in to the wax and let it cool.
For pillars, you’ll need to start by melting the wax. You can do this by using a stove or microwave. Once the wax is melted, you can add any desired scents or colors. You can also add additives, such as soy wax chips or beeswax pellets, to make your candles last longer.
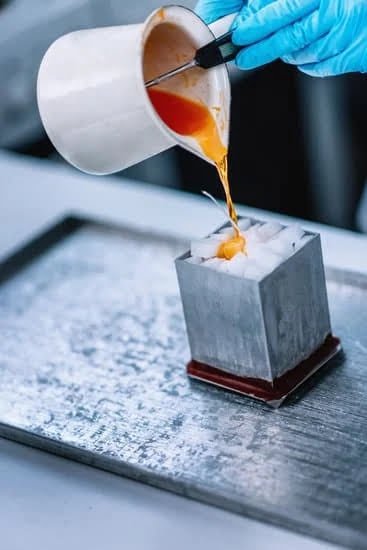
Then, you’ll need to pour the wax in to the desired mold. Make sure to fill the mold to the top, and then let it cool.
For tapers, you’ll need to start by melting the wax. You can do this by using a stove or microwave. Once the wax is melted, you can add any desired scents or colors. You can also add additives, such as soy wax chips or beeswax pellets, to make your candles last longer.
Then, you’ll need to pour the wax in to the desired mold. Make sure to fill the mold to the top, and then let it cool.
For tealights, you’ll need to start by melting the wax. You can do this by using a stove or microwave. Once the wax is melted, you can add any desired scents or colors. You can also add additives, such as soy wax chips or beeswax pellets, to make your candles last longer.
Then, you’ll need to pour the wax in to the desired mold. Make sure to fill the mold to the top, and then let it cool.
Once your candles have cooled, you can enjoy them in your home. Candles can be a great way to relax and unwind after a long day.
Making Candles In Wine Glasses
Candles are a great way to make any room feel more inviting and cozy. They also provide a soft light that is perfect for reading or relaxing. You can buy candles at the store, but they can be expensive. Plus, it can be fun to make your own candles.
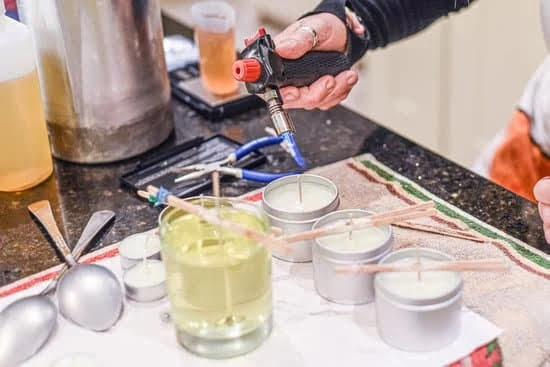
You can make candles in wine glasses with just a few simple supplies. All you need is a wine glass, wax, a wick, and a heat source.
The first step is to melt the wax. You can do this in a pot on the stove, or in the microwave. Be sure to use a pot or bowl that is larger than the wine glass, because the wax will expand as it melts.
Once the wax is melted, carefully pour it into the wine glass. Be careful not to get any wax on the rim of the glass, because it will be difficult to remove later.
Next, insert the wick into the wax. You can do this by sticking the wick into the wax and then holding it in place while you pour the wax around it.
Finally, place the wine glass in a safe place and let the wax cool. Once it has cooled, the candle is ready to use.
Making candles in wine glasses is a fun and easy way to create your own personalized candles. Plus, it’s a great way to use up any leftover wax from previous projects.
How To Teach A Candle Making Class
Candle making is a fun and easy craft that can be enjoyed by people of all ages. It is also a great way to relax and de-stress. In this article, we will teach you how to teach a candle making class.
The first step is to choose a location for your class. The ideal location would be a room with a table and several chairs. You will also need a stovetop or hot plate to heat the wax.
Next, you will need to gather the necessary supplies. This includes wax, wicks, scent, dye, and a container to melt the wax in. You can find these supplies at most craft stores.
The next step is to create a lesson plan. Your lesson plan should include a description of the project, the supplies needed, and the steps involved. It is also a good idea to include a section on safety precautions.
The final step is to teach the class. The best way to do this is by walking your students through the project step-by-step. You can also answer any questions they may have.
Jelly Wax Candle Making
Candle making is a fun, easy, and affordable hobby that can be enjoyed by people of all ages. There are many different types of candles that can be made, but one of the simplest and most popular is the jelly wax candle.
To make a jelly wax candle, you will need:
-Candle wicks
-Jelly wax
-Cup or jar
-Scissors
-Double boiler
-Stove
The first step is to cut the wicks to the desired length. They should be about two inches taller than the cup or jar that will be used to make the candle.
Next, melt the jelly wax in a double boiler. Do not let the wax get too hot, or it will start to smoke.
Once the wax has melted, pour it into the cup or jar and add the wicks.
Allow the wax to cool and harden, then trim the wicks to the desired length.
Your jelly wax candle is now ready to be enjoyed!
Candle Making Supplies Beeswax Sheets
Beeswax pellets
Wicks
Molds
Fragrance oils
Candle dye
Thermometer
Stove
Spoons
Scissors
Knife
Timer
Candle making is a fun, easy and inexpensive way to create unique candles for your home. You can make candles in any color or scent you desire, and you can even customize the shape and size.
The first step in candle making is to choose the type of wax you would like to use. There are several different types of wax available, including beeswax, paraffin wax and soy wax. Beeswax is a natural wax made by bees, and it has a honey-like scent. Paraffin wax is a man-made wax that is made from petroleum. Soy wax is made from soybeans, and it is a renewable resource.
The next step is to choose a wick. The wick size depends on the size of the candle you are making. You can purchase wicks in several different widths.
The next step is to choose a mold. You can use any type of container to make a candle, but it is important to use a container that is heat-resistant. Glass, ceramic and metal containers are all good choices.
The next step is to choose a fragrance oil. You can use any type of fragrance oil, but it is important to use a fragrance oil that is made for candles.
The next step is to choose a candle dye. You can use any type of candle dye, but it is important to use a dye that is made for candles.
The next step is to create a double boiler. A double boiler is a pot that has two pots nesting inside of each other. The top pot is filled with water, and the bottom pot is filled with wax.
The next step is to heat the wax. The wax should be heated to between 160 and 180 degrees Fahrenheit.
The next step is to add the fragrance oil. The fragrance oil should be added when the wax is between 160 and 170 degrees Fahrenheit.
The next step is to add the dye. The dye should be added when the wax is between 160 and 170 degrees Fahrenheit.
The next step is to add the wick. The wick should be added when the wax is between 160 and 170 degrees Fahrenheit.
The next step is to pour the wax into the mold.
The next step is to let the wax cool. The wax should be allowed to cool for at least four hours.
The next step is to trim the wick. The wick should be trimmed to 1/4 inch in length.
The next step is to light the candle.

Welcome to my candle making blog! In this blog, I will be sharing my tips and tricks for making candles. I will also be sharing some of my favorite recipes.


