Making your own soy pillar candles is a great way to save money and create beautiful, personalised home decor. There are several advantages to making your own, ranging from the cost savings to the ability to create unique looks.
Soy pillars give off a particularly soft, relaxing glow that can help set the mood of any room, while also emitting a pleasant fragrance that adds another dimension to the atmosphere. As with many craft activities, making your own candles can be incredibly rewarding as it brings together elements of creativity, resourcefulness and knowledge in order to make something special and unique.
The Cost Savings of Making Soy Pillar Candles One of the most immediately obvious benefits for making your own soy pillar candles is the cost savings. While pricing will vary depending on what type of wax and wick are used, DIYcandles have much greater potential for saving costs when compared with pre-made candles.
Purchasing multiple different types of wax, wicks and scents will bring down the price per candle even further due to bulk buying discounts you get when shopping online or at local stores which sell craft supplies. With certain types of waxes such as beeswax and coconut oil being relatively inexpensive already, this means one could potentially get some extremely cost-effective material options when making their own candles.
Tailoring Your Own Candle Creations Making soy pillar candles yourself also allows for complete control over every aspect of the creation process in order to achieve exactly what you desire in terms of look and feel. You can play with different combinations of colors or take advantage of various techniques such as marbleizing (swirling) or dipping your wick for extra long burning times.
One could also use reusable molds to make spooky Halloween-themed options or even tiny ones add ambience atop a dinner table at restaurants or homes. This opens up exciting possibilities for urban crafters who are looking for fun yet practical ways to make their store stand out using customized products which appeal attractively to customers’ senses.
Overview of What You Need to Make Soy Pillar Candles
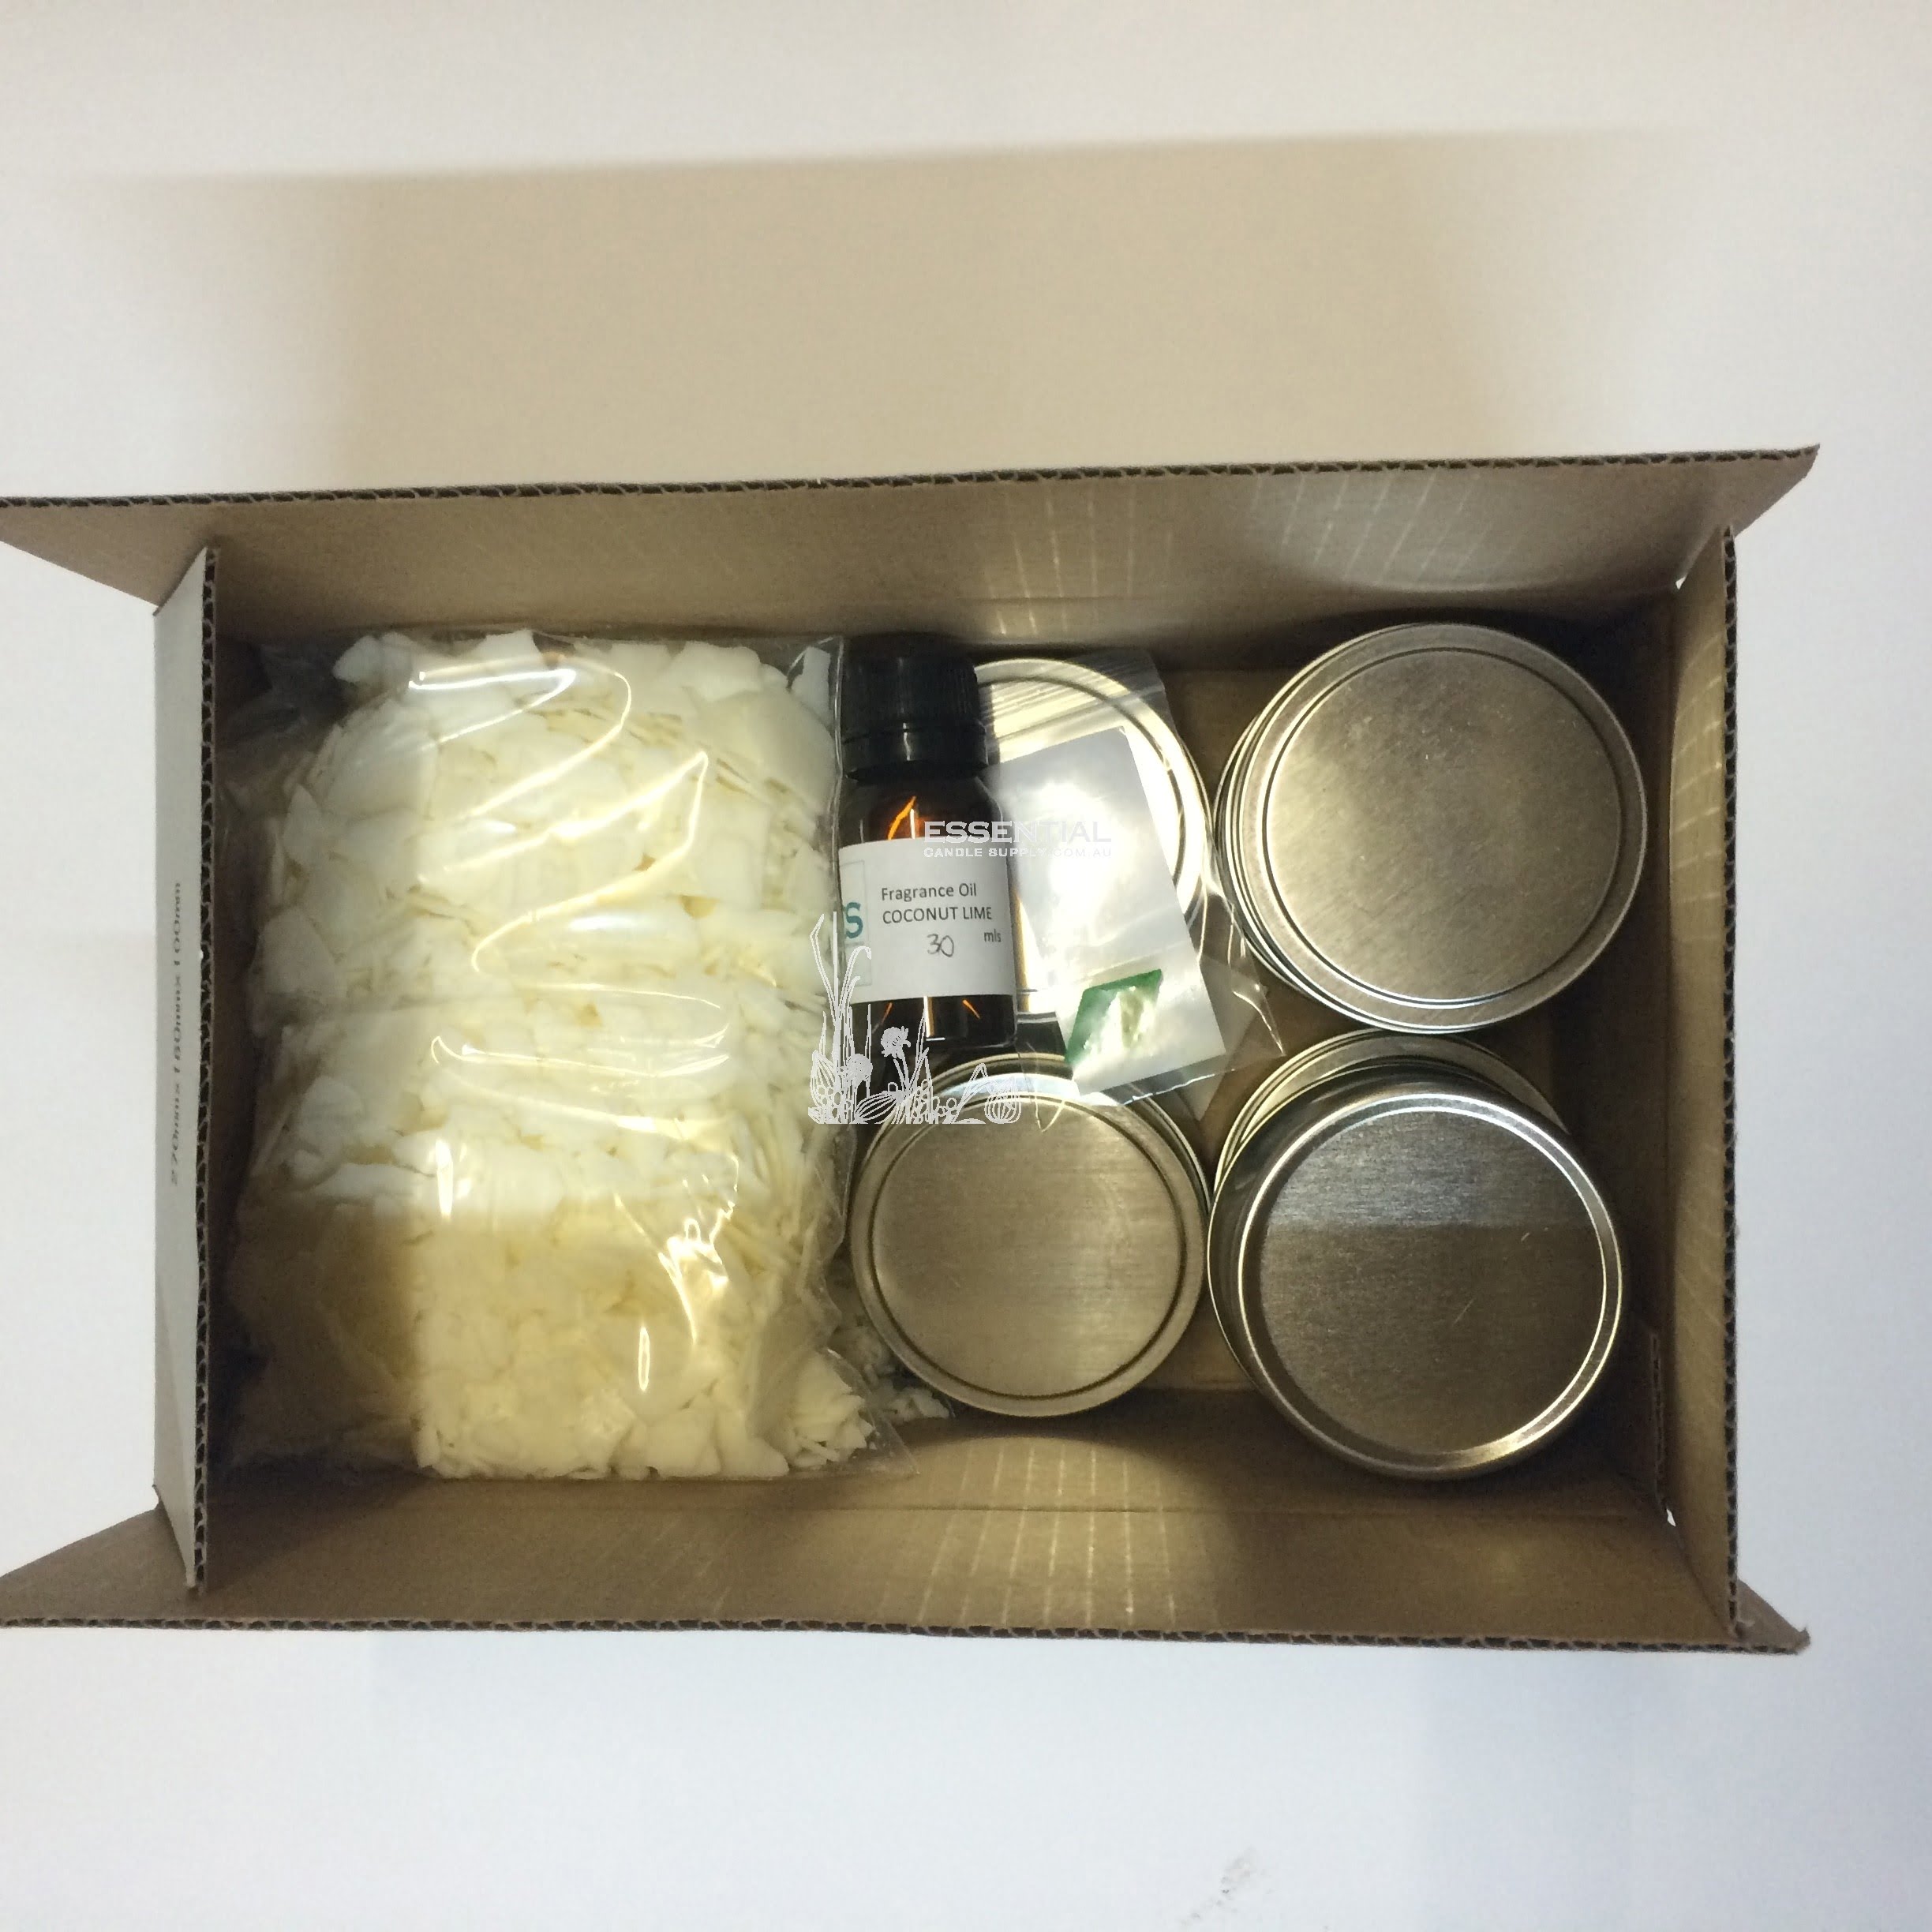
Making your own soy pillar candles is a great way to create beautiful decorative pieces for the home or as gifts. Before you get started, it’s important to understand what materials and equipment you need in order to make these candles efficiently. The key components are natural soy wax, wicks, dye, scent, mold, and a double boiler or crock pot.
Natural Soy Wax
Soy wax is preferable for making pillar candles because of its reputation for being clean burning and having a low melting point. Additionally, soy wax is kinder to the environment than other petroleum-based paraffin waxes.
It’s easy to work with compared to beeswax so it will melt faster and won’t require high temperatures during production. You can buy natural soy wax flakes in bulk for most craft stores; however it can be more cost-effective to purchase large bags of pellets or chips online from candle suppliers.
Wicks
The type of wick you use when making pillar candles is determined by the diameter and length of the candle barrel itself, so ensure that you have purchased the right size before beginning production. Wicks come pre-coated with a thin layer of rubberized glue which contains adhesive properties that provide a very strong adhesive bond between wick and wax blend for improved combustion stability and heat resistance.
Although it may be tempting to try homemade candle wicks made from cotton string since they are much cheaper than pre-made ones, they tend not to work as well both in terms of performance and intensity due lack of consistent thermal breakdown that comes with commercially sold wick types.
Dye & Scent
To give your pillar candles an extra special touch you can add dye according to colour preference; this will also enable them to last longer without depleting too quickly due better absorption qualities but take caution when adding too much fragrance oil as additives as this could weaken the structure over time.
Finally, adding scents like essential oils can help bring out pleasant aromas when lit creating an even more inviting atmosphere – these come in many forms including liquids and granules which should be added once you reach desired temperature levels before pouring into molds from earlier setup stages (remains separate section below).
Safety Tips for Working with Soy Wax
1. Always melt wax in a metal can or pot placed atop a stove top electric burner.
2. Keep open flames away from hot wax at all times – no fire around your work area.
3. Wear both protective eyewear and gloves when handling soy wax and/or containers of hot liquid wax.
4. Never leave candle making supplies unattended for any period of time.
5. Have a ‘wax cleanup’ kit (newspapers, paper towels, baking soda) to take care of spills immediately, including accidental contact with skin or fabric surfaces – wax removal must be done as soon as possible.
By following safety precautions when creating homemade soy pillar candles, you can make sure that the process is a safe and enjoyable one.
Once you have taken all the necessary steps for safety, you can start crafting your very own set of candles.
Instructions for Making Soy Pillar Candles
- Pour around 1lbs of soy wax chips into a metal container
- Place the metal container on medium-high heat on the stove and let it melt completely
- Pour in 2 tablespoons of paraffin to help give the soy candle a longer burn time
- Add desired fragrance oils according to instructions and stir completely
- Put cotton wicks into your pre-waxed candle molds so that they are centered
- Once the wax has reached 180F (measure with candy thermometer), slowly and carefully pour it into each mold
- Let cool for 12 to 24 hours before removing them from the molds.
- Tip: > To ensure best results, try to keep pouring temperature below 160F.
- >Optional: > You can add colorants such as dye flakes or liquid dyes.
Instructions for Melting Wax and Preparing the Candle-Making Area
Making your own soy pillar candles can be a fun and rewarding activity. Before you begin, there are several important steps to ensure your candle-making process goes smoothly. The key step is melting the wax.
Due to its low melting point, soy wax must be melted over an indirect heat source, such as a double boiler or a wax melter. Remove all water from the pot before pouring in the wax, and add small blocks of wax at a time to ensure an even melt. Once all the wax has been added and is completely melted, some dyes, fragrances and other additives may be used depending on your desired effect.
Once the wax is melted it’s time to move on to preparing the candle-making area. It should be kept neat and organized with all the materials you need within reach – including any necessary molds or wicks for dipping candles. Make sure that whatever type of mold you decide to use (cylinder molds are great for pillars) is free from moisture or grease which can cause trouble during pouring.
Place weights inside larger molds if opting for deeper or thicker candles to form an even shape once cooled. Additionally, make sure wicks have proper sizing: choose too large of a wick and it will starve the flame of oxygen, too small and it will drown in excessive liquified wax – leading to abysmal levels of burning performance.
When everything is properly prepared it’s time for finishing touches. Pillar candles can look great when decorated with things like shells or dried flowers placed around the base just prior to pouring melted wax into the mold; glitter also makes an attractive display if evenly sprinkled onto freshly poured liquid soy wax letting individual pieces adhere while material hardens.
Care must taken take though when adding decorations so they don’t sink into softening material while waiting for cooling off period after initial pour phase. Altering appearance by integrating accessories creates eye-catching visual appeals; starting simple then adding complexity takes practice but end results prove worth time effort patience invested in candle making process.
Step-by-Step Guide to Making Soy Pillar Candles
Making your own soy pillar candles is an rewarding experience and can be great fun. You don’t need any special tools or equipment and most of the supplies are cheap and easy to find. Here’s a quick guide on how to make your own attractive, long-lasting candles in just a few simple steps.
Making your own soy pillar candles requires a few essential items that you will need to source first. These include:
- Soy wax flakes
- Ceramic or metal wick tabs
- Wick rope
- A thermometer
- Wax dye (optional)
Once you’ve got these supplies, you’ll want to choose a candle mould. Make sure it’s made from metal, not plastic – this will keep the temperatures steady while the candle is being poured, resulting in an even finish with no cratering or uneven sections.
Once you have all of your supplies ready, place around 200g of wax flakes into a stainless steel pan and melt slowly over low heat until the temperature reaches 65°C. Add your wax dye (if desired) and stir until fully incorporated into the wax mixture.
Next, carefully pour the melted wax into the prepared mould then slide one wick tab onto each end of the inserted wick rope and secure at either side with tape before adding more melted wax for total coverage over the rope if necessary. Then simply leave to cool overnight before lifting out of mould, trimming any excess wick and enjoy.
Tips for Enhancing the Aroma of Your Soy Pillar Candles
Soy pillar candles have recently been gaining popularity for both their beautiful look and their range of wonderful aromas. The use of natural ingredients, such as soy wax, also makes them environmentally friendly. If you’ve recently decided to make your own soy pillar candles, you may be feeling overwhelmed by the amount of steps involved. However, with some helpful tips and tricks, anyone can make a great smelling candle.
Start with the Right Wax
Using non-hydrogenated soy wax is key when making your own pillar candles. Soy wax is an all-natural blend derived from vegetable oils, and provides excellent benefits including being less likely to trigger allergies, having fewer toxins and pollutants released into the air while burning and being completely biodegradable. These qualities make it especially suited for making your own eco-friendly wax pillar candles.
Enhance Your Candle’s Scent
To complete the perfect scented soy candle, you can combine essential oils with your beeswax to give it a unique scent. Essential oils are all-natural plant based oils that come in many varieties such as bergamot, lavender or patchouli. Each oil has its own distinct smell which makes experimenting with combinations a lot of fun.
When using essential oils to add scent to your candles, remember to use too much as this will cause the flame to burn poorly or quickly smoke out. A good rule of thumb is 1oz of oil per 1lb of melted beeswax. You should also mix the essential oil into the melted soybean wax before pouring into your molds; stirring well can help ensure an even fragrance throughout your candle.
Let it Rest
After adding any scents or colors to your melted bee’s wax allow it at least 6 hours for best results before lighting up your new creation. Doing so will give time for those added components such as fragrance or dye baskets time to set inside each layer so while burning they provide an even pleasant scent and look throughout their lifetime.
Tips for Decorating Your Soy Pillar Candles
Decorating your own soy pillar candles is an easy and cost-effective way to create unique and attractive pieces of home décor that will complement any interior space. Here are some tips to help make your candle-making experience a successful one:
- Choose the right wax for your project. Soy wax offers a beautiful, smooth finish once hardened, and it is relatively clean-burning, making it an ideal choice for making pillar candles.
- Select the best mold material. Choosing the ideal mold can have a big impact on the overall appearance of your finished candle. Plastic molds offer flexibility when releasing them from the mold itself, while metal molds provide a steadier option that works well with intricate patterns or complicated designs.
- Start with pre-melted wax. For beginners or those attempting more complex designs, beginning with pre-melted wax will reduce time spent on melting and temperature adjustment.
For creating decorative finishes to dress up your pillars, you can use dyes or mica powder which come in several eye-catching colors. Adding fragrance oil into your melted wax is an effective way to boost aromatherapy benefits as well as giving off pleasant smells in and around your home. To ensure even coverage of powdered dye, first mix it thoroughly with vegetable oil before adding it into the melted wax.
It’s also important to measure out how much fragrance oil needs to be added (roughly 1 ounce per 1 pound of melted wax). When you’re ready to pour, don’t overfill the mold; leaving ample room for decorations such as pressed flower petals or other embellishments will give your candles an extra special touch.
For achieving consistent burn times and better burning performance for taller candles, embed wicks should be adjusted periodically – particularly if you’ve added additional decorations such as glitter or herbs. To prevent tunneling – narrow areas of burned down wax – keep an eye on the heat build-up around the wick by wiping away excess carbon dust on occasion. Finally, before displaying any brightly coloured soy pillar candles let them cure overnight in order maximize their brightness and longevity.
Benefits of Using Natural Soy Wax
Soy pillar candles are an attractive and eco-friendly addition to any home decor. Making soy wax candles is increasingly becoming a popular craft amongst candle makers, due to the natural and renewable properties of soy wax. Soy candles provide many benefits, both to the environment and to consumers.
One of the primary benefits of using soy wax in candle making is that it is a biodegradable and renewable resource, sourced from natural crops like soya beans grown in the USA. This means that by opting for a soy-based product, you are supporting a sustainable alternative which helps protect the environment by reducing carbon emissions as well as supporting small American farmers.
Additionally, since soy wax has been made from vegetable oil rather than petroleum derivatives, it produces significantly less soot when burned-making it much more environmentally friendly than traditional paraffin wax.
Another benefit of using renewable soy wax is its longer burning time-it typically burns at least 25% longer than paraffin wax candles. Not only does this save money on frequent replacement costs but it also allows users to enjoy their scented candles for much longer period of time compared to paraffin based products before needing to repurchase new ones.
In addition to featuring a longer burn time than normal paraffin alternatives, these natural options provide an even burn across all surfaces with less smoke or residue buildup during use. The pleasant aroma from these candles will also remain in the surrounding air even after extinguishing the flame-giving you an extended window of enjoyment.
The lack of toxins that come with using natural soy wax in candle making makes them healthier for you and your environment too. On top of this, they feature no petrochemical additives like synthetic fragrances or dyes like typical paraffin candles often contain; chemical additives such as those can react with air pollutants and create damaging environmental health issues over time that are best avoided all together.
Ironically enough, opting for an organic product could even help improve indoor air quality further if you choose scented candles containing 100% essential oils rather than synthetic fragrance oils.
All things considered, there are certain advantages associated with choosing natural soy pillars over various traditional alternatives – especially where environmental considerations are involved. Not only do they leave behind fewer emissions while lit up but once extinguished they still maintain some scent along with their impressive average burn length making them more cost-effective long-term choices too – not bad at all really now we think about it.
How to Store Your Soy Pillar Candles
Storing soy pillar candles properly can help them last as long as possible. Following these steps will ensure that your candles do not get ruined before they are even lit:
- Keep your candles away from direct sunlight.
- Store the candle in a cool place; an attic, basement, or closet is ideal.
- Store it tightly wrapped to reduce dust and moisture.
More precautionary measures should be taken when preparing larger pillars for storage, such piles of pillers should be checked regularly for signs of movement or shifting so the wax does not become misshapen. Taking out individual stacks of large pillars and wrapping them with cellophane can help keep them securely in place during storage.
Pillars should always be stored upside down with the wick facing the bottom so that any loose excess wax will prevent the wick from getting blocked by the bottom surface.
Furthermore, smaller pillars should be placed upright in a suitable container before being stacked; this will also stop any air pockets from blocking the wicks. Finally, never store uncompleted candles unscented for extended periods and avoid storing them next to anything scented as they may absorb odors leading to unexpected changes in smell when burned.
Different Projects and Ways to Use Your Soy Pillar Candles
- Tea Light Candle Holders: Tea light holders made of metal, glass, ceramic, or wood make attractive displays when they are filled with your own soy candles. Make sure that the holder is heat-proof or you may end up with a melted mess. You can also add a few drops of oil and some herbs for a pleasant aroma.
- Candles for Home Decor: Candles make wonderful centerpieces and add warmth to any room. With colorful wax, wicks, herb mixtures, and melts you can give your space a unique feel. Make sure to follow proper safety precautions and use non-flammable surfaces while making your candles.
- Taper Candles: Taper candles are fun to make at home too. You can opt for decorative pillars or simply craft narrow columns of wax. Depending on how much detail you want to add you might need a candle mold. A simple design will require only basic supplies such as wick, scenting herbs, and ruler lines.
Soy pillar candles offer creative options to bring warm cozy colors into your house. While they may look impressive once they are complete, the process of creating these beautiful decorations is straightforward enough for all skill levels. To start out you’ll need some essential supplies like wax chips/flakes, essential oils if desired and various molds (if needed).
Preheat your oven according to instructions provided by the wax manufacturer – it’s important that during this step you keep an eye on the wax so that it does not overcook. Once everything is preheated take your desired measurements of length and diameter for the pillar base. Then pour the melted soy wax slowly into the measured area taking care that it stays even throughout.
Once the colored soy has cooled down ever so slightly but before it sets, you should insert the prepared wick through the bottom using pliers (you can also buy ready made pre-waxed wicks).
Once everything is in place allow it some time to cool down completely before moving on to further detailing steps such as molding top swirls or adding rustic patterns with herbs like rosemary leaves Finally let everything dry up overnight before using them – don’t forget to trim any excess off from the wick when lighting up.
And voila – you now have beautifully crafted soy pillar candles that were made with love right in your own home.
Conclusion & Final Advice on Making Your Own Soy Pillar Candles
Making your own soy pillar candles can be an enjoyable and rewarding experience. When you have completed the process of making a candle you will have created something both beautiful and functional. The wax itself, being made from natural soy is biodegradable and renewable, so it is also an ecologically sound option too.
Once you understand the basics, creating your very own soy pillar candles becomes quite simple. If you wish to get creative with your design, there are plenty of options you can use to turn these plain-looking pillars into something truly unique and exquisite-be it decorative wicks or colored dyes.
Adding essential oils means that you can enjoy the calming scent of your candles without worrying about any potentially harmful chemicals or additives used in fragrances. You may even decide to experiment with different types of wax or wicking materials, depending on the type of candle and its desired qualities.
The key takeaway from making your own soy pillar candles is that it’s important to begin safely. Always make sure to read all instructions carefully before progressing with any project, check in with yourself when working with hot material like wax or handles, and find a well-ventilated area to work in so fumes don’t become an issue for those around you (and yourself).
Afterward, take great care when storing away anything that involves flammable materials for safety purposes and above all else-have fun. Making candles should be an enjoyable experience and by understanding what is involved and following safe practices along the way; this process can be made an enriching endeavor each time.

Welcome to my candle making blog! In this blog, I will be sharing my tips and tricks for making candles. I will also be sharing some of my favorite recipes.


