Introduction
Natural pillar candles are a fun and beautiful craft to make, and the process offers some real benefits as well. Not only is it a great way to get creative and explore your artistic side but it also provides you with the opportunity to use natural ingredients in your candle-making process. Natural pillar candle making allows you to have complete control over the ingredients used in your candles, meaning that you can choose from essential oils, natural fragrances, organic beeswax, or even sustainably sourced palm wax. This ensures that whatever type of scented candle you decide to create, you can be rest assured that it will be made from the best quality materials. Creating your own natural pillar candles can also give you an experience of true relaxation as the gentle process of melting wax and creating a beautiful design transports you away from everyday stressors and worries. The smell of homemade candles is like no other ” delivering an uplifting atmosphere for any space whether it’s your living room or workplace. Finally, handcrafted natural pillar candles make wonderful gifts for special people which are sure to be treasured.
What You’ll Need to Get Started
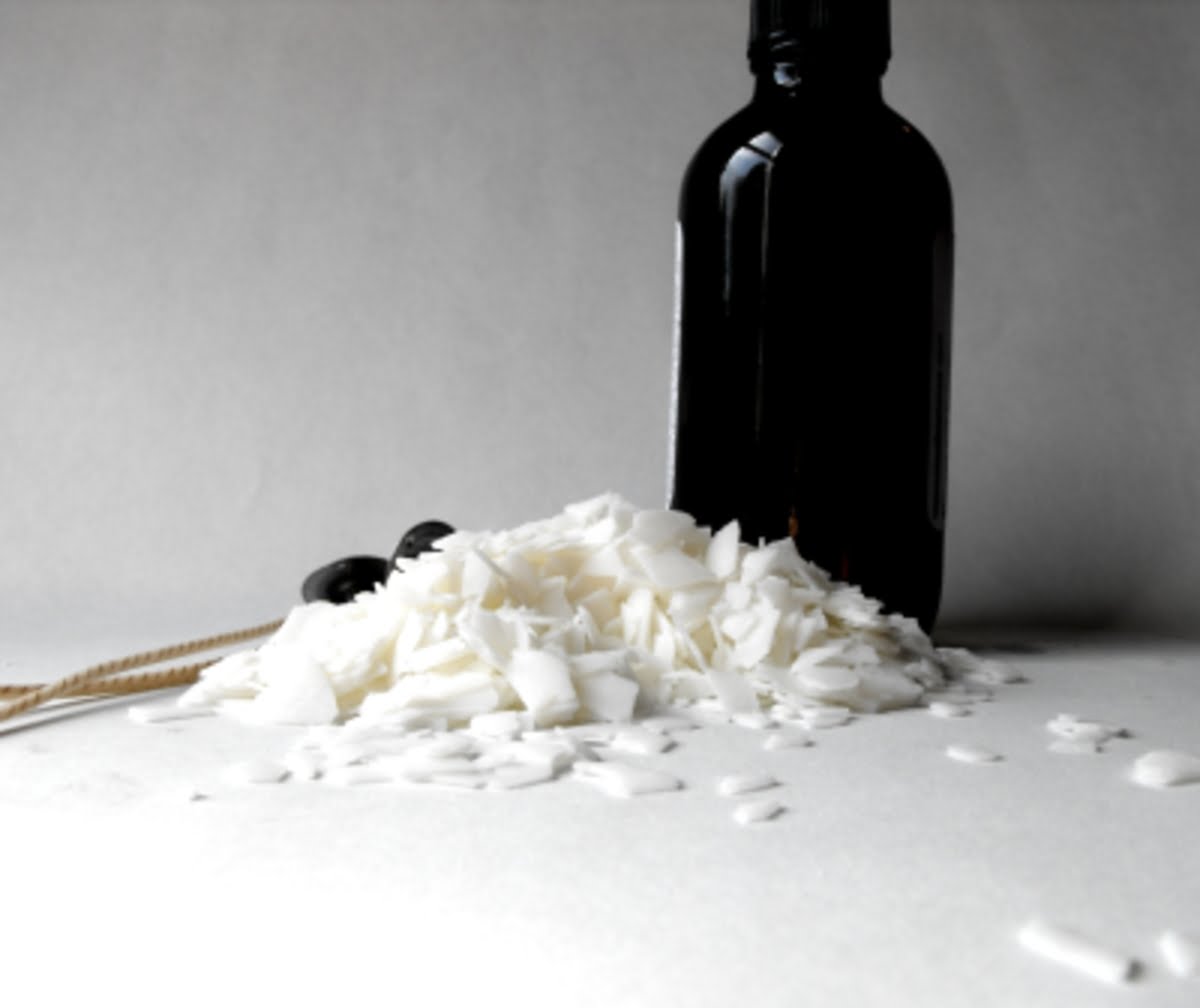
In order to make your own natural candles, you’ll need a few basic supplies: wax, wicks with pre-made tabs, candle-making thermometer, double boiler (or two pans of different sizes to be used as one), containers for the pillars, scented oils or herbs of your choice, a pencil or skewer and a craft hot glue gun. Depending on the type of wax you choose, you may need to add additional ingredients such as paraffin wax or stearic acid. To calculate the amount of wax needed for each candle, figure out how much liquid volume your containers holds and divide that amount by four. For example, if you have 4 oz containers, you’ll need 1 ounce of wax per candle. Additionally, when choosing wicks for your pillar candles it’s important to check that their width relates nicely to the container and that they are made from natural materials such as cotton or paper.
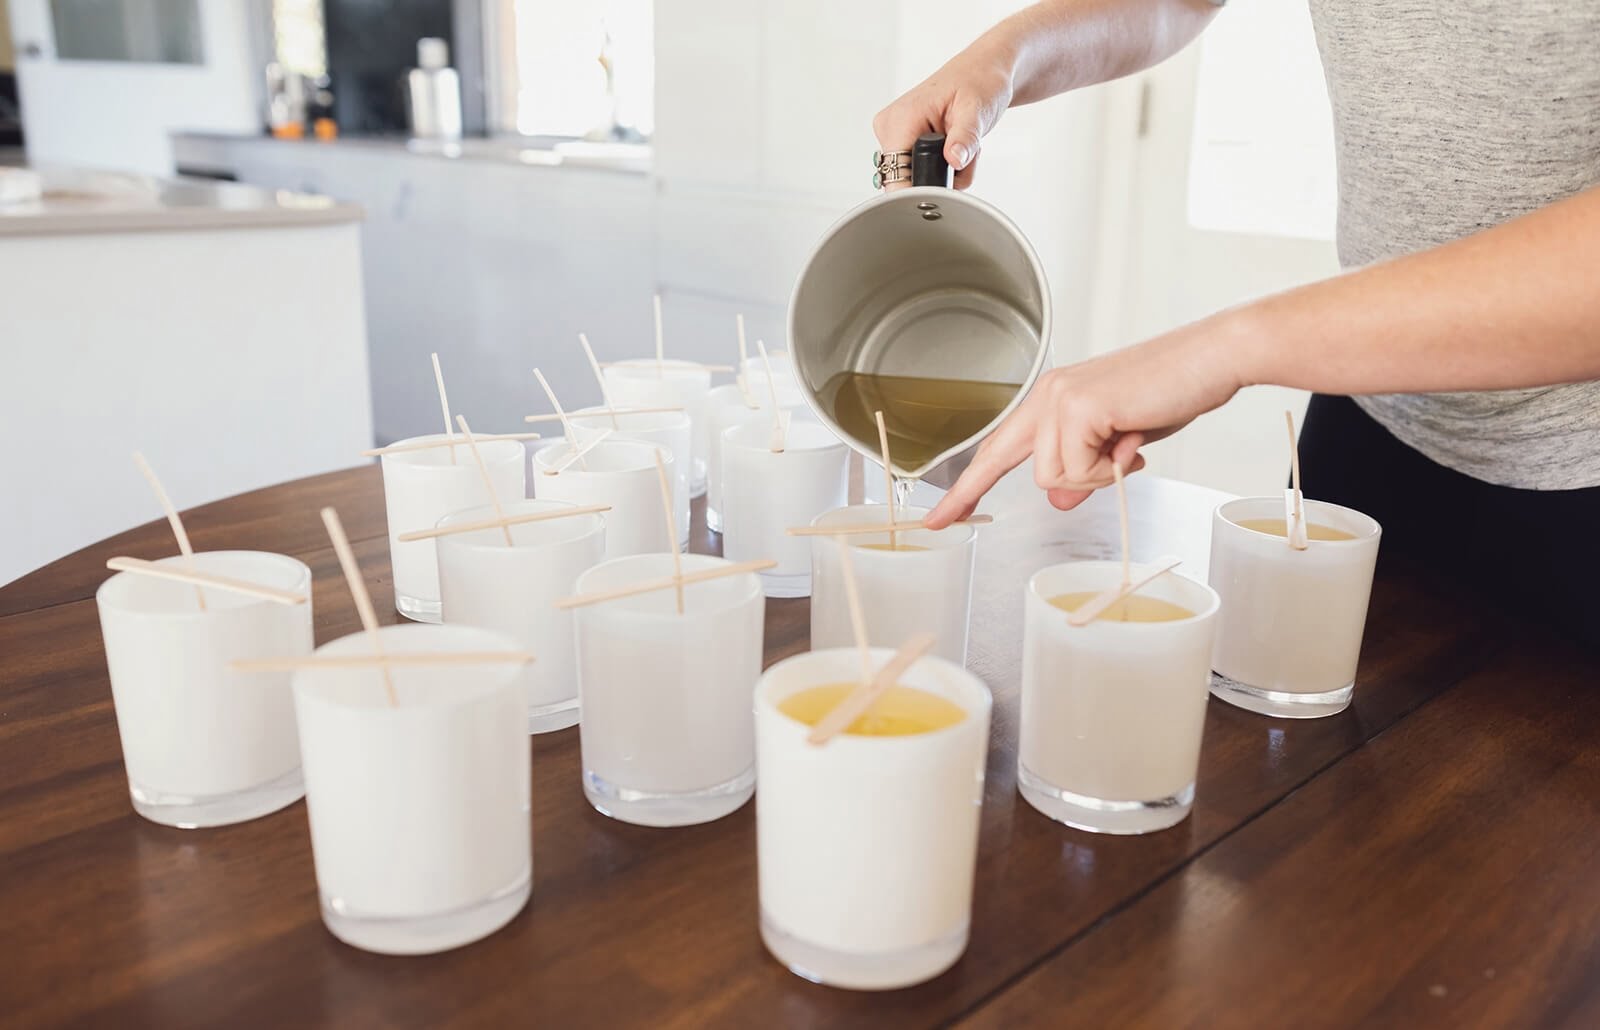
Once you have all of your supplies together it’s time to start making natural pillar candles! Begin by melting the wax in the top part of a double boiler (or two nested pans) over medium heat. Use a preferred temperature setting indicated on the side of the container”relatively low temperatures work best for most types of waxes and ensure optimum burning time when finished. Once melted, stir in other ingredients according to package instructions then add any desired scent using either favorite essential oils or by adding dried herbs and flowers directly into the molten mixture. For more detailed instructions before adding any additives do consult with manufacturers directions”some may require additional steps prior to adding fragrance or color! Finally use your hot glue gun to secure prepared wick at bottom center each container before slowly pouring in warmed-up wax until it completely covers them. Allow this layer time cool before repeating steps 3-4 until desired depth has been achieved., The final step is allow these pillars cool fully before trimming off excess wick with scissors and removing pencil or skewer used support them during pour process.
Preparing the Candles for Crafting
Making natural pillar candles at home can be fun and rewarding. Before starting to craft the desired candles, there are a few preparation steps you need to take. First, it’s important to ensure that you have all of the necessary supplies on hand and ready for use. This includes quality candle wax ” such as beeswax, paraffin wax, vegetable wax or soy wax ” as well as molds, wicks, thermometers and dye pigments. Depending on the type of candle you would like to make, you may also need additional supplies such as crayons for scenting or essential oils for aroma enhancement.
Once you have all the supplies together, you need to prepare the mold in which your desired candle will take shape. Begin by pouring water into each mold cavity in order to lubricate it before inserting the wick. Ensure that each wick is securely attached at its base with a drop of melting wax so that it can stand straight while melted wax is poured into each mold cavity. After allowing time to dry, cover each mold with a thin layer of petroleum jelly or other material before proceeding with filling with hot liquid wax. The goal is to make sure that no air bubbles form within the material so your final product comes out without visible defects. Finally, adjust each wick so that appears centered in each candle prior to lighting up and enjoying!
DIY Tutorial
1. Gather your supplies. In order to make a natural pillar candle, you will need the following items: wax (soy, beeswax, or paraffin), wick/wick holder, double boiler/warmer, thermometer, mold of your choice, scent, dye and optional additives.
2. Prepare the wax. The amount of wax needed will depend on the size of your candle. Place the wax in the top part of the double boiler and place over medium heat until it reaches around 160°F (71°C). If using scent, add it to the melted wax prior to pouring into the mold(s).
3. Inserting the wick(s). Before you can begin pouring the melted wax into each mold, you must first insert a pre-tabbed wick into each one. pre-tabbed wicks come with metal bases that help keep them centered and upright as well as having smaller metal discs at their ends that attach themselves to the top once fully inserted into each mold. All you have to do is press them all down firmly so they stay in place once added to each cavity when ready for pouring.
4. Fill up each cavity with melted wax and wait for it to cool off completely before attempting removal from its respective mold(s).
5. To remove each candle from its mold you will need two tools: a small flat head screwdriver and an ice cube tray that fits snugly over each candle body (this can be any material – metal or plastic) Soak an individual ice cubes overnight in water then apply those cold cubes directly onto its corresponding molded shape while you use your small flat headed screwdriver to carefully pry apart both pieces by applying pressure along their joined seams until it feels loose enough for detaching both pieces away from one another. This method works perfectly every time! Once detached elsewhere pull apart remaining sides gently by hand as necessary since cooling process should’ve tightened jointed area rather securely beforehand anyways thus assuring easy removal without resorting use both heavy force or any other intervention!
Pro Tips to Ensure a Quality Finish
When making natural pillar candles, there are several pro tips that can help you achieve a quality finish. First of all, choose a wax that has a high melting point as this helps to reduce sagging and dripping while the candle is burning. You should also select wicks that are designed specifically for natural waxes as they burn more evenly than conventional wicks. After the wax has melted and poured into the mold, carefully measure and trim the wick to make sure it matches the height of your candle. This helps ensure that your wick will stay centered in your pillar candle when it cools down and will not move around. Additionally, you may want to place your finished pillar candles in a refrigerator before putting them on display as this helps set the shape and prevents sagging or cracking over time. Lastly, be sure to clean up any excess wax residue from the molds after pouring by using a damp cloth or paper towel before starting another batch of candles. Following these pro tips will ensure that you get a quality finish for each one of your handmade natural pillar candles.
Adding Character with Unique Designs
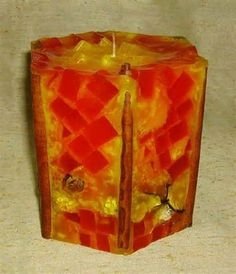
Creating a unique and attractive pillar candlemaking design is an enjoyable experience. It requires patience, creativity, and some basic candlemaking supplies. You can add character to your pillar candles with various embellishments such as carved patterns, embedded objects, or colored wax chips. To get started, you’ll need to choose a wax type like beeswax or paraffin. Natural beeswax candles are especially popular for their pleasant scent and natural appearance when paired with cotton wicks. They last longer too! After selecting the wax, prepare the candle molds by brushing vegetable shortening to keep the wax from sticking. Next, melt the wax on low heat in a double boiler setup prior to coloring it with dye chips. When the wax has melted to 110-degrees F (43°C), pour it into the molds evenly and allow it to cool overnight before inserting wicks into holes drilled at the base of each candle mold. Finally, you can add character using various techniques like drizzling patterns of contrasting colors over a solid-colored layer of wax or embedding tiny figurines into your creations for an extra touch of magic! With practice, you’ll soon be able to create unique shaped pillar candles that are profession-looking masterpieces ready for any special occasion.
Enhancing Your Candles
Fragrance and color can be used to create natural pillar candles that have their own character and unique appeal. Fragrances such as rose, jasmine, lavender, or citrus add a special aroma to the room when burned. Plant-based waxes such as soy wax often enhance scent even better than other waxes because of the way it reacts with scent molecules. Essential oil scents can also be used for those looking for a more earthy fragrance with therapeutic benefits.
When considering colors for your natural pillar candle, there are several options available. How you choose to color your candle will depend on the desired look and the type of wax you are using. Beeswax is often known for its natural golden hue, while soy can be easily colored with dye blocks or powder purchased from most candle making supply stores. Other ways to make lighter colored candles include adding natural materials such as herbs and spices during the cooling process, using a small amount of glass paint around the edges, or adding crayon shavings directly into melted wax after dying it with another color. For example; If you have dyed your wax red, you could add some yellow crayon shavings in afterwards to give it an orange tint that is quite eye-catching! Finally remember; Color and fragrance can always be added later if needed providing there is space within the wick hole for addition. So don’t worry if you feel overwhelmed at this stage ” just make enough candles that fit into your project goals and experiment with them until can achieve the desired end result!
Creative & Practical Uses for Your Home
Natural pillar candle making is a great way to add a cozy and warm feeling to your home. Not only do they provide an inviting atmosphere, but the creative possibilities are endless! They can be crafted in a variety of colors, scents, shapes, and styles to fit any decorating theme. Whether you’re looking for something simple and classic or something more intricate and unique, natural pillar candles can offer something to suit your needs.
You can use natural pillar candles as a centerpiece in the dining room or on your mantelpiece. If you have an outdoor seating area, try using multiple pillars arranged artistically on a wrought iron table to cast mood lighting during those long summer nights. Since natural wax pillars are often unscented, feel free to rub essential oils or fragrant spices into the surface of each one for an added layer of ambiance – it’s entirely up to you! Natural pillar candles also make great gifts for special occasions like birthdays, anniversaries, housewarming celebrations and more – simply tie ribbon around the base for extra detail. And if that wasn’t enough, many people choose to arrange them strategically throughout their home as low-cost fire starters since these kind of pillars possess longer burn times than regular candles.
Recap & Enjoyment
Making natural pillar candles is a fulfilling activity. It allows anyone to express their creativity and creates a sense of satisfaction. The process is easy to follow and doesn’t require any expensive tools. Many people enjoy the experience, because not only do they get to see the results of their efforts but they also get to breathe in the gentle scent and relax while crafting these beautiful candles. For those wishing to make it a hobby, there are countless ideas to explore in terms of size, shape, and scent combination. With practice, even complex projects can be completed with ease. Not only can you create decorative and fragrant items for your home or give as gifts, but the process itself is calming and rewarding. So take some time out from your busy schedule, gather the supplies needed, such as wax, wicks, fragrances oils and dyes; pick up some helpful books on candle making; then turn up some soothing music and enjoy!

Welcome to my candle making blog! In this blog, I will be sharing my tips and tricks for making candles. I will also be sharing some of my favorite recipes.

