Introduction
Paraffin candle making is an enjoyable and very rewarding hobby, which is fast becoming a popular way to create unique candles. It allows individuals to customize their own candles from the comfort of their home, with available colors and scents that can be tailored to every occasion. This article will provide a brief overview of paraffin candle making and its benefits.
Paraffin wax is one of the most popular materials for making candles. The melting point for paraffin wax is lower than other types of wax, allowing users to easily melt it for pouring into molds or containers of any size or shape. Paraffin’s natural low melting point also makes it easy to work with and handle during the candle making process. Moreover, when using paraffin wax in candles, one can make custom colors by adding tinting powder (such as dyes), pre-blended colors (which are commonly used in crafting stores) or crushed colored glass pieces. Additionally, scenting agents such as essential oils can also be added to the melted paraffin wax before pouring into the containers or molds. After cooling off, these candles can be uniquely designed with structures such as ribbons or seashellsand ultimately enjoyed by family members, friends or even sold online or at crafts shows!
Overall, learning how to make paraffin candles provides an excellent opportunity for creative people who want to explore their potential in terms of combining scents and shapes while creating unique items. Even those with limited time and resources can still engage in this activity since all that is needed is a few basic supplies like wicks, clamps/containers/molds (for holding the wax), thermometer (to measure temperature when melting paraffin wax) along with scissors for cutting wicks after cooling off. Finally, by familiarizing oneself with different patterns, designs and safety tips published online; individuals interested in making unique items through this endeavor can get access to useful advice from experts on successful methods they should try out.
The Benefits and Advantages of Paraffin Candle Making
Paraffin candles are a type of candle often used for home décor, aromatherapy and outdoor events. Making your own paraffin candles not only allows for creativity with colors and scents, but also saves money as supplies can be bought in bulk. Paraffin wax is environmentally friendly and easy to work with. It is also known for producing a brighter flicker, burns longer than other waxes, and holds fragrance the best. In addition, you can use food colorings and herbs like rosemary to make uniquely attractive candles without much knowledge of the craft of candlemaking. Furthermore, paraffin wax comes in a variety of sizes as well as specialty types such as multicolor chunks that give special effects to candle designs. Finally, paraffin is affordable compared to other types of wax, making it an ideal choice for both beginners and experienced makers alike.
Supplies Needed for Paraffin Candle Making
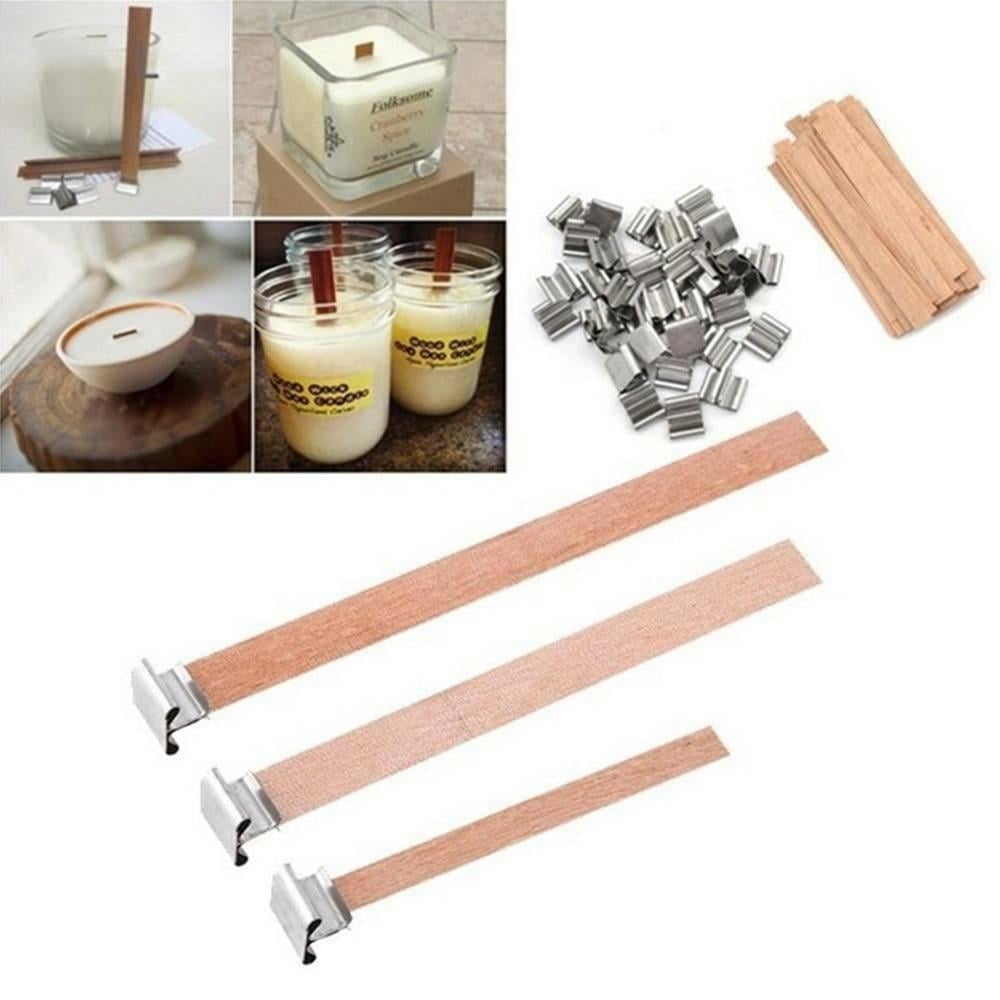
Making paraffin candles requires a few pieces of equipment and supplies. To get started, you’ll need the following: melting pots to melt your wax, wicks with metal tabs for each candle, fragrance oil for scent (optional), a thermometer to monitor your wax temperature, a scale to measure out ingredients accurately, molds of various sizes and shapes to make awesome personalized candles, colors blocks or liquid dyes depending on the wax used, slotted spoon or ladle to stir the wax while melting it, pot holders and oven mitts to shield hands from heat during the process. For making larger candles like pillars and votives you will also need large metal containers (also called tins) that can be filled with melted wax and large wicks that are secured in place around the tin’s exterior with wick sustainers. Finally don’t forget safety equipment – safety glasses (goggles)[1], gloves and long-sleeve shirts or aprons to protect skin from splashing hot wax.
Preparing Your Work Space
Before you begin making paraffin candles, it is important to prepare a clean and safe workspace. Select an area that has plenty of room to work, away from flammable objects or areas with a lot of foot traffic. Place mats on any surfaces where you will be dripping wax as it can cause long-term damage to some materials. Make sure there is adequate ventilation and good lighting for this activity
To further prepare your workspace, gather all the necessary supplies and tools. This includes wax pellets or blocks, wicking, dyes, scents, melting pot or double boiler (whichever you prefer), molds or other objects in which you want to pour the candles, and any adornments such as beads or glitter. Be sure to have special safety items such as safety glasses and gloves as well as fire extinguishers nearby that can easily be accessed if necessary. Finally check all wicking for burrs at either end in order to ensure a proper burn. With everything in place and ready, you are now prepared to make your own paraffin candles!
Melting the Wax
Paraffin wax is the most common type of wax used in candle making. To melt the wax, it can be placed over a double boiler or an electric melter specifically designed for melting paraffin. Slowly heat the wax until it reaches about 160-180 Fahrenheit. If overheated, the wick will not stay lit and the colors or fragrances may fade away. Also, if should not be heated above 200 Fahrenheit, as burnt paraffin is difficult to remove from molds and equipment. It is best to use a thermometer to keep track of temperature while melting the paraffin – this will help you get candles with consistent quality each time.
Adding Color, Scent, and Decorations
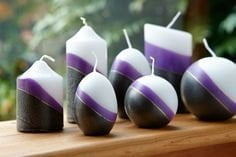
Paraffin candle making is a fun and simple craft that allows you to customize your candles however you like. Adding color and scent to the wax is an easy way to take your candles from plain to interesting. Additionally, decorations such as glitter or embeds can be put into the wax while it’s melting, allowing you to make truly unique and beautiful candles.
When choosing a color for your paraffin wax, there are many options available in the form of liquid dye blocks and crayons that are made specifically for candle-making. You can also use oil-based fragrance oils or essential oils—just remember not to use too much, as both tend to have a powerful scent! Embeds can come in the form of small flowers, gemstones, shells, beads, or even dried fruit pieces! They can be added prior to pouring or simply shaken into the bottom of an already poured candle. Glitter is another great option for adding some sparkle and shine; just add it as you pour or sprinkle it onto any wet spots on top of the candle after pouring. If you want extra protection against heat cracking in votives or other moulded candles, you may consider using a stearin based wax in addition to the paraffin wax which will provide extra strength that is not easily cracked by temperature change.
Choosing and Securing the Wick
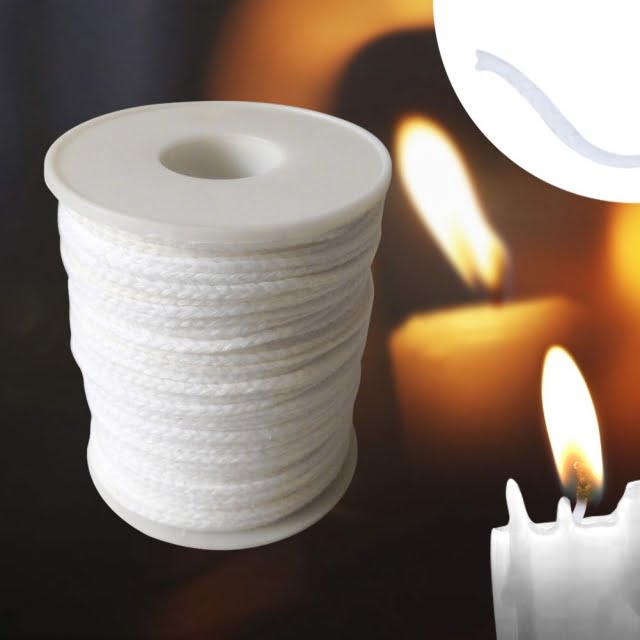
Choosing a wick for your paraffin candle is an important step in the candle-making process. A properly chosen and secured wick can be the difference between a well-burning candle that gives off lots of scent or one that smokes, tunneling, or does not burn correctly. When selecting waxes for your candles make sure you choose one that meets wicking guidelines from the manufacturer. Old or worn out wicks are to be avoided as they will not allow the proper burning of your paraffin candle. You can either purchase pre-waxed or un-waxed wicks, depending on what type of application you want for your wax project. If using an un-waxed wick, you may need to secure it with a small tab made from metal or glue at the bottom. This will help guide the flame up through the length of the candle and prevent it from lifting off when it melts. Be sure to adjust the length of the wick adequately before securing as too much exposed wire will result in excessive smoking once it is lit.
Pouring the Wax
Paraffin candle making involves heating the wax until it is in a liquid state. To do this, the wax needs to be melted in a double boiler. The temperature of the wax should be monitored with a thermometer and the heat should never exceed the recommended temperature. Once the wax has melted, it should be transferred to a metal container such as an aluminium jug or pot for pouring. Before beginning to pour, make sure that you have all of your materials ready and close by—this includes wick tabs with pre-tabbed wicks, wick sustainers, pigment colours and fragrances/essential oils for scent. When pouring your candles, take care not to overfill them as wax can overflow onto their sides when cooling and cause defects in the finished product. After pouring each candle, insert a tabbed wick through the sustainer at the bottom end and twist in place to secure the wick tab once it has reached its desired height. Finally, set aside and allow each candle around 3 days to fully cure before using or packaging them up for sale.
Curing and Finishing Your Candle
Once the candle has cooled and cured, it can now be taken out of the mould and finished. To give the candle a more professional look, trim the wick down to about 1/4 inch using wick trimmers or scissors. If you want to dress up your candle further, use decorative bows, ribbons, stickers and other embellishments to make it look nice. Consider adding a fragrant oil or wax melt to make it smell good. Finally, ensure the candles are stored in a cool, dry place away from direct sunlight. The area should have good air circulation to prevent moisture build-up which can affect the appearance of your paraffin candles.
Storing and Preserving Paraffin Candles
Paraffin candles should be stored in a cool, dry area away from direct sunlight or any heat source. They can also be stored in airtight containers like plastic bags or jars to prevent dust particles from settling on them and keep the wax from softening. To prevent the candles from sticking together, it is important to store them in separate containers and keep their wicks clean and trim. It is also essential to keep an eye on the expiration date of the paraffin wax as different types may have different shelf life spans. Additionally, it might help to mark each candle with the original purchase date so that you can have an idea of how long they’ve been stored. As long as they are properly preserved, paraffin candles can last for up to two years when kept out of direct sunlight or sources of heat.
Troublehooting Tips for Paraffin Candle Making
If you’re having trouble getting your paraffin candle mold to release thecandle, there are a few troubleshooting tips that may be helpful.
First, make sure you’ve properly prepared the paraffin wax. Paraffin wax should be melted and cooled slowly at a relatively low temperature in order to obtain a harder finished candle. If your wax is not hard enough, or if it is too hard, this can make it difficult for you to remove the candle from its mold. The ideal temperature to melt paraffin will vary based on your particular recipe and should be determined by trial and error.
Second, always let your candles cool completely before attempting to remove them from their molds. This can take anywhere from several hours to overnight for larger candles. Avoid any sudden cooling techniques like running cold water over them; this could cause cracking and bubbling in the wax which won’t look nice in the finished product.
Third, use a lightly greased release agent in your molds prior to pouring in your wax/dye mix. A release agent will help form an airtight seal between the mold and the candle so that when you attempt to remove it from the mold it is easier for it to come out without getting stuck.
Lastly, if all else fails try using a heat gun on low setting on both sides of the mold till around 110-120 Fahrenheit degrees (check against specific instructions on your wax label).The heat should make releasing much easier as the paraffin has relaxed its hold on the walls of the mold box allowing easy removal of your paraffin candle shapes after they cool down again naturally.
Presenting Your Paraffiin Candle
When it comes to presenting your paraffin candle, there are several different options available. The first option is to present the candle in its original container, be it a jar or pillar-type glass container. This type of presentation will often show the true beauty of the candle and allow potential customers to get a close look at your product. Another excellent option is to set the candles in a display tray or on a tiered candelabra stand that serves both as both functional and decorative. This can make an impressive presentation which allows customers to appreciate the candle from every angle and decide whether they would like to purchase it or not. If you’d like your presentation to have greater impact, you can invest in scented candles or decorative containers for smaller candles, such as mosaic holders for votive offerings. With these specialized packaging options you can provide customers with an unforgettable experience that’s sure to draw them back for more. Overall, putting thought into how you present your paraffin candles can make all the difference when attracting new customers.
Conclusion
Paraffin candle making can be done in a variety of ways. Not only is it relatively easy to do yourself at home, but you can also purchase kits that contain supplies and instructions on how to create your own homemade candles. The great thing about paraffin is that it’s inexpensive compared to other waxes such as beeswax, so you can make an entire collection of candles with just a little bit of investment. Many people find the process enjoyable and satisfying, and the end result is interesting designs, aromas, and colors that can be displayed around any room in the house. With a few simple tools and some patience, anyone can make beautiful handmade works of art with paraffin candle making.

Welcome to my candle making blog! In this blog, I will be sharing my tips and tricks for making candles. I will also be sharing some of my favorite recipes.

