Introduction to Paraffin Wax Candle Making
Paraffin wax is the most commonly used type of wax for candle making. It is easy to work with and has a long burning time, making it a great option for beginners. When selecting paraffin wax for your candles, you’ll want to consider its melting point, as that will determine the type of wick needed. Typically, the higher the melting point of the wax, the larger and thicker the wick should be in order for your candle to burn efficiently.
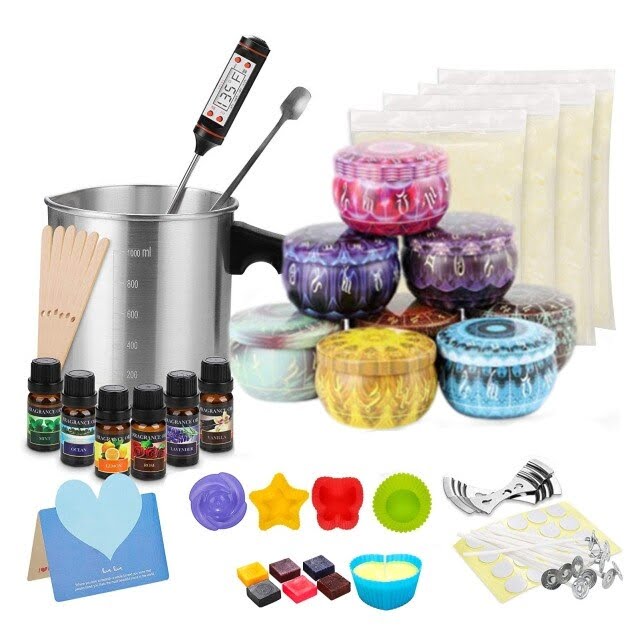
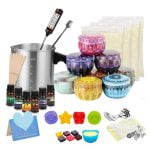
When making paraffin candles, you’ll need certain equipment such as a double boiler or melting pot to melt your wax and pour it into containers. You will also need wicks, wick holders and glue dots or tabs to keep them in place. In addition to these items, you may want other tools such as thermometers and measuring cups.
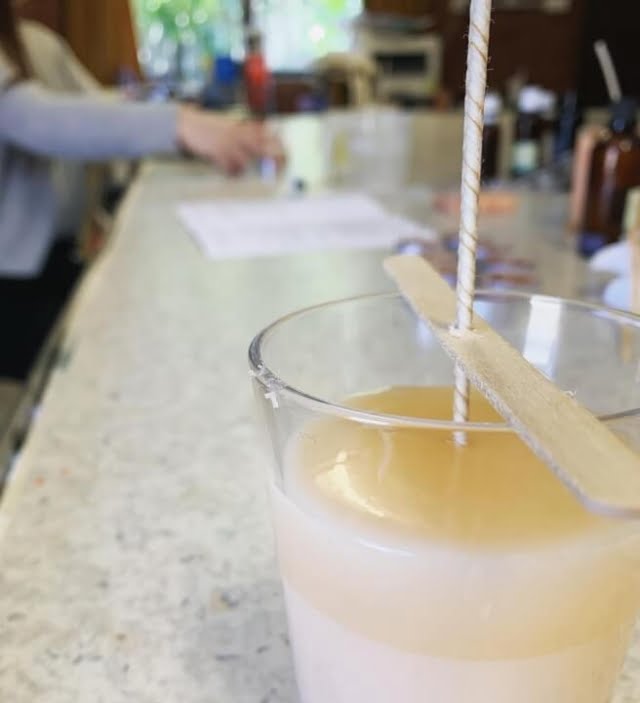
Once you have all your supplies gathered together, you’re ready to start pouring your own paraffin candles! The two main pouring techniques used are container pouring, which involves placing a measured amount of melted wax into containers and then inserting wicks later on; or “coreless” pouring which involves inserting pre-selected wicks into molds/containers filled with melted wax while still hot so they are securely anchored in place. These methods can be combined or applied separately depending on what kind of candle you are creating. Be sure to follow safety guidelines at all times when working with melted paraffin wax .
Step-by-Step Guide to Paraffin Wax Candle Making
1. Gather your materials – To make a paraffin wax candle, you will need the following: paraffin wax, pre-tabbed wick, wick sustainer, metal pitcher or double boiler, thermometer and pot holders. Optional items include fragrance oil or dye to color the wax.
2. Heat the wax – Begin heating the paraffin wax in a metal pitcher or double boiler over low to medium heat. Wax temperature should always be between 45C and 65C (115F to 149F). Do not allow boiling to occur as it affects burning time and quality of the candle.
3. Add any optional ingredients – If desired add optional fragrance oil after the melt temperature is reached but before pouring begins (about 5% – 7% of overall wax weight). You can also mix powdered or liquid dyes if you would like to color your candles at this stage.
4. Hold wick in place – When ready, secure the bottom (base) end of the pre-tabbed wick tightly onto the bottom of a container with a wick sustainer; this will help keep it steady for pouring later on.
5. Pour melted wax – Carefully pour melted paraffin into your desired container(s) at just below body temperature (about 38C/100F), try not to leave air pockets along side walls that are left behind and will cause uneven burning patterns when finished because there’s an area that doesn’t receive enough fuel near it’s edge/tip line.
6 Let cool andshape – After pouring evenly over bearing surface, now let your candles cool off slightly until they reach room temp then shape them as desired by gently pushing on sides while still warm but not melting further than necessary when touching them (this tip could save some heartache if forming is preferred instead of purchasing).
7 Cut off excess wick – Once completely cooled off cut off excess wick tab length until 1cm-2cm remaining above surface so that it may later serve as base support during lightening & avoid smoke accumulation that happens when lighting longer ones due too overload fuel supply near its housing hole/crevice which could inadvertently get nearer combustible surface areas like paper, cloth etc..
Paraffin Wax Candle Making Tips
Using thermometers, like a digital or an infrared thermometer, is the easiest way to get the ideal wax temperature for pouring into a mold. This can help to ensure the wax isn’t too hot or cold and will yield the best results.
For avoiding air bubbles while pouring, it helps to keep constant stirring and pour steadily rather than hastily. To further avoid them, either use double-boiling methods or pour into a container via a spout os that the stream of wax is slower.
When pouring paraffin candles, it is important to run a flame along the wick right after pouring so that it doesn’t touch other surfaces such as the sides of the mold. This helps to prevent air bubbles from forming on the edges and allows the candle to burn evenly when lit.
When using scent oils in your candles, use caution by testing out small amounts first before deciding how much you want to add. Too much oil can be overpowering and can also affect how quickly your candles will burn.
Finally, taking extra time for curing not only makes your homemade candles look more attractive but also greatly improves their smell depends on their lifespan as well as how quickly they burn when lit. Allow your candle 24 hours in between pours for optimal results!
Troubleshooting Common Paraffin Wax Candle Making Mistakes
1. Messy Candle Forming: Paraffin wax can crack or bubble when the wick is not properly centered. To ensure a centred wick and a finished candle with clean lines, press the wick into the wax with a skewer after pouring before it sets.
2. Too Small Candle Flame: When making container candles, pay attention to the size of the wick for your wax type and candle size as too small a wick can cause a very small and weak flame. While you’ll want to avoid cored wicks which are too large as they might cause smoking, paraffin wax works best with pre-tabbed wicks.
3. Frosted Glass Container Candles: Paraffin wax has a low melting temperature that makes it susceptible to frosting especially when poured in glass containers, so always use a thermal mix when pour in such vessels for best results, either by mixing micro-crystalline paraffin or stearic acid with your paraffin mixture before pouring into the containers or using pre-mixed thermal blends available on the market.
4. Fragrance Defects & Siteral Acidity: When adding fragrance or essential oils to your wax, invest in high quality fragrances that are specifically suited for candlemaking and have been examined for their validity. Also measure carefully according to manufacturer instructions and avoid going over recommended concentrations as this may contribute to smoke production, other burning defects such siteral acidity (the characteristic sooty residue around burned candles).
Ideas for Paraffin Wax Candle Making Decorations
Wooden Beads – Wooden beads can instantly transform a simple paraffin wax candle into something decorative. These small, round or cylindrical beads come in an array of styles, sizes and colors that you can glue to the wax surface with a hot glue gun.
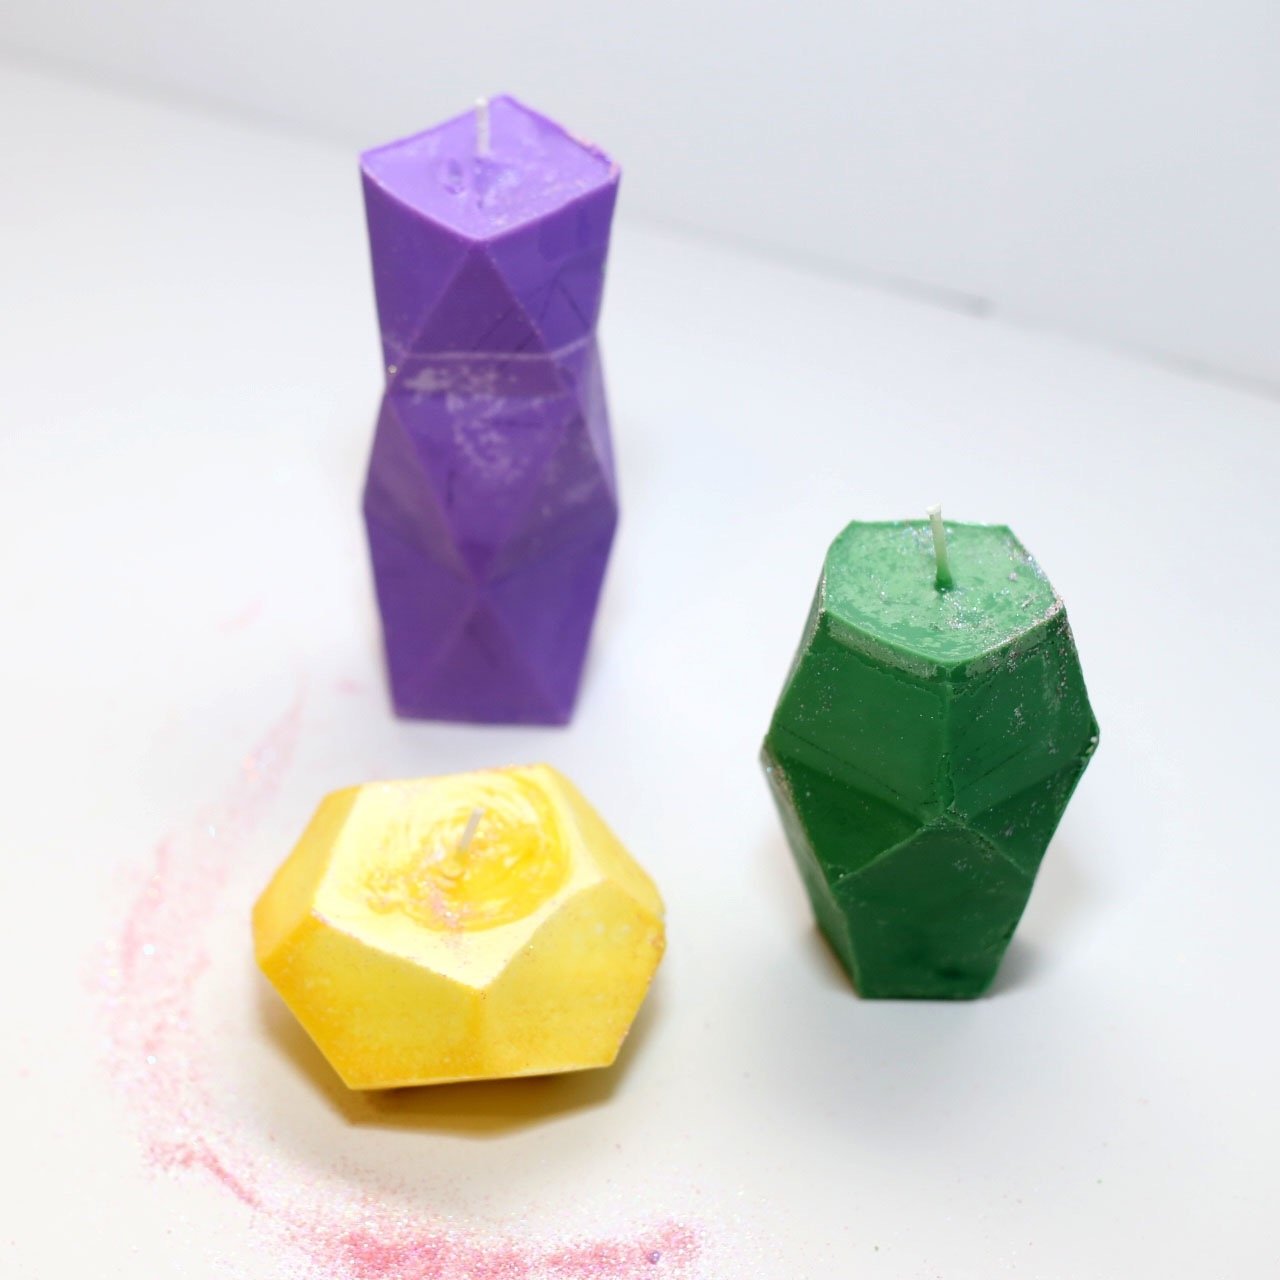
Wax Sealers – Wax sealers are designs created in molten wax and imprinted during a candle-making session. Such designs could include family crests, Christian symbols and abstract shapes that give your paraffin wax candle a personalized touch.
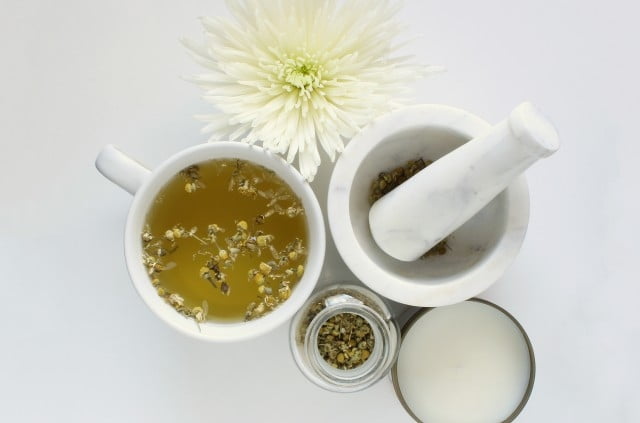
Herbs and Flower Petals – For aromatherapy purposes, you can add dried herbs such as lavender, rosemary or chamomile inside your paraffin wax candle. Flowers petals also make for nice decorations when placed on top of the layers of wax before or after the wax has cooled.
Shell Pieces – Shell pieces vary in shape, color and sizes that range from small flat rounds to conch shells and colorful puka shells. You can use them just as you would wooden beads by gluing on any shape desired directly onto the melted wax while it is still warm or positioning whatever shape works best around the already hardened paraffin wax candles.
Conclusion
It is important to make sure you have the right tools and materials available before attempting to make paraffin wax candles. It is also essential to pay close attention to safety precautions when working with the hot wax. Additionally, it is best to start with the simplest techniques and then move onto more complicated methods as your skills grow.
When it comes to choosing scents, combining two or more complementary smells can create unique combinations that will bring your candles alive. Finally, don’t be afraid to experiment with different wicks, waxes, and colors until you find a combination that works for you!
To conclude, candle making with paraffin wax can be an enjoyable experience with beautiful results if done correctly. There are various factors involved such as safety, materials selection and scents that need consideration before starting any project. Additionally, you should gain confidence in your skills by starting simple and using a variety of different techniques until you find what works best for you. With these tips in mind, have fun combining colors, wicks and scent combinations while enjoying the creative process!

Welcome to my candle making blog! In this blog, I will be sharing my tips and tricks for making candles. I will also be sharing some of my favorite recipes.

