Introduction
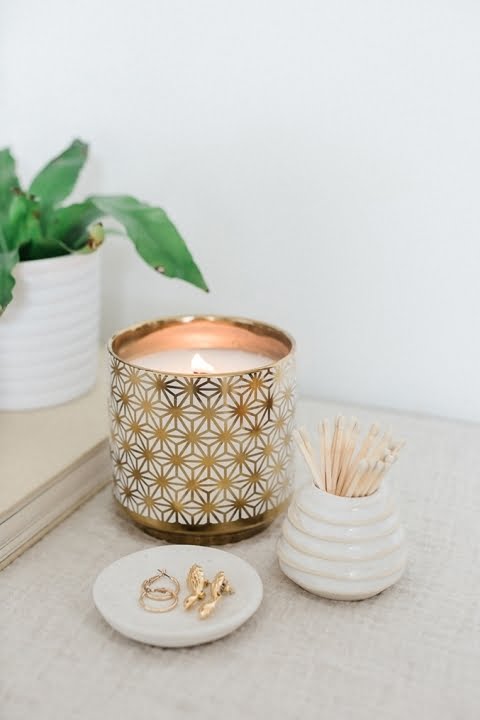
Beeswax candles are an all-natural, renewable resource that provide a soft, warm and inviting glow to any space. Unlike traditional candles made of paraffin wax or synthetic materials, beeswax candles are non-toxic and release a pleasant honey scent when burned. Furthermore, beeswax candles burn longer and brighter than other typical wax varieties because their natural components make them highly efficient fuel sources. Working with beeswax is also much easier than many synthetic materials as it’s malleable enough to mold and carve into stand-alone pillars or drip designs. Other advantages of beeswax include its resistance to dripping, drippingwaterproof characteristics, antifungal properties, air purifying effects and ability to rejuvenate the environment by emitting negative ionizing particles.
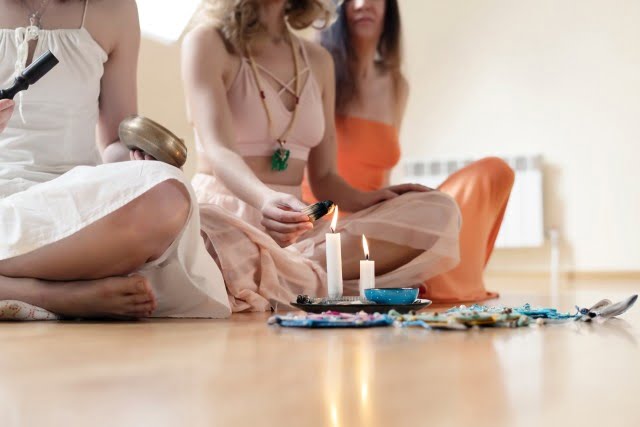
Because of the peace of mind associated with burning natural products these days — such as decreasing air contamination within the home through use of synthetic chemicals — beeswax candles have become a popular choice for many people when decorating their homes or hosting holidays gatherings. In addition to their wide range of therapeutic applications, from stress relief to calming symptoms of anger or anxiety; they also offer aromatherapy benefits when fragrant oils are infused with the wax. Furthermore, beeswax candles can be used for unique decorative accents for wedding receptions or even during religious ceremonies like baptisms or confirmations.
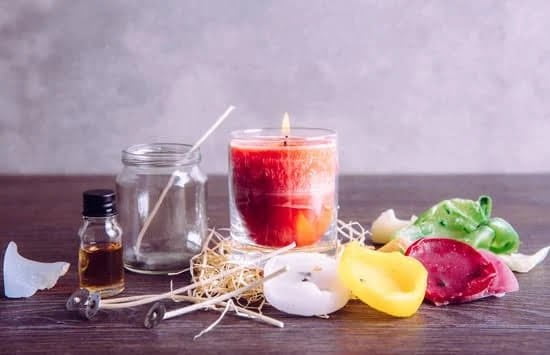
Gathering Your Supplies
Tools:
-Double boiler or a metal bowl/saucepan: This is the vessel that you will melt the beeswax in.
-Stovetop: This is what you will use to heat the double boiler or bowl/saucepan, unless you choose to melt your wax in the microwave (see Optional Equipment).
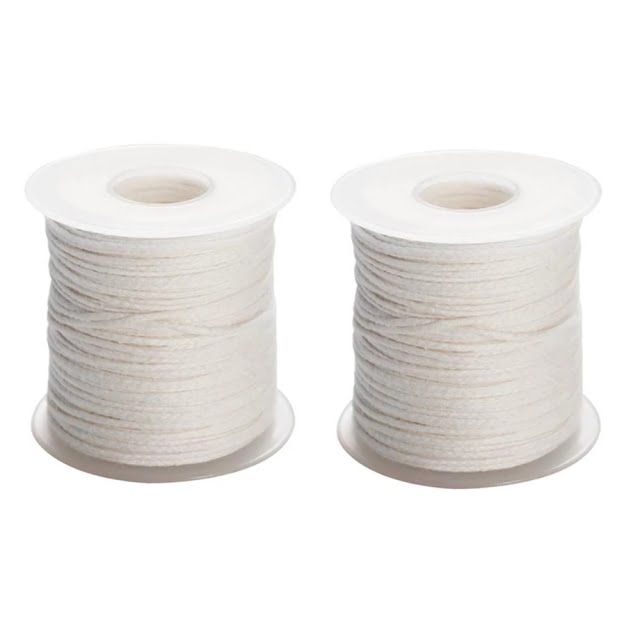
-Candle wicks: These are needed to create the structured form of your candle.
-Thermometer (optional, but recommended): A thermometer can help you to regulate the temperature of your wax. If you’re using a double boiler, make sure it fits into the pot.
Materials:
Beeswax: You should purchase high-quality beeswax for making candles, as it is a cleaner burning wax compared to other types such as soy wax and paraffin. The amount of beeswax needed varies upon how many candles you plan on making.
Optional Equipment:
Microwave safe container for melting beeswax: If you don’t want to use a double boiler, this option will make melting your wax easier and quicker, though proper caution should be taken when melting any material in a microwave oven as it can become very hot quickly.
Candle molds & mold release spray (optional): For extra customization and uniqueness, these tools can be used if you don’t want to dip wick into melted wax directly or if you just prefer the look of a molded candle. The release spray helps with easy removal of finished product from its mold without damaging it..
Assembling the Base of the Candle
Choosing and Crafting the Wick
The wick you choose should have the right diameter to match the size of your mold. Wicks made of natural fibres such as cotton, linen or hemp are best, as they are most suitable for burning with beeswax or paraffin-based waxes. You can buy pre-made wicks, or you can make one yourself by wrapping thin layers of cotton string around a cylindrical object such as a pen or an old rolling pin and weaving the ends together. Trim off any loose strings.
Choosing and Securing the Wick
Before securing your wick, it is important to make some jigs to hold it in place in the centre of your mould during pouring. This can be done by knotting two bamboo sticks together, making sure there is enough space where the wick gets secured securely. Alternatively, you can use a plastic bottle to secure the wick in place. Poking two eyelets into either ends of the bottle neck will allow for securement of the wick between them.
Crafting a Base for the Candle
Next, create a base for your candle. You need something that will be able to provide support for your molten wax when it is poured into it. A simple solution could be using tin cans or glass jars combined with either an aluminum or stainless steel container filled with heated salt water which sits inside like a bath. Both of these methods will help keep both your mould and wax at optimal temperatures while preventing any damage caused by excessive heat during candle pouring. Additionally, each method ensures that when your candle is finished setting you can easily remove it from its base without causing any damage to its structure
Preparing the Wax
There are a variety of types of beeswax available for candle-making. These range from the light, yellow wax (known as “refined”), to darker and more aromatic waxes such as pure, natural, or mountain honeycomb wax. The best course of action is to buy the finest quality beeswax that you can afford for the most consistent results.
Before melting the wax for your candles, it is important to properly prepare it. Beeswax usually comes in pellet or granular form and should be broken into smaller pieces before heating. This speeds up the process and gives a better result. Any impurities or contaminants should be removed at this stage.
When melting wax, you must use a double boiler setup with indirect heat sources such as electric hot plates or an oven set on low heat – NEVER directly over a flame! Cradle a container filled with your desired amount of beeswax within another larger container half filled with water over the indirect heat source and wait until the entire contents are melted evenly before pouring into your desired candle molds. If you plan on adding scents or dyes to your candles during the melting process, do so now; add according to your recipe instructions and stir gently but thoroughly until fully combined before pouring into molds.
Advice for Coloring and Scenting Your Candle
When adding scent and color to beeswax candles, it is important that great care is taken in order to ensure that the quality of the candle is not affected. Both essential oils and paraffin wax can cause the texture of the wax to harden if it becomes over-saturated with either product.
Use only pure essential oils when creating your scented beeswax candle. Therapeutic grade essential oils are recommended as they do not contain any artificial fragrances or dyes. When using essential oil, use only a few drops at a time as too much can overpower the scent as well as discolor the wax.
When it comes to incorporating color into your beeswax candles, stick with natural dyes such as food-grade coloring powders or mica powders for best results. These materials are specifically designed for use in natural beeswax candles and contain no lead or other harmful chemicals which can affect the quality of your candle product. Begin by mixing one teaspoon of mica or food grade powder with two tablespoons of oil and stir until fully blended before adding slowly to your melted wax base. If you have colored tallow in which you wish to create a taper candle, add no more than 10% by weight in order to avoid affecting the burning performance of your candle product.
Filling and Finishing the Candles
1. Gather Your Materials: You will need clean or crumbled beeswax, pre-bought wicks and wick holders, a double boiler (or 2 good sized pots that fit snugly together), a thermometer, candle molds, metal stirring utensil, an extra pot (for the water bath).
2. Put Together the Double Boiler: Fill the lower pot with 3 to 4 inches of water and bring it to a gentle boil. Place the top part of the boiler on top and add your bee wax. Try not to fill more than halfway up to avoid spills later. Begin melting the wax using medium heat for 15-20 minutes till it reaches 170-180°F.
3. Add Essential Oils and Colorants: Once melted, you can get creative by adding essential oils or colorants to give your candles their own special fragrance or hue. Stir vigorously until everything is completely incorporated into the liquid wax.
4. Prepare The Molds: Taking care not to scald yourself with hot wax, pour liquid wax into appropriate-sized molds and immediately set aside to cool off for 1 hour at least (24 hours ideal). If desired, secure the prepared wicks in place before filling if they weren’t placed beforehand with a pre-made tab or holder.
5. Create Water Baths: Simultaneously prepare a “water bath” in an extra pot while your flames are burning low beneath your double boiler – this step helps pour & cool/harden candles evenly as needed without hardening them too quickly before finishings are complete such as tying off wicks etc …
6. Pour & Cool Candles Simultaneously: You can now begin filling up each mold with cooled liquid wax from your double boiler simultaneously using separate containers from both pots respectively and pouring evenly over molds & their secured wicks at °F – place immedietely into respective “water baths” which cool down candles within 5 minutes approximately (periodically check for desired texture/hardness ) Make sure everything is cooled off adequately before removing from pans!
Troubleshooting Common Problems
Wax Not Melting Properly: Beeswax has a high melting point, and it’s important to ensure that you are using a hot enough heat source to melt the wax. Try increasing the temperature of your heat source until it is hot enough. If you don’t have access to higher temperatures, you could also try stirring the wax while it melts. This can help increase its temperature and speed up the melting process.
Wicks Too Long Or Short: The length of your wick affects how well your candle will burn. If your wick is too short, the flame won’t have enough oxygen and will sputter and go out quickly, so it’s important to get them just right! To remedy this issue, measure the circumference of your candle and use that number as a guide for selecting a wick size. Cut the wick no longer than one-half inch (1 cm) beyond this measurement to ensure a consistent burn. Alternatively, if your wick is too long, you can always trim it down with scissors or a sharp knife without any issues.
Color or Scent Not Coming Through: Adding color or scent to beeswax candles can be tricky because of their resistance to certain additives. Make sure that you are using natural beeswax and pure essential oils or dyes specifically designed for wax candles. Also consider reducing the amount of scent/dye you are adding; adding too much can cause these elements not to blend properly into the wax. You may need some trial and error until you find a good ratio between your wax and additives that creates an even blend without impacting the quality of either element negatively
Conclusion
Making beeswax candles is a unique and enjoyable way to brighten up your home or create gifts for family and friends. The process is rewarding and easy to learn. You can purchase all the necessary materials at any craft store or online, then spend as little as half an hour crafting your own special candles. Beeswax will never dissatisfy you—its beautiful golden hue gives each candle an inherent, one-of-a-kind look while its natural scent radiates throughout the room. These special candles also tend to last longer than paraffin wax candles do since they don’t produce soot or smoke, making them good for our environment. So why not give it a try? Making beeswax candles is a great way to get creative in the comfort of your own home!

Welcome to my candle making blog! In this blog, I will be sharing my tips and tricks for making candles. I will also be sharing some of my favorite recipes.

