Introduction
Soy candles have been a popular choice for home fragrance since their appearance on the market. They have become popularized because of their various benefits over traditional paraffin wax candles. Soy candles are composed entirely from renewable resources and burn cooler and cleaner than other types of candles, producing lower levels of soot. Many also find that soy candles last longer and provide better scent dispersal throughout a space.
In terms of history, soy wax was first introduced in the early 1990s as an alternative to the traditional paraffin wax used to make essential-oil scented candles. This caught the attention of eco-friendly consumers who were looking for more sustainable options when it came to home scents. As such, soy candles quickly rose in popularity, increasing their availability throughout the world today.
The variations available today are endless as people have found multiple ways to customize different sized molds and can further choose to include additional elements such as dyes, fragrances, or essential oils to create a wide range of aesthetic effects. There are even recipes being developed to blend other natural waxes into each type of candle for extra strength and burn time. Whatever the choice may be, there is a plethora of information available on how to masterfully craft beautiful and unique soy candles from easy-to-follow step-by-step instructions to create a stylish home accessory with their own two hands!
Gather Your Materials
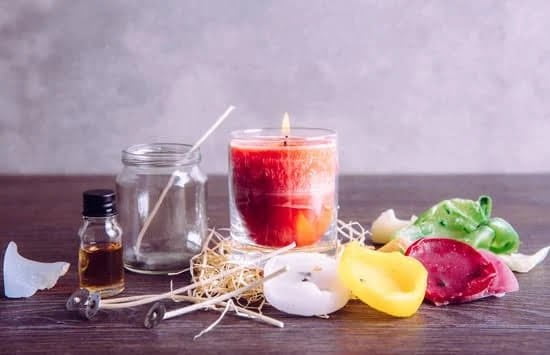
When it comes to choosing the right wax for your unique soy candles, you have a few options. Paraffin wax is the most commonly used wax for candles, but soy is gaining popularity due to its various benefits. Soy wax burns slower and cleaner than paraffin and because it’s a natural product, some may prefer the idea of burning soy over paraffin. It’s important to consider the type and quality of both waxes before buying.
Fragrance oils and essential oils come in many different scents, ranging from floral to fruity to earthy ” whatever scent you would like in your candle, there is a corresponding fragrance oil or essential oil that can deliver it! Fragrance oils are great for adding a concentrated aroma and also tend to last longer in wax compared to essential oils. Essential oils tend to be more expensive compared to fragrance oils but they provide therapeutic benefits (such as calming effects from lavender) that could be beneficial depending on your intention for your candle.
When it comes to wicks, cotton core wick is widely considered best for soy candles due to its slow burning properties which creates an even burn pool with minimal smoke. Depending on the shape and size of container you chose for your candle, standard sizes like 4-6 inch wicks usually work best. When testing out wicks before beginning any project however always make sure sure you adhere to proper safety precautions such as having fire extinguishing materials ready in case anything goes wrong.
Lastly you’ll need containers or molds of whatever shape or size desired ” whether they be all-purpose glasses or specialty tea lights – keep in mind that certain shapes might require certain wick sizes so again make sure you take into consideration all these factors when selecting materials for making your unique soy candles!
Preparing the Containers
Preparing the Containers: Before you can start making your soy candles, you will need the right containers. Choose glass containers with a sturdy rim or acrylic plates that have a lip. Make sure the containers are large enough to contain the wax without overflowing. If they are too small, you may end up with a dangerous mess on your hands.
Preparing the Wicks: Make sure to choose wicks size that is appropriate for the size of container you chose. Learn how to properly prepare and trim the wicks for each kind of candle that you want to make. This includes learning which type of wax needs what types of wicks and how to embed them in place with clips or glue before pouring.
Choosing the Right Size Container: Pick out a container that fits your desired candle size and wax type; generally paraffin requires larger container than soy wax due to its lower melting point. The amount of room in the vessel should be just enough that it doesn’t overflow when filled but not so large that it looks disproportionate in comparison to the wick size.
Pouring and Wicking: Melt down your wax using dyes or scents as desired before carefully pouring it into your prepared container over pre-positioned wick(s). After letting your candle cool for about an hour, adjust your wick for proper burning when it’s ready for use! Be sure to also leave extra room at the top so drips from burning won’t cause a fire hazard if things get out of control later on.
Melting the Wax and Pouring the Candle
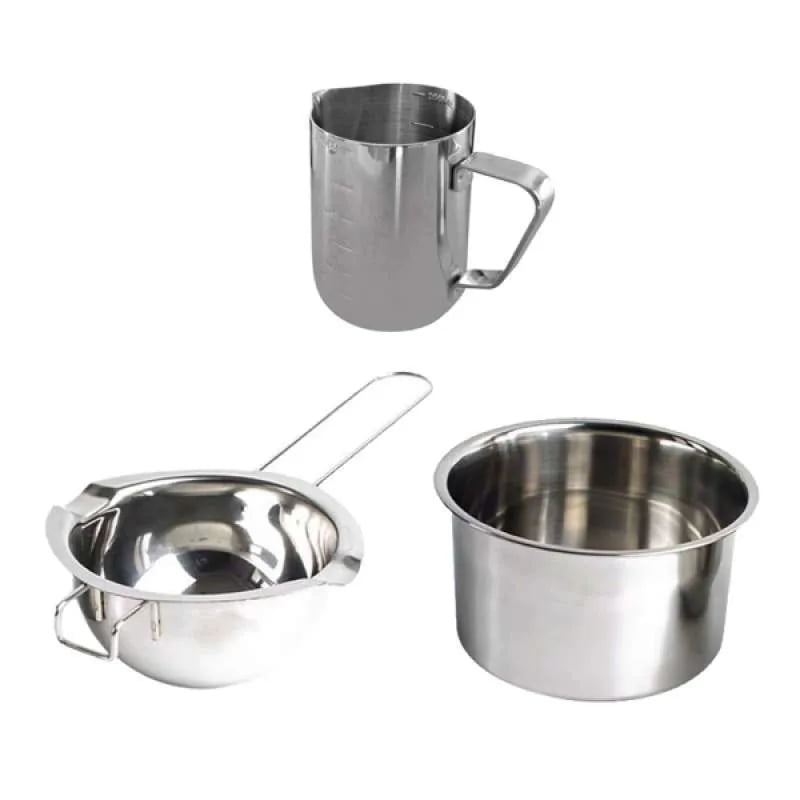
Preparing the Wax: Before melting the wax, make sure to measure out the right amount of wax depending on the size of your container. The preferred type of wax to use is soy wax flakes, though you can also use paraffin wax or beeswax if desired. It is critical that all the components needed for candle making are completely free of moisture. To guard against any oil residue remaining in the pot and affecting how the melted wax behaves, it is recommended to first heat a small pan with some water and then add in the wax flakes.
Preparing the Container: Generally, all containers used must be made of glass as other types can crack from high temperatures and this may harm both you and your finished product. Candles usually look better when poured into clear containers so the color of your candles will show through beautifully, though you can also use colored jars for different styles or decoration. For a stronger scent to your candle, make sure that your container has a reasonable tight-fitting lid which helps hold in both heat and fragrance. Before pouring any melted wax into jars, don’t forget to double-check if there is anything else inside like dust or debris that should not be there.
Tips on Pouring and Wicking: After filling each jar with warm melted soy wax stop wiring until it cools down slightly (it doesn’t have to be solid). Measure out appropriate size wicks that fit each jar snugly but just slightly taller than it so they reach down deep into its center during tightening later on when cooled-off (piece too short wick might get lost inside molten pool). Reducing drips when pouring hot liquid means holding wick taut by having an extra pair of hands ready to hold them steady in place before pouring starts from an elevated spot above jars to prevent overflowing later because steam built up underneath neck opening usually cause bubbles and bursts around top rim upon cooling dawn process.
Adding Fragrance/Essential Oils to Your Candle
Fragrance combinations and the type of fragrance oil you use in your candles will greatly affect how your soy candle turns out. Before adding fragrance or essential oils, be sure to mix them with a carrier oil like vegetable or mineral oil. You can also add beeswax for a stronger scent. Some tips to keep in mind when measuring out your fragrances is to always measure by weight rather than volume, as both the amount and active materials of each essential oil can vary from product to product. Generally speaking, essential oils are scented between 2% – 8% in soy wax candles. This ratio depends on factors such as the container size, temperature, and even what it will be used for (i.e., therapeutic use vs home decoration). Essential oils/fragrances should be added after your wax melts and mixed thoroughly before pouring into molds or jars. Make sure to stir continuously while adding the scents so they are dispersed evenly throughout the melted wax. Once you pour it into your mold, wait until it cools completely before testing its scent strength”as although heat accelerates evaporation, cooling slows it which helps capture more of those powerful scents!
Finishing the Candle
Trimming The Wicks: After the wax is completely cool, use a pair of scissors or wire cutters to trim the wicks in the soy candles. Make sure you leave at least 1/4 – 1/2 inch of exposed wick from the top of the candle. This is important as it will ensure that your candle won’t smoke or create excessive soot when lit.
Adding Labels and Styling: Now that you’ve finished making soy candles, it’s time to add labels and further style them if desired. You could opt for colorful printed labels with information about your candles such as elements used, burning duration etc. or simple plain stickers or chalkboards might work too. Get creative and make your own decorative lids or wraps to give them an extra touch – any patterned fabric, strings, ribbons etc. can be used to give a personalized look to each individual candle!
Cleaning Up: Cleaning up is important phase even though it may be less exciting than making and styling the candles themselves – it’s just as essential! Remember to dispose all wax in accordance with local laws and regulations, taking proper care of your working space during and after production helps maintain safety levels in your surroundings. Rinse all containers that were used diligently with water and pat everything dry properly before storing away for future use.
Troubleshooting
Troubleshooting your soy candle is a simple process. If it doesn’t seem to be burning as expected, there are some different troubleshooting techniques and ways to fix the issue.
The first step in troubleshooting is understanding why candles might not be working. This can be caused by an improper wick size for the container or burning an irregular flame for too long. Poorly mixed oils can also cause issues with a candle’s performance such as “tunneling”- where the wax burns down without melting completely and having a hole at the top of the jar once it has fully burned out.
Common different troubleshooting techniques include trimming the wick, ensuring that all ingredients are thoroughly combined, and avoiding drafty places when you are burning the candle- which may disrupt how the flame behaves. Drafts can also cause sooting, which is an accumulation of soot on the glassware surrounding your soy candle if not avoided properly.
Ways to fix these issues could include opting for larger wicks in bigger vessels, setting and adjusting wick length before each use, repouring melted wax if there is an uneven burn, relighting more often while avoiding extinguished flames that leave soot behind, watching out for temperatures that are too cold (it takes longer for crystals to form), adding fragrance later in the cooling cycle outside of this temperature range, and using techniques like centering (the careful positioning of your wick before lighting) only when necessary since it distracts from full burning coverage.
Conclusion
Enjoying your soy candle creation is an easy and rewarding experience. Soy candles are a great way to add a bit of charm and atmosphere to any room in the house, or provide an interesting gift for any occasion. As you become more familiar with making candles, you may want to experiment with different types of waxes, fragrances and colors to create beautiful candles that will be treasured by family and friends.
If you need some ideas or additional resources, there are a variety of websites available offering tips and tricks on candle-making. Check out forums devoted to soap makers and candle crafters for helpful advice in creating the perfect candle. Also browse Pinterest for popular DIY soy candle recipes with picturesque images that can help inspire you. Discover your creative side as you explore new ideas on how to make your own professional-looking soy candles from the comfort of your home!

Welcome to my candle making blog! In this blog, I will be sharing my tips and tricks for making candles. I will also be sharing some of my favorite recipes.


