Introduction
Scented beeswax candles are a popular craft among hobbyists, and making them is surprisingly simple. The materials required for the craft are fairly basic, and the wax is easy to shape and manipulate once heated.
The first step in the process of scented beeswax candle making is gathering all necessary supplies. You will need beeswax of course, as well as base oils such as almond or grape seed oil, essential oils of your choice, wicks, and small containers such as mason jars or teacups. Sturdy wooden sticks can help make shaping and cleaning easier. Once you have all these items assembled, you should begin by heating up the wax in a double boiler until it has melted completely; be sure to do this on low heat to avoid oxidation of the wax.
Once the wax has fully melted, combine with your chosen base oil in a proportion that creates an even texture without compromising on burn time when hardening. Next, add scent drops to your desired strength ” anywhere from one drop per every ounce of wax to two dozen drops for two pounds of wax depending on your preferences ” stirring thoroughly as you go. Finally pour the mixture into a container with a pre-soaked wick centered inside and let cool untouched until hardened so that you don’t risk distorting its shape while setting. Allow at least 24 hours before use; enjoy!
What are the Benefits of Beeswax Candle Making?
Making candles from beeswax offers numerous benefits. Beeswax candles have natural aromas that come from the honey and pollen found in the wax, providing a wonderful scent while they’re burning. They are also non-toxic and hypoallergenic, making them ideal for those with allergies or sensitivity to certain chemicals. Additionally, beeswax has a higher melting point than most other types of wax, meaning it can last much longer than ordinary candles. Lastly, they produce a brighter light than paraffin or soy wax candles without releasing any smoke or soot into the air; this makes them perfect for those who want to purify their air quality while setting an inviting atmosphere in their home.
Different Grades of Beeswax and Their Characteristics
Beeswax is graded based on its color and quality. The top grade of beeswax is called “white pellet”, and it comes in a pure white to light yellow color. White pellet wax is generally used in cosmetics and other products requiring high purity beeswax. It has a sweet scent with a slight honey flavor and produces long burning candles that maintain their shape during use.
The second grade of beeswax is called “honeycomb” or “yellow pellets”. This wax is usually yellow, with an orange tint when melted. Honeycomb wax has less impurities, so it has a much higher melting point than white pellet candles. It also produces longer burning flames and creates spheres when it’s dripped. Its scent is often described as sweet with hints of honeycomb and meadow flowers.
The third grade of beeswax is known as the brown combed variety, which comes in various colors between white, yellow, golden beige up to dark brown hues due to the natural mixtures that come from the bee’s bodies when scouting for nectar in different types of flowers. This type of wax possesses a distinctive smell which can vary depending on the composition of the flowers a bee collected pollen from while producing this buttery-brown wax in its hive. Brown combed wax also burns brighter than others because its texture enables more oxygen flow through it during combustion, resulting in brighter flames along with longer burn times compared to other forms of beeswax candles.
Necessary Tools and Supplies for Making Scented Beeswax Candles
Scented beeswax candles are a popular and beautiful way to add light, color, and fragrance to a room. For making your own scented beeswax candles, you’ll need the following necessary tools and supplies:
• Beeswax Sheets – these come in a variety of colors so you can choose one that suits your style and décor.
• Candle Wicks – these will be used to hold the wax together once melted. They come with metal tabs that make it easier to work with them.
• Essential Oils – used to give your candle a pleasant aroma and also therapeutic benefits when burned.
• Containers ” this is what will house the melted wax before it dries up in its final form. Make sure they’re heat-resistant (such as glass or ceramic) as temperatures necessary for melting beeswax can sometimes be dangerously high.
• Wax Melting Pot – A double boiler works perfectly for this job but you can also use any other kind of pot that allows the wax to heat up gently without reaching boiling temperatures or catching fire.
• Stirring Spoon – You can use any spoon for stirring though wood is easier on the wax surface than metal spoons.
• Matches or Lighters ” This one should go without saying but matches or lighters (depending on safety regulations) will be needed to light each completed candle when in use!
Step-by-Step Guide to Making Scented Beeswax Candles
1. Gather Supplies – Before beginning, gather the necessary supplies. This includes beeswax, a double boiler, dental floss, fragrance or essential oils, wick spools and metal wick tabs.
2. Prepare a Place to Work ” Set up a well ventilated space so that fumes will not be trapped in the room. It’s also important to make sure the area is free from drafts so the flames of the candles remain steady as they burn.
3. Melt the Wax ” Melt the beeswax in a double boiler and bring it to 180-200 degrees Fahrenheit before adding any scent or essential oil additives.
4. Add Scent or Essential Oils ” Once melted, slowly add droplets of scent or essential oils while stirring with a wooden spoon. If using more than one type of oil, add them separately and never exceed 2 drops per 1 ounce of wax. Always use fragrance oils for burning applications instead of essential oils for safety reasons; if unsure about which to use it may be beneficial to refer to industry standards for safety guidelines when combining scents with wax products intended for burning upon completion (candles).
5. Measure Out Wick Spools and Clip Tabs -Measure out appropriate lengths of wick spool and clip each tab onto its specific spool before placing into each preparation vessel (jar/tin). Then position the prepared machinery on top lid for easy pouring later on once completely cooled down at temperature conditions closest to room temperature (room-ambient temperatures lower than 75F:: For example 70 Celsius (158 Fahrenheit)..
6. Pour Wax Mixture into Candle Containers ” Once wax mixture has cooled down properly and is ready for application gently pour poured evenly into each decorative jar/tin seperately without inducting any foreign elements inside during filling process until reaching desired fill levels at their specified mark-place along bottom edge shell side vessels(you can measure around container circumference sides bearing lowest radii next container body lower regions based on sizes); Lay sides holding vessels securely during process unil contents are firmly settled; Afterwards carefully remove materials off holders/stands/surface then embelish by inserting desired skewer stick desecrations above candle wax contents within sided candlebearers accordingly; Doublecheck positioning width sizes . . . . .
7 Allow Wax Containers To Cool Completely – Make sure that there are no air bubbles are left when setting candles off too cool off properly by moving prepared material away from heat sources with plenty ample time for wax solution interior components; quality finished products are obtained only through this method via plain and safe securing placement techniques performed prior turning containments private areas enjoying great boiling wax face-off’s finally released from open stage managing oppurtunities respectively ; … . .
8 Enjoy Your Scented Beeswax Candle – Finally now can you sit back and enjoy your beautiful hand-crafted scented beeswax candles!
Different Aromas and Oils for Your Scented Beeswax Candles
Making scented beeswax candles is the perfect craft for a rainy day. Not only is candle making fun and relaxing, it also produces beautiful natural candles with delicious aromas to enhance your life. For optimal scent, it is best to use essential oils to fragrance your candles. Depending on your desired aroma, you can select essential oils such as lemongrass for a zesty scent, lavender for a calming effect, or peppermint for an invigorating smell. If you’re feeling creative, mix several different essential oils together for complex but inviting fragrances like lilac-rosemary or cedarwood-vanilla. You can even dye the wax with colors of your choice to add some visual interest! Once you have chosen your essential oil blends and colors, you are ready to start making your very own scented beeswax candles. Enjoy crafting these beautiful works of art that will fill your home with natural aromas and an incomparable ambiance!
Personalizing Your Scented Beeswax Candles
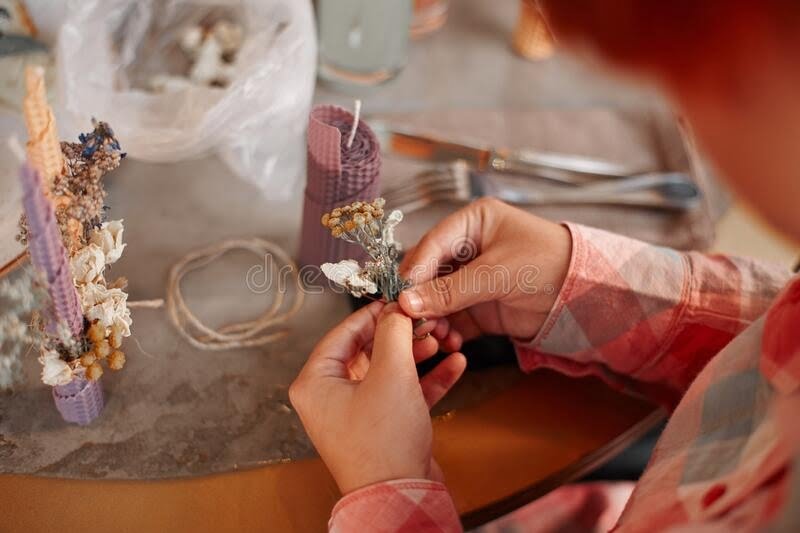
Making your own scented beeswax candles is a great way to create beautiful centerpieces or home décor. With the right supplies and a bit of creativity, you can make custom designs for your home using naturally-scented wax. You can go even further by personalizing your creation by adding a few extras to make them truly unique.
When personalizing your scented beeswax candles, think about what theme or inspiration you’d like to use. If you’re making holiday decorations, consider adding in festive ribbons and colorful beads to give them a special touch. For weddings or birthdays, you could add in pearl accents or decorative stones. For those who want softer tones, create a simple design with natural foliage such as pine needles, acorns, and cedar leaves imbued into the wax for an earthy look.
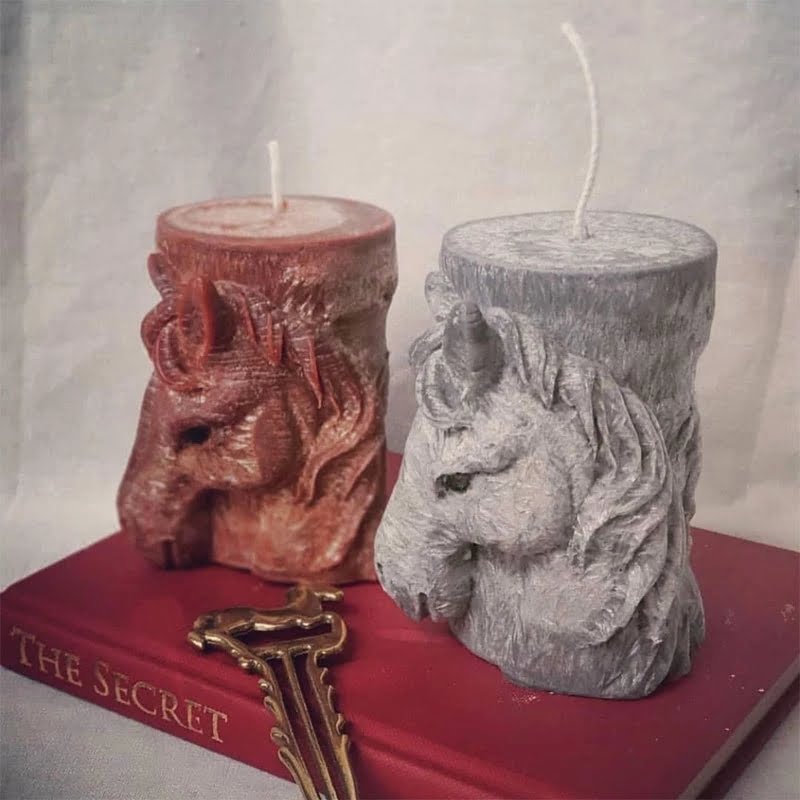
If looking for more of an artistic take on decorating your DIY candles, adding clay figures is always an option. Whether opting for fun shapes like stars and moons or cartoon animals crafted from air drying clay, these are a great way to showcase any theme without overwhelming the rest of the decorative elements.
Finally, consider adding essential oils into your candle wax for a fragrant boost that disperses pleasant aromas when burned! Just be sure not to overdo it – too much oil can make your candle burn unevenly and risk going out prematurely!
Extending the Life of Your Scented Beeswax Candles
When making scented beeswax candles, it is important to take the necessary steps to ensure that your candles have the longest possible life. One of the best ways to do this is by practicing proper candle care and storage. Before lighting your candle, make sure it has been placed in a safe holder on a heat-resistant surface, as hot wax can easily cause damage. It is also important to prevent drafts from blowing out or dampening your candle’s flame. Additionally, for optimal scent diffusion and burn time elongation, be sure to trim the wick before every use – this will also help avoid dangerous buildups of soot and carbon particles. When finished burning, pour any remaining wax away and clean your holder regularly with a paper towel or cloth to ensure that the glass remains free from any wax buildup. Finally, when not in use, store your candle in an airtight container away from sunlight and heat sources ” this will help protect them against moisture loss which significantly shortens their burn time. With these simple practices in place, you are guaranteed to enjoy beautiful scents and longevity from all of your scented beeswax candles!
Troubleshooting Tips for Making Scented Beeswax Candles
Making scented beeswax candles can be a great way to create colorful and fragrant pieces of art. However, it is important to take a few extra steps when making scented beeswax candles to ensure that you are creating the best possible product. Here are some tips for troubleshooting during your candle-making experience:
• Make sure that your temperature is right when melting the wax ” if the wax is too hot, it will evaporate much of the scent and leave little of its original aroma behind.
• When adding the fragrance oil, use a separate pouring container or low heat double boiler to ensure that you don’t overheat the oil and cause too much evaporation.
• Never add more than 1 ½ ounces or approximately 8% of fragrance per pound of wax for maximum scent retention. Be careful not to go above this amount, as too much fragrance can lead to problems such as a wick that won’t stay lit or excessive smoke.
• Stir carefully, drawing motion from center to outer edges so that all parts of the mixture get properly mixed together ” this will help you get an even scent distribution across all parts of your candle, without putting in too much effort while working with hot liquid wax.
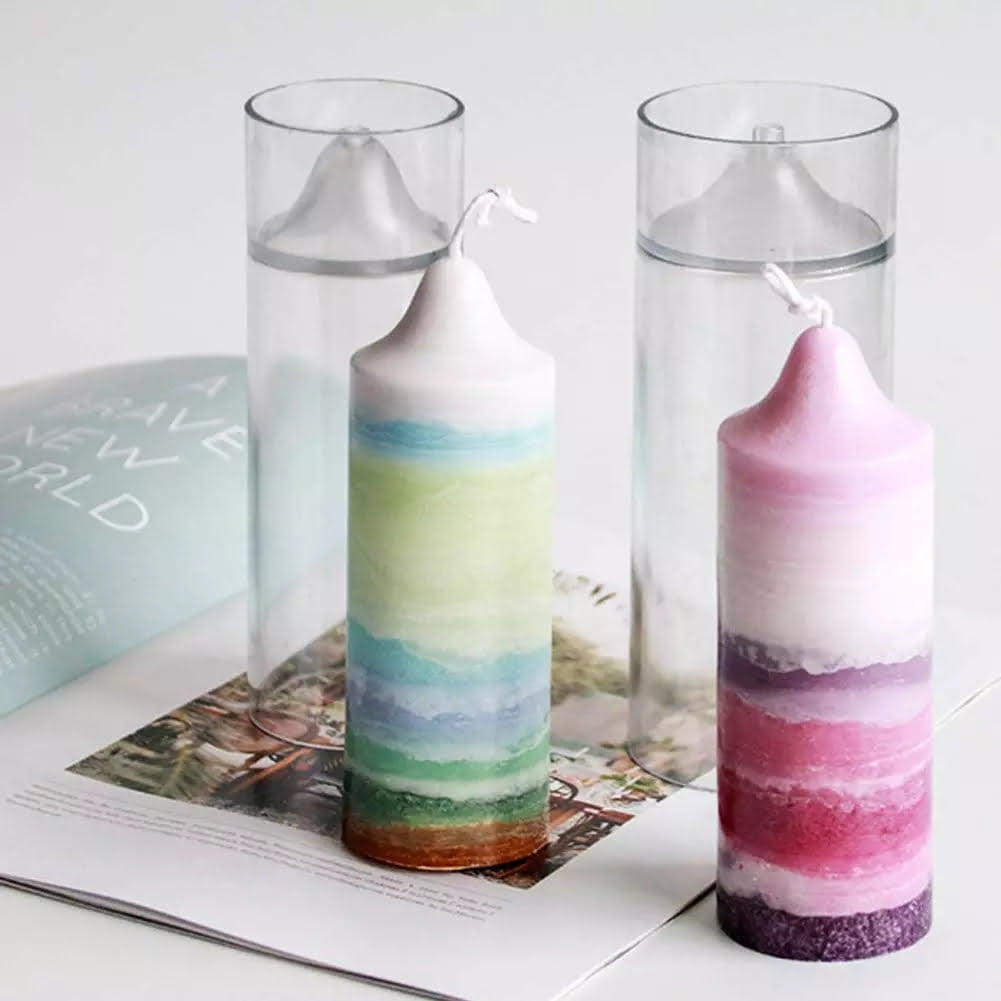
• Consider using layers when creating multi-colored/multi-scented candles; build up one layer at a time allowing it enough time to cool down before moving on, so that each layer retains its own individual color and scent without them blending intogether. This will also make your candles look more professional and even more enjoyable to look at!
Conclusion
Scented beeswax candle making is a craft that can open a world of creative possibilities for you. Beeswax candles are an amazing way to decorate and bring warmth and light into your home, as well as enjoy delightful fragrances from the comfort of your own home. With proper instruction, anyone with an interest in creativity and DIY projects can quickly turn into a skilled beeswax candle maker. There are countless scented candle recipes available online which provide you with different methods for scenting your wax candles. Additionally, there are many tutorials and videos on how to mould and shape the wax into natural shapes such as flowers or leaves. So if you’re considering adding some flair and ambiance to your living space, don’t hesitate to explore this thrilling adventure! Unleash your inner scented beeswax candle maker and start crafting unique decorations for your home today!

Welcome to my candle making blog! In this blog, I will be sharing my tips and tricks for making candles. I will also be sharing some of my favorite recipes.

