Introduction
Candle making is an easy and enjoyable craft that anyone can learn. It involves combining wax with colorants, fragrance, and a wicking material to create beautiful candles which you can use for decoration or give as gifts. The basic process of candle making includes melting the wax, adding colors and fragrances, pouring the wax into containers, attaching the wicks, cooling the wax, and then trimming and completing the candles. Depending on what type of candle you are trying to make (pillar candles, container candles, etc.), there may be additional steps involved. With practice, anyone can become proficient in producing a variety of simply beautiful candles!
What You’ll Need
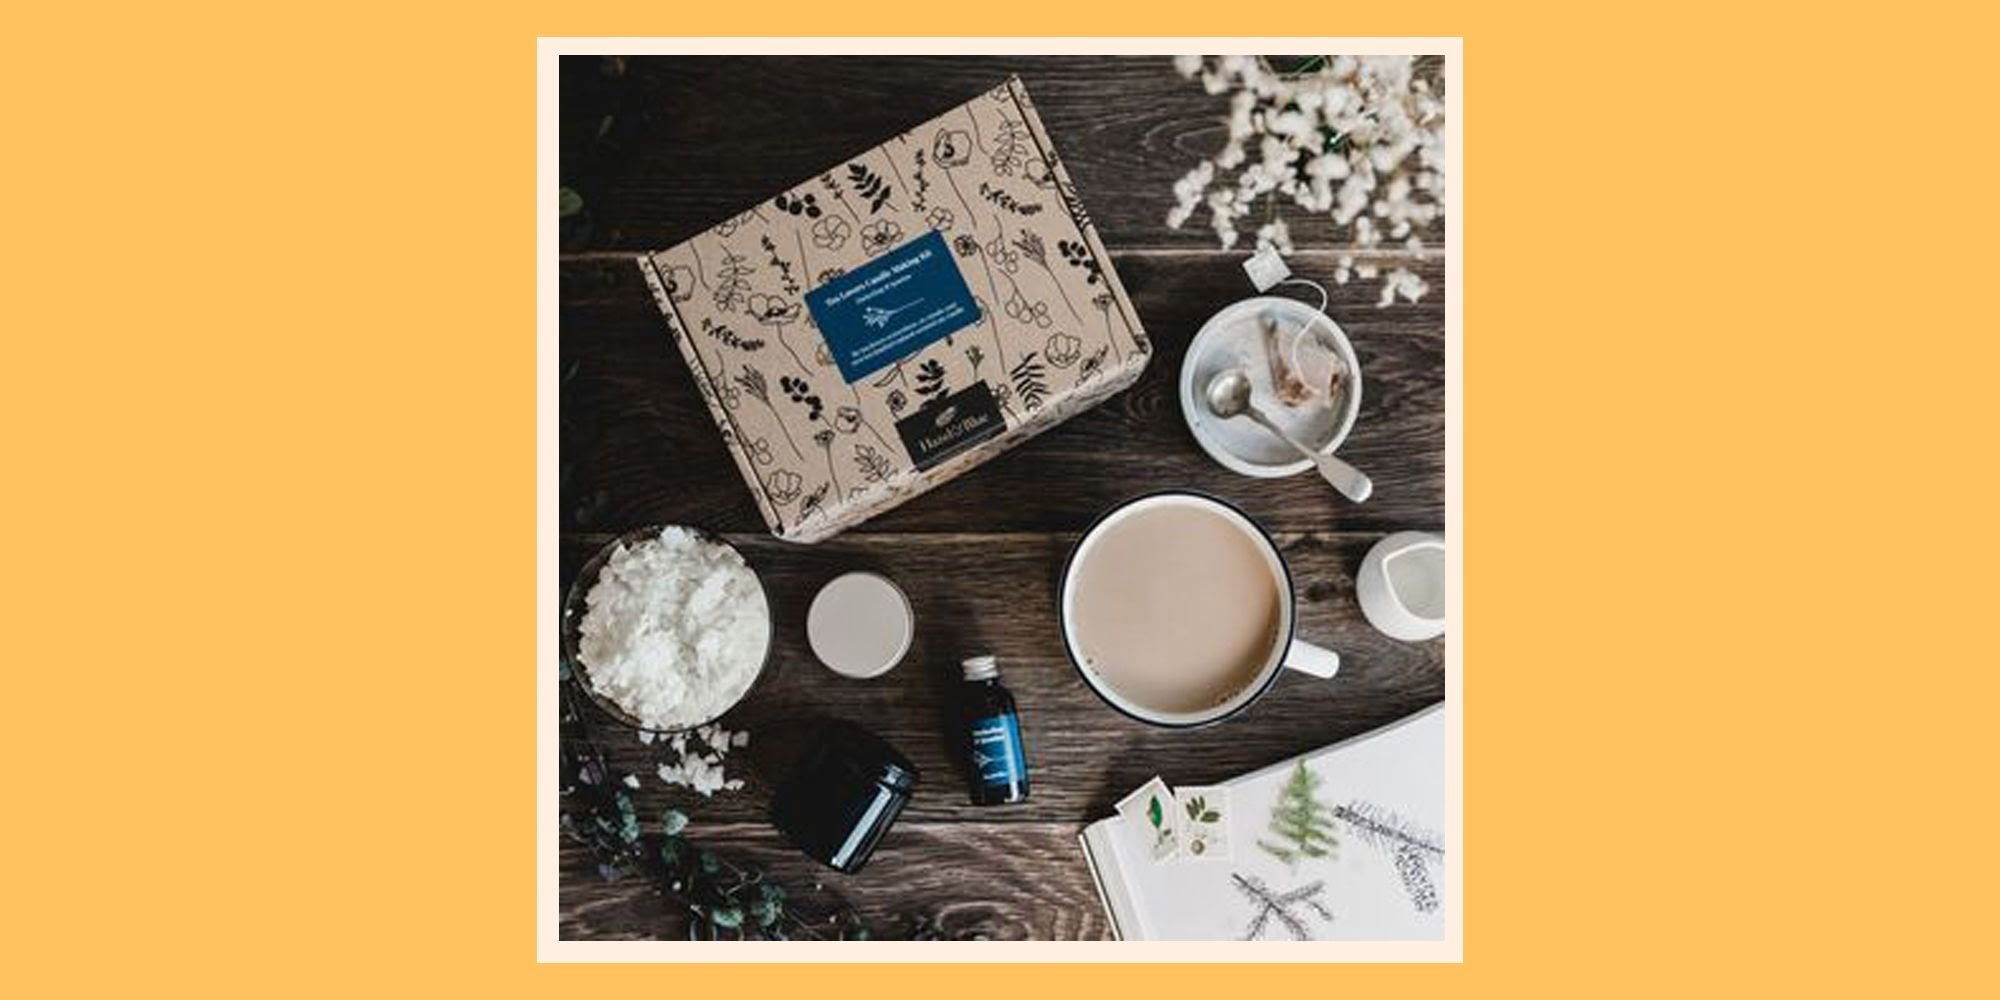
Materials and tools for simple wax candle making include the following:
• Wax: This can range from beeswax to paraffin to soy. Choose a type of wax and an amount based on what your candles will be used for. Beeswax is more expensive but provides a better burning experience. Paraffin has similar performance but melts in larger chunks, and soy is less expensive but can cause dripping or clumping.
• Wicks: Natural-fiber wicks are preferred because they burn more evenly than other wicks such as cotton or paper core wicks. If you are unsure about which size or type of wick to use, you can use a wick calculator online to select the right one for your candle’s diameter.
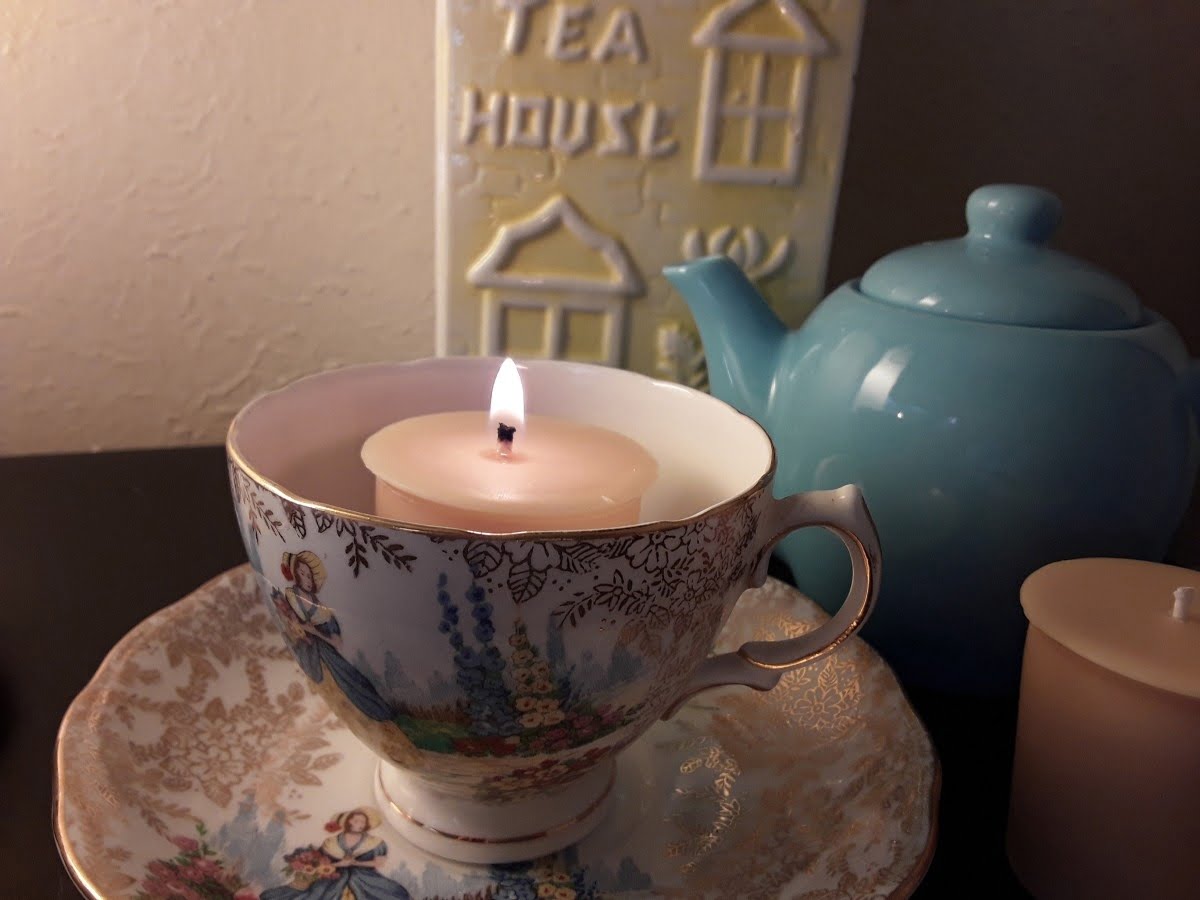
• Containers: These can range from glass jars and tins, to ceramic molds or reclaimed items such as teacups or small bowls. When choosing containers, make sure the material is heat-resistant so the wax won’t crack while melting, flare out when lit, or smoke when extinguished.
• Thermometer: A thermometer is needed in order to measure the temperature of the melted wax, which should not exceed 180°F/82°C in most cases. Choose an adjustable digital thermometer with various settings to get the desired accurate readings during each step of production.
• Dyes and scents (optional): These two components are a matter of personal preference and do not affect the outcome of successful candle making in any way”unless you prefer specific colors or smells! Some popular scents include lavender, jasmine, and rosemary; good dyes include liquid dyes (use sparingly!) as well as dye chips that melt along with wax for gorgeous hues like burnt orange, caramel brown, etc
Preparing the Space
Preparing a space for making candles is an important step to ensure safety and maintain a clean workspace. To start, make sure the area you plan to work in is well lit, ventilated, and away from any flammable objects or items that could catch on fire. Gather all necessary supplies like wax, wicks, molds, thermometers and heat source such as stove-top burner or hot plate. Cover your workspace with newspaper or parchment paper for easy clean up.
Beyond safety precautions, create a fun environment by featuring some decorative home décor pieces such as plants on a nearby shelf or table, an inspirational quote framed above the work area and/or scatter small colorful bowls throughout the room with essential oils and herbs used to scent natural waxes. Include containers for melting wax for easy pouring into molds. Candles can also be made into decorative items, so have fun by decorating around your space with artwork and other creative décor pieces that add dimension to the process of candle making.
Making the Wax
Making wax for your simple wax candles requires attention to detail and the right tools. The most common type of wax used in candle making is paraffin wax. To melt the wax, you’ll need an electric double boiler or other heating devices specifically designed for candle making that can contain an open heat source like a hot plate or gas burner.
Once melted thoroughly, you may add a variety of substances such as dyes, scents, and other additives to enhance a particular recipe’s characteristics such as texture or appearance. Be sure to stir the substance evenly throughout the melted wax while it’s still liquid so that all parts are infused with the desired element.
Using natural ingredients like honey and beeswax can give your candles extra character in terms of texture and color. Escalating from creamy ivory to warm golden yellow, natural bee’s wax is not only pleasing to look at but also presents a unique aroma. You can create interesting surface effects by combining several colors into smooth gradations for interesting visual layers within each candle rather than using each color separately, or combine stearic acid with melted paraffin for an extra-long burning time. Experimenting with different mixtures will give you an array of textures, hues and shapes you wouldn’t have otherwise had access to.
Creating the Mold
Creating the mold is an important step in simple wax candle making. The shape and size of the mold will determine the size and shape of your finished candles. You can make small, medium, or large candle molds with a few basic supplies.
The most commonly used supplies when it comes to creating a candle mold are two box cutters, candle wicking (pre-waxed or unwaxed) scissors, a glue gun and wax paper. With these items, you can create traditional cylindrical molds for tapers that are usable over and over again. Start by measuring out the length of wax paper needed to form your desired shape. Make sure to add an extra one cl inch for overlapping the seams when constructing the mold. Cut strips along this length with each strip being at least 4 inches wide for medium to large molds and 2 inches wide for small molds.
Once you have all your strips of wax paper cut to size overlap them together like siding creating a tube shape until it comes to the height you want your candle to be. Securely attach these pieces with glue from your glue gun. Now inside this tube on one side where you will be pouring hot liquid beeswax add a safety pin securing it in place through the top of the wax paper onto sides so the wick won’t move around while pour is happening instead using weights if needed. After that cut off two-inches longer than how tall your candle will be once complete plus four inches past this measurement as extra trimming later before removal from mold securing one end into base inside of your constructed cardboard/can or container beforehand (using hole punch make a whole slightly centered in middle next apply hot glue insert loose prepared wick), then tying off remaining exposed end by pulling top tightly around outside twisting several times which should help tie off excess materialwhile inserting into slot you created early push down let cool then proceed pouring hot liquid wax once its cooled continue following instructions depending whether building up layers or adding scent/color pigment ratio adjust accordingly moving forward if multiple lighting learn how much off space
Adding Fragrance and Color
Making candles at home is a fun, relaxing hobby that can also make great gifts or add cozy ambiance to your own home. Once you’ve mastered the basics of wax candle making”namely, melting a block of wax in a double boiler and pouring it into a mold to cool”you can begin experimenting with scents and colors. Working with fragrance and color oils is an easy yet effective way to customize your wax candles.
When selecting scents, you have many options to choose from. Essential oils are concentrated natural oils extracted from plants; these potent fragrances offer a subtle yet powerful aroma that enhances any type of candle you make. For stronger scents that last over time, try fragrant additives like synthetic fragrance oils or scent blends”these types of oil additives come in a wide variety of combinations and intensities. Whether you’re looking for calming lavender-infused candles or energizing citrus-inspired ones, the possibilities are nearly endless when it comes to adding fragrance to your wax candles.
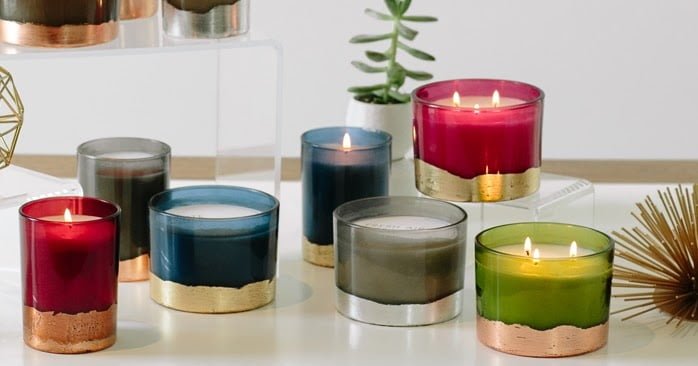
Adding color to your homemade wax candles is just as simple as adding fragrance; all you need is some liquid candle dye or high-quality pigment powder specifically created for use in waxes. These dyes are heat-resistant and blend nicely with melted wax without affecting its cooling properties; be sure to use only wick-safe dyes according to the product instructions, though, as improper measuring could result in hazardous smoke emission when burning the finished product. Depending on the look you want achieve, you can either mix different shades together before pouring into molds or even paint directly onto cooled candles for more artistic effects.
Ultimately, creating your own wax candles at home gives you complete control over scent, color, strength and design theme every time; plus, it’s super simple and cost-effective as well! With so many possibilities for customizing each candle with special dyes and fragrant oils, everyone will find their own ideal combinations”so have some fun trying out different ideas!
Pouring the Wax
Pouring the wax into the mold to create your candle is one of the most important steps in candle making. Knowing how much to pour and how quickly is key to a successful candle. First, you’ll need to decide on the type of wax that you are using as this will affect the way it melts and how it handles when being poured. Generally, wax melts at temperatures lower than boiling water. It’s important that before you begin pouring the wax, you make sure that both your mold and your pouring container are warm. This will help ensure smooth flow when transferring from one vessel to another.
Once everything is set up, start by slowly pouring your melted wax into the mold or wick holder. A slow even stream works best for filling out corners and keeping air bubbles from forming inside your finished product. During this process, be sure to constantly keep an eye on both the heat level and pour time of your wax as these can affect its finished look.
It’s important you don’t overfill or underfill your mold as this can create issues during the curing process. Use an additional vessel like a wooden spoon to evenly distribute the hot wax around if necessary, but don’t touch it with any metal objects as this will cool down the mixture too quickly and cause it to solidify into lumps or uneven patches within your mold. Once all of your molds have been filled, cover them tightly with plastic wrap so they can cure without interruption by harsh elements like dust particles or humidity which could negatively affect their color pigment in finished candles during cooling down period which usually takes around 24 hours require depending on size and shape . Common trouble shooting areas to watch out for include spills outside of your molds (create an absorbent material such as cardboard beforehand) and mis-shapen wicks after curing (unwind them slightly where needed).
Finishing Touches
Decorating your candles can add the perfect touch to give them a unique and personal look. To decorate your candles, you may want to consider using ribbons, stamps, and labels. For a rustic feel, consider using twine or burlap fabric. You can also make tags with names or thoughtful messages written on them, hang them off the ribbon loops around the candle jar. Candles are a great gift to loved ones and friends – here are some tips for gifting beautiful candles:
• Wrap your candle in tissue paper – nothing beats the simplicity of brightly wrapped tissue paper.
• Ribbon or Twine – use some colorful ribbon or twine to dress up the packaging.
• Create Custom Sets – make multiple sets of matching candles to give as gifts.
• Personalize Your Candle Labels – custom labels can be ordered online and stuck onto your candle jars for a special touch.
• Presentation is Everything ” think about how you present your candle before giving it ” use presentation boxes or trays made from natural materials like wood or bamboo for an eco-friendly twist.
• Include Care Instructions – include easy to follow instructions so that your gift recipient knows how best to care for their candle.
Safety Tips
When making wax candles, it is important to take safety seriously. Even though candle-making is relatively straightforward, there are some basic safety precautio ns that should be put in place to ensure a successful and safe process.
Firstly, be sure to use protective gear such as an apron and oven mitts. This will help protect against any accidental spills or splashes of hot wax.
Secondly, always make sure the area you’re working in has adequate ventilation. Making candles can produce fumes that can irritate the skin or eyes if not ventilated properly. Additionally, keep flammable objects away from the area where you are melting wax.
Thirdly, always check your candles have cooled completely before attempting to remove them from their moulds. Rushing the cooling process can cause your candle to crack and lose its shape easily ” potentially creating an uneven burning flame or sooty spread on burning surfaces.
Finally, inspect each candle for quality control purposes before storing them for later use or selling them. You should check for air bubbles in your waxes and cracks and imperfections in their shapes. Any small discrepancies can easily be rectified with a gentle heating of the hard waxed surface after it is taken out from its mold and allowed to cool partially and gently reform using a heat gun or stovetop heater prior to storage or sale!
Conclusion
Candle making is a fun and satisfying hobby that has been around for centuries. It allows individuals to express their creativity in a safe, low-cost way. While simple wax candle making is an easy activity for beginners, more advanced techniques are available for those who want to explore them. From experimenting with different scents and color combinations, to exploring specialty wicking techniques and creating custom molds, the possibilities are nearly endless. Experienced candle makers can also try out different methods such as cold process wax methods and even beeswax candle making – the options are almost limitless! Additionally, soapmaking and aromatherapy knowledge can be applied to enhance the overall experience of creating unique candles. With the right materials and guidance from knowledgeable sources, candle makers can continue learning new techniques throughout their journey as artisan crafters.

Welcome to my candle making blog! In this blog, I will be sharing my tips and tricks for making candles. I will also be sharing some of my favorite recipes.

