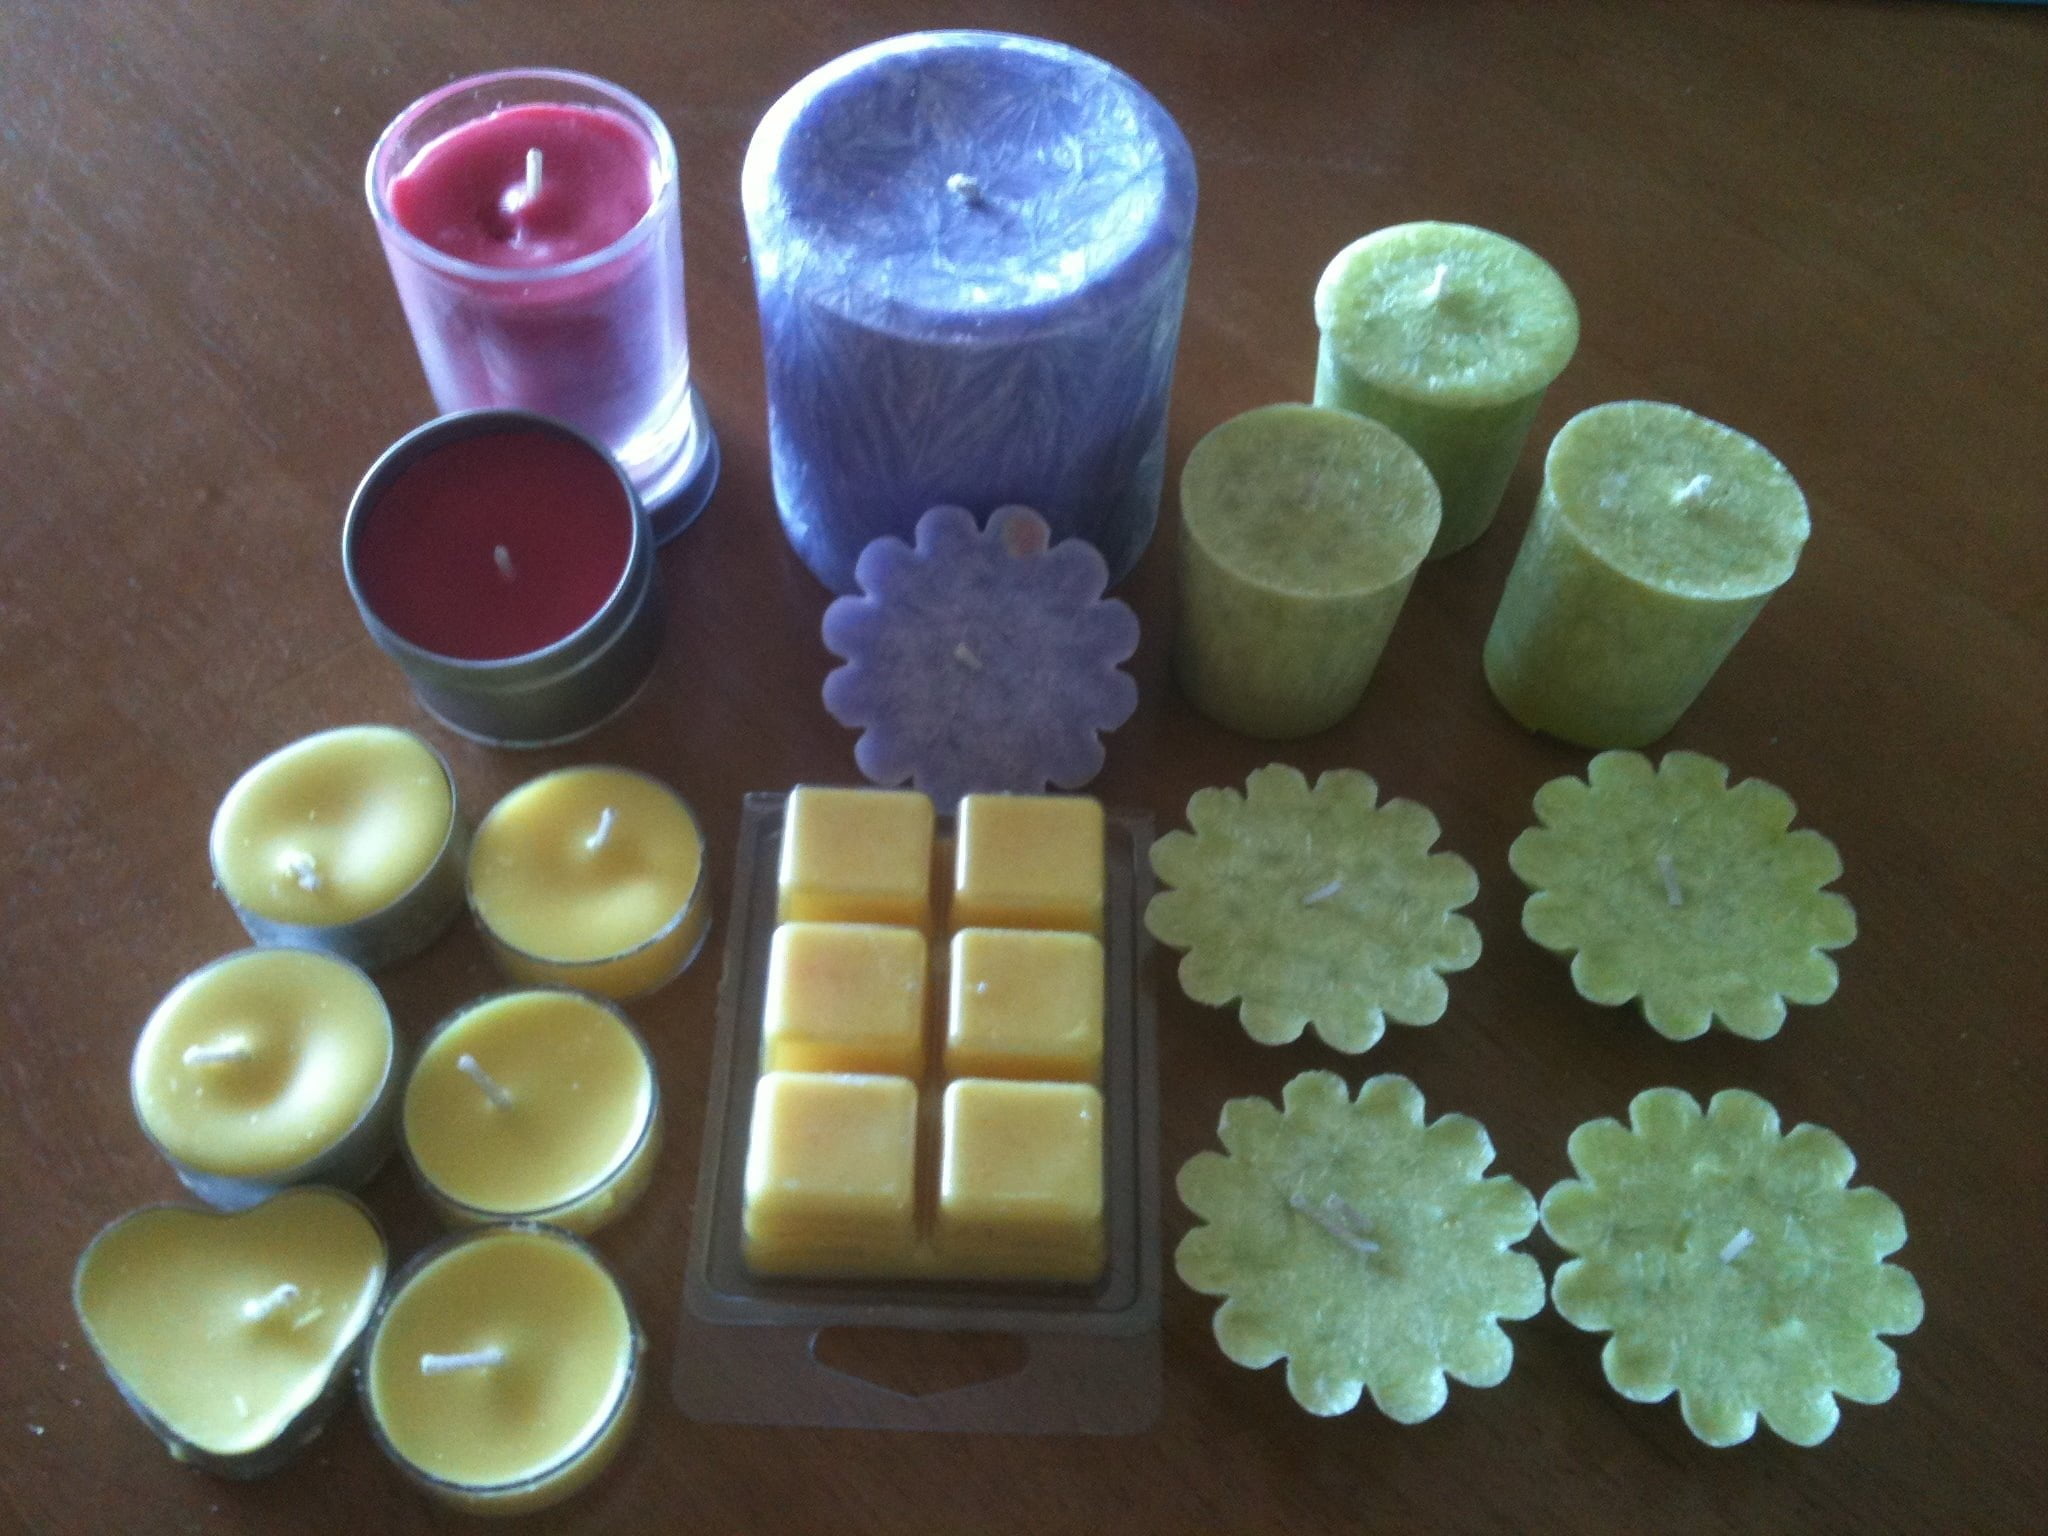
Introduction to Soy Candle Making
Soy candle making is an enjoyable and relatively easy craft, perfect for just about any craft enthusiast. Making soy candles is not only fun and creative, but they are generally cheaper than buying them from a store. Additionally, when you make your own candles, you can customize the scent and color to your taste. This article provides a step-by-step overview of the soy candle making process, including how to select the right wax and wick materials, helpful tips on pouring your wax correctly, and several resources for new candle makers looking for additional information or supplies.
One of the great benefits of making your own candles is that you get to choose all aspects of the finished product – from choosing different colors or scents for your project to selecting the appropriate size of stems and / or other decorations. Before you begin crafting your own soy candles it’s important to do some research in order to understand different types of waxes available as well as essential oils which offer a range of aromas ideal for scenting homemade candles. Additionally, it’s important to select the right type and size wick which will hold up during burning without producing too much soot or smoke.
When all components are ready, be sure that all equipment needed is clean before starting: a double boiler setup (or microwave-safe container) with thermometer; measuring cups; stirring stick; pre-tabbed wicks; wax containers such as glass jars with lids; newspaper protector covering; scissors; tweezers etc.. After heating white or off-white 100% soy wax flakes with some vegetable oil based stearic acid until dissolved into liquid temperature , add scent(s) (maximum 2%) stir gently few times then wait till cool down below 125F degrees before adding wood wicks . Following instructions located on top each package fill slowly equal amounts melted soy wax into multiple glasses up to 7/8 from the top . Keep wood stem submerged by pushing it lightly downwards if necessary . Sit down candles on flat surface away from any air flow such as windows secured with newspaper cover underneath to prevent any mess . Do not move until set in place leave overnight at least 12 hours before using each creations !
Essential Supplies for Soy Candle Making
Essential Supplies
• Soy Wax: Soy wax is a great choice for candle making because it is renewable, biodegradable and burns clean. Look for pure soy wax flakes which can be easily melted in the microwave or on the stove top. If you’re on a budget, soy wax blends are also available at most craft stores. (link to supply source)
• Candle Containers: Choose glasses and jars made of heat-tolerant materials such as heat proof glass, ceramic and stainless steel. Be sure to check that your jar has an airtight lid so that fumes don’t escape while the candle is burning. Consider using mason jars, old jam jars or thrifted tea cups to make unique looks. You can also buy glass containers specifically designed for candles from most craft stores. (link to supply source)
• Wicks: There are different types of wicks to choose from when making a soy candle; flat braid, cotton core and all cotton wicks work well for soy candles, with each having its own specifications for length and size depending on the container used. Wicks should be pre-tabbed with metal collars so they are easier to place in the wax once melted. (link to supply source)
• Natural Fragrance Oils: Fragrance oils provide the scents for your candles and should be added after the wax has cooled slightly but still remains liquid enough to absorb them without clumping around the wick. Select certified organic oils whenever possible as these are free from phthalates, heavy metals and other toxic substances often found in synthetic fragrance oils.(link to supply source)
• Thermometer: With this essential tool you can quickly check if your melted wax has reached a safe working temperature before adding any dyes or fragrances. Digital thermometers work best as they allow you to accurately check temperatures in both Fahrenheit and Celcius scales.(linkto supply source)
• Dyes: For those wishing to add colourants to their candles natural dyes such as beeswax pastilles or powdered herbs like turmeric or annatto seeds can be used at very low concentrations.(linkto supply source ). For more vibrant colours commercial pigment colours are available at most craft stores.(linkto supply source )
Steps for Making a Soy Candle
1. Gather Materials: All you need for making soy candles are the following items: wax, wick, double boiler, pouring pot/container (a cup/bowl is fine), optional essential and fragrance oils, thermometer, and stir stick. Additionally, it’s helpful to have a timer, paper towels and scissors on hand.
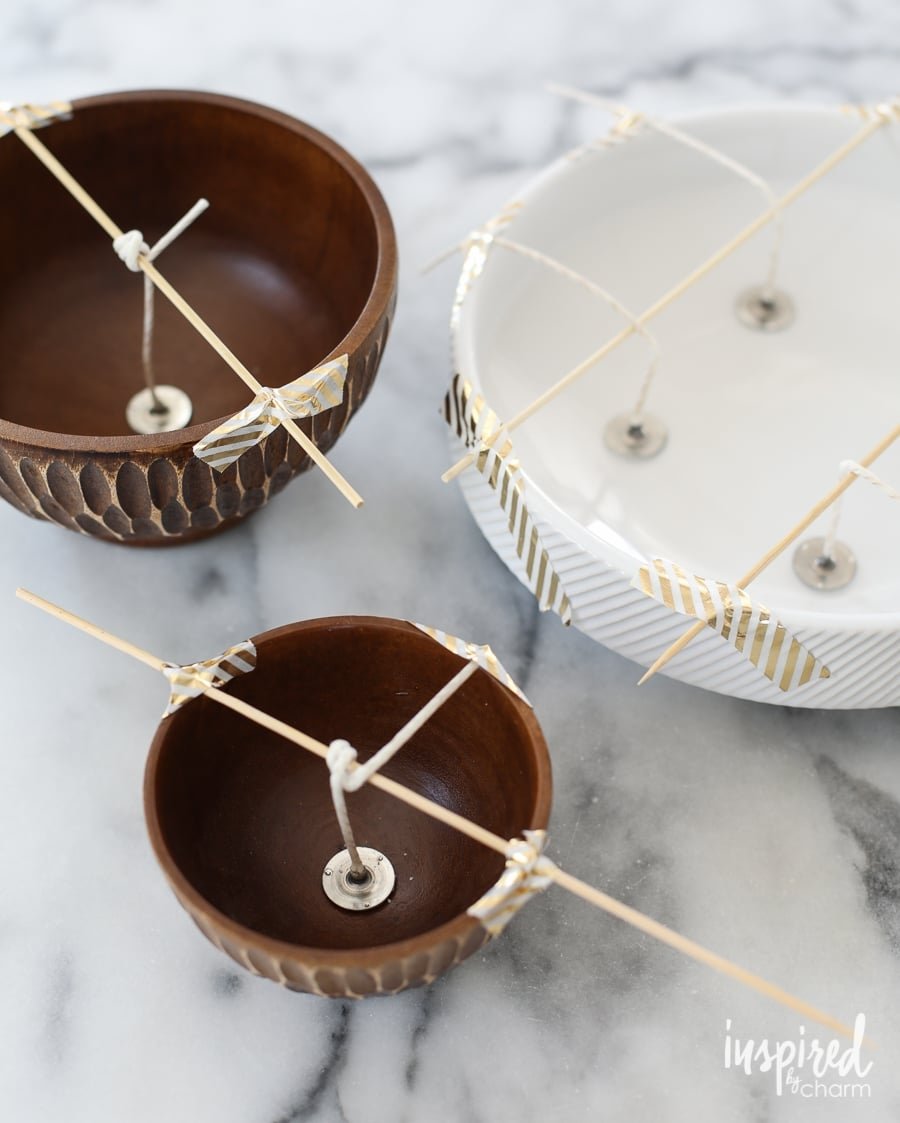
2. Prepare Wick: Cut the desired length of wick and secure one end on the bottom of your container with the wick sticker or glue dot. Then wind the other end around your pencil or chopstick so that it creates a loop; this will keep your wick in place while you’re pouring hot wax into your container- once the wax hardens it will hold the wick in place naturally.
3. Melt Wax: Place desired amount of wax into your double boiler and adjust heat setting to low-medium and wait for the wax to fully melt (use a thermometer to check temperature). The ideal temperature for scented candles is 130°-140°F; however when using natural materials like soy or beeswax temperatures should be lower (120° – 130° F).
4. Add Colors & Fragrances: If preferred you can add coloring/dyes turning off heat before adding them in but also make sure to do so only toward the end of melting process so that dye does not separate from melted wax or coagulate. You can also add fragrances or essential oils by gently stirring approximately 1 teaspoon per 1 lb of wax into melted material; be careful not to let fragrances get too hot as this could cause burning scent which could ruin entire batch of candle material!
5. Pour Wax: When ready transfer melted wax from double boiler into pouring pot by using heat resistant measuring cup or ladle (this will help make sure all safety precautions are taken); then carefully tilt container back & forth until evenly dispersed liquid has been poured out over area where desired level should be met – use heat resistant gloves when doing so!
6. Let It Cool Down & Trim Wick: Let candle cool completely for 4-6 hours before trimming excess wick – if necessary trim down again after first use any time there is more than ¼ inch (~7mm) of exposed flame at top before starting again (this will help extend life span). Finish with an optional ribbon around container edge if desired!
Troubleshooting Tips and Tricks
Mistakes:
Measurement Error: The most common mistake in soy candle making is incorrect measurements of wax and fragrances. To prevent this, always measure carefully and take notes when making candles.
Fragrance overloading: Too much fragrance can lead to a bad burning experience. To avoid this, add essential oil or fragrance oil to your wax between 1% and 4% of your total wax weight. Begin with the lower amount and test before adding more fragrance. Do not exceed 6% total aromatics.
Mismatched Wicks and Wax Type: Using an incorrect type of wick for the candle size or wax type is another common mistake made in soy candle making. Before choosing a wick size, consult the wick chart provided by the manufacturer or research online. Generally speaking, you want to choose a shorter wick if you are using thicker or harder waxes and a slightly longer wick for thinner or softer waxes.
Solutions:
Careful measurement: Take measures carefully when making candles to avoid errors due to wrong measurements of both wax and fragrances.
Testing: Always test the mixture before pouring it into the container, as this will help you determine if any changes are required to the ratio of ingredients being used, such as reducing or increasing essential oils or changing up wick diameter. This will also tell if there’s any issues with shrinkage that could distort candle shape during cooling time after burnining them, which can prevent sooting from happening since everything is well oiled up at correct ratios
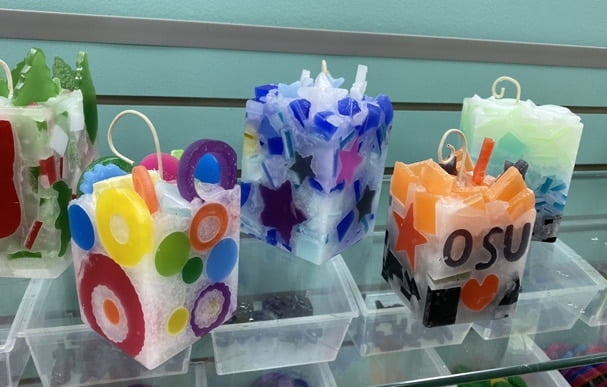
Designing and Decorating: Attractive design can help make your candles stand out from others. Try creating different designs on top of each poured layer of wax when adding additional layers and decorate them with floral petals, spices, glitters, paints etc for added beauty, following adequate safety precautions while doing so!
Finishing Touches for a Complete Candle
Adding Color, Scent and Decoration to your Soy Candle
After successfully completing the other steps of creating your candle, you are now ready to add some finishing touches that will bring it to life.
Adding Color: To add more visual interest to your candle, you can add dyes that correspond with your preferred colors. The amount of dye used is dependent on how dark or light the desired color should be, so it is important to start off with adding a small amount and then working up from there. Once the desired tint has been achieved, stir the mixture quickly until completely blended.
Adding Scent: Adding essential oils to your soy candles will provide a pleasant natural scent when burning. You may choose from a variety of fragrances such as lavender, citrus, rose, spruce or any other scent you prefer. Start off by adding 2-3 drops for each container and increase or decrease as needed based on personal preference. Do be aware if too much oil is added it can lead to the wax not properly adhering together or even smoke coming from the candle when lit.
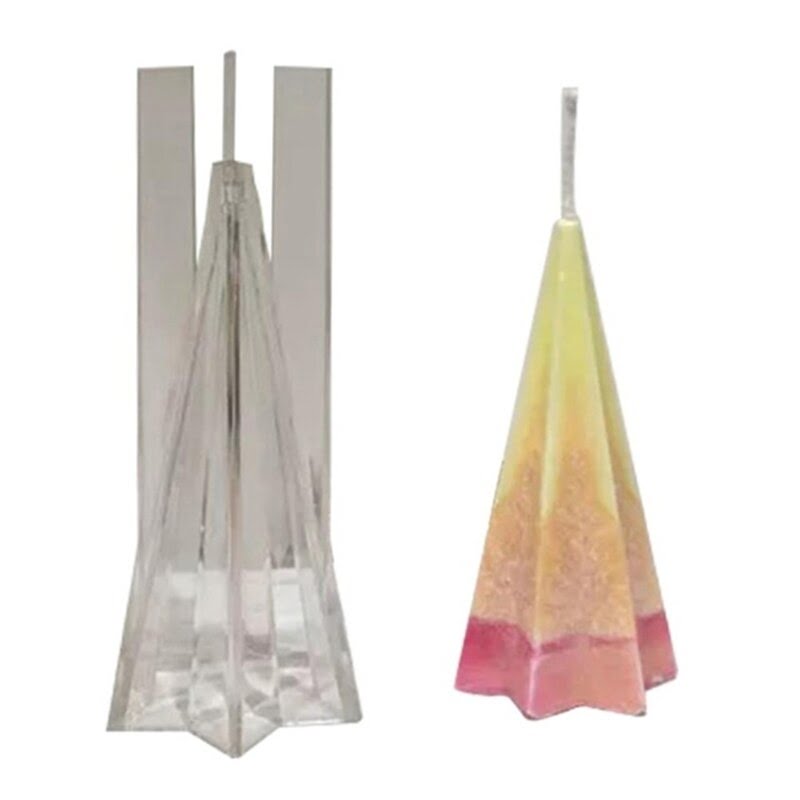
Creating Decorations: Your creativity is key here! You can use craft materials such as lace fabric around boxes and glass jars , string twine across mason jars for a unique look or press dried nutshells into wax during pouring for texture (just make sure they’re submerged). To further customize your creation you can also find molds that come in different shapes like stars, hearts and custom designs stamps to place words or images directly onto your finished product – this last option needs caution as oversized decorations might cause the burning hazard.”
Clean-Up and Storing Supplies
Clean-Up:
Before doing anything else, wait for the wax to harden on any pieces of equipment. Once the wax is solid, scrape away as much as possible with a metal scraper. Place any scraps into a trash can or discard according to local regulations. After scraping off all the residual wax, warm up each piece (a heat gun may be used if available) and wipe it clean with a paper towel or cloth rag. For extra cleaning power, you may use an all-purpose degreaser cleaner along with a towel to remove remaining residue.
Storing Supplies:
Store all supplies in a cool place and keep away from extreme temperatures and direct sources of heat or sunlight whenever possible. Keep items in sealed bags or containers and stack accordingly to maximize space. Wicks must be kept isolated from other items when stored to prevent them from bunching together and sticking together when being moved around over time.
Safely Disposing Of Wax:
Wax should be poured carefully into small containers to prevent clogs in your sink drains and then disposed of in the trash can according to local disposal regulations. Avoid pouring your melted wax down the drain! Melted wax can bond with pipes and cause plumbing issues that require professional assistance to fix.
DIY Home Decor Ideas using Soy Candles
Soy candles are the perfect way to spruce up any living space. With just a few simple supplies, you can make a variety of beautiful home décor pieces such as soy candle jars, votives, pillars, and tarts. Here are a few ideas for using soy candles in your home decor:
1. Use small votive candles to add warm lighting to corners of any room or fill large containers with several burning candles for mood-setting light displays.
2. Using different sized jars and molds, create unique gel candles that can double as decorations. For instance, combine different color beads in the bottom of a jar and top with a layer of clear wax; this method creates an elegant display piece that can be set upon shelves or end tables. Soy candles can also be dyed in different colors—or even scented—to add further uniqueness to these decorative pieces.
3. Make an ornate center piece by filling large hurricane holders with layers of pillar soy candles in varying sizes; this will create a truly eye catching design for your dining room or entryway table tops.
4. Utilize jeweled tarts on your favorite candlesticks to give your mantelpiece extra flair and charm; you could even line all the surfaces around your fireplace with jeweled candle tarts for added brightness and style around the whole area.
5. Set LED tea lights inside glass pots and then fill the pots with various fragrances like rose petals or lavender buds if you’re aiming for a more romantic atmosphere!
Conclusion
By following the instructions listed above, anyone can confidently create unique and personalized soy candles. While there is always more to learn in candle making, these instructions provide you with the basics and knowledge to get started. To further your candle making skills, we suggest exploring other resources that elaborate on safety tips for burning as well as experimenting with different wax types, scents, and wicks.
We encourage you to have fun and be creative in your candles’ designs. Above all else, please ensure that you are using all of these materials in a safe space to avoid any accidents. As long as you follow the given advice and keep at it, your candle crafting journey will soon be under way!

Welcome to my candle making blog! In this blog, I will be sharing my tips and tricks for making candles. I will also be sharing some of my favorite recipes.

