Introduction
Soy wax is popular choice for making candles due to its ability to cleanly burn and its sustainability. Unlike paraffin wax, which is made from petroleum based products, soy wax is a renewable resource made from soybeans. Soy wax also allows you to use vegetable dyes for coloring your candle instead of traditional chemical dyes. Unlike some other natural waxes, it does not require additives or synthetic ingredients that could affect the smell or performance of your finished product. When making your own candles at home, soy wax is an excellent choice as it has a relatively low melting point, meaning that you can pour it into the containers on relatively low heat. Additionally, since soy wax burns more evenly than paraffin products, this improves the overall performance of any candle created with it. Burning cleanly and generally having no “wet spots” or production of soot are additional benefits to using soy based products when creating candles.
Choosing Quality Wax and Supplies
When looking for quality wax and supplies for soy candle making, always make sure to do your research and choose the highest-quality products available. Good quality wax and materials often come with a higher price tag, but they will provide you with longer-lasting, better smelling candles. Look for wax that is labeled “100% natural” or “ GMO free” to ensure that you are purchasing a product made of pure ingredients. Additionally, when selecting wicks, be sure to buy wicks specifically designed for use with soy wax because other types may not melt at the same temperature. Finally, select only quality essential oils and fragrances that have been tested by experts in order to create the best smelling candles possible. By investing in high-quality products from the beginning you can save yourself time and money in the long run.
Setting Up the Working Environment
Before you begin making your soy wax candles, it is important to set up the working environment properly. Make sure to start with a clean and tidy workspace; a cluttered working space can make your candle-making process more difficult and dangerous. Secure the area by taping off the edges of tables, counters, and other surfaces where you will be working. Additionally, remove any flammable objects in close proximity to where you will be melting the wax. Also provide ventilation for any smoke or fumes from your candles. If you need to melt wax outside, make sure that there is no chance of wind as this could affect the flame’s heat output. Ensure that all lighters or matches are kept away from children’s reach at all times while making candles; if needed keep them in a sealed box. Finally lay down newspaper or plastic sheets on the floor below your work area in case of accidentally spilled wax.
Melting the Wax and Adding Colorants
Before melting the wax, make sure to properly prepare your workspace. Collect any wax and colorants you will use in your candle and separate them into two bowls (or melt pots). Place both bowls of material in a double boiler and turn the heat to low. As the wax melts, make sure to consistently stir it until all of the wax is fully liquid. Once melted, add desired colorants to the mixture, stirring regularly until fully blended. If using scented candle dye chips instead of essential oils or fragrances, stir them in as well. At this point, you may also add extra additives like glitter or dried herbs for extra decorative effects. Once everything is fully melted and blended together, you are ready to pour your candles!
Adding Aromas and Long Lasting Fragrances
When making soy wax candles, it is important to select a scent that not only appeals to you but also lasts. A high-quality perfume or essential oil can be used to make an even more intense and lasting aroma.
The amount of scent used will vary depending on the size of the candle and the concentration of the fragrance oil or perfume used. Generally speaking, 1 teaspoon can be added for every 8 ounces (227 grams) of soy wax. Important: be careful not to add too much fragrance ” too strong a smell can be overpowering and off-putting.
Essential oils are a great choice because they last longer. They should always be blended with a carrier oil before adding them to your candle mixture. If using perfume oils, it is best to test them out first in smaller batches in order to find out how strongly they affect the final product. Additionally, when working with perfumes and higher concentrations of aromas, it is recommended to wear gloves and protective eyewear at all times.
In addition to adding aroma and fragrance directly into your soy wax candles, you can also boost these elements by including other ingredients such as herbs, spices or dried flowers into the mixture just before pouring for an additional twist! Be careful not to disturb the wick so that it burns evenly throughout use. Consider pouring layers of fragrant wax into each tin or jar for a true aromatic experience! Finally, choose from scented additives like beeswax, shea butter and cocoa butter for extra punchy aromas that last long after extinguished.
Pouring and Cooling the Wax
When it comes to pouring and cooling the wax for your soy wax candle, the most important thing is patience. Start by placing your wax in a double boiler. The heat should not exceed 180-185 degrees Fahrenheit. Heat slowly, stirring continuously until the wax melts completely. Once all of the wax is melted, remove from heat and add in any fragrances or colorants that you wish to use. Stir gently but thoroughly so that everything is evenly distributed and clump free.
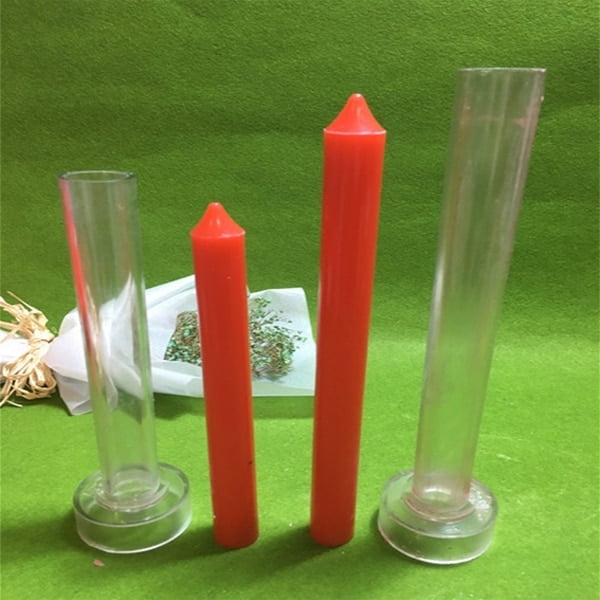
Once you are happy with your wax mixture, it’s time to pour into your molds. Slowly pour the hot soy wax into each of your candle molds, being careful not to overfill them as this might cause a mess! Then leave each mold aside so that it can cool for around two hours before moving onto the next step in candle making-wicking! Make sure to keep an eye on those molds during this time as soy has a tendency to cool quickly, and you may need to reheat it if it sets unevenly or too solidly before you are ready for it.
Shaping the Wick and Letting the Candle Set
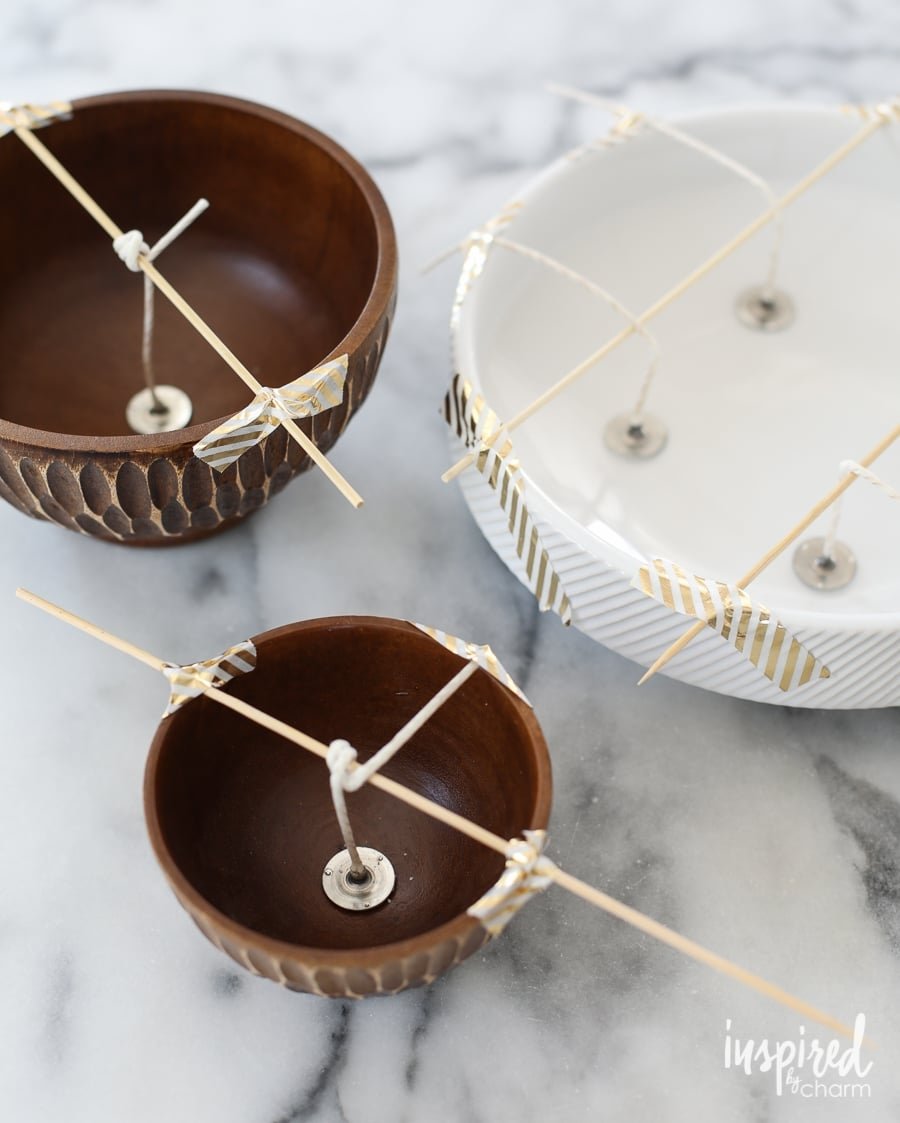
Once your candle has been poured into your chosen container, the next step is to shape and prepare the wick. This should be done while the wax is still melted so that it will hold its shape as the candle cools and sets.Begin by using a pair of pliers or wick clips to attach the wick tab to the bottom of the container so that it stands upright in the center of your candle. Carefully use tongs or a chopstick to bend and hold the end of the wick into place if you are using a large-diameter container, as this will help create even burning when lit. Once secured, trim off any excess length from the top of your wick so that around half an inch sticks out of your candle.
Now your soy wax candle is ready to set! Let it cool naturally at room temperature until completely solid before lighting. You can also place it in a cool environment such as a refrigerator or freezer if you’re keen to speed up this process. The duration can vary depending on various factors such as ambient temperature and size/shape of your finished product – small candles typically take 6-8 hours whereas larger ones can take up to 24 hours until set. Once set, you should find that you have a clean burning candle with minimal mess and wastage!
Crafting the Final Touches
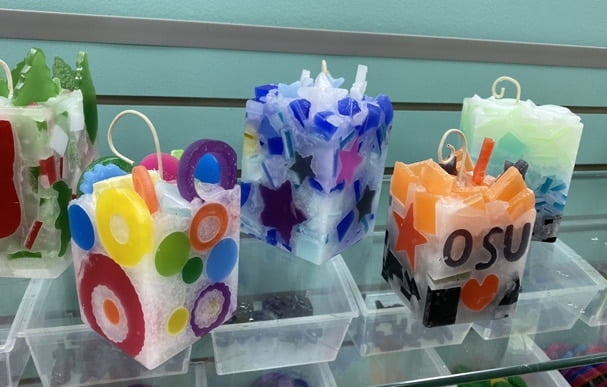
Decorating your soy wax candles can be a fun and rewarding experience. Depending on the size and shape of your candles, you might want to consider adding a few decorative elements such as ribbons, glitter, lace trim, or colored crayons. Once you’ve determined which accents to use, you’ll need some supplies like glue, hot glue guns for larger accents, basic craft wire for lacing or creating intricate designs with the wax, and protective eyewear.
You should also have a work table big enough to accommodate all the items used for decorating. In terms of packaging the candles once they are finished, you may want to make sure that they are very well protected during shipping so they will arrive at their destination unharmed. You could create custom boxes lined with foam or bubble wrap and add stickers or decals with your logo or handmade tags on top. Packaging is an important part of the overall presentation of your candles and can really set them apart from others in the marketplace.
Advanced Techniques for Making Professional Soy Wax Candles
To make professional quality soy wax candles, there are a few key steps and tips to consider. First, look for pure soy wax without additives; this will create a clean burning candle with superior scent throw and color retention. To ensure the greatest temperature control, invest in an electric double boiler; this will provide even heat distribution, thereby preventing scalding or boiling of the wax. When melting your wax, keep stirring it until it is smooth with no lumps or granules left behind.
Additionally, it is essential to pay close attention to the temperatures at which you’re working. In general, pour the melted wax between 165°F (74°C) and 175°F (80°C). Anything above 185°F (85°C) could cause scorching so keep an eye on your thermometer while it’s heating up. Make sure to use containers made out of metal, glass or heat-safe plastic as some materials can be damaged when exposed to high temperatures. Moreover, wicks should be chosen specifically for the size of your finished candle and should be securely placed in position prior to pouring the wax.
When adding fragrance oils or colorants to your melted soy wax, remember that too much can cause discoloration or clumping; whatever amount you decide on needs to be thoroughly mixed into the melted liquid before pouring into the container or mold. Finally, tap each container several times lightly against a hard surface after they are filled – this helps reduce air bubbles from forming in the final product!
Troubleshooting Common Candle Making Problems
Soy wax candle making requires some troubleshooting from time to time. Here are some tips to help resolve the most common issues you’ll encounter while making your candles:
1. Poor or Uneven Scent Throw – If your candle doesn’t smell as strong or evenly as you’d like, try adding a higher percentage of fragrance oil and increasing the cure time for the wax.
2. Wax Refuses To Melt – If you are having difficulty melting the wax, it could be because the heat is too high or it isn’t being heated for long enough. Try decreasing the heat slightly and extending the heating period until it has become fluid enough to pour into molds.
3. Unstable Wicking – If your wicks keep falling out, try using a heavier wick that is slightly shorter than what you have used in the past. Make sure to trim any loose ends after threading through your mold.
4. Softened Candles on Cool Days – Overly soft candles can be caused by warm rooms and poor melting practices. Try cooling your workspace down before storing unused soy wax and allow additional curing time before burning/using them on cool days.

Welcome to my candle making blog! In this blog, I will be sharing my tips and tricks for making candles. I will also be sharing some of my favorite recipes.


