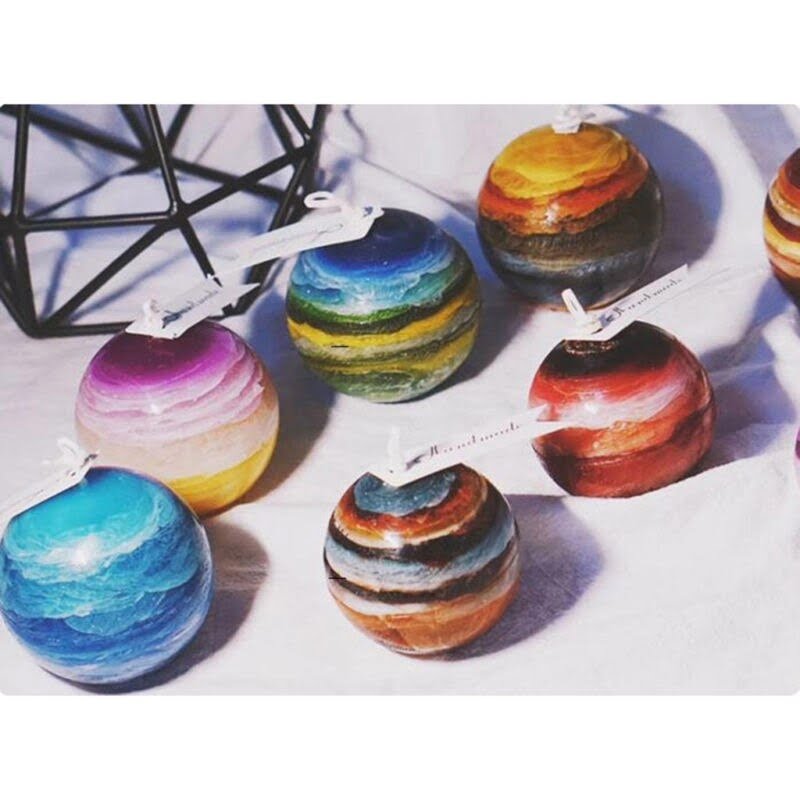
Introduction to Candle Making
Candle making is a popular hobby with an enormous range of potential projects to suit all styles, levels of experience and resources. From luxury scented candles to plain but practical household lighting, the possibilities are only limited by your own imagination. Many find that candle making can be a blissful relaxation technique as they work through each step, while others use it to create gifts that could never have been purchased; customized with their own fragrances, colors and containers.
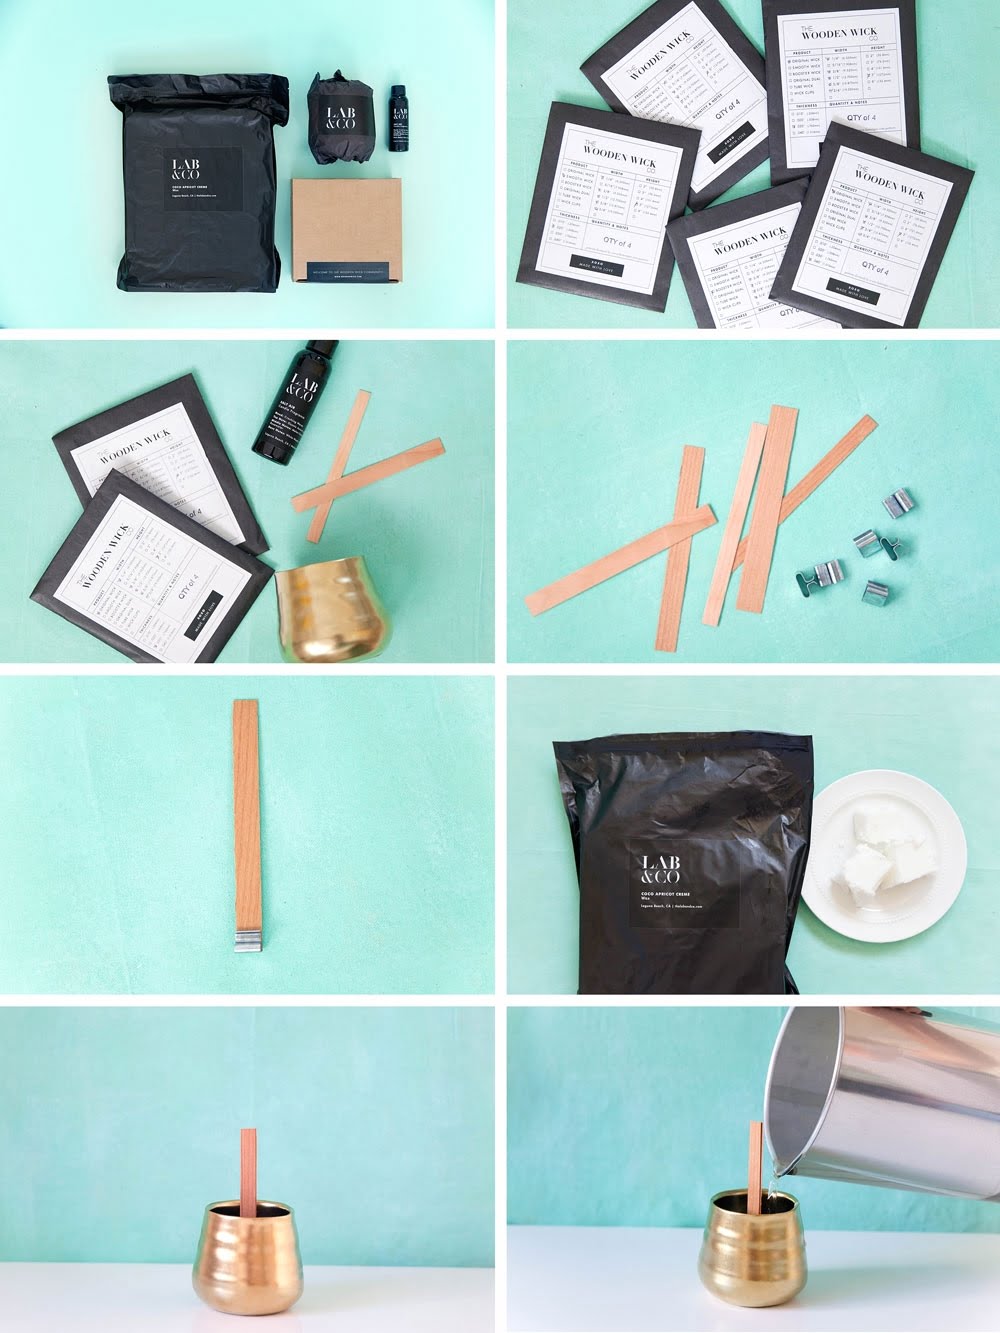
No matter which direction you’re looking to take your candle-making ventures in, there are some essential supplies you will need: wax (paraffin or soy), wicks, dyes, fragrances or essential oils, molds or holders for completed candles and double boiler. You will also need some basic tools like scissors or other cutting device (for trimming wick lengths) and a thermometer (for monitoring wax temperatures). If you’re going for stylish presentation choose decorative canning jars or glass vases for candle containers as well as some attractive labels. It is also beneficial to invest in reference books about candle-making both for learning tips and tricks from experienced makers as well as troubleshooting when something does not go according to plan. Finally a little patience goes along way in the pathway of success!
Essential Supplies and Materials
Essential Supplies and Materials:
• Wax – This is the main component of candles. You can use either paraffin wax, or soy wax flakes as your base material. Some people also choose to use beeswax for certain types of candles.
• Wick – The type of wick you choose will be based on what type of candle you’re making. Generally, cotton wicks are best for regular candles while wooden wicks are used for specialty, decorative candles like mason jar candles.
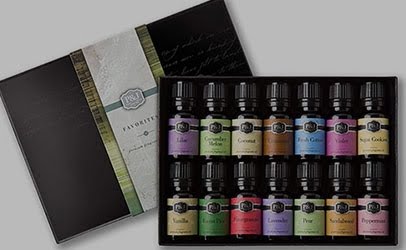
• Fragrance Oils – This is an optional ingredient, but it gives your candle a pleasant scent that lingers even when it is not lit. Any type of natural oil to fit the desired scent can be used in candles.
• Dye – If you need to add additional color to the wax for aesthetic purposes, dye is available as liquid or powder form and comes in a variety of colors. Add as much or as little dye as needed depending on your preference.
• Containers – This is where the melted wax will harden into a candle upon cooling so it needs to be heat resistant and non-flammable. Popular choices include metal or glass tins, jars with lids, and tealight cups with holders made out of aluminum or stainless steel metal alloys.
• Molding tools – These are optional if you’re not using existing containers but they make shaping and forming candle easier especially if they’ve been designed specifically with this purpose in mind such as silicone molds which come in various designs today through various retailers both online as well as offline stores.
Candle Molds
When choosing a candle mold for your project, you should consider the size of the project. If you are making many small candles, opt for a tray or cube style mold. For larger projects, such as pillar candles, choose molds that have larger positions and feed spots for waxes that require even melting and cooling of the wax. Additionally, some molds are designed specifically for container candles; these usually include lids and wicks that fit into specific positions within the mold helping your finished product come out in one piece and ready to use. Lastly, there are specialty molds available including unique shapes such as hearts or stars which can be used to create holiday-themed projects like muffin candles or toppers. All of these will help you create beautiful and interesting candles!
Waxes and Wicks
When it comes to the waxes and wicks used in candle making, there is a range of options available. The type of wax used has an impact on the characteristics of the finished candle such as burning time, scent throw and melting point. Common waxes used are paraffin wax, soy wax, beeswax, coconut wax and palm wax. Paraffin wax is one of the most popular due to its low cost, high heat resistance and wide availability. Soy wax was introduced as an alternative to paraffin for those wanting a renewable resource for their candles; however it requires different wicking techniques. Beeswax is a natural and renewable resource but it can be expensive and difficult to work with due to its low melting point. Coconut wax is known for its ability to hold a stronger scent compared to other types of waxes¬”though it is not as widely available. Palm wax gives off a unique “swirling” effect when being poured which can result in some beautiful looking candles”think pillar style candles or votives.
The wick types used need to be matched with the right type of wax in order for them consumer-safe candles that will burn correctly; otherwise they may either self-extinguish or cause significant mushrooming creates carbon build up around the edges (neither are desirable). Though there are pre-made hemp cord wicks available, these are often too small or too big for particular containers/candle size so cotton core braided wicks with varying diameters should be considered instead as this gives additional flexibility when making your product.
Colorants
When it comes to adding color to your candles, there are many different options available for you. Candle makers can use a variety of different types of colorants to create the exact look that they desire. There are natural colorants derived from botanicals and food-grade colors which can be introduced into the wax blend before pouring. Different oil-soluble dyes or pigments specific to candle making are also available, and these will not only add color but may also improve the burning quality of the candle. Finally, you also have synthetic colors such as petroleum based colors in liquid or powder form as well as non-toxics crayons and chalks.
The way that the colorant is added varies depending on the type you use. For example, when using wax crayons you will need to melt them throughly into your wax blend at approximately a 1:10 ration between wax and crayon (1 part crayon per 10 parts of wax). However when using liquid colors, you simple have to introduce them into your melted mixture at a temperature between 60 ” 90 °Celsius until desired shade is achieved. It is important to note that all of these options will affect the finished product differently; some may cause discoloration due to heat or time sensitivity whereas others may leave oils behind which could damage certain types of wick materials so it is important to research this before settling down on one choice for your project.
Fragrances
Fragrances can provide an important element of the overall candle making experience. When deciding on a scent for your candle, it’s important to think about what aromas pair best together and which ones create the desired aesthetic. There are many different types of fragrances available, from woodsy scents such as cedarwood and sandalwood to floral scents like lavender and rose. The amount of fragrance oil used will also contribute to the intensity of the scent; generally recommended levels are around eight percent. To add fragrances, oil-based scents should be combined with wax before pouring while solid wax scents should melt in the molten wax before being poured into the molds.
It’s important to be mindful when working with strong smelling fragrances as they can cause skin irritations or respiratory issues if not handled properly. It is recommended that face masks and gloves be worn during fragrance handling, along with ensuring that you work in an open space with good ventilation. Additionally, make sure to keep out reach of children and pets when using oils or other more concentrated products.
Temperature Controls
Temperature controls are one of the most important elements in successful candle making. Without them, candles may not look or burn as intended. Proper temperature control also helps prevent any safety issues such as excessive dripping and melting. When considering temperature control during candle making, it’s important to understand how temperature affects your candles.
When melting wax, the ideal temperature should be between 145°F – 155°F (62°C- 68°C). If the temperature is too high, there is a risk of overheating which can result in discoloration or even burning of the candle. If the temperature is too low, then your wax will likely become brittle and won’t hold its shape properly when poured into molds. It’s always important to accurately monitor temperatures while working so that you can adjust accordingly if needed.
In addition to using the proper melt temperatures for pouring your candles, you’ll also need to allow time for your candles to cool and set properly before removing from molds or wrapping for storage. The ideal setting time for most waxes is 24 hours (you can check with your wax supplier for more specific instructions). During this period of cooling, beeswax will shrink from side walls downwards and harden at 95 ” 100 degrees F/35 ” 38 degrees C over a few hours length of time. Cooling should occur in an area without any drafts and away from direct sunlight until completely solidified. Temperature control is essential at this stage because if removed prematurely it could cause extensive leaking or ruin a finished product’s appearance by impairing shapes or cracking due to uneven cooling patterns.
Finally, once candles have fully cooled they should be stored in an airtight container away from extreme heat sources such as bright sunlight or a hot room as this could cause softening/melting as well as minimize discoloration due to UV exposure.
Essential Safety Guidelines
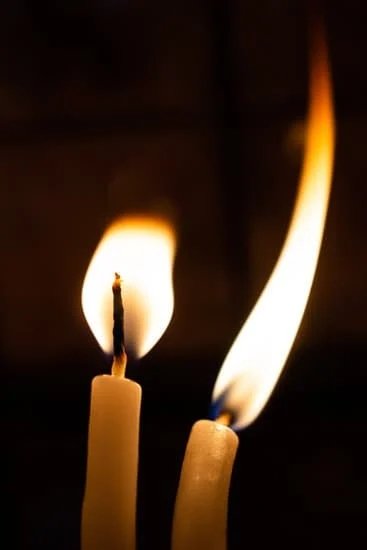
Essential Safety Guidelines for candle making should always be followed when practicing this hobby. It is important to remember that candle making involves working with open flames and hot wax, so extra attention to safety instructions is very important. Some of the most important tips for safe candle making include: never leaving a lit candle unattended, making sure there are no combustible materials around an open flame, and never pouring hot wax onto or into any container that isn’t meant to hold hot liquid. Additionally, it is important to never try and move a lit candle while it is still burning.
Other safety measures that should be taken when engaged in candle making include wearing protective clothing such as long sleeved shirts, eye glasses or goggles, and long pants to avoid splattering wax, keeping all materials out of reach of children or pets, avoiding candles with glass covers as they may burst due to changes in temperature, and only using wicks that are designed for use in certain types of wax formulas. Finally any beginner at candle making should always consult with experienced crafters before beginning a project.
Additional resources about safety guidelines for those interested in this hobby can be found through various websites and printed materials including books, pamphlets, and magazines published on the subject. Consulting with an expert or taking classes in candle making may also help beginners learn additional techniques related to the practice of candle making in a safe manner. With dedication and proper respect towards basic safety issues anyone can enjoy crafting beautiful candles safely!
Finishing Touches
Packaging Your Candles:
When packaging your candles for sale, it is important to use attractive and well-crafted designs that will protect and please your customer. Use colorful, high-quality boxes and bags or gift wrap to ensure that your candles look their best. Label each candle so that customers can easily identify the scent they are buying. Include a card describing how long the candle should burn with instructions on proper candle care, what scents were used in the making of the candle, etc.
Enhancing Candle Appearance:
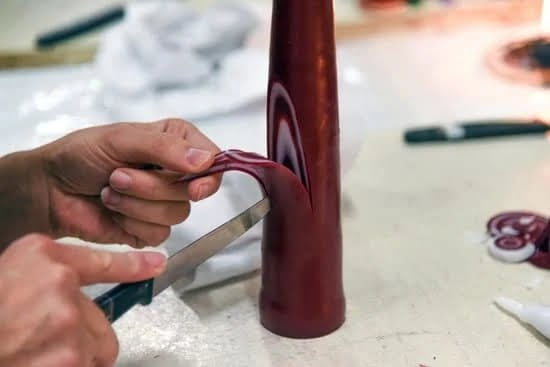
Aside from the standard shape of candles, you can make them look even more attractive by adding some flair to them. Try adding glitter or beads by rolling them around in molten wax after you pour it into the container. Another way to add more texture is by dipping into wax and removing in a unique pattern. You can also create designs with helpful tools such as cookie cutters or stencils. Additionally, try using dyeing methods to give your candles a unique color for customers who are looking for something special.
Gift Making:
Candles make great gifts for almost any occasion! Many people can appreciate a handmade candle”especially if it’s made with love! Take time to make more personal gifts with thoughtful additions such as a customized label featuring the receiver’s name or an added scent to suit their taste buds! If you’re feeling creative, you could incorporate ribbon and other decorative items like river rocks or dried flowers as part of the overall design of the candle. Be sure to always include clear lighting instructions when giving away your creation so that it isn’t put at risk.
Let’s Get Started
To make your first foray into candle making successful and enjoyable, here are some tips for getting started. First of all, create a safe space for workspace: get a well-ventilated area, away from kids and pets. Make sure to have adequate lighting, too! Stock up on the supplies you need. Here’s a basic supply list to consider when starting out:
– A variety of waxes such as soy, palm, beeswax – Wicks – Containers such as glass jars or teacups – Candle dyes and fragrances that match the type of wax you choose – Wax melting pot – Pizza cutter (for cutting wick) – Metal spoon or thermometer – Double boiler
When you’re ready to start crafting your candles, consider customizing them according to your own style. You can decorate the outside with hand painted graphics or stains. Change up the colors by blending different dyes. Add unique scents by mixing different fragrances together. You can even incorporate natural items like herbs into the design of your candles for an added touch that makes them just a bit more special.

Welcome to my candle making blog! In this blog, I will be sharing my tips and tricks for making candles. I will also be sharing some of my favorite recipes.

