Candles are a centuries-old tradition, and for good reason: They make a room feel cozy and inviting, and they can be used to celebrate special occasions. If you’re looking to get into candle making, you’ll need some basic equipment. Here’s a rundown of what you’ll need:
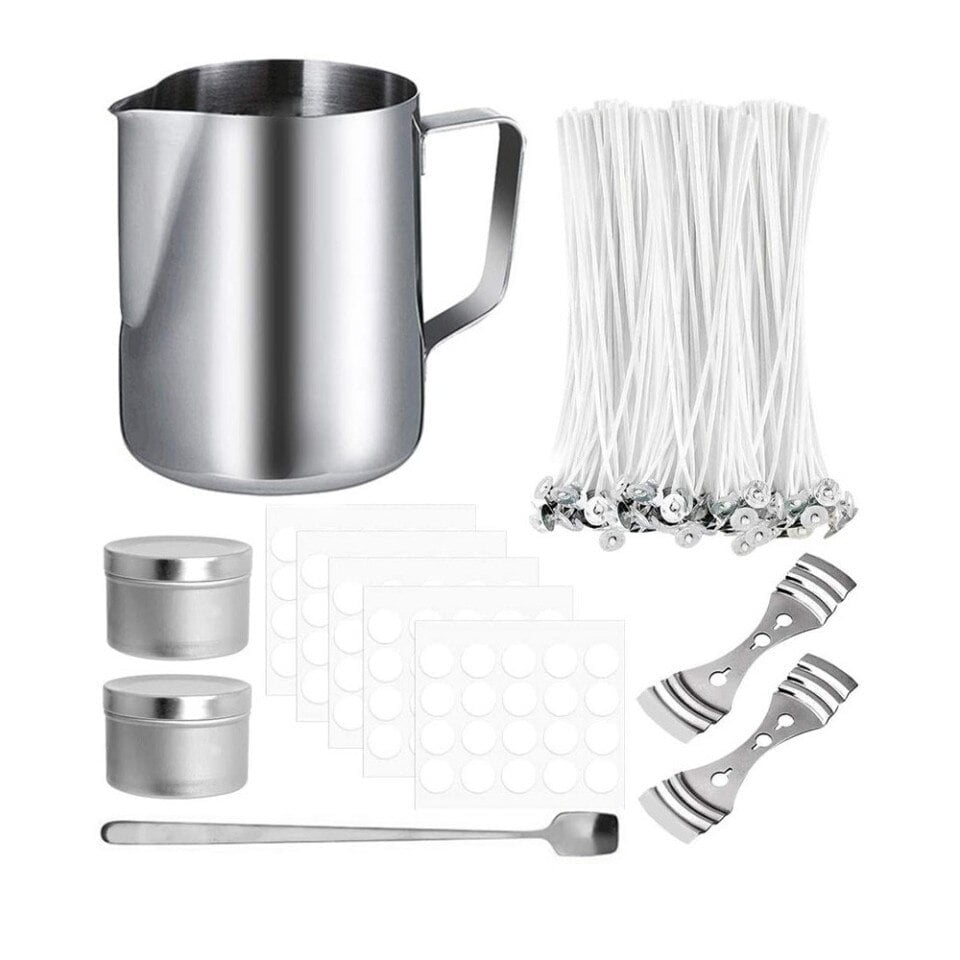
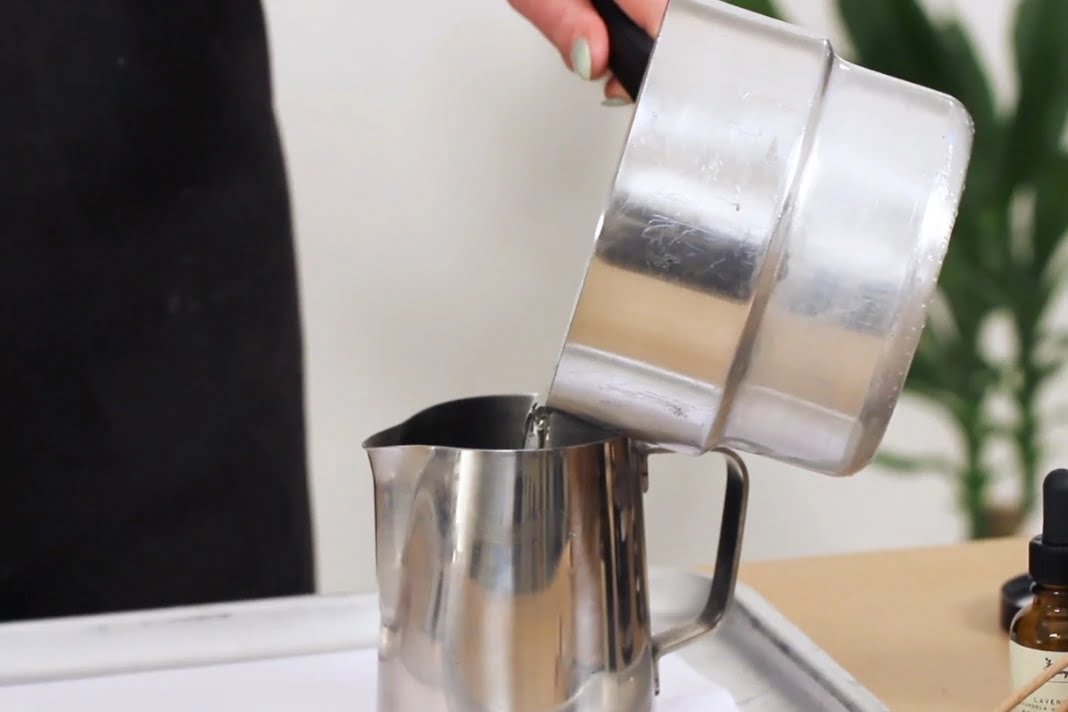
-A double boiler: This is a pot that has two pots attached, one on top of the other. The bottom pot is used to heat water, while the top pot is used to melt the wax.
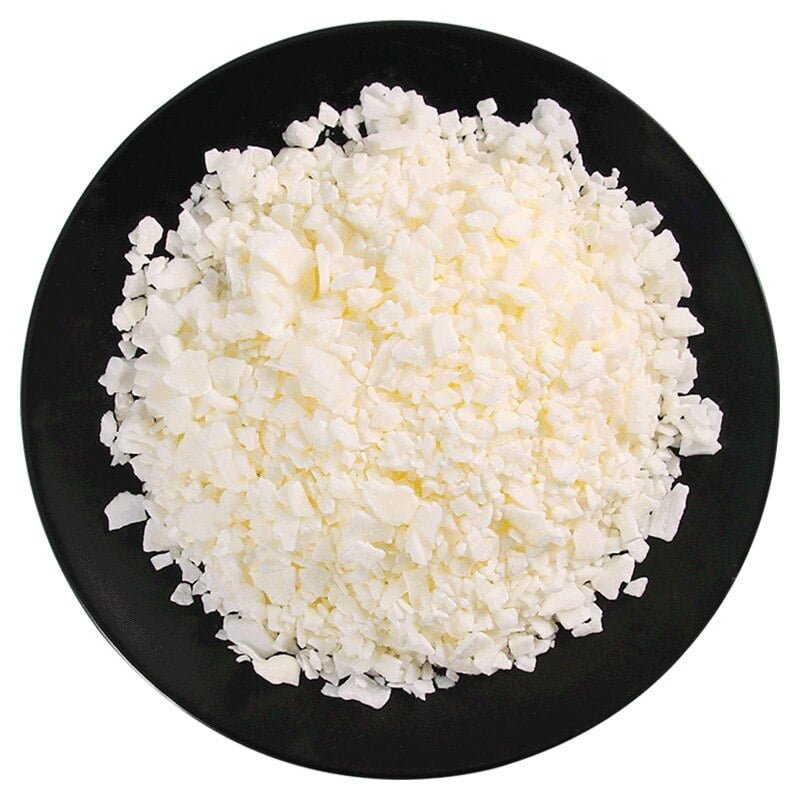
-Wax: There are a variety of waxes you can use for candle making, including paraffin, soy, beeswax, and palm wax.
-A thermometer: You’ll need to keep track of the temperature of the wax, so a thermometer is essential.
-A mold: You’ll need something to pour the wax into, and there are a variety of different molds to choose from, including metal molds, plastic molds, and silicone molds.
-A wick: The wick is the part of the candle that burns, so you’ll need to choose a wick that is appropriate for the type of wax you’re using.
-A lighter: This is for lighting the wick.
-A stove: If you’re using a double boiler, you’ll need a stove to heat the water.
Dip And Carve Candle Making
Candles are a classic way to add ambiance and warmth to any room. While store-bought candles are easy to find, making your own candles is a fun and easy way to add a personal touch to your home. There are a variety of methods for making candles, but the dip and carve method is a particularly easy and fun way to make candles.
To make candles using the dip and carve method, you will need:
-Wax
-A double boiler
-A mold
-A heat-resistant container
-A stirring utensil
-A thermometer
-A fragrance, if desired
First, you will need to measure out the amount of wax you will need for your candles. This can be done by weight or volume, depending on your preference. Then, set up your double boiler. The wax should be melted in the upper pot of the double boiler, and the lower pot should be filled with enough water to prevent the wax from boiling.
Once the wax has melted, carefully pour it into your mold. You may want to use a stirring utensil to help distribute the wax evenly. Then, place the mold in your heat-resistant container and place it in the refrigerator. Allow the wax to cool and harden.
Once the wax has hardened, remove it from the mold. If it is difficult to remove, you may need to place the mold in the freezer for a few minutes. Then, use a carving utensil to carve designs into the wax. You can be as creative as you like with your designs.
If you would like to add a fragrance to your candles, you can do so at this point. Simply add a few drops of your desired fragrance to the wax and stir gently.
Finally, place a wick in the center of each candle and light it. Enjoy your beautiful, hand-made candles!
Candle Making Kit Target
Audience:
The average person who is looking for a fun, creative and new way to spend their time.
The average person who wants to learn a new skill.
The average person who wants to make something beautiful and unique. The Candle Making Kit is the perfect gift for:
The person who loves to be creative.
The person who wants to learn a new skill.
The person who wants to make something beautiful and unique. The Candle Making Kit includes:
Everything you need to get started making your own candles.
Detailed instructions that make it easy to learn how to make candles.
Candle Making Kit Price:
$24.99
Michael’S Grove City Candle Making Supplies
Welcome to my blog about Grove City candle making supplies. In this blog, I’ll be discussing everything related to candle making supplies, from the types of wax to the types of wicks. I’ll also be sharing some of my own tips and tricks for making the perfect candle.
Candle making is a fun, creative way to relax and unwind, and it’s also a great way to add a touch of personalization to your home. Whether you’re a beginner or a seasoned pro, my blog is a great resource for all your candle making needs.
So be sure to check back often, and happy candle making!
Best Wicking To Use For Candle Making
When it comes to picking the best wicking for candle making, it really depends on the type of candle you are making and the type of wax you are using. For example, if you are making a soy candle, then you will want to use a soy-wax compatible wicking.
If you are using a paraffin wax, then you will want to use a cotton wicking. When it comes to picking the best wicking for your candle, you will also want to consider the size of the candle.
If you are making a large candle, then you will want to use a thicker wicking. If you are making a small candle, then you will want to use a thinner wicking.
When it comes to picking the best wicking for your candle, you will also want to consider the type of flame you want your candle to have. If you want a bright, yellow flame, then you will want to use a braided wicking.
If you want a soft, orange flame, then you will want to use a twisted wicking. If you are using a beeswax candle, then you will want to use a beeswax compatible wicking.

Welcome to my candle making blog! In this blog, I will be sharing my tips and tricks for making candles. I will also be sharing some of my favorite recipes.

