Before electricity was discovered and before light bulbs were invented, candles were the main source of illumination inside a building. This makes candle making a very necessary art. But even though electric light bulbs are now the main source of light everywhere, candles remain popular because they add to indoor surroundings a touch of coziness and romance in the atmosphere.
Learning candle making as a hobby has its own appeal and popularity primarily because there is nothing more satisfactory than being able to create something useful with one’s own hands. Candle making can also be a good source of secondary income if one becomes a master of it.
There are many types of candles that you can learn to make with candle making. The most popular type of candles are called tapers or dinner candles, the long and slender candles that are supposed to be held in place by candlesticks.
The pillar candle is another popular type of candle. It is a candle that can stand on its own, with a base that measures three inches or so in diameter. Pillar candles are also called column candles and they come in various shapes.
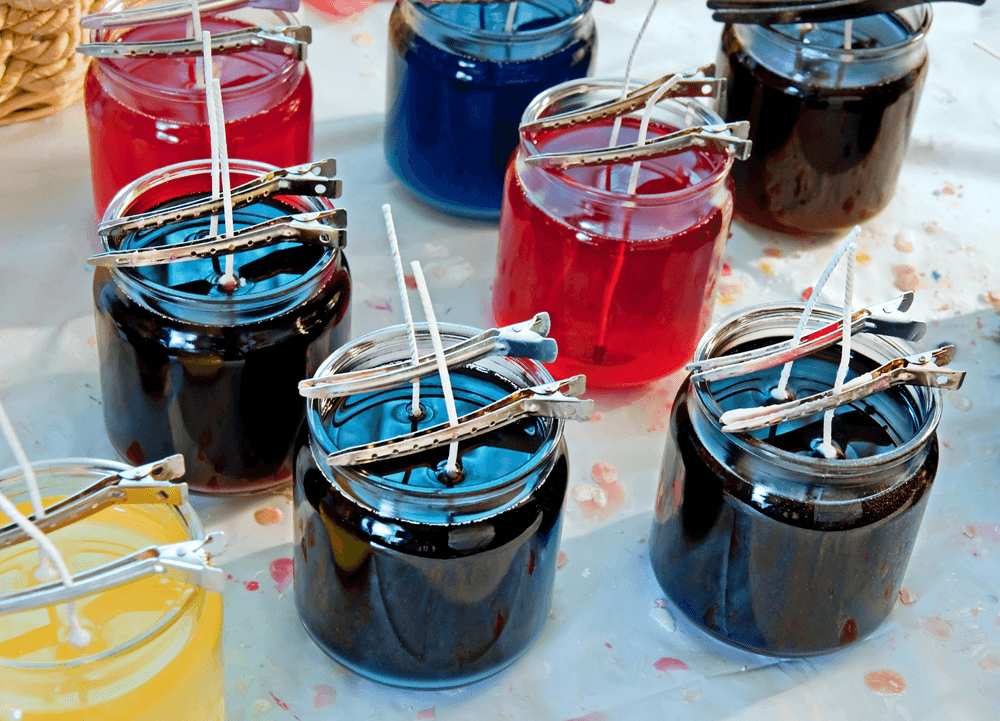
A jar candle is a candle that is made when the wax is poured into a glass container that is designed to resist the heat of the candle it contains as it burns. Jar candles are also referred to as filled candles.
A votive candle is traditionally used for religious ceremonies. They are small, cylindrical candles placed in a cup called a votive holder. Tealight candles, on the other hand, are small and short candles poured into metal holders.
Specialty candles are sculpted candles that are meant to be displayed rather than burned. They are also called novelty candles.
If you are interested in candle making, what materials should you invest in? Contrary to what you may think, the art of candle making does not require a lot of investment. Most of the time, the necessary materials such as the boilers and the molds can be easily substituted for materials readily available in your own kitchen or garage.
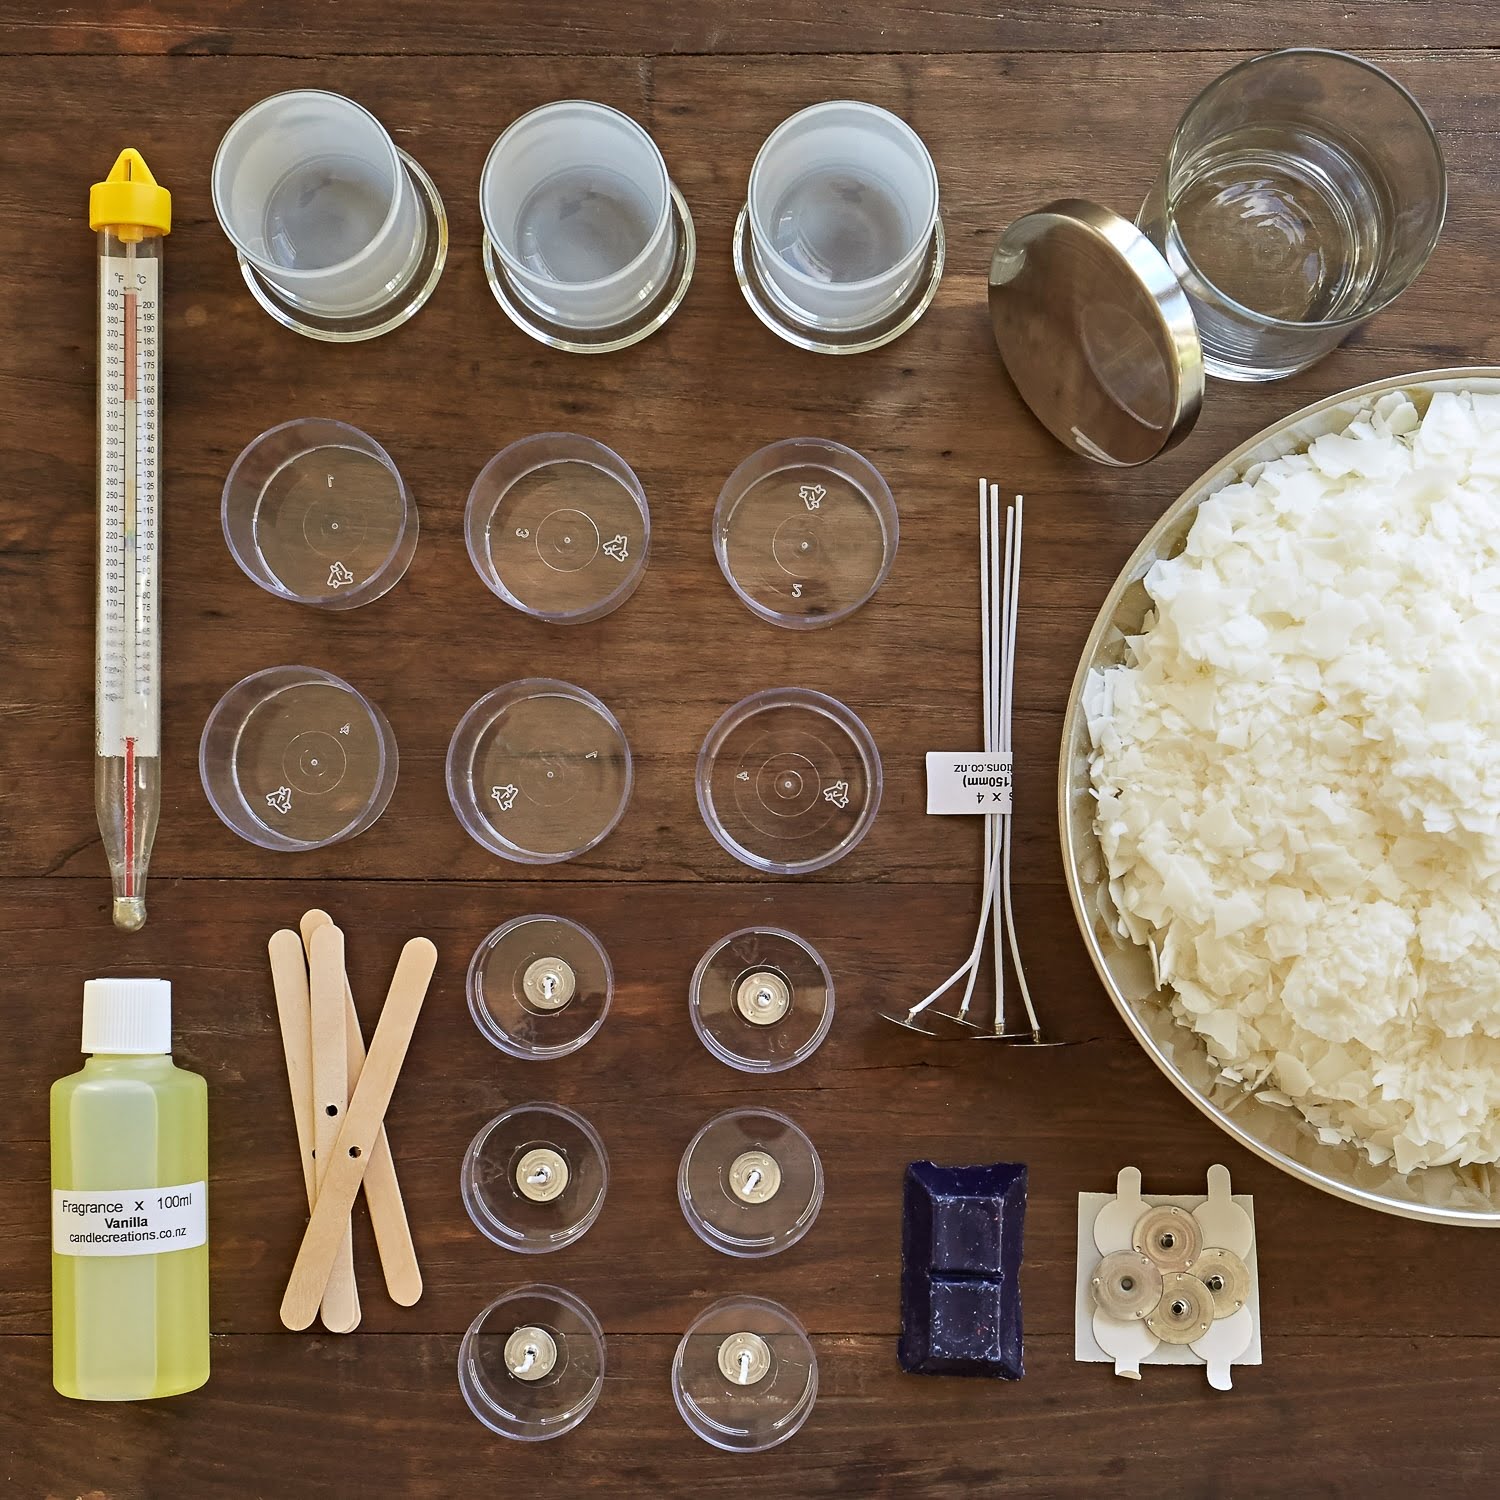
For candle making, you would need the following materials:
* The paraffin wax, which is the basic ingredient for candle making, as well as the wick. If you want to experiment with colors and scents, you can also get dyes and fragrance oils or essential oils.
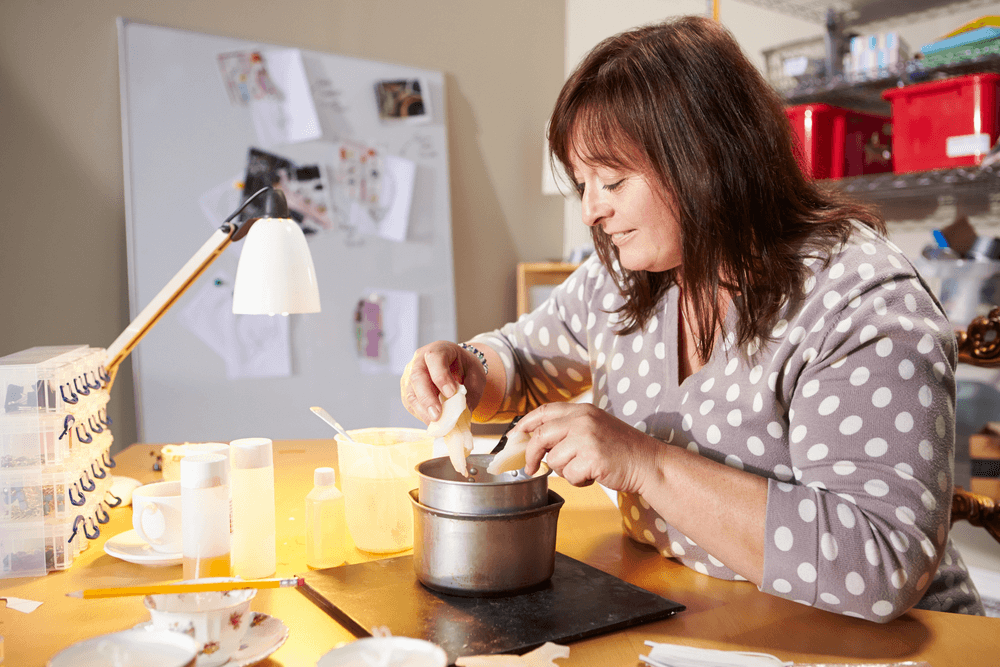
* A double boiler for heating your wax. A double boiler is a pan inside a pan. The outer pan is for heating water while the inner pan serves to hold the wax being melted. Also, a stove for heating your wax.
* A thermometer for gauging the temperature of your wax. You would need to use a thermometer that is specially designed for candle making because the ordinary household thermometers do not have as high a range.
* A scale, a ladle and a measuring cup. A scale will help you measure the amount of wax you would need to heat for your candles while the ladle is for getting the wax out of its boiler. The measuring cup is for pouring wax into molds – it is safer and easier to do than simply pouring the contents of the boiler into the mold.
* Candle molds and mold seal. The candle molds are for shaping your candles and they come in different shapes, sizes and materials. The cheapest candle molds are made of plastic, but they are not that durable and they cannot withstand too much heat. The best candle molds are those made of metal. The mold seal, on the other hand, prevents the wax from pouring out of the mold.
* A blow torch or heat gun is for melting away imperfections on the surface of your finished candles.
The basic candle that is usually made by one who is just learning candle making is the pillar candle. Below is a step-by-step guide in making one:
1. Measure out the amount of wax that you would need by filling the mold you would be using with water. For every 3 ½ ounces of water, three ounces of wax are necessary.
2. Put your wax into the inner pan of your double boiler, fill the outer pan with water, and then put them to heat. Lower the heat once the water starts boiling.
3. Check the temperature of your wax with your thermometer. Different candles vary in their required temperature, but for pillar candles, the desired temperature is 180°F. Do not let the thermometer touch the bottom of the pan.
4. Prime your wick by dipping it into the wax. When the wick has started to release bubbles, take it out of the wax using thongs or old knitting needles, and then flatten out and leave it to dry. Once dry, slip it inside the mold and hold it in place with a wick support.
5. When the wax reaches the desired temperature, it is time to add whatever additives that you want, such as fragrances and dyes. Be careful when putting these additives in and stir them gently into the wax.
6. Pour your wax into the mold and tap the sides of the mold gently to release the air bubbles. Also, poke small holes near the wick to let out the air pockets that can make your candle a fire hazard. Afterwards, let the wax in the mold set for a few hours to let it cool. When the wax is cooled, you would have made your first candle.
Always remember that safety is paramount in candle making. Be cautious about the materials you are handling and always keep the area where you make your candles clean.

Welcome to my candle making blog! In this blog, I will be sharing my tips and tricks for making candles. I will also be sharing some of my favorite recipes.

