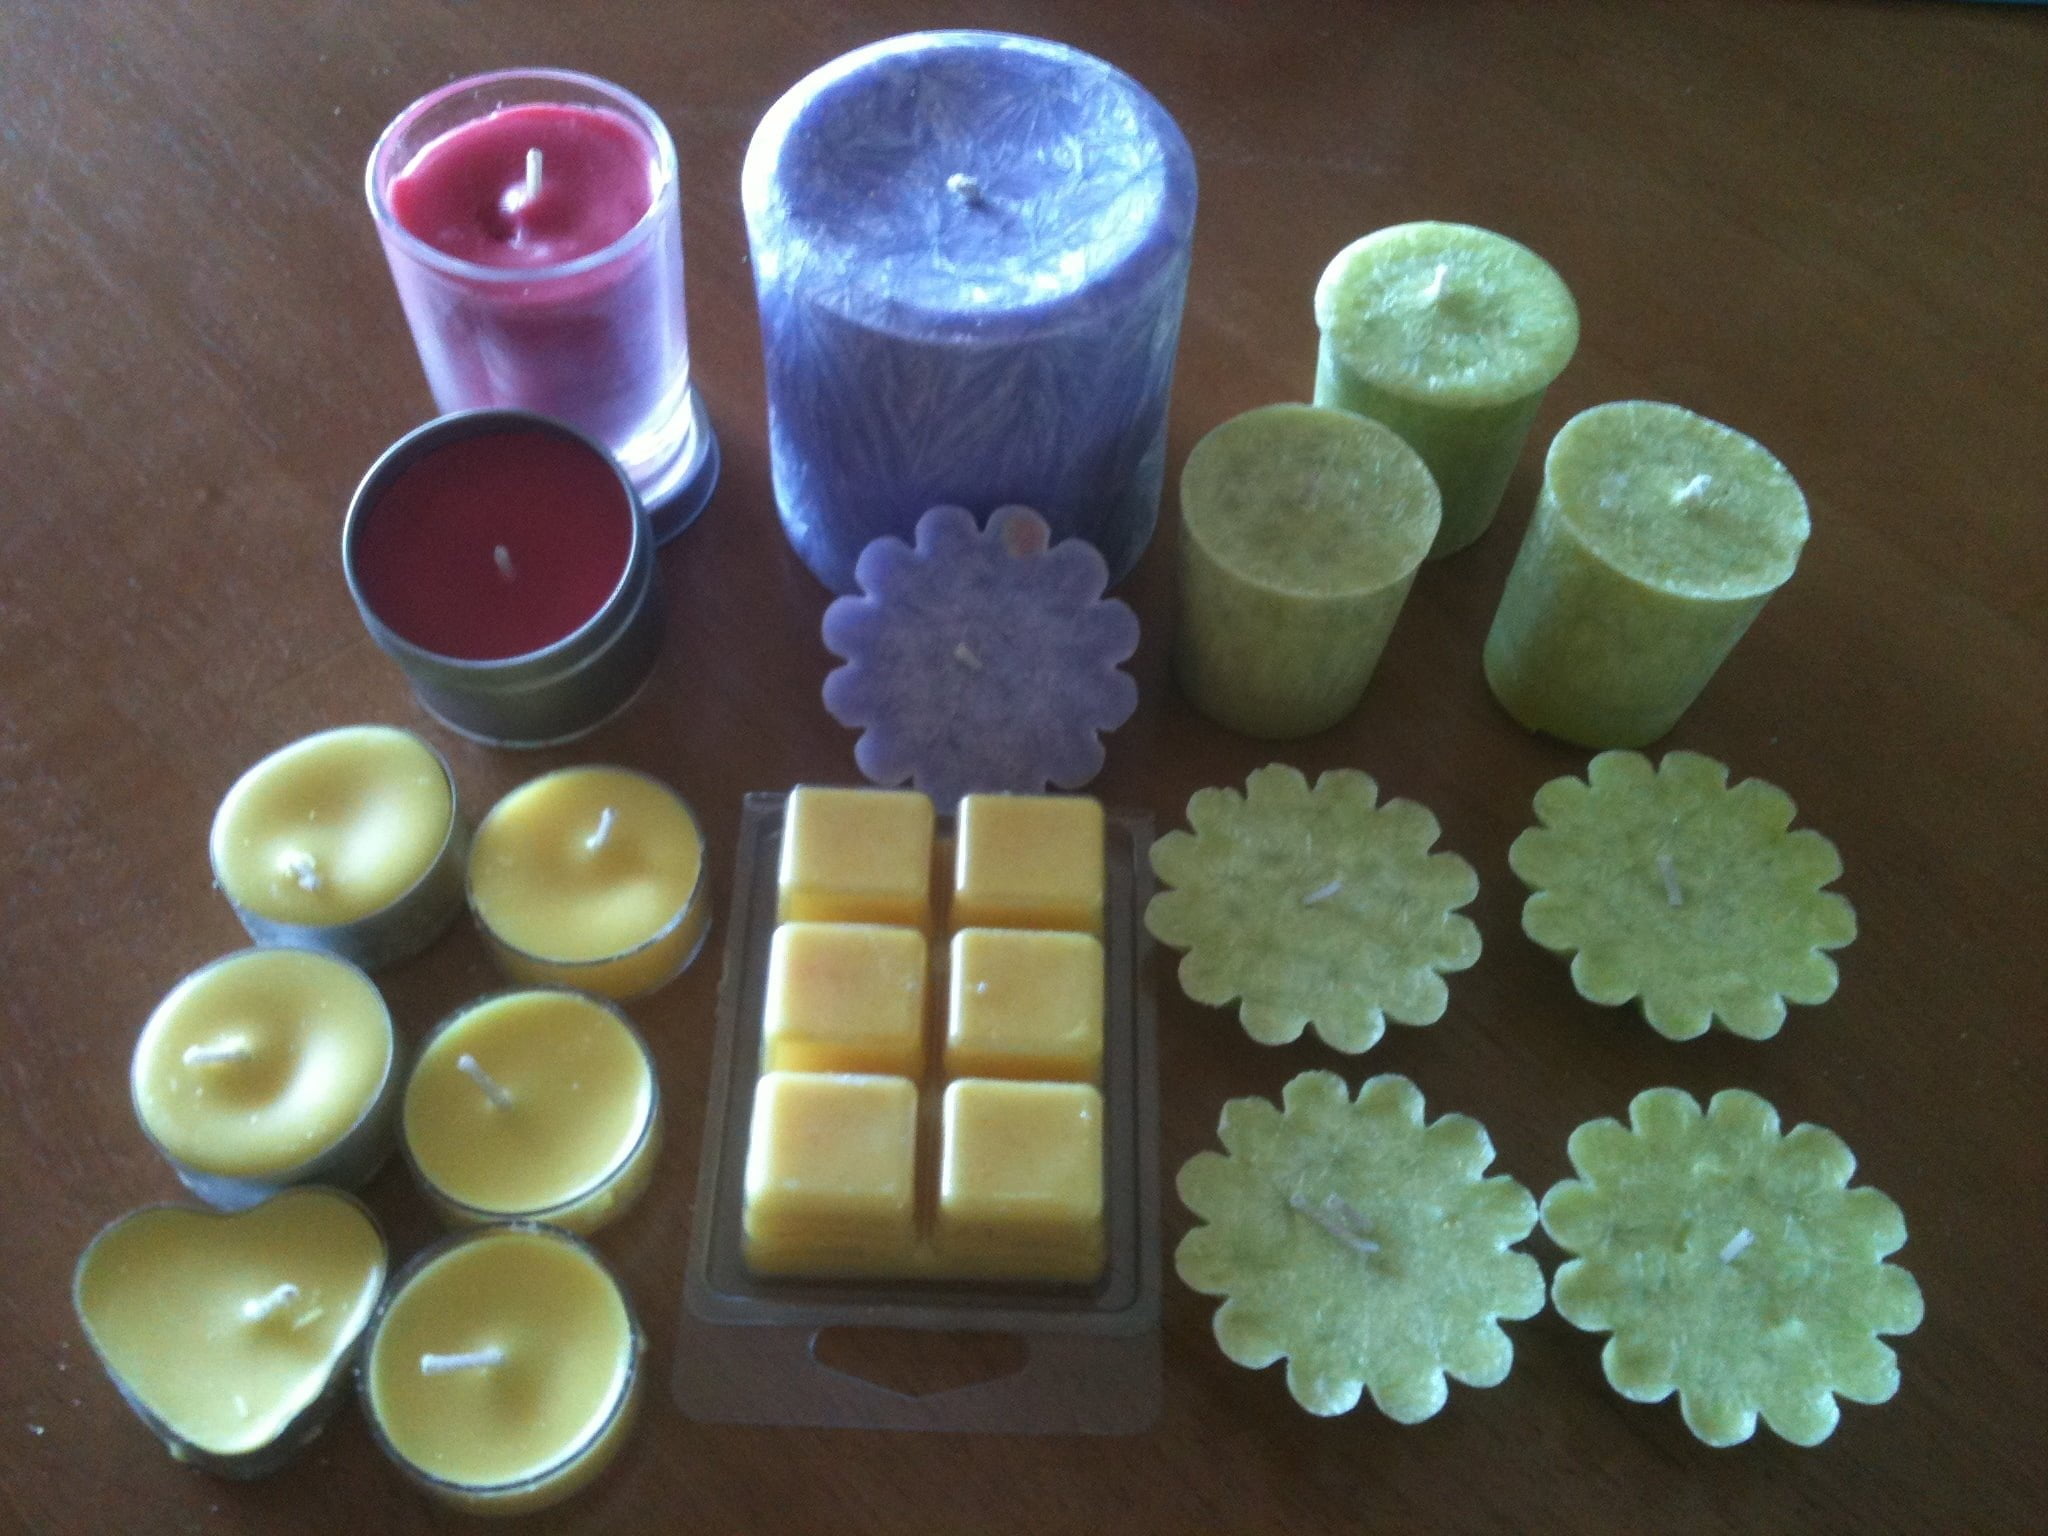
#Wax Candle Making Instructions
At some point, most of us have had the urge to create the perfect candle. Perhaps an upcoming holiday needs the perfect décor, or maybe you just want to give the perfect home-made gift. Whatever the motivation, candle making can be both fun and affordable. But before you begin, it’s important to make sure that you follow safety precautions.
##Safety Precautions
Safety must always be your number one concern when making candles. Wax can heat up quickly and create unpleasant burns if not handled properly. Additionally, it is highly flammable and should not be left around open flames or heat sources. Always use caution when melting wax.
##Gather Your Supplies
The most important part of candle making is gathering the right supplies. You will need wax, naturally, as well as wick, glue and dyes or scents. The type of wax you use will determine the type of candle you can produce, so make sure to get the right kind. You can either buy pre-tabbed wick and wax, or you can buy the two pieces separately and do it yourself.
##Melt the Wax
Now it’s time to melt the wax. Make sure that you are using all the necessary safety precautions, (gloves and a face mask) as the melting wax can produce noxious fumes. Melt the wax using a double boiler and use a thermometer to make sure it reaches the correct temperature.
##Add Coloring and Fragrance
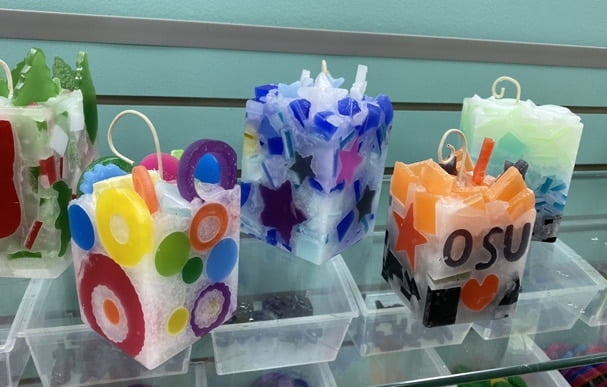
Now is the time for customization. Wax colors can be purchased in the form of dyes, pigments and chips. Fragrances can also be added. Use your imagination to create the perfect colors and scents.
##Prepare the Mold
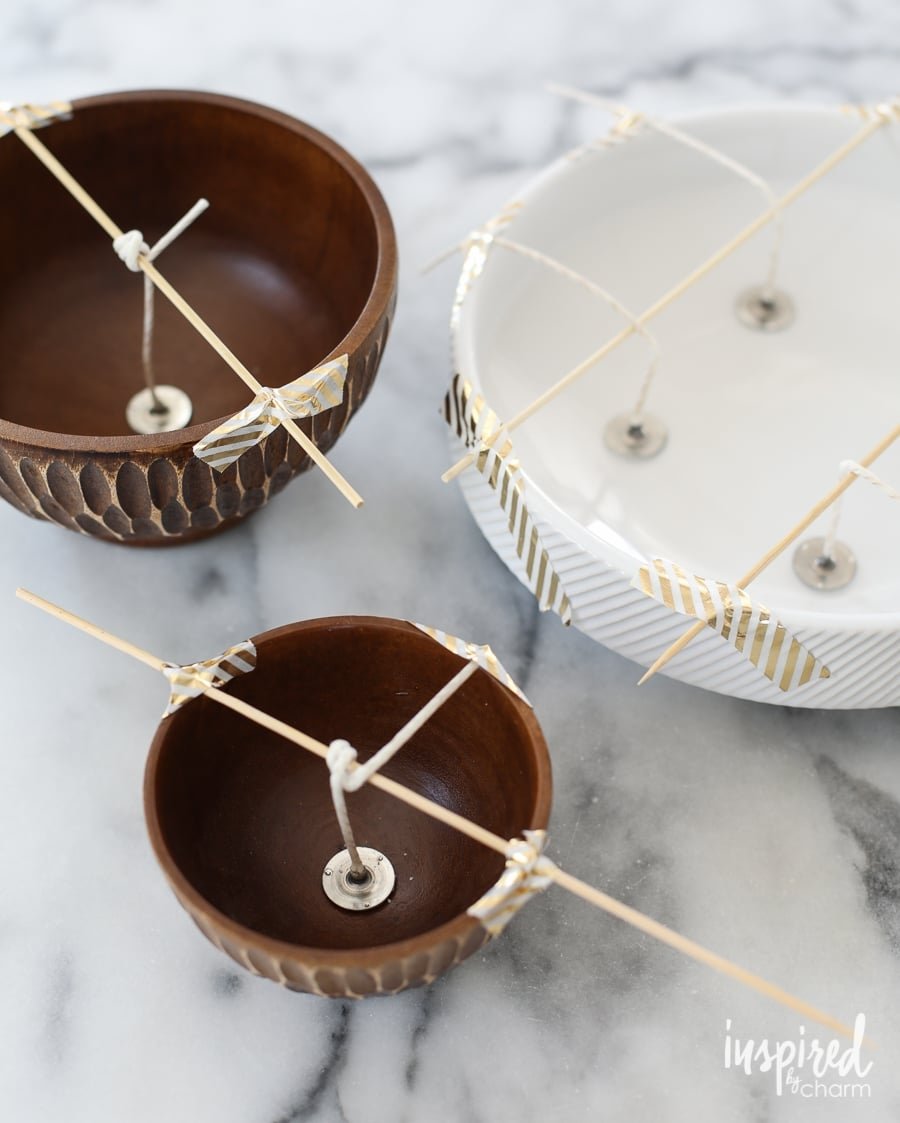
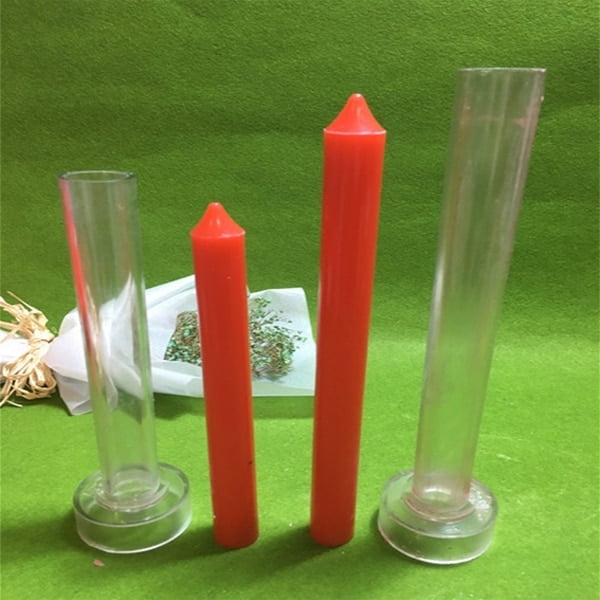
Prepare your mold before the wax has cooled completely. Cut the wick to size, dip it in glue and attach it to the bottom of the mold. This will make sure that the wick stays secure and will help the final product maintain it shape.
##Pour the Wax
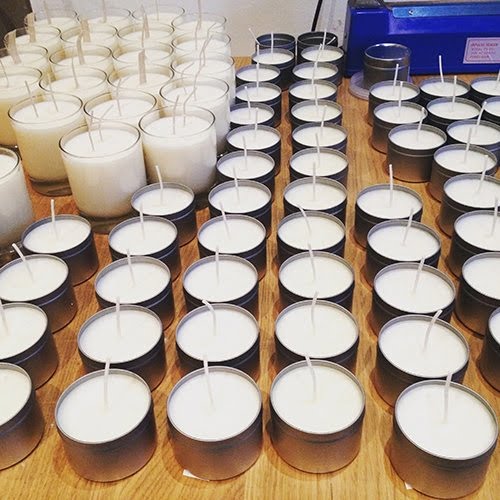
Once the wax has cooled to the right temperature, you can begin to pour. Slowly fill the mold, allowing the wax to form evenly. Once the pouring is complete, let the wax cool and harden in a warm environment.
##Finishing Touches
Once the wax has cooled and solidified, your candle is almost ready. Trim the wick, removing any extra wax clinging to the sides and giving the candle a nice, smooth finish.
##Enjoy
That’s it! You are now ready to enjoy your hand-crafted creation! Be sure to experiment with different types of wax, colors, and scents. Have fun and be creative!

Welcome to my candle making blog! In this blog, I will be sharing my tips and tricks for making candles. I will also be sharing some of my favorite recipes.

