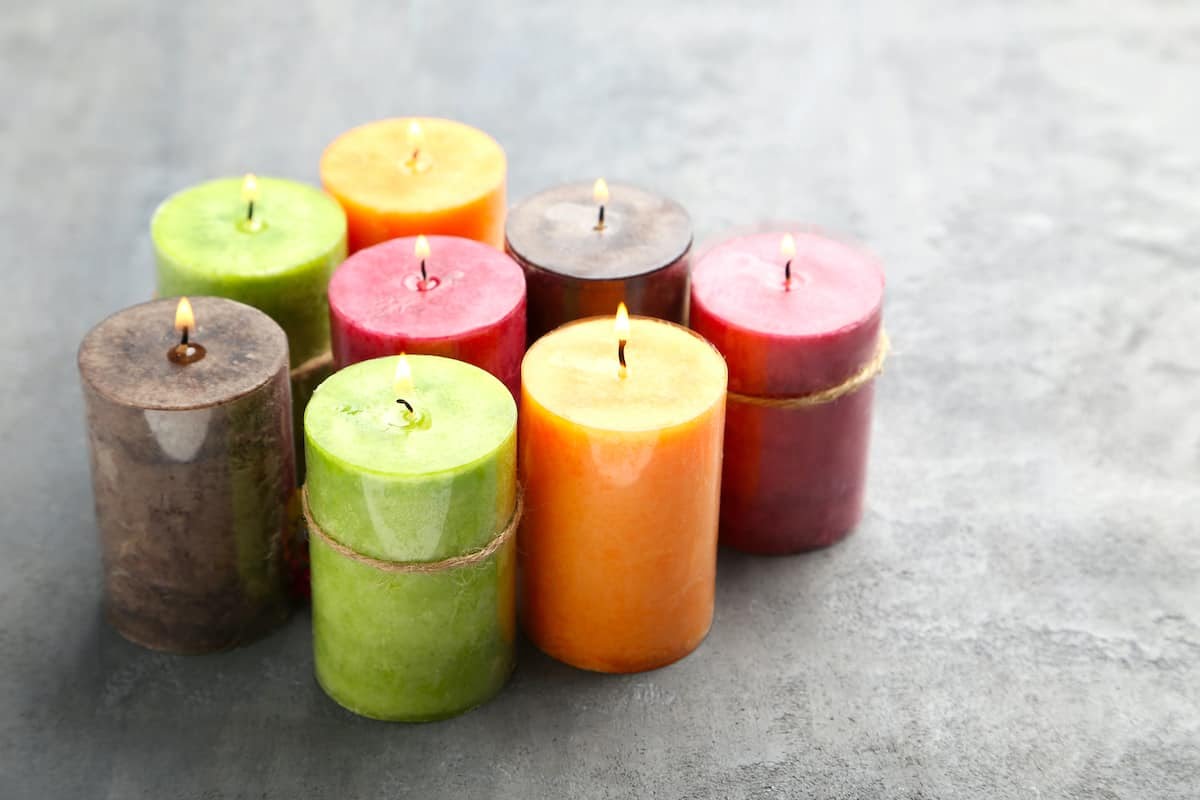
Are you interested in creating your own unique candles? In this article, we will explore everything you need to know about getting started with candle making. Whether you are a beginner or already have some experience in the craft, knowing what you need beforehand is crucial for a successful and enjoyable candle-making journey.
There are countless reasons why making your own candles can be a rewarding hobby. Firstly, it allows you to indulge in creativity and self-expression.
You have the freedom to experiment with different scents, colors, and designs, resulting in candles that reflect your personal style and taste. Additionally, making candles can be a therapeutic and calming activity – the process of melting wax, pouring it into molds or containers, and watching it transform into beautiful candles can be a form of stress relief.
Beyond artistic expression and relaxation, there are practical benefits to making your own candles as well. By creating your own candles, you have complete control over the ingredients used.
This means that you can choose high-quality materials and avoid potentially harmful chemicals that may be present in store-bought candles. Furthermore, making your own candles can save you money in the long run – once you have gathered the necessary materials and equipment, each candle costs significantly less than buying one from a store.
Before diving into candle making, it is essential to know what supplies are required. Understanding which materials are needed and having them readily available will make the process much smoother. In this article, we will guide you through gathering essential materials such as candle wax options suited for different purposes, types of wicks for optimal burning performance, as well as various candle containers suitable for different styles and preferences.
As we embark on this journey of candle making together, let’s ensure that we start off on the right foot by understanding why creating our own candles is beneficial and what materials we need before we begin. So let’s gather all necessary information before lighting that first wick.
Gathering the Essential Materials
Before you start making candles, it’s important to gather all the essential materials you will need. Having everything prepared beforehand will make the process smoother and more enjoyable. Here is a list of basic materials required for making candles:
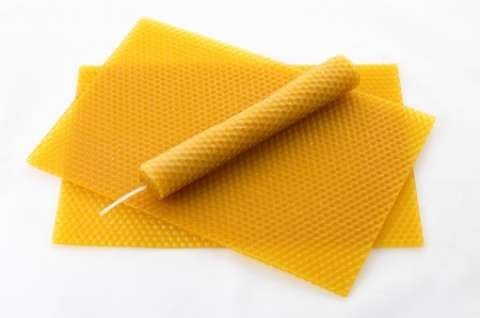
- Candle wax options and their characteristics: There are various types of candle wax available, such as paraffin wax, soy wax, beeswax, and gel wax. Each type has its own characteristics and melting point, which can affect the quality and performance of the candle.
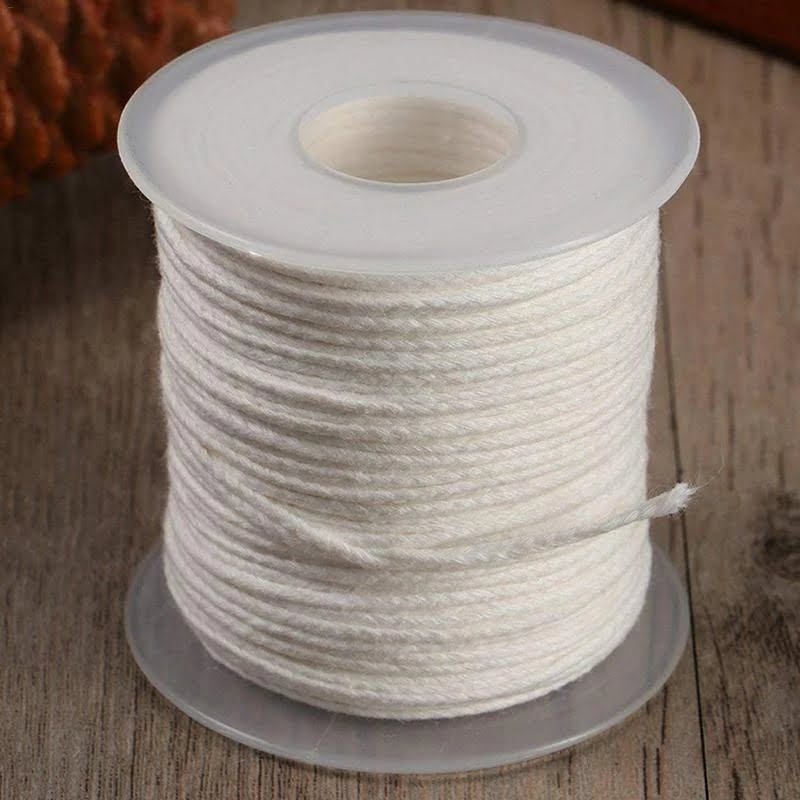
- Types of wicks and their importance: The wick is an essential component of a candle as it provides a path for the melted wax to be drawn up and burned. Different types of wicks are suitable for different types of candles, based on their size, burn time, and ability to withstand certain scents or additives.
- Different candle containers and their suitability: Candle containers come in various sizes, shapes, and materials like glass jars, ceramic pots, or aluminum tins. The choice of container depends on factors such as the type of wax used, aesthetic preferences, safety considerations, and intended use of the candle.
Knowing about these materials will help you make informed decisions when shopping for supplies and ensure that you have everything you need to create beautiful candles at home.
| Materials | Description |
|---|---|
| Candle Wax | Paraffin wax,Soy wax,Bee’s wax,Gel wax |
| Wicks | Cotton wicks,Linen wicks,Zinc-core wicks,Paper core wicks |
| Candle Containers | Glass jars,Ceramic pots,Aluminum tins |
Safety Precautions
Importance of practicing candle-making safety
When it comes to candle-making, safety should always be the top priority. Working with hot wax and open flames can pose potential hazards, so it is crucial to understand and follow proper safety precautions. By prioritizing safety, you can ensure a smooth and enjoyable candle-making experience while minimizing the risk of accidents.
Protective clothing and equipment needed
Before you start making candles, make sure you have the necessary protective clothing and equipment. It is recommended to wear long-sleeved shirts, long pants, closed-toe shoes, and even an apron to protect your skin from hot wax spills. Additionally, latex or rubber gloves can provide an extra layer of protection. It is also essential to have a first aid kit nearby in case of any minor injuries.
Handling hot wax and other potential hazards
Handling hot wax requires caution to avoid burns and other injuries. Always use heat-resistant containers or double-boiler systems when melting wax to prevent accidental fires. Remember to keep a fire extinguisher within reach as a precautionary measure. It is also important to be mindful of sharp objects such as thermometer or stirring rods while working with hot wax.
Fire safety measures and precautions
To prevent fires during the candle-making process, it is crucial to take appropriate fire safety measures. Ensure that your workspace is clear of any flammable materials, such as paper or fabric. Never leave melting wax unattended, and always keep a close eye on the flame while pouring candle wax into containers. Having a fire extinguisher nearby is highly recommended for instant response in case of any emergencies.
By following these safety precautions, you can mitigate risks associated with candle-making and create a safe environment for yourself and others involved in the process. Remember that accidents can happen even under the most careful circumstances, so it’s always best to be prepared and prioritize safety throughout your candle-making journey.
Choosing the Right Fragrances
Choosing the Right Fragrances
When it comes to making your own candles, selecting the right fragrance is essential in creating a captivating and enjoyable experience for yourself and others. The scent of a candle can evoke certain moods or memories, so it is important to choose fragrances that align with the purpose and ambiance you want to create.
In this section, we will explore the importance of selecting the right fragrance for your candles, discuss different types of candle fragrances available, and provide tips for blending and experimenting with scents.
Importance of Selecting the Right Fragrance
The fragrance of a candle plays a significant role in determining its overall appeal. It has the power to transport you to different places or instill a sense of relaxation. Therefore, it is crucial to select fragrances that resonate with you and your desired atmosphere.
For example, if you want to create a calming environment, scents like lavender or chamomile would be ideal. On the other hand, if you want to uplift the mood in a room, citrusy or floral fragrances like lemon or rose would work well.
Different Types of Candle Fragrances
There are various types of candle fragrances available on the market, each offering unique scents and benefits. Some common types include essential oils (derived from natural plant materials), synthetic fragrance oils (man-made scents), and blended fragrances (a combination of both essential oils and synthetic fragrance oils). Essential oils are popular among those who prefer natural ingredients, while synthetic fragrance oils offer a wider range of options and tend to have stronger scents.
Tips for Blending and Experimenting with Scents
Blending different fragrances can add complexity and depth to your candles. You can experiment by mixing two or more fragrances together to create your own signature scent. Start by testing small batches before committing to larger quantities. Keep track of the amounts used for each blend to replicate successful combinations in future candle-making endeavors. Additionally, consider experimenting with different fragrance concentrations to find the right balance for your desired scent throw.
By carefully selecting and blending fragrances, you can create candles that not only provide an enjoyable sensory experience but also reflect your personal preferences and style. Don’t be afraid to get creative and experiment with different combinations until you find the scents that resonate with you.
Mastering Candle-Making Techniques
Once you have gathered all the essential materials for making candles, it’s time to dive into mastering the candle-making techniques. By following step-by-step instructions and understanding the different aspects of the process, you can create beautiful and high-quality candles that burn evenly and emit a delightful fragrance.
The first step in mastering candle-making techniques is to understand how to melt and pour the wax correctly. Different types of waxes have specific melting points, so it is crucial to heat the wax to the appropriate temperature. Using a double boiler or a melting pot designed for candle making, melt your chosen wax until it becomes completely liquid. Keep an eye on the temperature using a thermometer to ensure you don’t overheat or cool down the wax.
Juggling with the perfect temperature is also essential when adding fragrance and color to your candles. Fragrances are typically added when the melted wax reaches a specific temperature range, usually between 170°F (76°C) and 185°F (85°C).
Adding fragrance oil at too high of a temperature can cause it to evaporate quickly, resulting in weak scent throw. On the other hand, pouring fragranced wax at too low of a temperature may lead to poor adhesion, which means the fragrance won’t blend well with the wax.
In addition to mastering temperatures, achieving different textures and finishes can elevate your candles’ overall appearance. Experimenting with techniques such as layering colors, creating marbled effects, or using textured molds allows you to customize your candles according to your preferences or theme. Adding texture can be as simple as using a spoon or other tools to create ripples or peaks on top of the candle while it is still cooling.
By honing these candle-making techniques-melting and pouring correctly, managing temperatures for fragrance and color additives, and experimenting with textures-you will increase your chances of creating stunning candles that not only look impressive but also perform exceptionally. With practice and creativity, you can develop your style and master advanced techniques that will set your candles apart from the rest.
Remember, candle making is a craft that requires patience and persistence. Don’t be discouraged if your early attempts don’t turn out as expected. Over time, you will gain confidence in your abilities and refine your skills. Now that you have learned the candle-making techniques, it’s time to unleash your creativity and enjoy the process of creating unique, handcrafted candles.
Decorative Elements and Personalization
When it comes to candle making, the opportunities for creativity and personalization are endless. Adding decorative elements not only enhances the visual appeal of your candles but also allows you to create unique and personalized designs. Here are some options for decorating your candles to make them truly special:
- Additives: You can enhance the aesthetic appeal and texture of your candles by incorporating additives such as dried flowers, herbs, or glitter. These additives can be sprinkled onto the surface of the melted wax before it solidifies, giving your candle a stunning visual effect. Just make sure to choose materials that are non-flammable and won’t pose any safety hazards.
- Labels, Ribbons, and Charms: Personalizing your candle design further can be achieved through the use of labels, ribbons, or charms. Design custom labels that reflect the fragrance or theme of your candle, then affix them onto the container or packaging. You can also tie ribbons around the candle containers or attach small charms for an added touch of elegance.
- Unique Containers: Another way to personalize your candles is by selecting unique containers that complement their fragrance or theme. Consider using vintage teacups, mason jars, or even repurposed items like wine glasses or tin cans as candle holders. The choice of container can greatly impact the overall look and feel of your finished product.
Remember to experiment with different combinations and designs until you find what works best for you. Don’t be afraid to let your creativity run wild.
Additionally, taking proper care in labeling your finished candles will also add a professional touch if you plan on selling them or gifting them to others. Providing clear information about fragrance notes, burn time, and any specific instructions for use will ensure that customers or recipients have a great experience with your creations.
In this section, we’ve explored various ways in which you can decorate and personalize your candles. Adding decorative elements not only elevates the visual appeal of your candles but also allows you to infuse your own unique style into the finished products. The next section will focus on troubleshooting and common mistakes that beginners often encounter in candle making.
Troubleshooting and Common Mistakes
When it comes to candle making, it’s common to encounter a few challenges along the way. However, with some troubleshooting and problem-solving skills, you can overcome these issues and improve the quality of your candles. In this section, we will discuss some common mistakes made by beginners and provide tips on how to fix them.
- Uneven Burning: One of the most common issues faced by candle makers is uneven burning. This occurs when the wax doesn’t melt evenly or when the wick isn’t centered properly. To fix this, ensure that you are using the right size wick for your candle and that it is properly centered before pouring the wax. Additionally, make sure that your candle container is level while cooling to prevent any uneven burning.
- Tunneling: Tunneling refers to when a candle burns down in a tunnel-like pattern instead of melting evenly across the entire surface. This can happen if the initial burn didn’t create a large enough melt pool or if the wick wasn’t trimmed before lighting.
To avoid tunneling, always trim your wick to about ¼ inch before each burn and allow your candle to burn long enough during each use so that the melt pool covers nearly all of the candle’s surface. - Sinking Fragrances: Sometimes, fragrances can sink to the bottom of your candles instead of dispersing evenly throughout. To prevent this issue, make sure to add fragrance oil when your wax has reached its recommended pouring temperature (mentioned on the fragrance oil packaging). Stir gently and consistently for about two minutes to ensure proper distribution of scent.
- Bumpy or Cracked Tops: If you notice bumpy or cracked tops on your candles after they have cooled down, it could be due to rapid cooling or pouring hot wax into a cool container. To avoid this problem, try cooling your candles slowly by placing them in a room-temperature environment and avoid using cold containers. You can also try pouring your wax at a slightly cooler temperature to prevent cracking.
- Poor Scent Throw: Scent throw refers to how well the fragrance of your candle fills the room when it is burning. If you find that your candles are lacking in scent, consider using a higher concentration of fragrance oil or experimenting with different waxes, as some hold scents better than others. You can also try adding scent boosters or using a larger size wick to improve the scent throw.
By being aware of these common mistakes and implementing the necessary fixes, you can troubleshoot any issues that arise during your candle-making journey and ensure that your candles turn out beautifully. Remember that practice makes perfect, so don’t get discouraged if you encounter difficulties along the way. With time and experience, you’ll become more skilled at making high-quality candles.
Safety Guidelines for Burning Candles
The joy of making candles doesn’t end with the completion of the candle-making process. Equally important is the proper and safe burning of your candles. While candles create a warm and cozy atmosphere, it is crucial to follow safety guidelines to prevent accidents and potential hazards. This section will provide you with essential safety guidelines for burning your candles.
Firstly, it is important to remember never to leave a burning candle unattended. Always extinguish candles before leaving the room or going to bed. Make sure that pets and children are kept away from lit candles to avoid any accidents or injuries. Additionally, ensure that your burning candle is placed on a stable and heat-resistant surface, away from flammable objects or materials.
Another important aspect of safely burning candles is to trim the wick before lighting it. Keep the wick length to about ¼ inch each time you burn it. This helps in preventing excessive smoke, dripping, or uneven burning. Additionally, keep in mind that long burns may cause overheating of the container, so it is recommended not to burn a candle for more than four hours at a time.
To further enhance safety while enjoying your candle’s glow, use appropriate candle holders designed specifically for the size and type of candle you are using. Clearing out any debris such as matches or trimmed wick bits from the wax pool before lighting will also prevent accidental flare-ups.
Lastly, it’s worth mentioning that drafty areas can affect how a candle burns by causing uneven combustion or flickering flames. Avoid placing candles in areas with high air circulation, such as near open windows or fans.
By following these simple but effective safety guidelines, you can enjoy your handmade candles safely and with peace of mind. The beauty and ambience created by your own creations should be enhanced through careful attention to fire safety measures while ensuring clean and even burning. Now that you have learned all about making your own candles and the safety precautions for burning them, it’s time to embark on your candle-making journey with confidence and creativity.
Frequently Asked Questions and Additional Tips
As you start your candle-making journey, you may come across several questions and concerns. This section aims to address some of the frequently asked questions and provide additional tips to help you along the way.
- Q: How long does it take for the wax to melt?
- A: The time it takes for the wax to melt can vary depending on the type of wax and the quantity being melted. Generally, it can take anywhere from 10 minutes to an hour. It is important to monitor the temperature closely and stir occasionally to ensure even melting.
- Q: Can I use essential oils instead of fragrance oils?
- A: Yes, you can use essential oils as an alternative to fragrance oils if you prefer a more natural scent. However, it is important to note that not all essential oils are suitable for candle-making as they may have a low flashpoint or be too potent. Always check the specific instructions and recommendations for using essential oils in candles before using them.
- Q: How do I prevent my candles from tunneling?
- A: Tunneling is when a hole forms down the center of the candle, leaving unused wax along the sides. To prevent tunneling, it is important to let your candle burn long enough during each use so that all the wax melts evenly across the surface of the candle. This usually takes about one hour per inch in diameter of the candle.
Additional Tips:
- Before pouring hot wax into containers, make sure they are clean and free from any dust or debris.
- Experiment with different wick sizes to find one that suits your specific candle size and type of wax.
- When adding fragrance or color, follow recommended guidelines for optimal scent throw and color intensity.
- If you want to create layered or marbled effects with your candles, consider using different types of colored wax chips or blocks.
Remember, practice makes perfect when it comes to candle-making. Don’t be discouraged if your first attempts don’t turn out as expected. Keep experimenting, learning from any mistakes, and soon you’ll be creating beautiful candles to enjoy or gift to others.
Happy candle-making.
Conclusion
In conclusion, the article “What Do I Need to Start Making Candles” has provided a comprehensive guide on the essential materials, safety precautions, fragrance selection, candle-making techniques, decorative elements, troubleshooting, and burning safety guidelines for individuals interested in making their own candles. By outlining the importance of knowing what you need beforehand, readers are equipped with the necessary knowledge and resources to embark on their own candle-making journey.
One of the key takeaways from this article is the emphasis on understanding and gathering the essential materials required for candle making. From different wax options to various wicks and containers, having a clear understanding of these materials ensures a successful candle-making experience. Additionally, proper safety precautions are emphasized throughout the article to protect individuals from potential hazards associated with working with hot wax and open flames.
Furthermore, this article emphasizes the importance of personalization and creativity in candle making. By exploring different decorative elements such as dried flowers or glitter and incorporating personalized labels or ribbons, individuals can enhance the visual appeal of their candles and make them unique.
Frequently Asked Questions
What materials do I need to start a candle business?
To start a candle business, you will need a variety of materials to ensure that your candles are made and presented in the most professional and appealing manner possible. The core materials you will need include wax (such as soy or beeswax), wicks, fragrance oils or essential oils for scent, dyes or colorants for appearance, containers to hold the melted wax, a double boiler or melting pot to melt the wax, thermometers to monitor the temperature, pouring pitchers or ladles for pouring the melted wax, and labels for branding and identifying each candle.
Additionally, you might also require tools like stirring sticks, scales for measuring ingredients accurately, packaging materials such as boxes or bags, and safety equipment like gloves or protective glasses.
Is selling homemade candles profitable?
Selling homemade candles can indeed be profitable if done correctly. One of the key factors influencing profitability is targeting the right market and finding a niche where your candles can stand out. By offering unique designs, captivating scents, and high-quality products compared to mass-manufactured candles available in stores, homemade candle businesses can attract customers looking for something special and personalized.
Proper pricing strategies that cover costs while still being competitive are crucial when determining profitability. Additionally, effective marketing tactics such as utilizing social media platforms or local markets can help increase exposure and sales potential.
Is it worth starting a candle making business?
Whether starting a candle-making business is worth it depends on various factors such as personal passion for candles, market demand in your area, competition analysis, cost considerations, and marketing capabilities. For individuals with a genuine interest in creating beautiful scented candles and who enjoy the process of crafting them from scratch, starting a candle making business can be incredibly fulfilling both creatively and economically. Conducting thorough market research is essential to assess whether there is ample demand for homemade candles in your target location.
Evaluating competition helps determine if there is room for differentiation and unique selling points that set your candles apart from others already on the market. Understanding the costs involved, like materials, packaging, and marketing expenses, is necessary to ensure the business is financially viable in the long run. Strong marketing strategies and capabilities are also essential to continually attract new customers and sustain growth over time.

Welcome to my candle making blog! In this blog, I will be sharing my tips and tricks for making candles. I will also be sharing some of my favorite recipes.


