Candle making is a popular craft that allows individuals to unleash their creativity and create beautiful, scented works of art. Whether it’s for personal use or as gifts for loved ones, the process of making candles can be both exciting and fulfilling. However, in order to achieve the desired results, it is important to understand the basics of candle making, including the concept of a “second pour”.
When it comes to candle making, there is much more than just melting wax and adding a wick. It involves careful selection of wax, fragrances, additives, temperature control, and pouring techniques. Each step plays a crucial role in creating a strong foundation for the candle and ensuring its overall quality.
One key aspect that often gets overlooked is the concept of a “second pour.” A second pour refers to pouring another layer of wax onto the initial poured layer after it has solidified. This step is essential for achieving a smooth and even burn, enhancing fragrance throw, and fixing any possible imperfections from the first pour. In this article, we will delve into the importance of understanding and mastering the second pour technique in candle making.
By following this comprehensive guide on executing a successful second pour, troubleshooting common issues that may arise during this step, and exploring various creative techniques for customization, you will be able to take your candle making skills to new heights. So let us begin by understanding the first pour in candle making and why it sets the stage for an impressive second pour.
Understanding the First Pour in Candle Making
Selecting the Right Wax, Fragrance, and Additives
The first pour in candle making is a critical step in establishing a strong foundation for the overall candle. To ensure success, it is important to carefully select the right wax, fragrance, and additives.
When it comes to choosing a wax, there are several options available such as soy wax, paraffin wax, beeswax, or a blend of these. Each type of wax has its own unique characteristics and melting points which can affect the burn time and scent throw of the candle. Additionally, consider if you want a natural or synthetic fragrance as this can impact both the scent strength and overall quality of your candle.
It is also essential to consider any additives that may enhance your candle’s performance. For example, stearic acid can help to increase hardness and stability while vybar can improve fragrance retention.
While selecting these materials for your first pour can be overwhelming with so many choices available in the market, it is recommended to start with small batches and experiment until you find a combination that works best for your desired outcome.
Tips for Temperature Control and Container Preparation
Temperature control plays a crucial role in ensuring a successful first pour. It is important to melt the wax at the appropriate temperature according to the manufacturer’s instructions as overheating can cause discoloration or shrinkage while underheating may result in poor adhesion or surface imperfections.
Furthermore, preparing the containers before pouring is vital for achieving optimal results. Make sure to clean your container thoroughly by removing any dust or debris that could affect the appearance of your final product. Additionally, pre-warming your containers before pouring can help prevent potential issues such as trapped air bubbles or frosting.
When preparing for your first pour, take time to gather all necessary tools such as a double boiler or melting pot, thermometer for temperature monitoring, ladle or pouring pitcher, and wick centering device. Having these tools ready and easily accessible will make the pouring process smoother and more efficient.
The Pouring Process for a Strong Foundation
Once you have selected your wax, fragrance, additives, and prepared your containers, it is time to begin the pouring process for your first pour. Start by melting the wax using the double boiler or melting pot method at the recommended melting temperature.
Next, add any desired fragrance or colorants according to the manufacturer’s guidelines while periodically stirring to ensure even distribution. Carefully pour the melted wax into your prepared containers, leaving a small amount of space at the top to accommodate for shrinkage during cooling.
Allow sufficient time for the candles to cool and solidify completely before trimming the wicks and testing their burn performance. The first pour sets the stage for future layers or pours in candle making, providing a strong foundation both structurally and aesthetically.
By understanding and mastering the process of the first pour in candle making, you are setting yourself up for success in executing subsequent pours such as the crucial second pour.
Exploring the Purpose and Benefits of a Second Pour
In candle making, the second pour is a crucial step that enhances the overall quality and aesthetics of the finished product. While the first pour creates the foundation of the candle, the second pour allows for further customization and refinement. This section will delve into what exactly a second pour entails and highlight its benefits.
A second pour refers to pouring additional melted wax into a partially cooled or settled candle after the initial pour has solidified. The purpose of this second pour is multi-fold. Firstly, it ensures a smooth and even burn throughout the entire lifespan of the candle. By filling in any sinkholes or uneven surfaces that may have occurred during the first pour, an even layer of wax is created, resulting in an aesthetically pleasing and structurally sound candle.
Another benefit of a second pour is its ability to enhance fragrance throw. During the first pour, fragrances can sometimes become trapped under air pockets or create scent tunnels that hinder their diffusion. By adding a second layer of wax mixed with fragrance oils, these issues can be addressed, allowing for better scent distribution and an increased aroma experience when burning the candle.
Additionally, a second pour provides an opportunity to fix any imperfections that may have occurred during the first pour. Whether it’s bubbles on the surface or uneven composition, pouring a subsequent layer of wax can help rectify these issues. It allows candle makers to refine their craftsmanship and create candles with flawless finishes.
To summarize, a second pour in candle making serves several purposes and offers numerous benefits. It ensures an even burn, enhances fragrance throw, and allows for fixing any imperfections from the initial pour. This technique contributes to creating high-quality candles that not only look beautiful but also provide an enjoyable sensory experience when lit.
| Purpose | Benefits |
|---|---|
| Ensures a smooth and even burn | Creates an aesthetically pleasing and structurally sound candle |
| Enhances fragrance throw | Allows for better scent distribution and increased aroma experience when burning the candle |
| Fixes imperfections from the first pour | Enables candle makers to refine their craftsmanship and create flawless finishes |
Step-by-Step Guide to Executing a Successful Second Pour
Executing a successful second pour in candle making is crucial for achieving a flawless finished product. Whether you are a beginner or an experienced candle maker, this step-by-step guide will help you navigate the process with ease and confidence.
Gather the Necessary Materials and Tools
Before starting your second pour, ensure that you have all the essential materials and tools at hand. These include:
- Second pour wax: Choose a wax specifically designed for second pours, such as container blend wax.
- Fragrance choices: Select high-quality fragrance oils that are suitable for candle making.
- Appropriate containers: Use heat-resistant containers that can withstand the pouring temperature of the wax.
- Double boiler or melting pot: This will be used to melt the wax for the second pour.
- Pouring pitcher or ladle: These tools make it easier to pour the melted wax into the candle container.
- Flexible spatula: Use it to scrape any excess wax and create a smooth surface during the pouring process.
- Thermometer: Monitor and maintain the appropriate temperature for melting and pouring the wax.
Follow a Comprehensive Walkthrough of the Process
To execute a successful second pour, follow these steps:
- Clean and prep your candle container: Ensure that your container is clean, dry, and free from any dust or debris. If necessary, preheat your container to aid in adhesion of the successive layers.
- Melt the second pour wax: Using a double boiler or melting pot, heat your chosen second pour wax until it reaches its recommended melting temperature. Stir occasionally to ensure even melting. It is crucial to maintain the appropriate pouring temperature for a successful second pour.
- Add fragrance (optional): If desired, add your chosen fragrance oils to the melted wax according to the recommended usage rate. Stir gently but thoroughly to ensure that the fragrance is evenly distributed throughout the wax.
- Prepare your container for pouring: Place your prepared container on a stable surface. To minimize potential mess and create a smooth surface, consider using a pouring pitcher or ladle with a spout when transferring the melted wax into the container. Alternatively, you can use a flexible spatula to carefully pour and guide the wax into place.
- Pour the wax into the container: Slowly and carefully pour the melted wax into your candle container, allowing it to fill any gaps or voids that may have formed during the first pour. Fill only enough to achieve an even surface without overflowing.
- Smooth out the surface: Use a flexible spatula or other appropriate tool to gently smooth out any uneven areas or air pockets on top of the poured wax. This step will help in achieving an aesthetically pleasing and even burn once the candle is lit.
Highlighting Tips and Tricks for Achieving a Flawless Second Pour
To enhance your second pour technique and achieve flawless results, consider incorporating these tips and tricks:
- Ensure proper temperature control throughout each stage of the process, from melting to pouring, as this greatly affects adhesion and appearance.
- If layering different colored waxes or adding decorative elements during your second pour, wait until each layer has completely cooled and solidified before proceeding with subsequent layers. This prevents melting or displacement of previously poured layers.
- Experiment with different fragrance combinations in successive pours to create unique scent profiles that complement each other.
- When working with highly scented or colored waxes for the second pour, consider reducing the fragrance load or dye concentration slightly to avoid overwhelming the candle. This allows for a balanced scent throw and appearance of the finished product.
By following this step-by-step guide and implementing these tips and tricks, you will be well on your way to executing a successful second pour in your candle making journey. Remember, practice makes perfect, so don’t be afraid to experiment and customize your technique to create candles that truly showcase your personal style and creativity.
Troubleshooting Common Issues during the Second Pour
While the second pour in candle making can enhance the overall quality and aesthetics of the finished product, it is not without its challenges. Candle makers may encounter various issues during the second pour process that can affect the outcome of their candles. In this section, we will explore some common problems that may arise during the second pour and provide practical solutions to troubleshoot them.
- Adhesion Problems: One common issue candle makers may face during the second pour is poor adhesion between the first and second layers. This can result in separation or cracking of the candle.
To ensure a strong bond between layers, it is essential to properly prepare the surface of the first layer before pouring the second layer. This can be done by gently heating the surface with a heat gun or blow dryer to create slight melting, which allows better adhesion between layers. - Temperature Issues: Temperature control plays a crucial role in successful candle making, particularly during a second pour. If the temperature of either your container or wax is too high or too low, it can cause problems such as sinking or frosting.
To avoid these issues, monitor and maintain appropriate temperatures throughout the entire process. Use a reliable thermometer to ensure your wax is at an optimal pouring temperature, typically around 160-180°F (71-82°C), and preheat your container if necessary. - Uneven Surfaces: Another challenge that candle makers may encounter is uneven surfaces on their finished candles after a second pour. This can occur due to improper pouring techniques or inadequate leveling of the wax. To achieve a smooth and level finish, be mindful of how you pour your melted wax into your container – always pour slowly and steadily in a controlled manner to avoid splashing or overflow.
Remember that troubleshooting any issues during a second pour requires patience and practice. It’s important not to get discouraged if your candles don’t turn out perfectly at first. By experimenting with different techniques and solutions, you can identify the most effective methods for troubleshooting common problems and achieve beautiful, professional-looking candles through your second pour.
To summarize:
- Ensure proper adhesion between layers by preparing the first layer’s surface before pouring the second layer.
- Monitor and maintain appropriate temperatures for both your wax and container to avoid sinking or frosting.
- Pour slowly and steadily to create even surfaces on your finished candles.
By following these troubleshooting tips, candle makers can overcome challenges during the second pour and create stunning candles that are both visually pleasing and high-quality.
Tips for Experimenting and Customizing with Second Pours
Within the realm of candle making, there is ample opportunity for artisans to go beyond the basics and unleash their creativity. The second pour in candle making presents a unique chance for experimentation and customization. By incorporating various artistic techniques, candle makers can transform their creations into visually stunning works of art that reflect their individual style and flair.
One approach to experimenting with second pours is through layering colors or fragrances. This technique involves pouring multiple layers of different colored waxes or adding contrasting scents at different intervals during the second pour process. Not only does this result in visually captivating candles, but it also allows for the creation of unique scent profiles that change as the candle burns.
Another way to customize with second pours is by incorporating decorative elements into the wax. This could involve embedding dried flowers, herbs, or crystals into the top layer of the candle to enhance its aesthetic appeal. Additionally, embellishing the surface of the candle with glitter, mica powder, or even painting patterns can create one-of-a-kind designs that catch the eye.
To assist readers in embracing their creativity and making their candles stand out through innovative second pour methods, here are some additional tips:
- Practice on smaller test candles before attempting complex designs on larger projects.
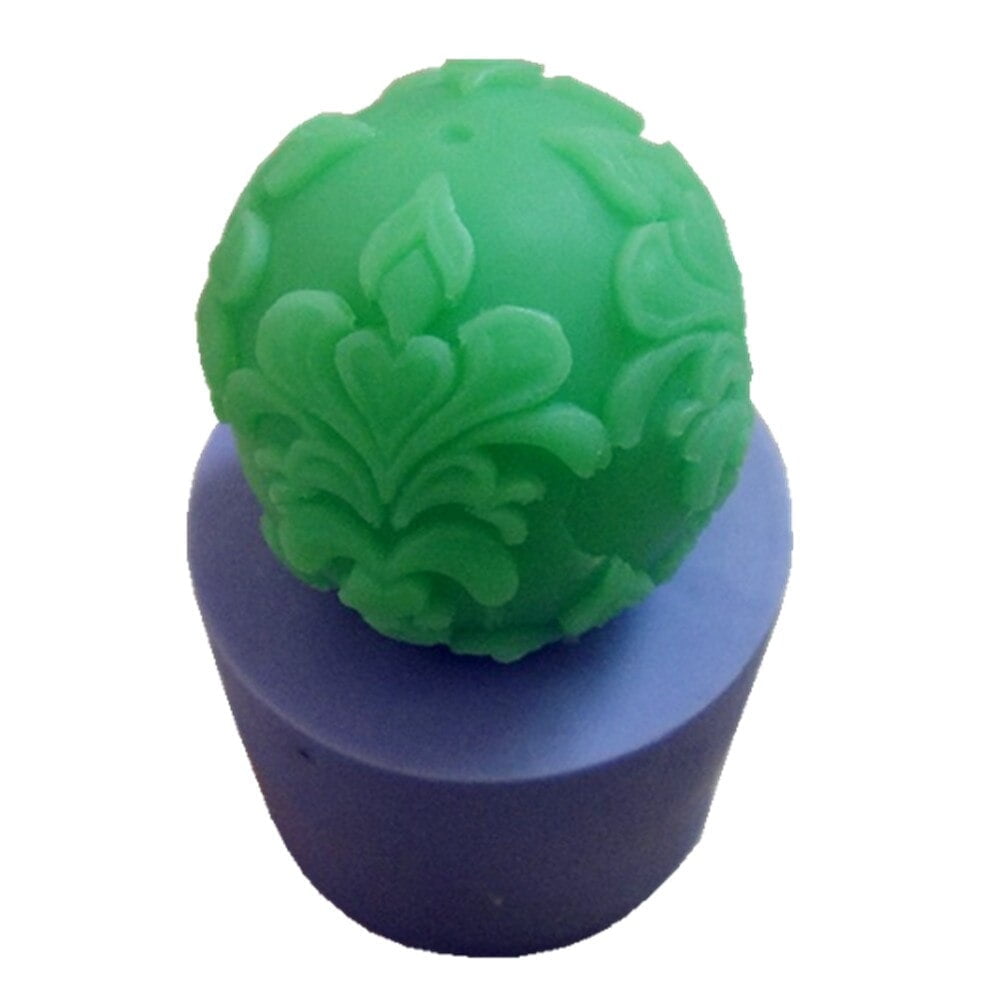
- Consider using heat-resistant molds or shaped containers to achieve intricate shapes and designs.
- Experiment with different additives such as color dyes, shimmering agents, or essential oils to achieve desired effects.
- Research and draw inspiration from other forms of art such as painting or sculpture when designing second pour techniques.
By following these tips and utilizing their imagination, candle makers can take their craft to new heights with personalized second pours that showcase their artistic vision. Whether it’s creating multi-colored masterpieces or incorporating unexpected elements into their candles, experimenting with second pours unlocks endless possibilities for customization and self-expression.
| Tips for Experimenting and Customizing |
|---|
| – Practice on smaller test candles before attempting complex designs on larger projects. |
| – Consider using heat-resistant molds or shaped containers to achieve intricate shapes and designs. |
| – Experiment with different additives such as color dyes, shimmering agents, or essential oils to achieve desired effects. |
| – Research and draw inspiration from other forms of art such as painting or sculpture when designing second pour techniques. |
Showcasing Successful Examples of Second Pours
In the world of candle making, the second pour is a crucial step that allows for artistic expression and customization. By utilizing a second pour technique, candle makers can create visually stunning and unique candles that stand out from the crowd. In this section, we will showcase some successful examples of second pours and explore the specific methods and materials used in these creations.
1. Layering Colors or Fragrances:
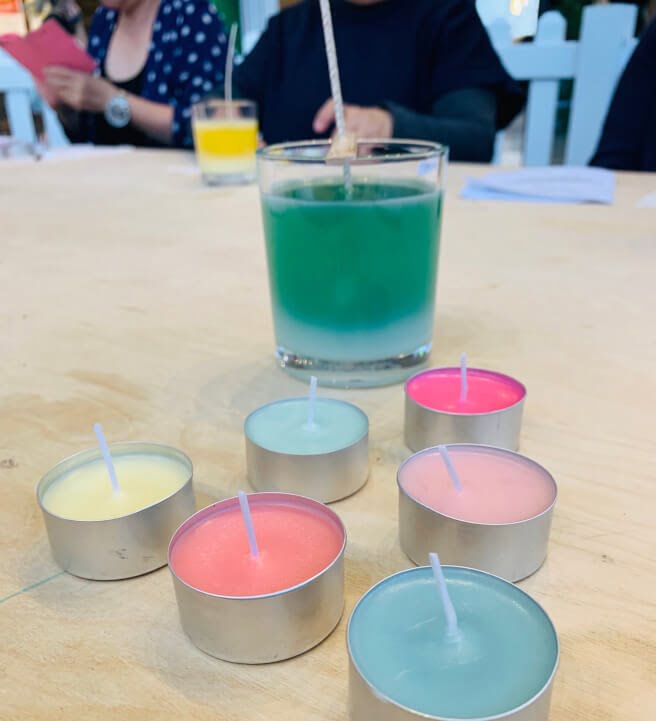
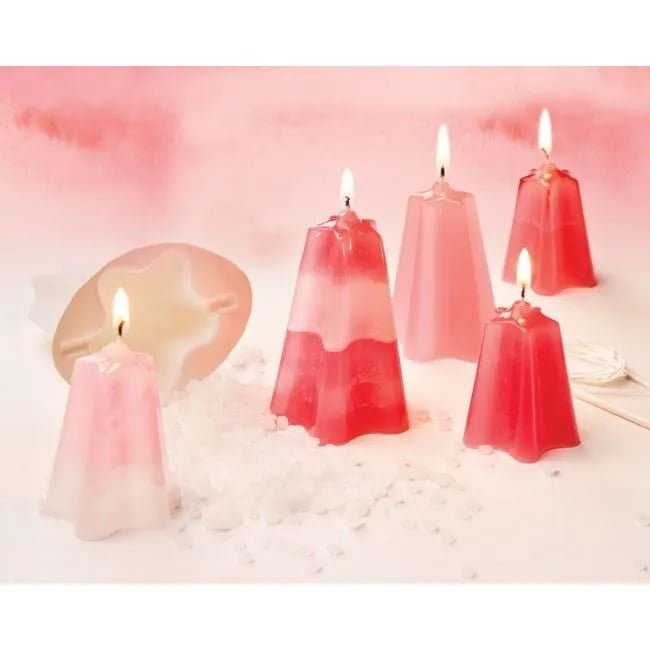
One popular technique in second pours is layering different colors or fragrances within the same candle. This creates a beautiful visual effect and adds depth to the candle’s appearance. For example, a candle maker may choose to pour the initial layer using one color or fragrance and then introduce another color or fragrance during the second pour. By pouring the wax carefully and allowing it to blend naturally, intricate patterns and gradients can be achieved.
2. Incorporating Decorative Elements:
Another way to elevate a candle through a second pour is by incorporating decorative elements into the design. This can include embedding dried flowers or herbs, adding glitter or mica powder for sparkle, or even introducing small ornaments into the wax. These decorative elements are strategically placed during the second pour process to ensure they are visible throughout the entire candle.
3. Creating Unique Designs:
The possibilities for creating unique designs with a second pour are endless. Candle makers can experiment with various pouring techniques such as swirling, marbling, or even using stencils to create intricate patterns on the surface of their candles. The key is to let your imagination run wild and embrace your creativity when planning and executing your second pour.
By showcasing these successful examples of second pours, we hope to inspire candle makers to push their boundaries and explore new techniques in their own creations. Remember that practice makes perfect, so don’t be discouraged if your first attempts don’t turn out exactly as planned.
With time, patience, and continuous exploration, you’ll develop your own unique style and master the artistry of second pours. Let your candles be a reflection of your creativity and passion for the craft.
Conclusion
In conclusion, the second pour is a crucial aspect of candle making that allows for artistic expression and mastery of the craft. Throughout this article, we have explored the fundamentals of candle making, including the first pour and its significance in creating a strong foundation for the candle.
We have also delved into the purpose and benefits of a second pour, highlighting how it ensures a smooth and even burn, enhances fragrance throw, and fixes potential imperfections from the first pour.
Moreover, we have provided a step-by-step guide to executing a successful second pour, detailing necessary materials and tools, as well as offering tips and tricks for achieving flawless results. Additionally, we have addressed common issues that may arise during the second pour and provided practical solutions to overcome them.
To inspire creativity and customization in candle making, we have encouraged readers to experiment with various techniques during their second pours. From layering colors or fragrances to incorporating decorative elements or creating unique designs, there is no limit to what can be achieved through innovative second pour methods.
Finally, we would like to emphasize the importance of continuous improvement in mastering the artistry of second pours. With practice and experimentation, candle makers can create visually appealing candles that showcase their creativity and skills. We appreciate the effort involved in candle making and encourage all enthusiasts to embrace their passion and strive for excellence in every aspect of their craft.
Frequently Asked Questions
What does a second pour mean in candle making?
In candle making, a second pour refers to the process of pouring additional melted wax into a container or mold in order to fill any sinkholes or shrinkage that may have occurred during the initial pouring. It is essentially a way to top off the candle and ensure a smooth and even surface.
When should I make a second pour candle?
A second pour candle is typically made when there are noticeable imperfections or indentations on the surface of the initial poured candle. This can happen due to factors like shrinkage, air bubbles, or uneven cooling of the wax. By doing a second pour, you have an opportunity to rectify these flaws and create a more visually appealing finished product.
When should I do a second pour paraffin wax?
It is recommended to do a second pour with paraffin wax when you notice any significant sinking or shrinkage on the surface of your candle after it has cooled completely. Paraffin wax has a tendency to contract as it cools, which can result in unsightly sinkholes or uneven surfaces if not properly addressed.
Performing a second pour helps fill in these gaps and ensures a smoother appearance for your paraffin wax candles.

Welcome to my candle making blog! In this blog, I will be sharing my tips and tricks for making candles. I will also be sharing some of my favorite recipes.

