When it comes to creating beautiful and well-crafted candles, the use of wick pins in candle making is essential. Wick pins serve as a crucial tool that helps in ensuring that the wick stays centered and straight during the pouring and cooling process. This not only enhances the aesthetic appeal of the finished candle but also plays a key role in its functionality.
Understanding what wick pins are and how they are used is fundamental for any aspiring or experienced candle maker. Wick pins are specially designed metal tools that come in various shapes and sizes to accommodate different candle types and container sizes. They are inserted into the center of the candle mold or container before pouring the wax, holding the wick in place until the candle sets.
With a wide range of wick pins available in the market, it is important to select the right one for your specific candle making project. The choice of wick pin depends on factors such as the type of candle being made and the size of the container. By choosing the appropriate wick pin, you can ensure that your candles burn evenly and efficiently, maintaining their quality and longevity.
What Are Wick Pins
Wick pins are essential tools in the process of making candles. These small but crucial devices help ensure that the wick remains centered and straight while the candle wax is poured and sets. By using wick pins, candle makers can achieve a professional-looking finish and prevent common issues such as uneven burning or tunneling in candles.
These pins typically consist of a metal base with a top piece that holds the wick in place. The metal base is placed at the bottom of the container, while the top piece extends upwards to keep the wick upright during the pouring of hot wax. Wick pins come in various sizes to accommodate different container diameters and wick thicknesses, making it important to select the right size based on your specific candle-making needs.
One popular type of wick pin is the “centering device,” which not only holds the wick in place but also helps align it at the center of the container. This ensures an even burn throughout the life of the candle.
Additionally, there are adjustable wick pins that allow for customization based on varying container sizes or types of wax used. Overall, understanding what wick pins are and how to utilize them effectively can significantly improve the quality and aesthetics of your homemade candles.
| Types of Wick Pins | Description |
|---|---|
| Centering Device | Holds and centers the wick for even burning |
| Adjustable Wick Pins | Customizable for different container sizes and wax types |
Types of Wick Pins
When it comes to candle making, using the right tools and equipment can make a significant difference in the outcome of your candles. Wick pins are one such tool that plays a crucial role in ensuring that your candles burn evenly and safely.
Wick pins are specially designed metal pins that are used to hold the wick in place during the pouring of the wax, allowing it to stay centered as the candle sets. These pins come in various types and sizes, each serving a specific purpose in the candle making process.
Here is a breakdown of the different types of wick pins available in the market and their specific uses:
- Standard Wick Pins: These are basic metal pins with a small base and a long stem. They are suitable for most container candles and can be easily inserted into the center of the candle mold or container to keep the wick straight while pouring the wax.
- Multi-Size Wick Pins: These wick pins come with adjustable bases or stems, allowing you to customize them to fit different sizes of candle containers. They are versatile and ideal for candle makers who use a variety of container shapes and sizes.
- Floating Wick Pins: Floating wick pins are designed to be placed on top of filled candles as they set, keeping the wick centered on top. They prevent any off-center burning and help produce a clean finish on pillar or votive candles.
Choosing the right type of wick pin for your candle making project is important to ensure that your candles turn out just as you envisioned. Consider factors such as the size and shape of your container, as well as the type of candle you are making when selecting a wick pin. Taking the time to choose the appropriate wick pin will ultimately result in better quality candles that burn evenly and cleanly.
Whether you are a beginner or experienced candle maker, having a good understanding of the different types of wick pins available will help you create professional-looking candles with ease. Experimenting with various types of wick pins can also provide insights into what works best for your specific candle making needs. With proper selection and usage of wick pins, you can elevate your candle making skills and produce high-quality candles that both look beautiful and burn efficiently.
Choosing the Right Wick Pin
When it comes to candle making, choosing the right wick pin is crucial to ensure that your candles turn out just the way you want them. Wick pins are essential tools in the candle making process, as they help keep the wick centered and straight while the candle wax solidifies. Without a proper wick pin, your candles may end up with crooked or off-center wicks, leading to uneven burning and potentially ruining the aesthetic of your finished product.
Types of Wicks Pins
There are several types of wick pins available in the market, each designed for specific uses depending on the type of candle being made and the size of the container. Some common types include metal wick pins, plastic wick holders, and adjustable wick holders.
Metal wick pins are sturdy and durable, making them ideal for larger candles or those with multiple wicks. Plastic wick holders are more flexible and can be adjusted to different heights, making them suitable for smaller containers or tapered candles.
Choosing the Right Wick Pin for Your Candle
When selecting a wick pin for your candle making project, it’s important to consider both the type of candle you’re making and the size of the container you’re using. For pillar candles or larger containers, metal wick pins are recommended as they provide ample support for bigger candles.
On the other hand, if you’re working with smaller containers or need more flexibility in height adjustment, plastic or adjustable wick holders would be more suitable. Make sure to choose a wick pin that securely holds the wick in place without applying too much pressure that could distort the shape of your candle as it sets.
By carefully selecting the right wick pin for your candle making project, you can ensure that your candles burn evenly and look professionally crafted. Experimenting with different types of wick pins will also give you a better understanding of how they can enhance your candle making process and improve the overall quality of your finished products.
So next time you embark on a candle making adventure, don’t forget to give some thought to which wick pin will best suit your needs.
Step-by-Step Guide to Using Wick Pins
Gathering Materials
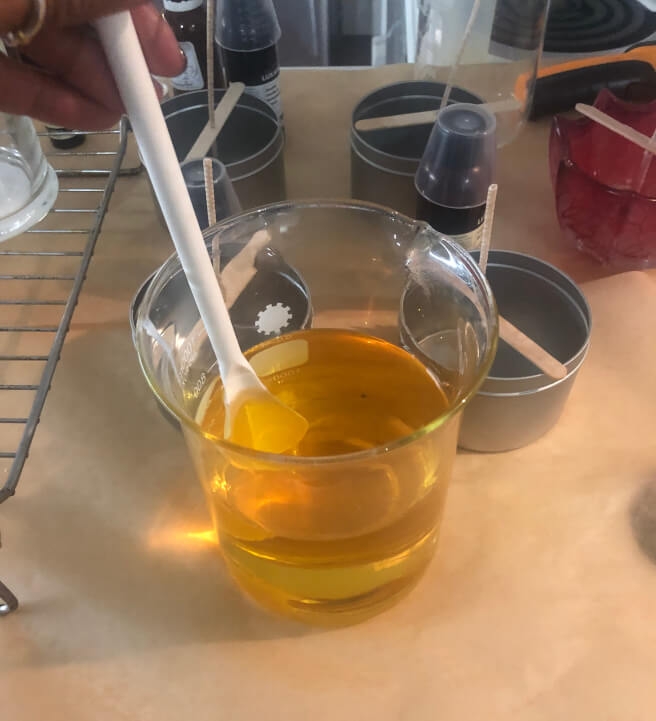
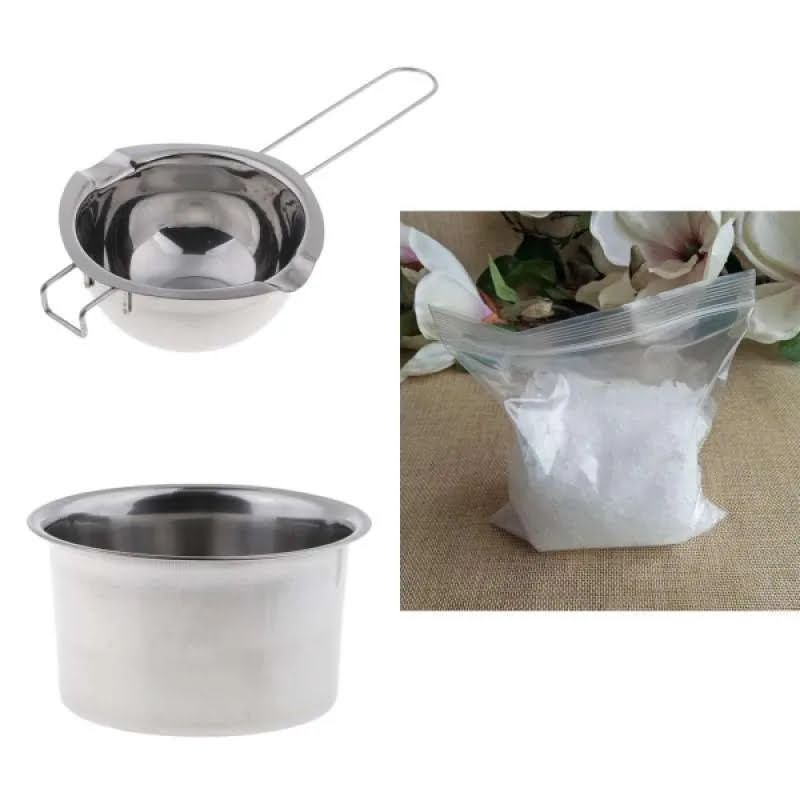
Before beginning the candle making process with wick pins, it is essential to gather all the necessary materials. This includes wick pins (of the appropriate size for your container), pre-waxed wicks, candle wax, fragrance oils (if desired), a double boiler or microwave safe container for melting wax, a heat source, and any dye or decorative elements you may want to add to your candles.
Preparing Your Workstation
Once you have all your materials ready, it’s time to set up your workstation. Make sure you have a clean, flat surface to work on and protect it with newspaper or paper towels to catch any spills. Place your containers in which you will be making the candles on the prepared surface and arrange your wick pins in position inside each container.
Pouring the Wax
Now that everything is set up, it’s time to start the candle making process. Begin by melting your candle wax using the double boiler or microwave method as per the wax manufacturer’s instructions. Once the wax is completely melted and reached the desired temperature, carefully pour it into each container over the wick pin. Be sure to leave enough space at the top of each container for finishing touches like adding fragrance oils or dyes.
By following this step-by-step guide on using wick pins in candle making, you can ensure that your candles are properly formed and burn evenly. Remember that working with hot wax can be dangerous, so take all necessary precautions such as wearing protective gloves and working in a well-ventilated area. With practice and care, you’ll soon be creating beautiful homemade candles using wick pins efficiently and effectively.
Tips and Tricks for Using Wick Pins
When it comes to making candles, using wick pins can be a game-changer in achieving the perfect finished product. Wick pins are essential tools that help ensure your candle wick stays centered and straight as the wax cools and solidifies. To make the most out of your candle making process, here are some tips and tricks for using wick pins effectively and efficiently:
- Always make sure to secure the wick pin firmly at the bottom of your container before pouring the hot wax. This will prevent any movement or slippage during the cooling process.
- Consider using different types of wick pins for various candle sizes and shapes. For larger candles or wide containers, opt for longer wick pins that can reach the bottom easily.
- After pouring the wax into the container, gently adjust the wick if needed to ensure it remains centered. The use of a wick holder can also be helpful in keeping the wick in place while the wax sets.
In addition to these basic tips, here are some additional insights on best practices for using wick pins in candle making:
- Experiment with different types of wicks and containers to find what works best for your specific project.
- Keep track of the temperature of your wax to ensure it is at the optimal temperature when pouring into your container with the wick pin.
- Regularly clean and maintain your wick pins to prolong their lifespan and efficiency in holding your candle wicks in place.
By following these tips and tricks, you can elevate your candle making experience and achieve professional-looking results every time. Wick pins may seem like simple tools, but they play a crucial role in ensuring your candles burn evenly and beautifully. So don’t overlook their importance in your next candle making adventure.
Common Mistakes to Avoid When Using Wick Pins
When working with wick pins in candle making, it is crucial to be aware of common mistakes that can occur during the process. By understanding these pitfalls and how to avoid them, you can ensure a smoother and more successful experience when using wick pins in your candle making projects.
One common mistake to avoid when using wick pins is not properly securing them in place before pouring the wax. This can lead to the wick pin shifting or falling out, resulting in a misaligned or crooked wick once the candle has set. To prevent this issue, make sure to securely fasten the wick pin in the center of the container and double-check its placement before pouring the wax.
Another mistake that often occurs when using wick pins is forgetting to trim the wick to the appropriate length before placing it in the mold. A wick that is too long can cause the candle to burn improperly, leading to uneven melting and potential safety hazards. Always trim the wick to the recommended length based on the size of your container and adjust as needed before securing it with the wick pin.
Additionally, a common error that can arise when working with wick pins is not allowing enough time for the candle to fully set and cure before removing the pins. Removing the pins too soon can disturb the setting process and cause a misshapen or uneven top surface on your finished candle. Be patient and follow recommended curing times before carefully removing the wick pin from your candle.
| Common Mistakes | How to Avoid Them |
|---|---|
| Not securing wick pin properly | Double-check placement and ensure it is securely fastened |
| Forgetting to trim wicks | Trim wicks to appropriate length before securing with pin |
| Removing pins too soon | Allow sufficient time for candle to set before removing pins |
Conclusion
In conclusion, wick pins play a crucial role in the candle making process, ensuring that the wick remains centered and straight as the wax hardens. By using wick pins correctly, crafters can achieve professional-looking candles with even burns. Understanding the different types of wick pins and how to choose the right one based on the type of candle being made and container size is essential for successful candle making.
When embarking on a candle making project, it is important to follow a step-by-step guide on how to properly use wick pins. This involves securing the wick in place using the pin, pouring the melted wax carefully around it, and allowing it to cool and set before removing the pin.
By adhering to best practices and avoiding common mistakes such as using incorrect wick pin sizes or knocking them out of place during pouring, crafters can ensure their candles turn out beautifully.
As enthusiasts explore the art of candle making, incorporating wick pins into their process can elevate their creations to new heights. Whether making candles for personal use or as gifts for loved ones, utilizing wick pins can make a noticeable difference in achieving quality results. So why not give wick pins a try in your next candle making project? Your beautifully crafted candles will surely light up any space with warmth and charm.
Frequently Asked Questions
How Do You Use a Candle Wick Pin?
A candle wick pin is used to center and secure the wick in a container while pouring hot wax. By inserting the pin through the wick hole, it ensures that the wick stays in place and remains straight during the candle-making process.
What Are Wick Pins Used For?
Wick pins are commonly used by candle makers to maintain the positioning of the wick in a container. This small tool helps to prevent the wick from moving around or falling over when pouring hot wax, which can result in an uneven burn of the candle.
How Do You Secure a Wick When Making Candles?
When making candles, securing the wick is essential for a successful finished product. One way to do this is by using adhesive tabs or glue dots to stick the wick at the bottom of the container before pouring wax.
Another method is to use a wick holder or centering device to keep the wick upright and centered while pouring the melted wax around it. Whichever technique you choose, ensuring that the wick is securely attached will help produce a high-quality candle with an even burn.

Welcome to my candle making blog! In this blog, I will be sharing my tips and tricks for making candles. I will also be sharing some of my favorite recipes.


