Introduction
Making your own wicks for candle making has many advantages. It saves money over buying pre-made candles and can be customized to fit any size or shape of candle container. Furthermore, it allows you to experiment with various types of wick materials, such as cotton, hemp, bamboo, crafts wire, cloth material and wireless designs. With a few basic items, it is easy to make your own wicks for homemade candles.
In addition to the cost savings from making your own wicks for candle making, these wicks can also be tailored exactly how you want them to fit in the candle. When using pre-made wicks you are limited in the options and may not get the look desired. Making your own allows you more control over the length and size of your candles’ wick as well as being able to customize different colors depending on what type of dye or paint you use on the cordage material.
Not only this, but by making your own candle wicks you can also experiment with what type of material works best in different waxes like soy wax, paraffin wax or even beeswax. For example, hemp is known to work best in soy wax while cotton tends to work better in organic beeswax candles. Furthermore by having control over the type of cordage used means that some experimentation can lead to finding just the right combination between combustibility and burning rate thus optimizing the performance of each individual type of homemade candle that is made using these custom crafted wicks!
Materials & Tools Needed
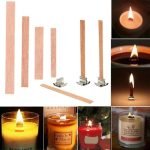
In order to make your own wicks for candle making, there are some essential materials and tools that you need. For the wicking material, you will need natural fiber or other suitable wicking that can be used for candles. Depending on the type of wick you’d like to make, you may choose from a range of sizes and lengths for your candle’s diameter or votive size.
For tools, you will require several items in addition to scissors or a sharp point cutting tool for trimming the ends of your wicks. A lighter or mini heat gun is helpful for melting any tabs or wires on the end of your chosen wicks. Additionally, it is also useful to have tweezers and/or needle-nose pliers when attaching your wick to its base. Finally, if desired, glue dots are great supplements while assembling your finished product since they help keep the wick centered in the middle of the container candle.
Procedure
Step 1: Gather Supplies
In order to make your own wicks for candle making, you will need the following supplies: beeswax sheets, all natural fiber (such as cotton or hemp), scissors, a dowel or skewer, and a double boiler.
Step 2: Cut the Wick
Once you have acquired the supplies needed, you can begin by measuring and cutting out lengths of the all natural fiber to desired length. Use scissors to carefully cut the fibers according to size.
Step 3: Melting Wax
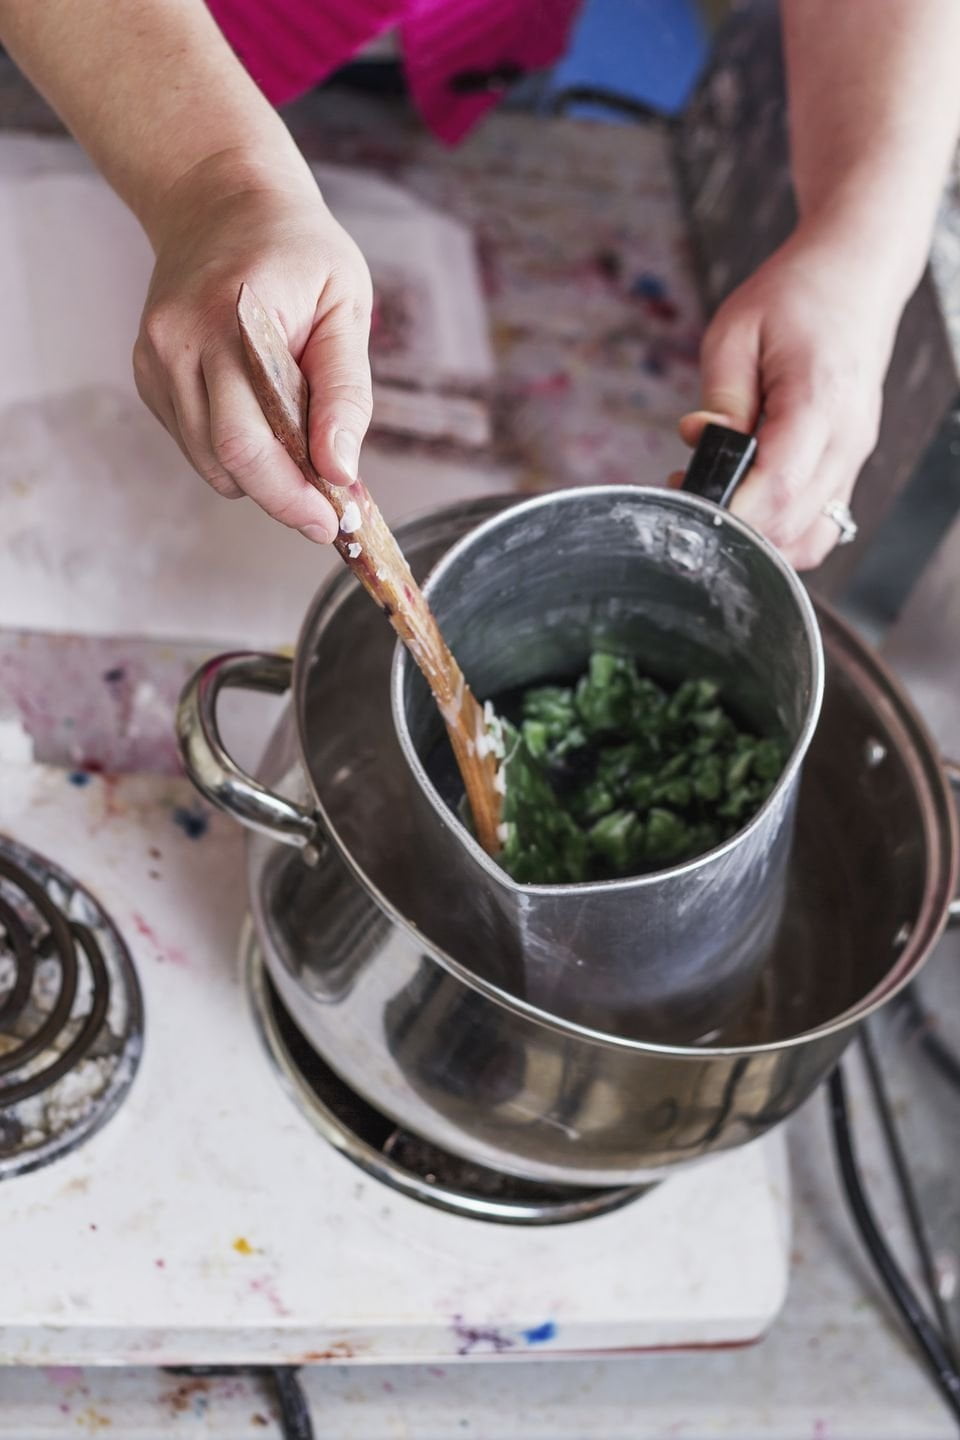
The next step is melting the wax in a double boiler. Follow instructions on packaging for specific temperatures for your particular wax sheets. Once melted at correct temperature, set off burner and let cool slightly before it is ready for wick making.
Step 4: Insert Wick into Wax
Lay wick on top of molten wax and insert one end into the molten wax completely and pull up other end and dip back into molten wax coating evenly. Keep repeating this process until all wax has been covered with fibre.
Step 5: Bind Firmly onto Dowel/Skewer
After completely covering entire wick with beeswax take hold of both ends of wick between fingers and guide firmly onto dowel or skewer while working in small sections using fingers to ensure firm binding is achieved ” always being careful not to burn your skin on hot wax! Once firmly bound, leave it aside in a cool dry place where it will quickly solidify before removing from dowl/skewer and ready for use in candle making!
Ornamentation
Making wicks for candle-making is a common DIY craft project. It’s a great way to add some extra ornamentation and secure the finishing of your candles before they are lit. There are several steps you should take when making your own wicks:
Gather Materials ” You will need a base such as thin cotton thread, wick tab, and a double boiler or cooking pot with some water inside.
Prepare the Base ” When preparing the base, use one end of the thread to tie around the middle of the wick tab. Make sure that it is tied tight enough so that it lasts through the heating process.
Heat & Wax ” Place the end of the thread in boiling water and allow it to soak for 5 minutes. Remove it from heat and dip it into a pot of melted wax, taking care to hold each side for 10 seconds before dipping again until you have formed a coating as desired. If necessary, use a pair of scissors or pliers to shape any excess strands off at this time.
Cool & Roll ” Once cooled completely, roll up your new wick and compress it between your fingers so that it’s ceramic-like in texture and won’t unravel while burning.
Finish – Finally, use metal clamps designed specifically for candle-making to further secure your finished wicks by pressing them onto either side of candles until cooled down completely. Be sure not to squeeze too hard because this could damage their shape or break them apart altogether!
Candle Safety
When it comes to candle safety, it is crucial to remember to never leave a candle burning unattended and always make sure to keep flammable materials away from the flame. Make sure that your candles are placed on a stable surface and also out of reach of children and pets. Additionally, having an awareness of drafts in the room can significantly reduce the risk of fire since a draft could blow the candle’s flame in an unsafe direction. Furthermore, it is important to trim wicks prior to lighting them – this will help regulate their flame size by preventing the growth of long or unruly wicks. Wicks should be lit with caution and trimmed before each use as well; leaving unburdened exposed surfaces ensures that wax won’t spill when the candle is alight. Following these guidelines can help ensure enjoyable, safe experiences with all types of candles!
Results
Making and burning your own wicks for candle making can be a rewarding experience with the right tools and knowledge. You can achieve optimal results with a few tips to ensure that you get the best light and burn. With proper care, your homemade wick should last for as long as your candle does.
When selecting the materials for your homemade wick, make sure that they are 100% vegetable-based material, such as hemp or jute cordage, cotton string or regular sewing thread. Common pantyhose and old sponges also make great wicks when cut into thin strips. Avoid using synthetic materials like nylon, polyester or any other manmade material as the source of supply for your wicks.
Once you have chosen the right materials, you will need a few simple tools such as scissors, lighter/matches and a container of hot water (or boiling water). First dip one end of your material in hot water before threading it through the top of your candle wax. The heat from the water helps soften the wax to allow insertion of the whole length of material into the center of the candle wax effectively creating an anchor point for your wick.
When lit, you should see a steady flame with sufficient oxygen reaching it to allow for smoke-free burning. Depending on how large your candle is and how much scent has been added; this will determine how long it will take to burn though no more than 4 hours at most! A properly prepared candle with its integral homemade wick will emit minimal amounts of smoke when burned correctly and should last up to twice as long as store bought candles with pre-manufactured wicks!
Conclusion
Making your own wicks for candle making provides numerous benefits. Not only are they easy to make, but they also help you create the perfect candles with a beautiful look and superior quality. Making your own wicks allows you to customize wick types and sizes depending on the size and container of your candles, as well as the type of wax being used. You can choose from various types of fibers or threads, such as cotton yarn, cotton string, jute twine, or polyester thread. Home-made wicks also provide long-lasting performance life and complete control over soot levels by allowing you to adjust temperatures when melting wax. Crafting your own wicks is a great way to save money while having full customization over the type and size of each candle.

Welcome to my candle making blog! In this blog, I will be sharing my tips and tricks for making candles. I will also be sharing some of my favorite recipes.

